17 Kitchen Design Ideas That Made My Grandma’s Dated Kitchen Look Straight Out of a Magazine
When my grandma left me her little house, the kitchen came with yellowed oak cabinets, a buzzing ceiling light, and enough floral border to start its own garden club. It was clean and loved, but it felt frozen in 1987. I could almost hear her saying, “The cabinets are perfectly good, honey.” She was right—which was both helpful and mildly annoying.
I did not have a television-makeover budget. I had a tape measure, a folder full of saved kitchen photos, and a strong desire to stop storing the toaster on top of the refrigerator. So I treated the renovation like a room tour. I walked from the doorway to the sink, then around the cooking wall, asking what would make each spot prettier and easier to use.
The ideas below follow that same walk. Some are full renovation choices, while others work in a rental or a tiny kitchen. The costs are rough U.S. planning ranges and can change a lot by city, labor, size, and material. Start with the parts that solve your biggest daily headache. A beautiful kitchen is wonderful, but a beautiful kitchen where the trash can blocks the dishwasher is still a comedy sketch.
Layout Wins That Change Everything
Before choosing paint, I looked at how we moved through the room. Good kitchen design begins with clear walking paths, useful landing space, and storage where you actually reach for it.
1. A Big Farmhouse Island
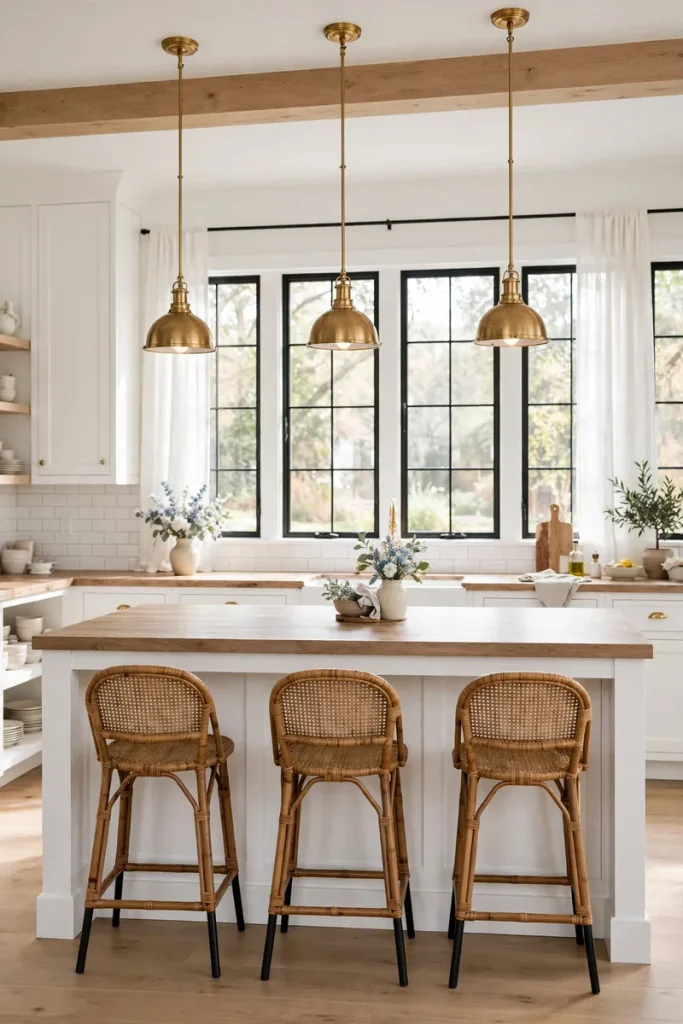
A wide farmhouse island became the heart of the plan. It gave us prep space, casual seating, deep drawers, and a place for everyone to gather without leaning against the hot stove. In a large kitchen, allow comfortable walkways around every side. In a small room, try a narrow freestanding worktable or rolling cart instead.
A basic movable island may cost about $200 to $700. A custom island with cabinets, stone, plumbing, or electrical work can run into several thousand dollars. For a warm farmhouse look, mix a painted base with a wood top and simple stools. Renters can get the same friendly feeling with a sturdy secondhand table.
2. Open Shelving Instead of Upper Cabinets
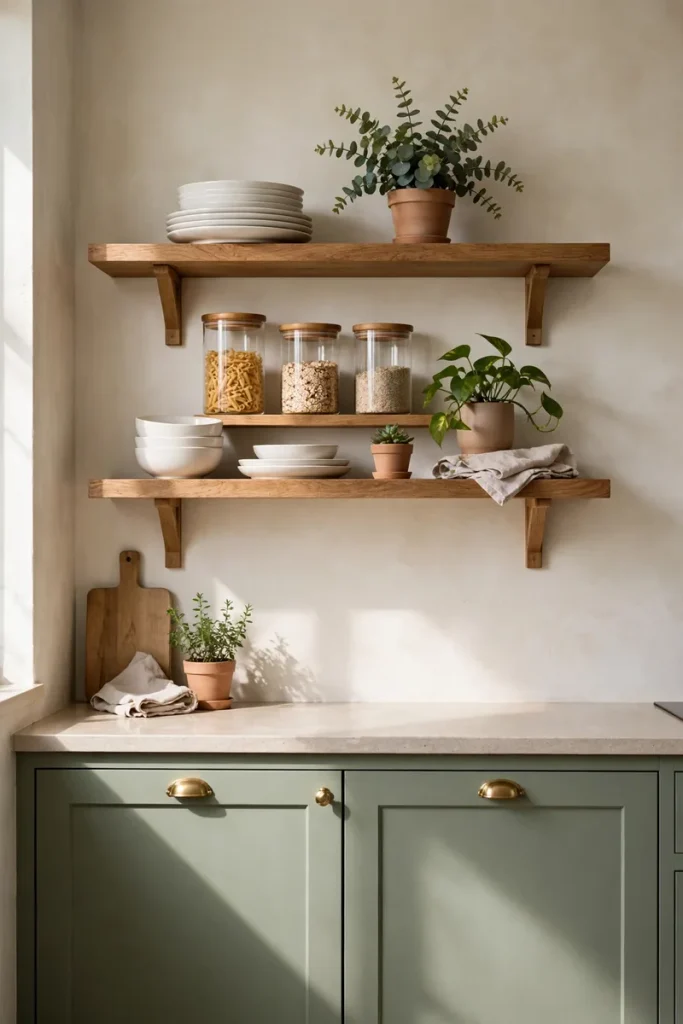
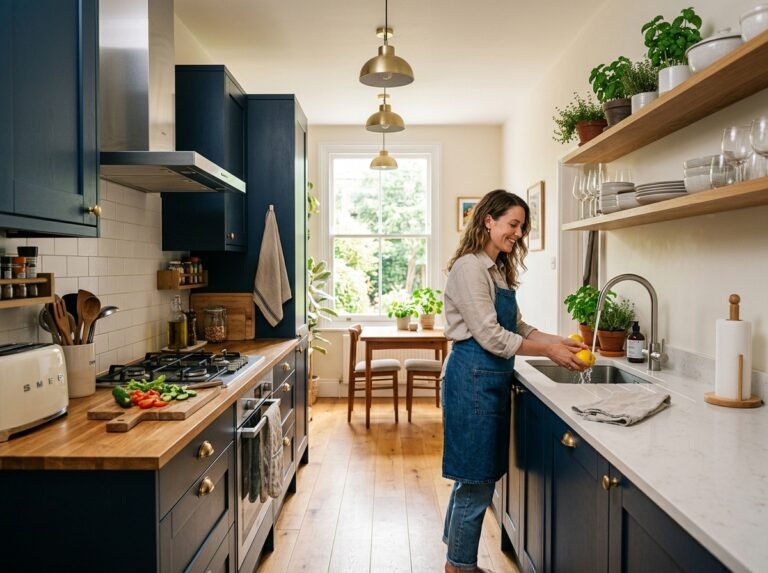
Removing one bank of uppers made Grandma’s kitchen feel wider almost immediately. Open shelves are best for everyday dishes, glasses, and pretty bowls—things that get used and washed often. Keep the display simple so it reads as calm storage, not a tiny ceramic yard sale.
Two ready-made shelves with brackets can cost roughly $80 to $300, depending on the wood and hardware. If you rent, do not remove cabinets without permission. Add a slim freestanding shelf or use one open wall rack instead. Always fasten heavy shelving into proper wall support.
3. A Walk-In Pantry
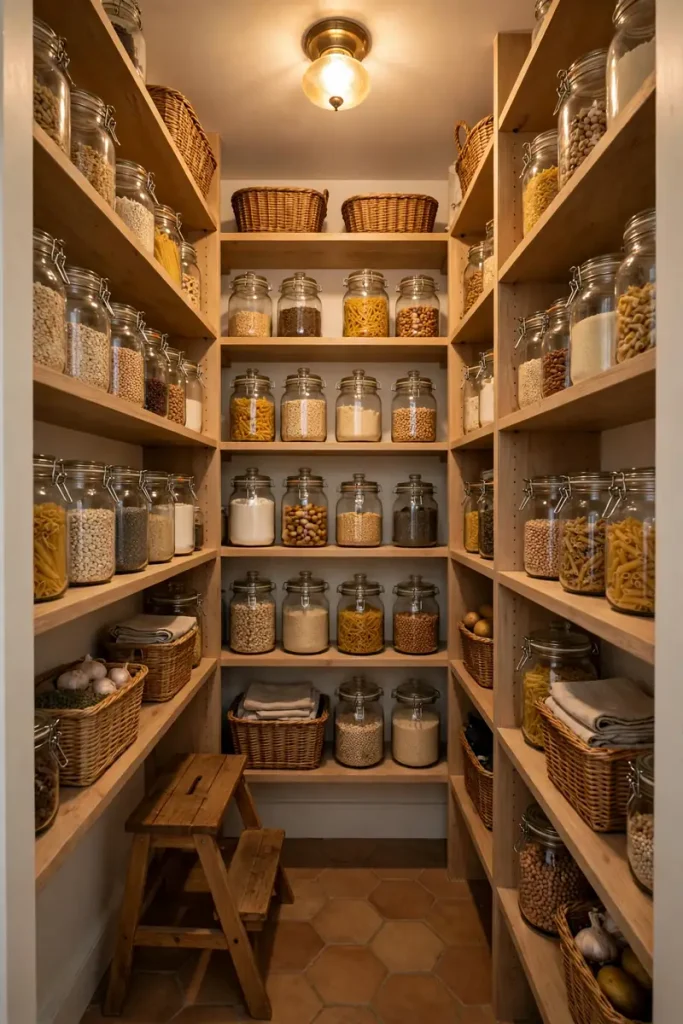
If you have the square footage, a walk-in pantry hides bulky food packages and small appliances while keeping the main kitchen visually quiet. We borrowed space from an awkward hall closet and added shallow shelves, which prevented cans from disappearing three rows deep. Clear zones for breakfast, baking, snacks, and back stock make grocery day much easier.
A simple closet conversion with DIY shelving might land around $300 to $1,500. Building a new enclosed pantry can cost much more because walls, doors, lighting, and electrical work add up. In a small kitchen, a tall pantry cabinet can provide the same vertical storage without changing the floor plan.
4. An Eat-In Breakfast Nook
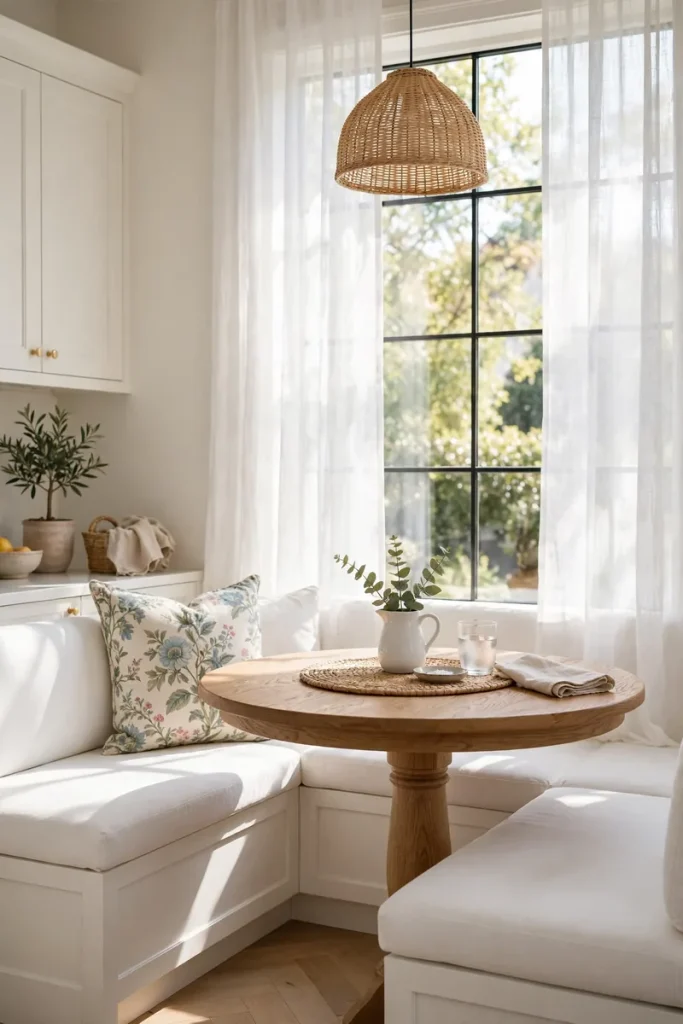
The sunny corner by the window was too small for a formal table but perfect for a breakfast nook. A built-in bench uses less floor space than a row of chairs and can hide linens or serving pieces underneath. We added washable cushions because coffee has never respected my decorating plans.
A simple table-and-bench setup may cost $250 to $900. Custom built-ins often start higher, especially with storage drawers. Renters can push a small round table against a wall and pair it with a movable bench. A pendant light or framed art helps the nook feel intentional rather than squeezed in.
Cabinet and Color Makeovers
Once the layout worked, color did the emotional heavy lifting. Cabinets cover so much visual space that changing their finish can make the whole room feel new.
5. Creamy White Shaker Cabinets
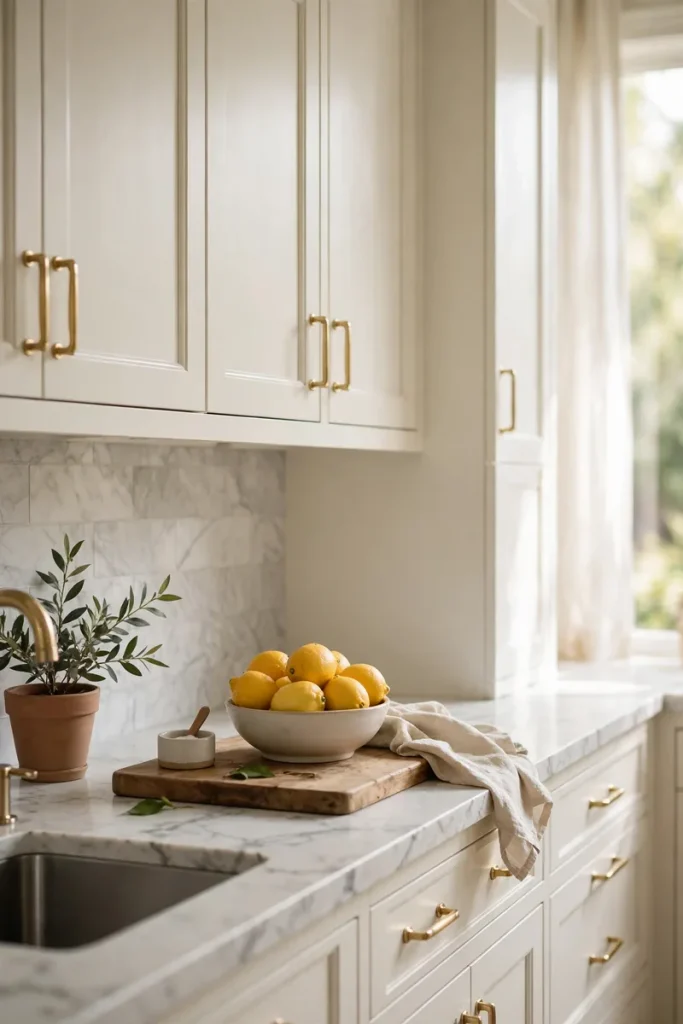
Creamy white Shaker cabinets gave the room a timeless, soft backdrop. The warmer tone looked friendlier than stark white beside the old wood trim. Shaker doors also bridge farmhouse, traditional, and modern styles, so the kitchen will not feel tied to one trend.
If the cabinet boxes are solid, professional painting is usually less expensive than full replacement. A careful DIY paint job might require a few hundred dollars in primer, paint, tools, and new hinges; professional work commonly costs much more. Label every door, clean off grease, sand properly, and let the finish cure before reinstalling hardware.
6. A Navy Blue Island Accent
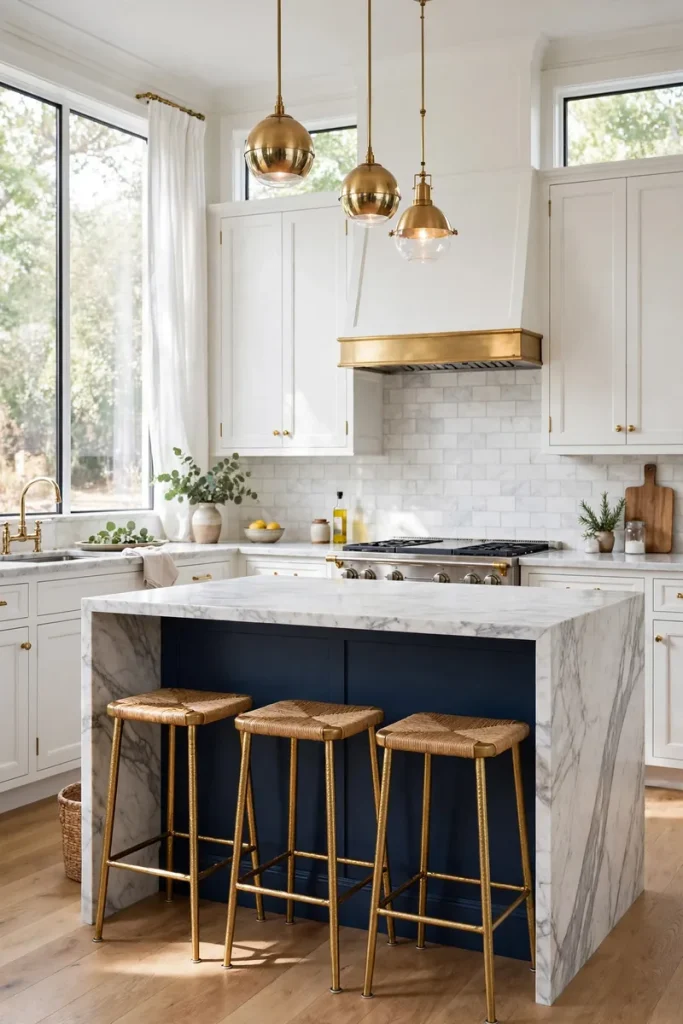
Painting the island navy added depth without making the whole kitchen dark. Deep blue works especially well with warm wood, creamy cabinets, and brass details. In a compact room, use navy on only a small cart or lower cabinet section so the color grounds the design instead of swallowing it.
This is a high-impact weekend project if the surface is already in good shape. Budget roughly $75 to $200 for quality cabinet primer, paint, and supplies. Test the color at different times of day; navy can look cheerful in morning sun and nearly black under weak evening light.
7. Sage Green Cabinets
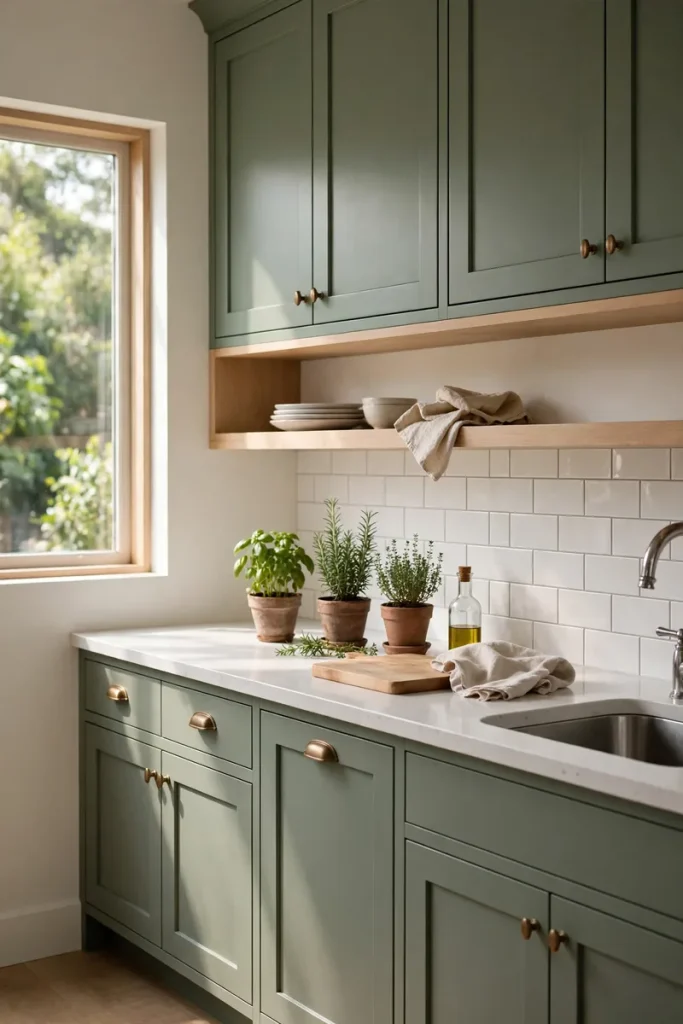
Sage green brings a gentle garden feeling into a kitchen without shouting “green.” It looks beautiful with oak, white quartz, cream tile, and aged brass. We considered it for all the cabinets, but it is equally lovely on a pantry wall or a single hutch.
Choose a muted sage with gray or warm undertones, then sample it beside your flooring and counters. If painting is allowed in a rental, get written approval first. Otherwise, bring in sage through a freestanding cabinet, café curtains, stools, or washable runner.
8. Two-Tone Cabinets
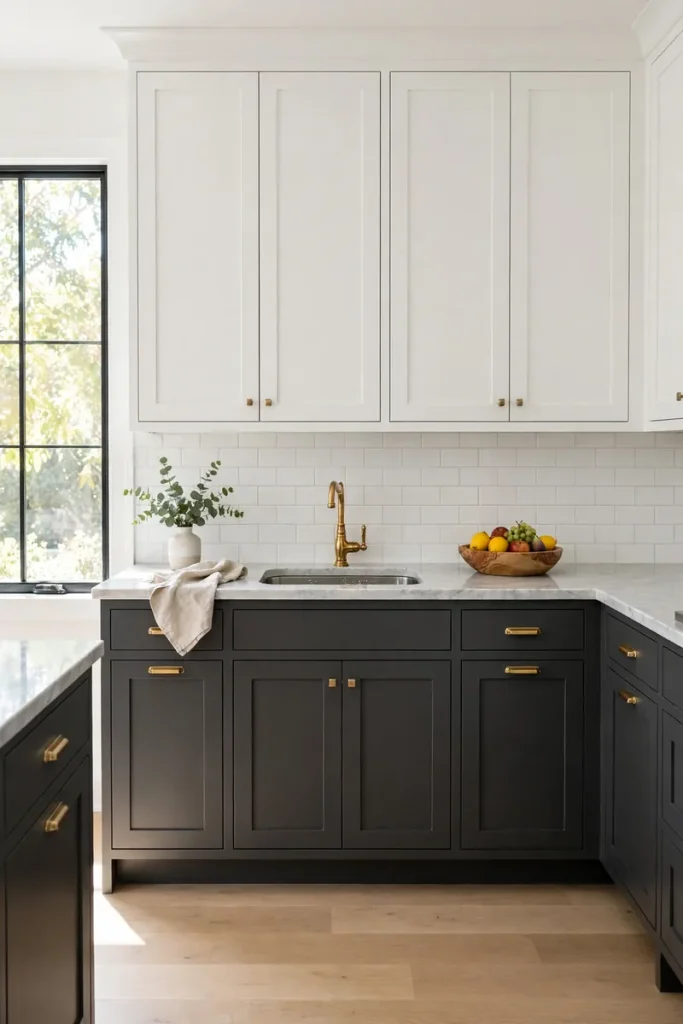
Two-tone cabinets help a kitchen feel collected rather than purchased as one giant matching set. Light uppers keep the room airy, while darker lowers hide scuffs and visually anchor the space. Another easy approach is to paint only the island or tall pantry cabinets.
The secret is repetition. Carry each color into at least one other detail, such as a rug, dish, or light fixture. Keep the countertop and backsplash quieter so the room does not become a color chart. If you already plan to repaint, using two colors adds mostly the price of an extra gallon rather than a second renovation.
9. Renter-Friendly Peel-and-Stick Everything
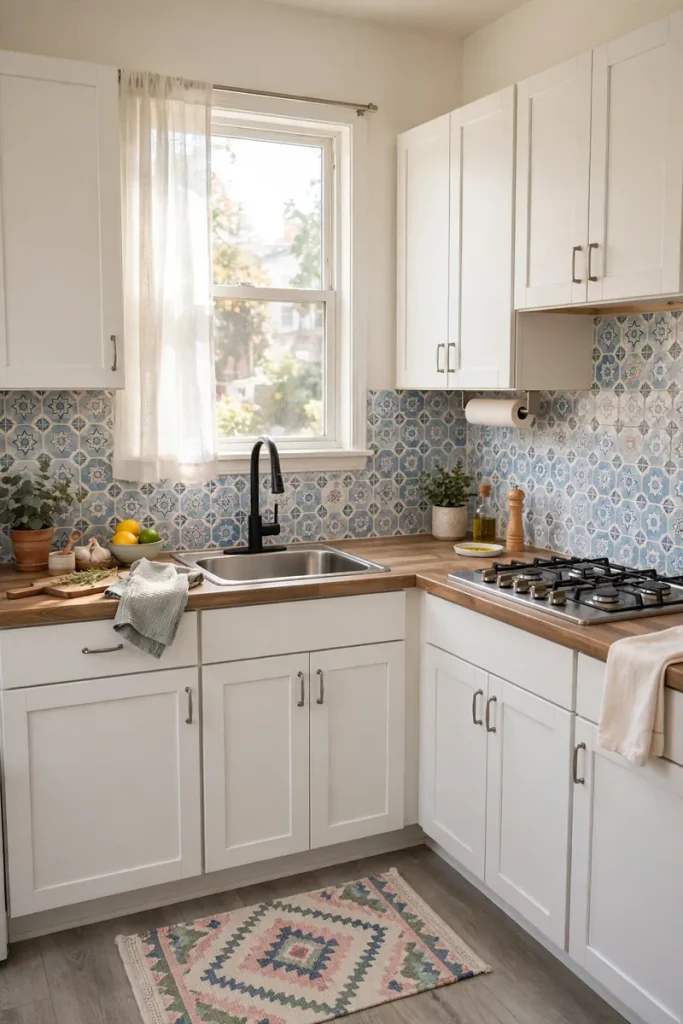
Peel-and-stick products can refresh a backsplash, cabinet interior, or dated countertop look without demolition. The key is restraint: choose one convincing surface and install it neatly. Covering every inch can make the kitchen feel like it is wearing a costume.
A small backsplash may cost about $40 to $200 in removable tile, while adhesive film for a compact counter can be less. Clean the surface, order a sample, and test removal in a hidden area. Heat, steam, textured walls, and weak adhesive can cause lifting, so follow the product directions and never cover damaged or unsafe material.
Surfaces and Details That Sell the Look
With the big color decisions made, we moved to the touchable parts—the counters, backsplash, floor, and hardware that make a kitchen feel finished.
10. Butcher Block Counters
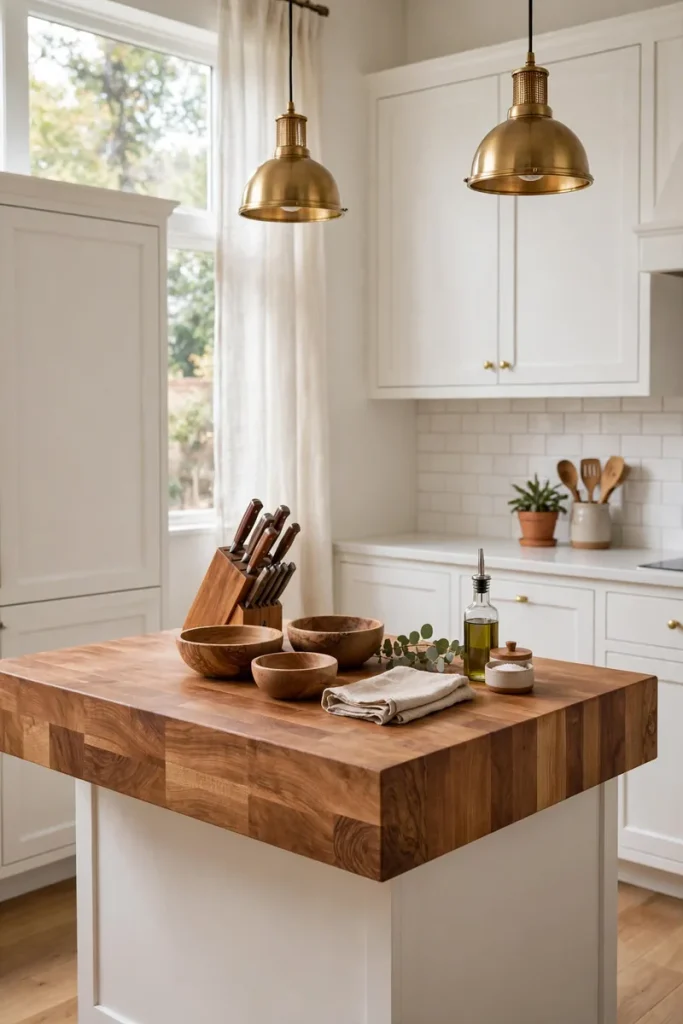
Butcher block counters warmed up the creamy cabinets and made the room feel relaxed. Wood is especially useful on an island or baking station, where it can soften a kitchen filled with hard surfaces. It does need regular care, quick cleanup around water, and a food-safe finish when appropriate.
Material for a small DIY section can cost a few hundred dollars, while a full professional installation varies widely by wood species and layout. If you worry about sink splashes, use butcher block on the island and a more water-resistant counter around the sink. Renters can place a thick wood cutting board over one prep zone.
11. Classic White Subway Tile Backsplash
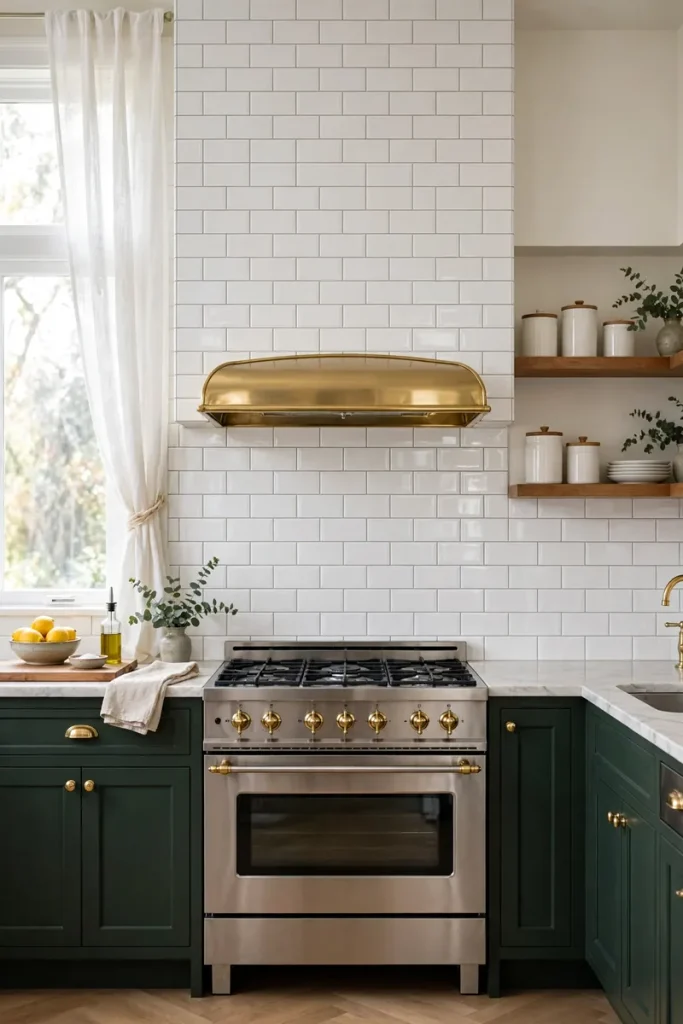
White subway tile gave the room a clean background without competing with the navy island. It is easy to personalize with the grout color and layout. Warm white grout feels soft and traditional; medium gray highlights the pattern but also makes every uneven line more obvious. Ask me how I learned that.
A DIY backsplash can be relatively budget-friendly, often a few hundred dollars for basic tile and supplies in a small kitchen. Professional labor, wall repair, and tricky outlets increase the total. For a renter-friendly version, use removable tile sheets with realistic grout lines and clean edges.
12. A Herringbone Wood Floor
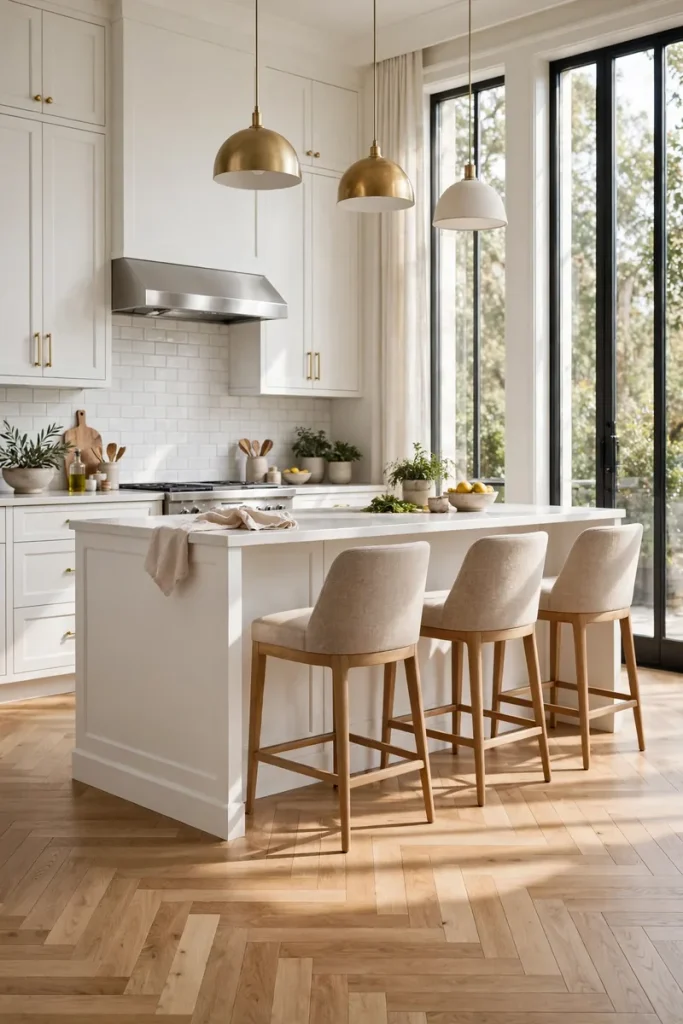
A herringbone floor brings movement and old-house charm underfoot. Real wood is beautiful, but kitchens need a finish that can handle spills. Luxury vinyl or porcelain tile with a wood look can deliver the pattern with easier care and may suit busy homes better.
Because herringbone requires many angled cuts, installation usually costs more than a straight pattern and creates extra material waste. Use it in an open area where the pattern can breathe. For a small budget, try a herringbone-pattern runner; it offers the visual idea without replacing the floor or upsetting a landlord.
Light and Finishing Touches
The final lap was less dusty and more fun. Hardware, metal finishes, and better lighting turned the practical renovation into a room that actually looked styled.
13. Brushed Brass Hardware
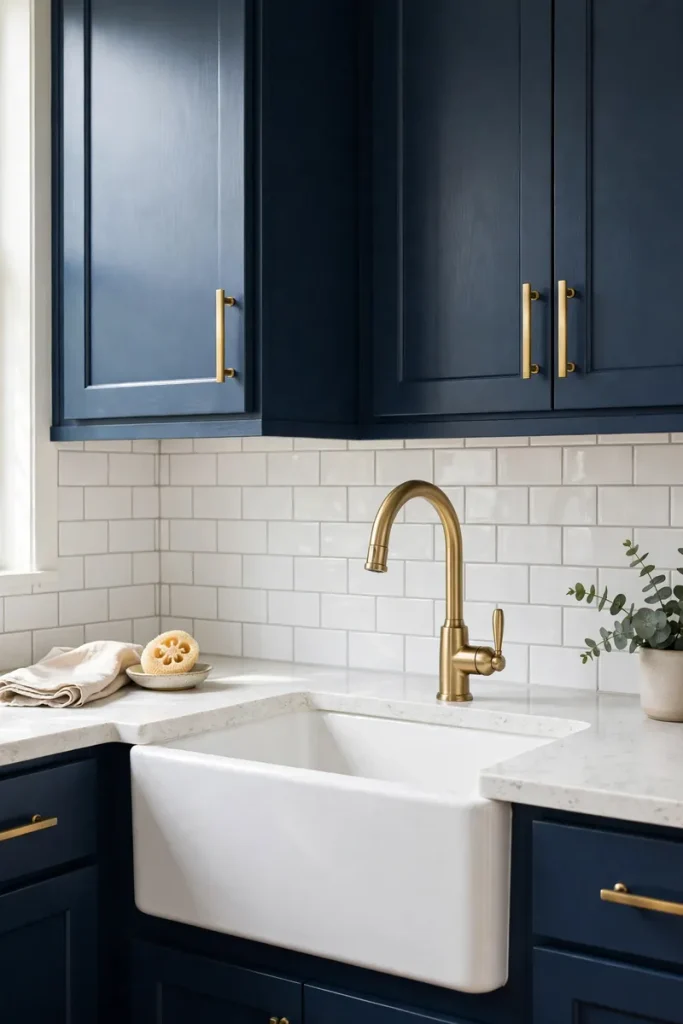
Brushed brass knobs and pulls warmed the white cabinetry like jewelry. The soft finish is less flashy than polished gold and works with navy, sage, cream, and natural wood. Measure the existing screw spacing before ordering pulls so you do not create extra holes.
A full hardware swap may cost about $100 to $500, depending on quantity and brand. For a tiny refresh, replace only the most visible handles or use brass knobs on doors and simple pulls on drawers. Keep the old hardware in a labeled bag if you rent.
14. Mixed Warm Metals
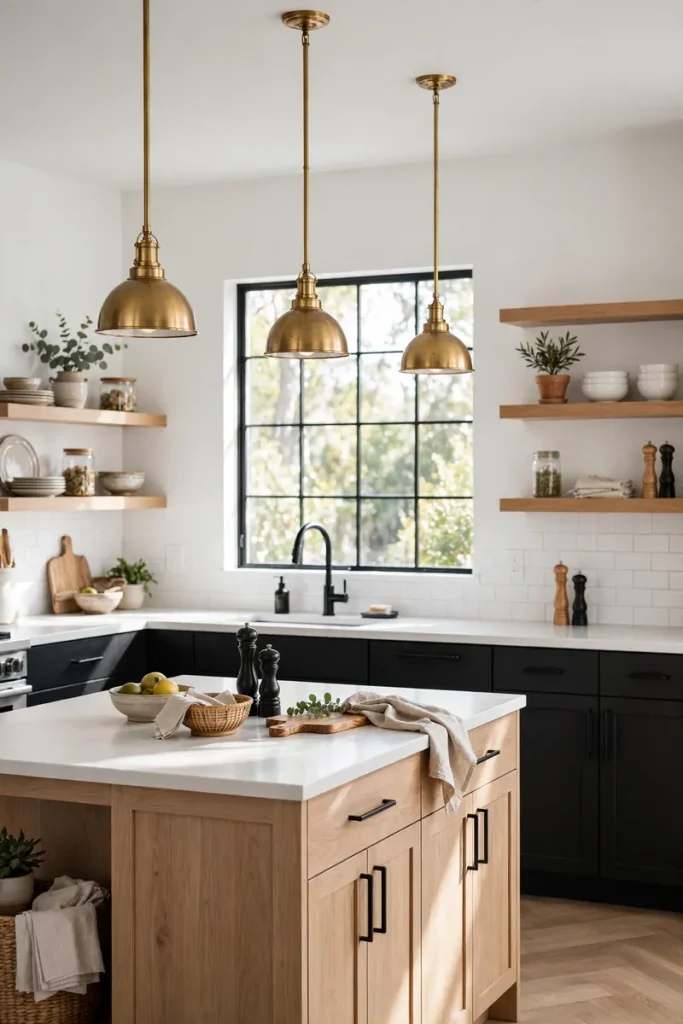
Matching every metal is not required. We paired brushed brass cabinet hardware with a darker faucet and stainless appliances. The mix looked intentional because each finish appeared more than once and shared a warm, low-shine feel.
Limit the room to two or three main finishes. Let one be dominant, one support it, and one appear in small amounts. Mixing finishes is also budget-friendly because you can keep working fixtures instead of replacing them solely to match. That is money better spent on snacks for renovation day.
15. A Statement Range Hood
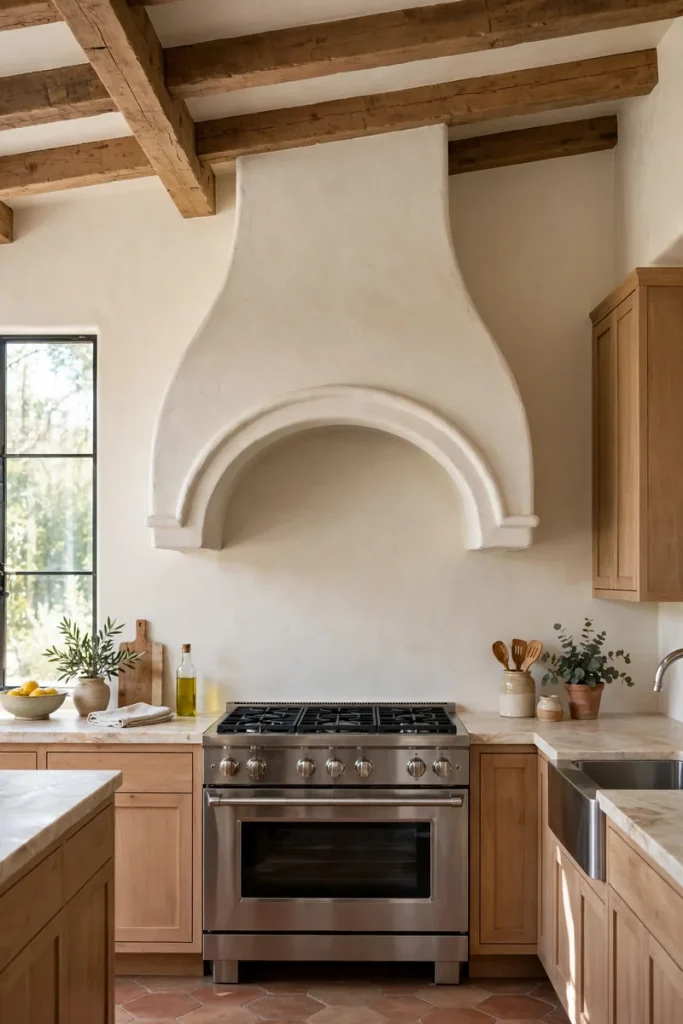
A simple boxed hood became the visual centerpiece of the cooking wall. Painted plaster-look, stained wood, or a clean Shaker-style cover can all work, as long as the shape suits the room. A beautiful cover must still allow the ventilation system to operate and be serviced safely.
Decorative covers can range from a few hundred dollars for a simple DIY build to several thousand for custom work and a new insert. Do not sacrifice proper venting for appearance. In a rental, draw attention to the range area with removable art nearby or a strong backsplash pattern instead.
16. Under-Cabinet Lighting
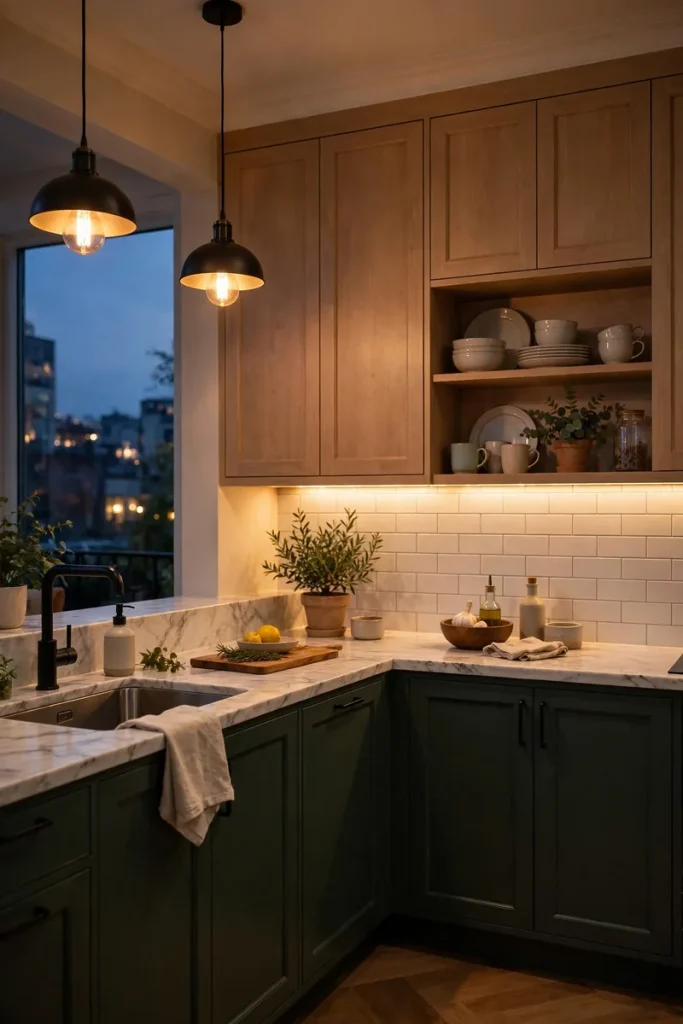
Under-cabinet lighting was the least glamorous decision on paper and one of my favorites in real life. It brightens chopping zones, softens the kitchen at night, and prevents the overhead fixture from making everyone look like a tired detective.
Plug-in or rechargeable LED bars can cost roughly $25 to $150 for a small setup and work well for renters. Hardwired systems look cleaner but require a larger budget and a qualified installer. Choose a warm or neutral light color that flatters food and matches the rest of the room.
17. A Dedicated Coffee Bar Nook
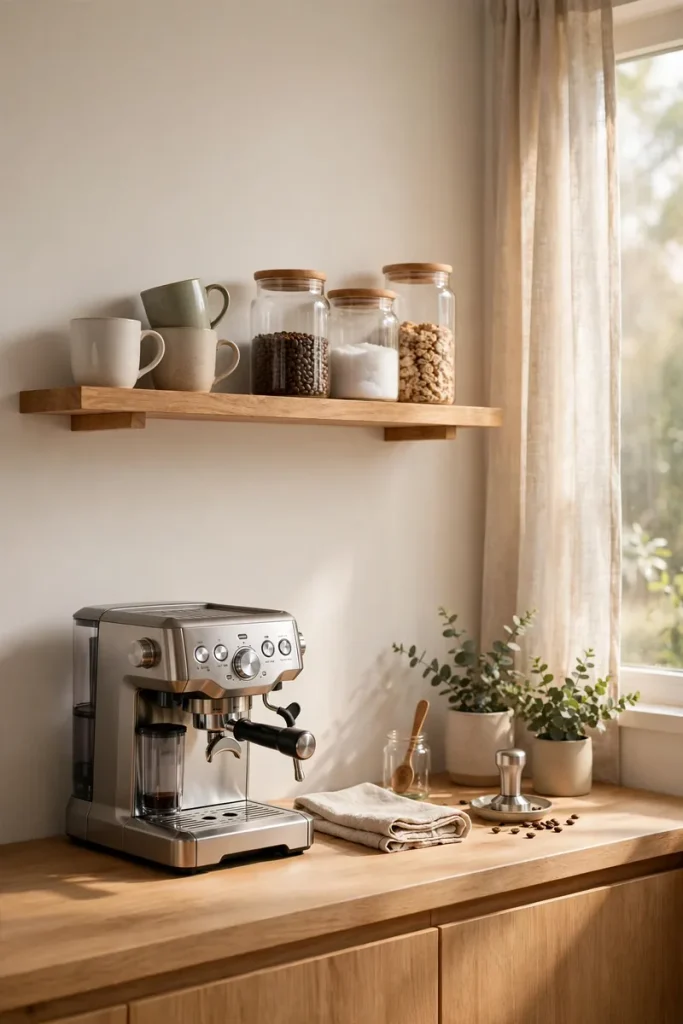
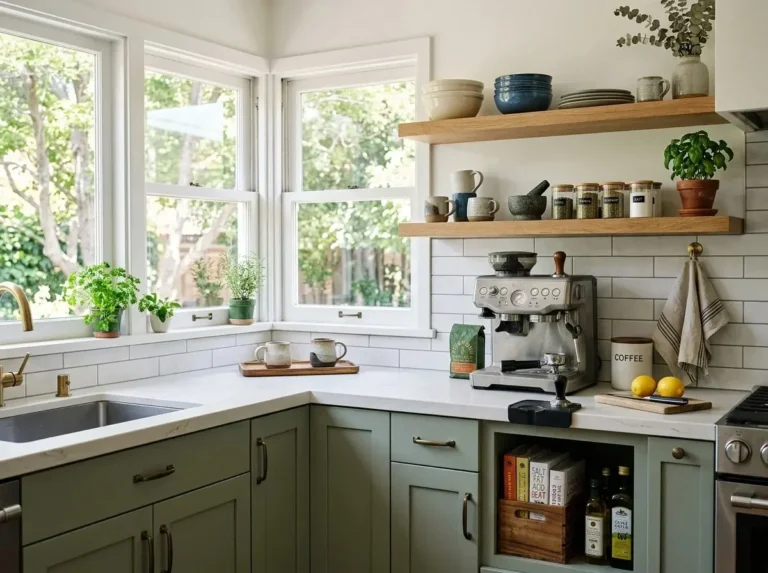
We ended the tour with a coffee bar in a shallow corner. Moving the machine, mugs, filters, and sugar away from the main prep counter reduced morning traffic. A tray keeps spills contained, while one shelf above holds the pretty cups Grandma collected.
You can create a coffee station for under $100 with a tray and hooks, or spend $300 to $1,000 on a freestanding cabinet and shelving. In a small kitchen, use a section of counter no wider than the machine. Add an outlet only through proper electrical work—extension cords and hot appliances are not a cute design feature.
What I’d Do First With 500 Dollars
If I had only $500, I would not start by tearing out cabinets. I would spend about $120 on fresh wall paint and supplies, around $150 on new knobs or pulls, and roughly $100 on plug-in under-cabinet lights. The remaining money would go toward a washable runner, a simple window shade, and one open shelf or secondhand cart.
That plan improves color, touch points, lighting, and storage in one weekend. If the cabinets are sturdy but ugly, I might put most of the budget toward proper cabinet-painting supplies instead. The smartest first step is the one you see or touch every day—not the detail the internet insists is “essential.”
3 Kitchen Mistakes I Made (So You Don’t Have To)
First, I chose a paint color before checking it at night. The lovely sample turned muddy under our old bulbs. Large sample boards and better lighting would have saved a second trip to the paint store.
Second, I underestimated storage near the dishwasher. Pretty shelves are nice, but plates should live close to where they are unloaded. Plan storage around daily movement before styling a single bowl.
Third, I tried to make every finish the star. The patterned floor, bold island, shiny hardware, and dramatic tile all competed. Once I chose the island as the main moment and simplified the rest, the kitchen finally felt calm.
A Kitchen That Still Feels Like Her
Grandma’s kitchen looks magazine-ready now, but it did not lose its soul. Her wooden recipe box sits beside the coffee nook, and her favorite mixing bowl lives on the open shelf. The room works better because we improved the layout, storage, surfaces, and light—not because we erased every sign of the past.
Your kitchen does not need all 17 ideas. Choose the two or three that solve real problems, set a budget with breathing room, and make changes in a sensible order. Whether you add a rolling island, paint one cabinet wall, or simply install better lights, the best design is the one that makes you happy to walk into the room tomorrow morning.
My simple rule: make it work, make it warm, then make it pretty. That order saves money—and usually saves your patience, too.