16 Galley Kitchen Ideas That Make a Narrow Room Look Twice as Big (No Wall Demo Required)
My first galley kitchen was so narrow that opening the dishwasher felt like raising a drawbridge. If someone wanted coffee while I was loading plates, we had to perform a polite little dance that involved one person backing into the hallway. I blamed the room for months. Then a friend came over, moved three countertop appliances, added a runner, and said, “Your kitchen is not too small. It is just wearing the wrong outfit.” Rude? A little. Correct? Completely.
A galley kitchen can be one of the smartest layouts in a home. The sink, range, and refrigerator stay close, so cooking takes fewer steps. The challenge is making two long walls feel useful without letting them close in. Instead of giving you sixteen random pretty rooms, this guide follows a simple makeover route: first open the sight lines, then improve storage, then add personality, and finally polish the hard-working details.
Quick budget note: The ranges below are rough U.S. planning estimates for a small kitchen in 2026. Local labor, materials, permits, and existing conditions can change the final price. Renter-friendly ideas are marked, and every major installation should follow your lease and local building rules.
Stop One: Open the Visual Lane
1. Paint Both Cabinet Runs One Soft Color
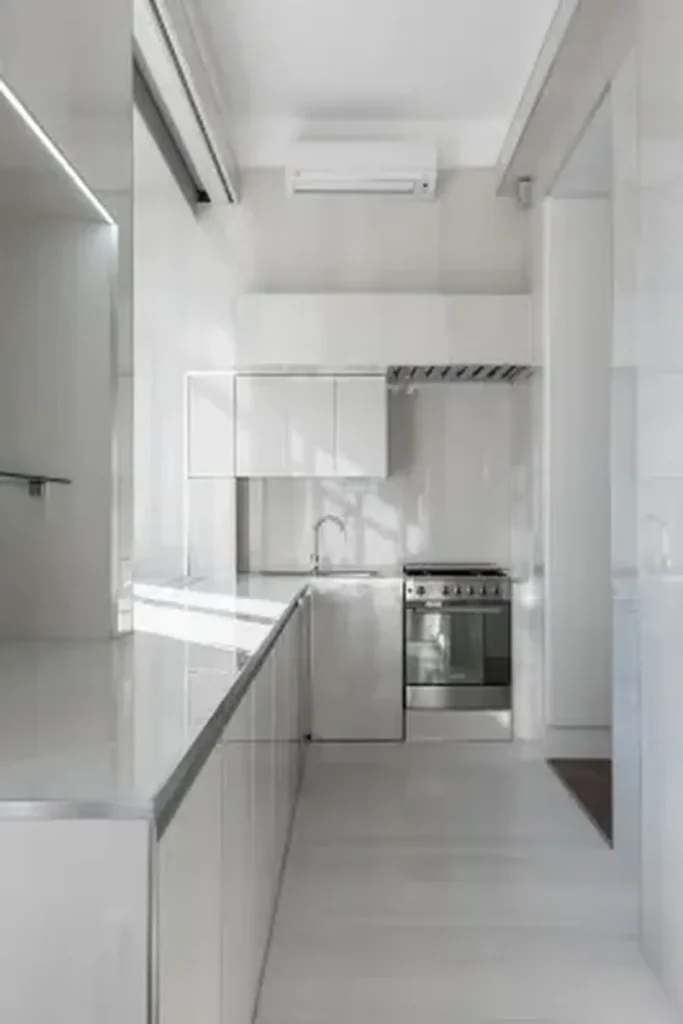
A single soft color turns two busy cabinet walls into one calm frame. Warm white, pale greige, misty blue, or light mushroom works better than a sharp hospital white because it still feels cozy. Use satin or semi-gloss cabinet paint so splatters wipe off easily. If your upper and lower cabinets match, the eye travels down the whole room instead of stopping at every color change.
Rough cost: about $150–$500 for a careful DIY paint job, or several thousand dollars for professional prep and spraying. Renters can use removable cabinet-safe vinyl on flat doors, but test a hidden spot first. My own cabinets needed three coats and one emergency pizza because apparently paint does not cook dinner.
2. Keep the Far Wall Light and Simple
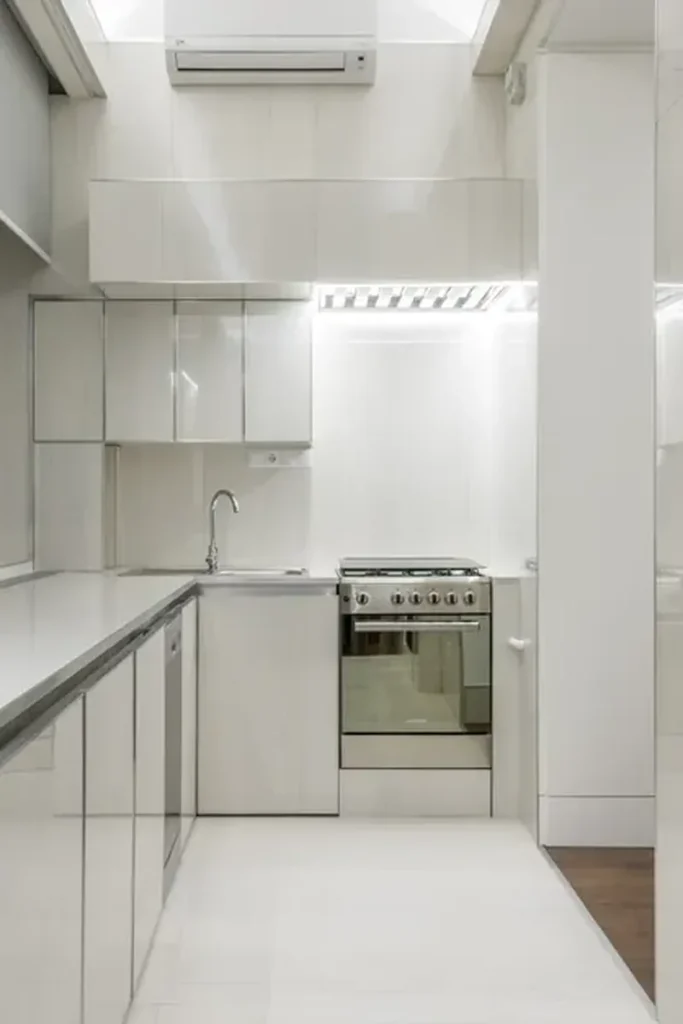
The wall at the end of a galley acts like a finish line. If it is dark, crowded, or covered with bulky storage, the room feels shorter. Paint it a pale color, hang one small piece of art, or leave it almost empty. A window is ideal, but a simple mirror can bounce light when there is no window.
Rough cost: $40–$200 for paint, a mirror, or a modest print. This is one of the safest renter-friendly changes because nothing permanent has to move. Choose a mirror with a slim frame and keep it away from direct stove splatter. The goal is “breathing room,” not “another shelf where mail goes to retire.”
3. Run the Flooring Lengthwise
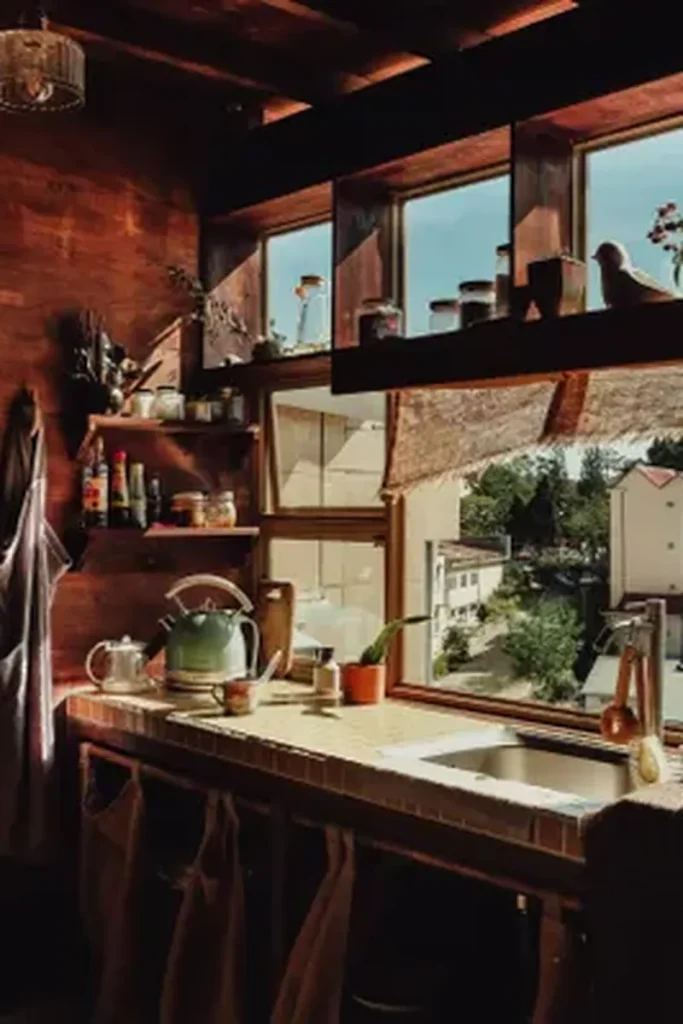
Long flooring lines pull the eye toward the end of the room and make the galley feel deeper. Lay planks in the same direction as the main walkway. For tile, a narrow stacked layout or subtle herringbone can create the same movement. Matte finishes hide crumbs and footprints better than shiny floors, which is useful if your family treats the kitchen like a train station.
Rough cost: peel-and-stick vinyl may run a few hundred dollars for a small room; professionally installed LVP or tile can reach a few thousand. Renters should use removable flooring only with written approval and a clean, smooth base.
4. Choose a Slim Runner With Breathing Space
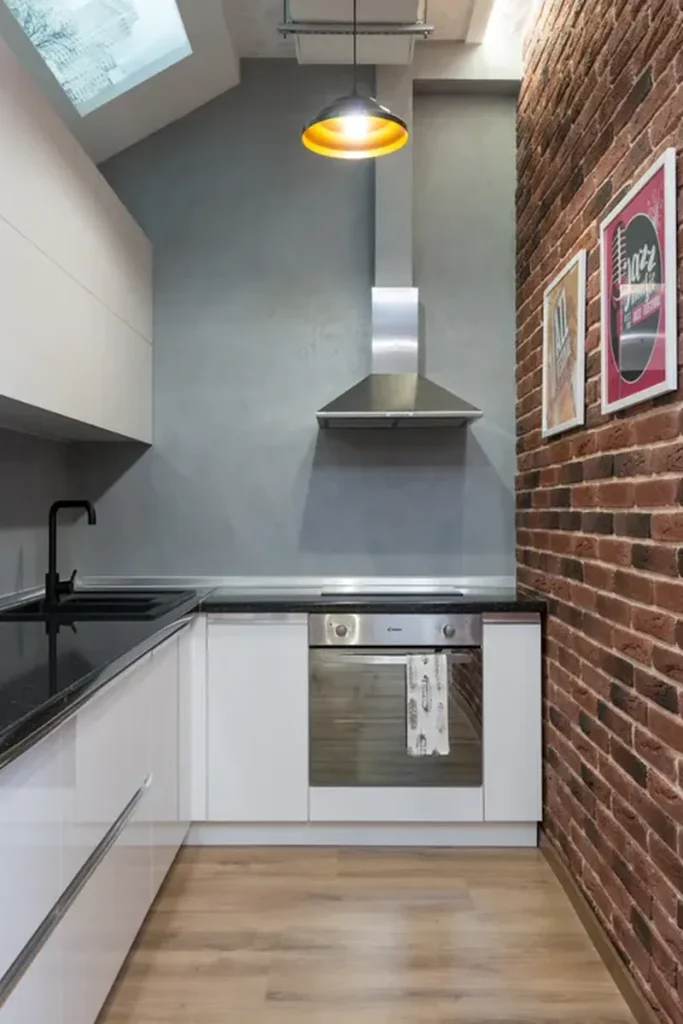
A runner adds softness, color, and sound control without stealing walking room. Leave visible floor around every edge so the rug looks intentional rather than wedged in. A low-pile, washable runner is best near food, pets, and the mysterious splash zone around the sink. Pick a pattern that repeats one cabinet or backsplash color.
Rough cost: $60–$250. This is fully renter-friendly and easy to change with the season. Add a nonslip pad cut slightly smaller than the rug. I once skipped the pad and nearly carried a bowl of pasta into the next zip code, so learn from my graceful mistake.
Stop Two: Make Every Inch Earn Its Keep
5. Take Upper Cabinets to the Ceiling
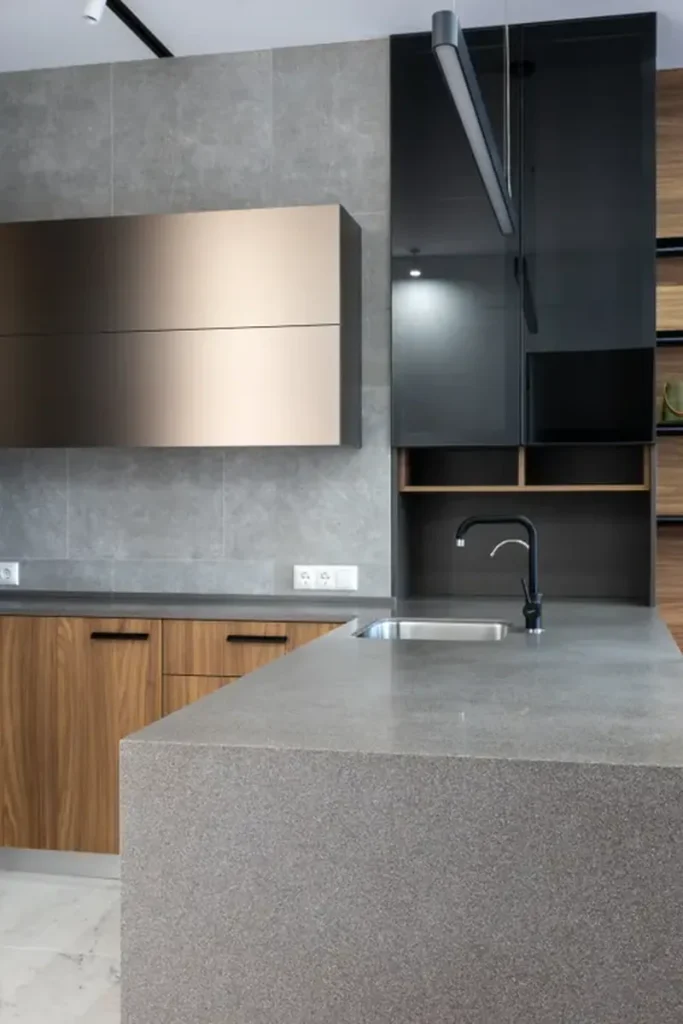
A gap above cabinets collects dust, baskets, and good intentions. Ceiling-height storage uses that space and creates a cleaner vertical line. Keep rarely used serving pieces at the top and everyday dishes lower down. If full replacement is not in the budget, a carpenter may add matching boxes or a simple crown detail above sound cabinets.
Rough cost: a custom extension can range from several hundred to a few thousand dollars; new cabinetry costs much more. Renters can place matching lidded bins above cabinets instead. Choose only a few identical containers so the top line looks calm, not like a storage unit with a backsplash.
6. Add a Pull-Out Pantry to a Narrow Gap
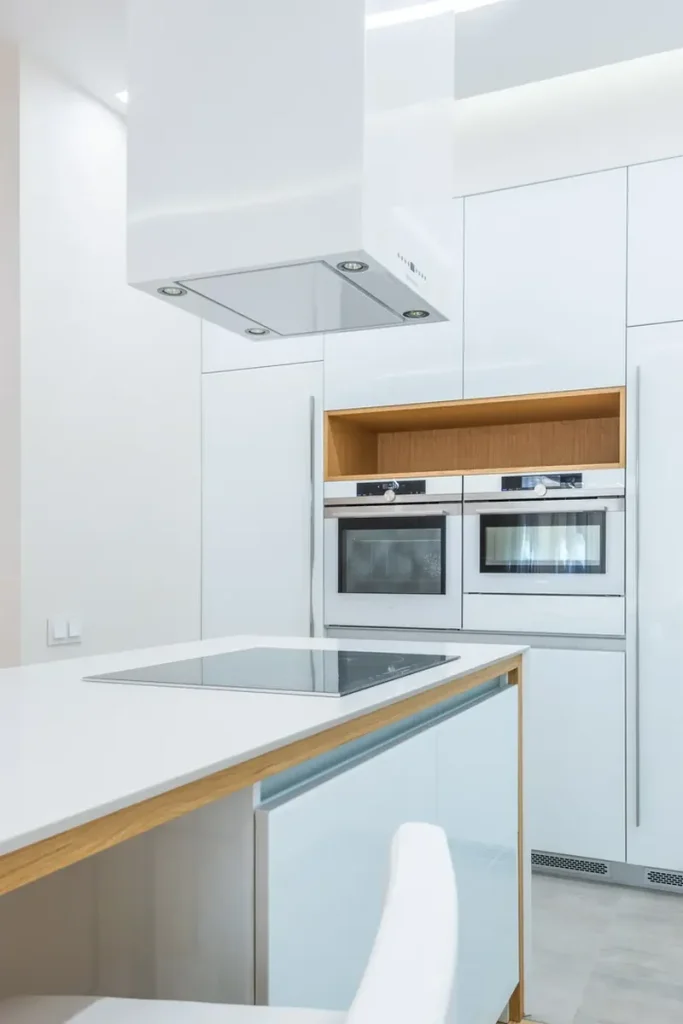
That awkward six- or nine-inch gap beside the refrigerator can become a pull-out pantry for oils, spices, cans, and baking sheets. The slim shape suits a galley because supplies come to you instead of requiring a deep-cabinet treasure hunt. Use guard rails so bottles do not tip when the unit moves.
Rough cost: around $100–$400 for a freestanding rolling cart, while built-in pull-outs can cost $500–$2,000 or more. A wheeled cart is renter-friendly and can move to your next home. Measure the gap in three places; old walls enjoy being slightly crooked just to keep us humble.
7. Use Open Shelves on Only One Side
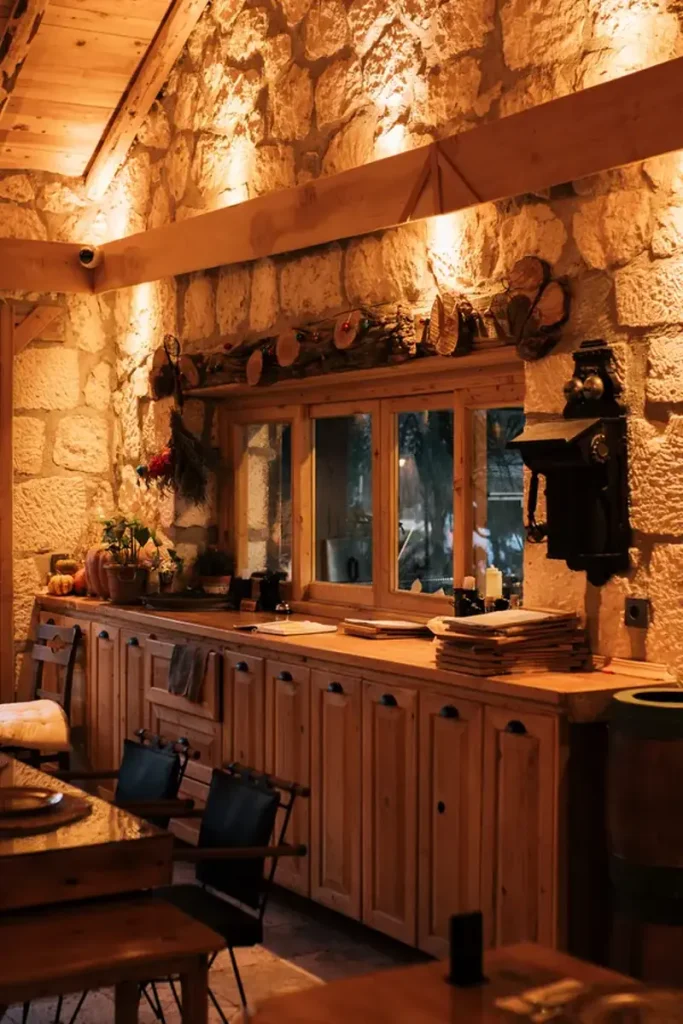
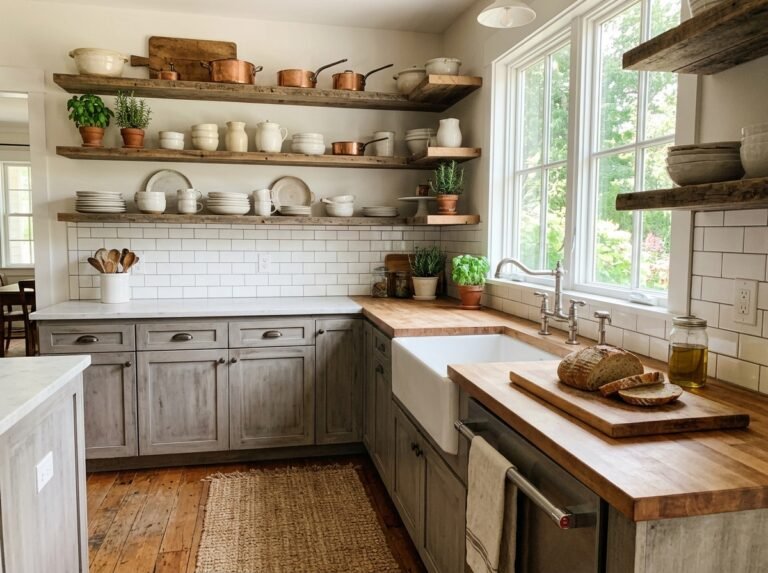
Open shelves can lighten a narrow kitchen, but putting them on both walls may create visual noise. Use two or three shelves on one side and keep the opposite wall calmer. Display everyday bowls, glasses, and a small plant—not every mug you have received since college. Solid wood adds warmth to white cabinets, while painted shelves can disappear into the wall.
Rough cost: $80–$500 depending on wood and brackets. Renters can use a freestanding ladder shelf outside the main cooking lane. Before mounting anything, locate studs and keep shelves far enough from the range that grease does not turn your decor into a science project.
8. Build a Hidden Appliance Garage
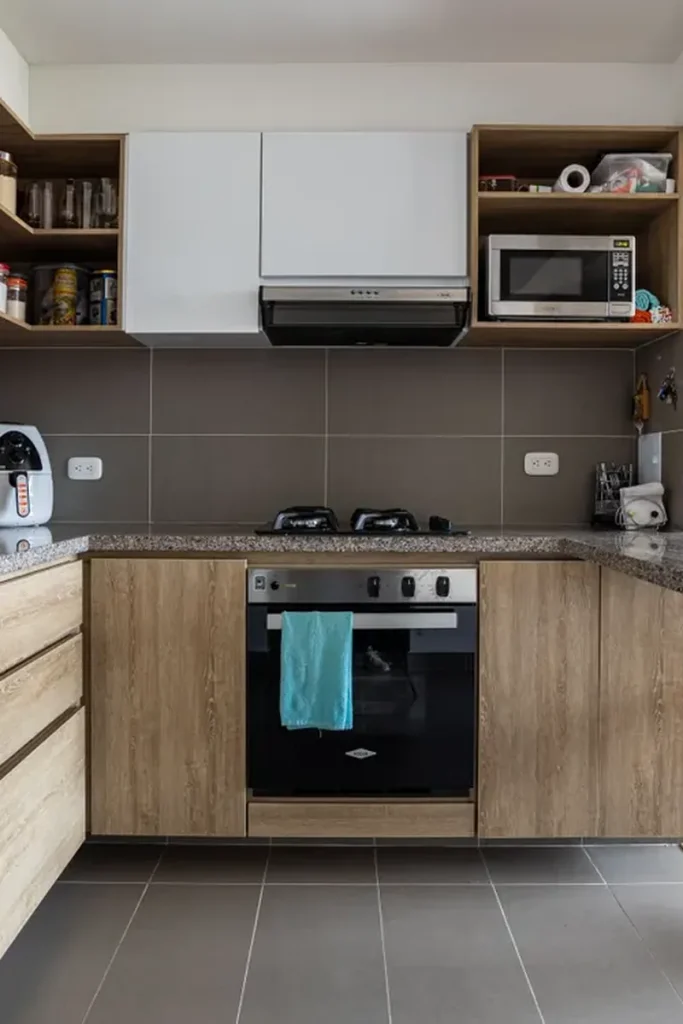
A toaster, blender, coffee maker, and air fryer can eat an entire galley counter before breakfast even starts. An appliance garage hides the lineup behind a lift-up or pocket door while keeping outlets nearby. Place it at one end so the main prep area stays open. Ventilation matters for heat-producing appliances, and some should still be pulled out before use.
Rough cost: $300–$1,500 for a built-in solution, depending on door hardware and electrical work. A renter can copy the look with one attractive tray and a lightweight cover or by moving lesser-used appliances to a cart. Clear counter space is the cheapest luxury in a small kitchen.
Stop Three: Add Character Without Adding Clutter
9. Try a Full-Height Backsplash
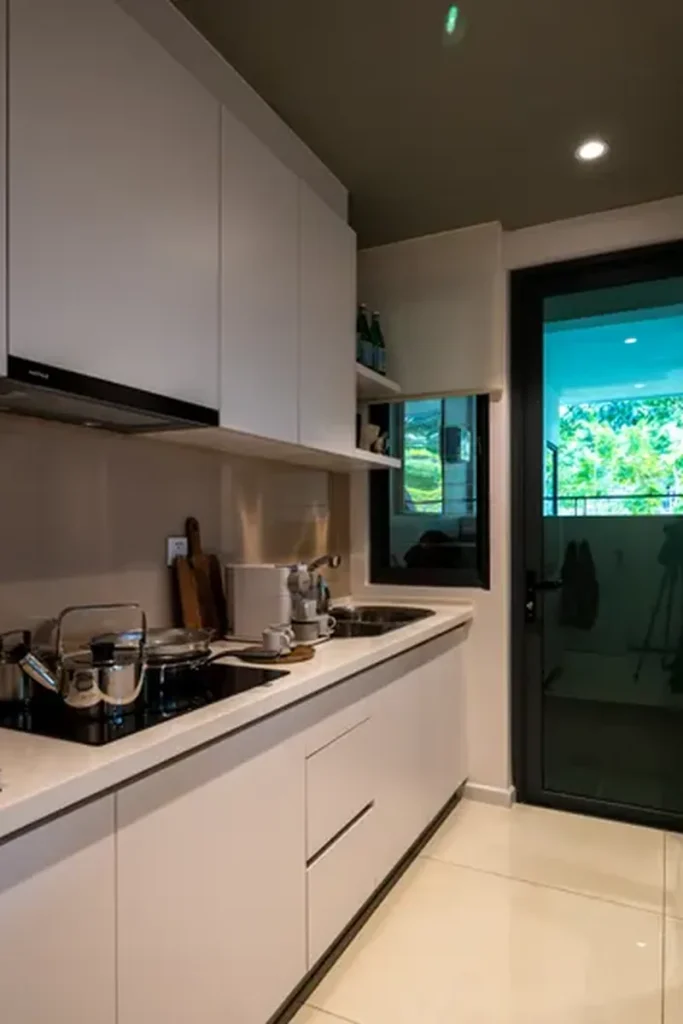
Running backsplash tile from counter to upper cabinet—or all the way to the ceiling on an open wall—creates one continuous surface. In a galley, fewer little breaks make the room feel less chopped up. Glossy tile reflects light, while handmade-look tile adds gentle texture. Use a grout color close to the tile for a quieter effect.
Rough cost: about $300–$1,500 for a small DIY-ready wall, or $800–$3,000 with professional installation and premium materials. Removable tile decals or peel-and-stick panels are the renter option. Sample them near steam and heat first, because “removable” should not mean “slides off during soup night.”
10. Bring In Warm Wood Against White
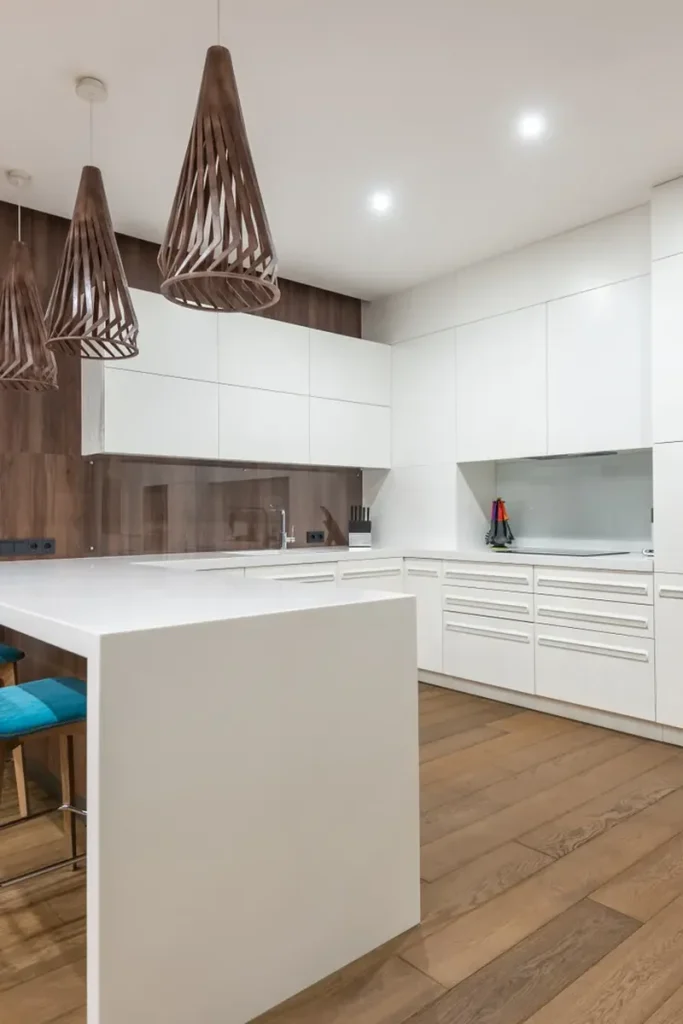
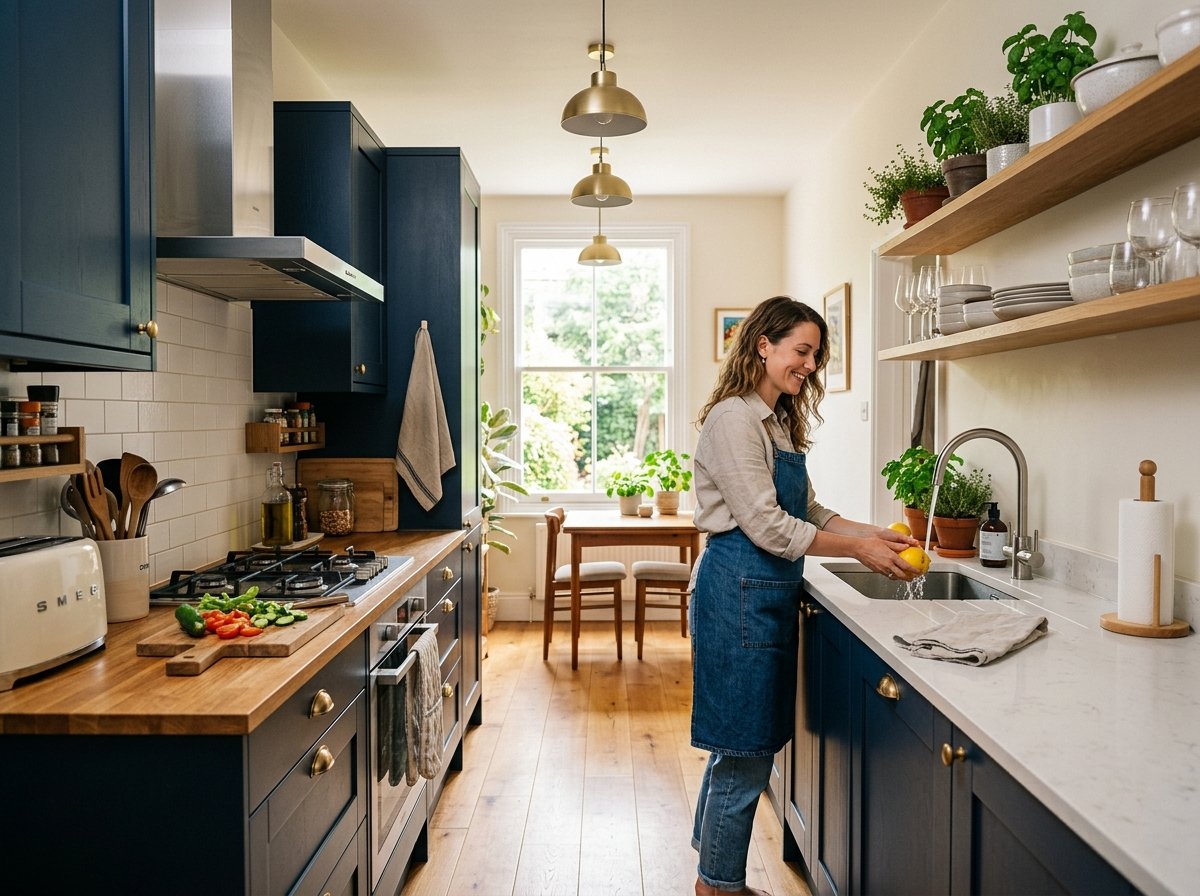
An all-white galley can feel bigger, but it can also feel a little chilly. Add warm wood through shelves, cutting boards, stools, or one run of lower cabinets. Medium oak and walnut tones look rich without making the space heavy. Repeat the wood twice so it feels planned—perhaps on a shelf and in a runner.
Rough cost: $50–$300 for accessories and a shelf, or $2,000 and up for new wood fronts. This approach is very renter-friendly when you stick to movable pieces. I leaned three cutting boards against my backsplash and suddenly the kitchen looked styled. For once, my laziness had excellent taste.
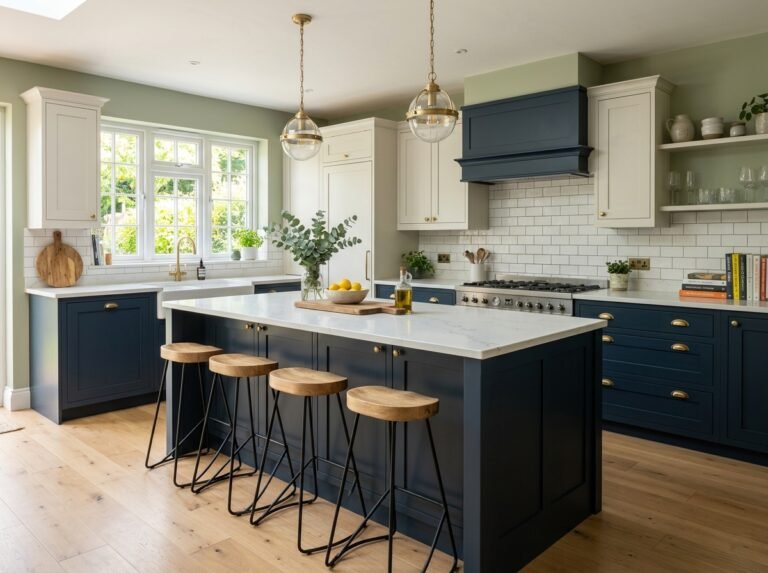
11. Go Moody on the Lower Cabinets
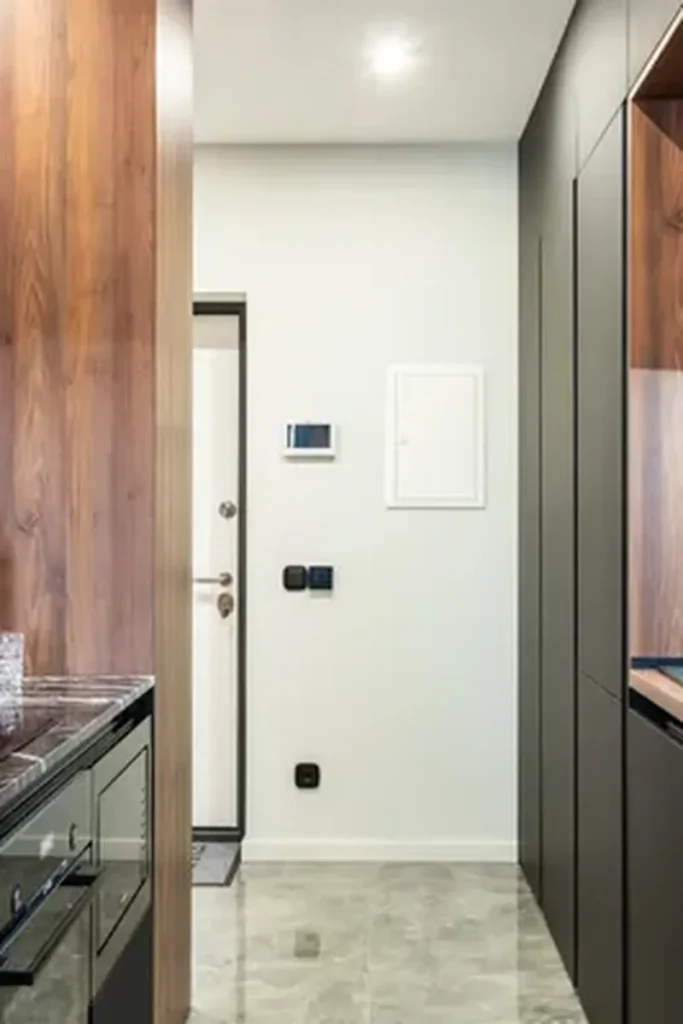
Dark green, navy, charcoal, or deep brown lower cabinets ground the room while lighter uppers keep it open. This two-tone trick also hides scuffs where shoes, pets, and vacuum cleaners meet the cabinetry. Keep counters fairly light and repeat the dark color in one small detail, such as a frame or towel.
Rough cost: $100–$400 for DIY paint and supplies, more for professional finishing. Renters can bring in the color through a dark rolling cart, runner, or washable cafe curtain instead. Always test a large paint sample at morning and evening; moody should mean dramatic, not “why is my kitchen suddenly a cave?”
12. Swap Hardware for One Clean Metal Finish
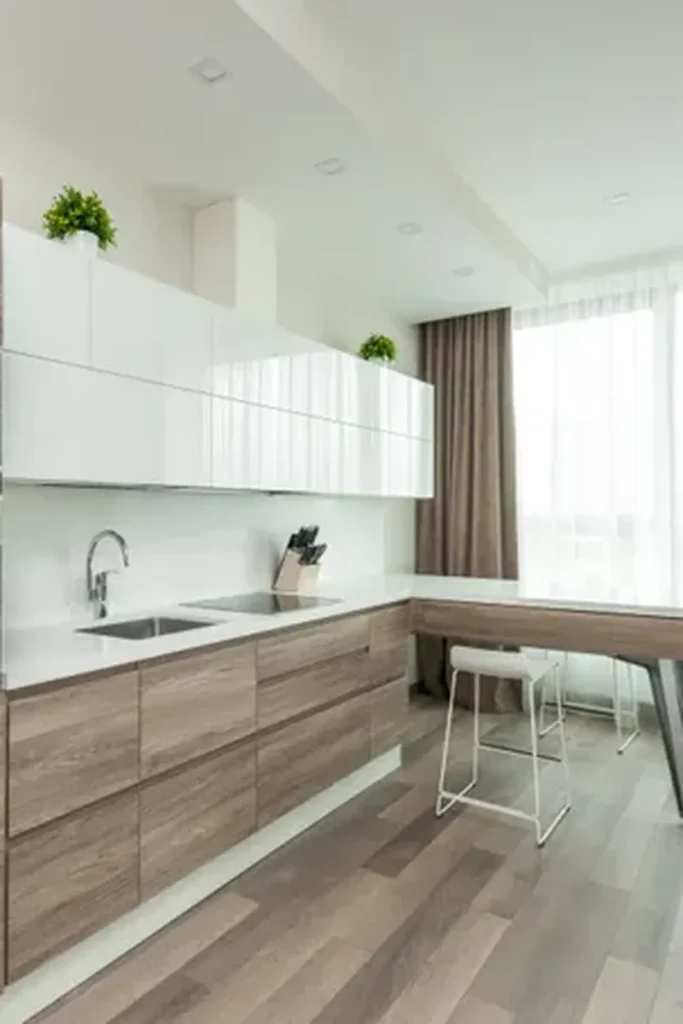
Matching pulls instantly organize a mixed kitchen. Slim brass warms white cabinets, matte black adds crisp contrast, and brushed nickel blends with stainless appliances. In a galley, use pulls with smooth ends that will not catch sleeves as people squeeze past. Measure the existing screw spacing before shopping so you can avoid drilling new holes.
Rough cost: $60–$400 for a small kitchen, depending on the number and style of pieces. This is renter-friendly if you label and save the original hardware in a bag. I learned that last part after moving day, when sixteen tiny screws became the most expensive scavenger hunt of my life.
Stop Four: Finish the Working Details
13. Layer Ceiling, Task, and Evening Light
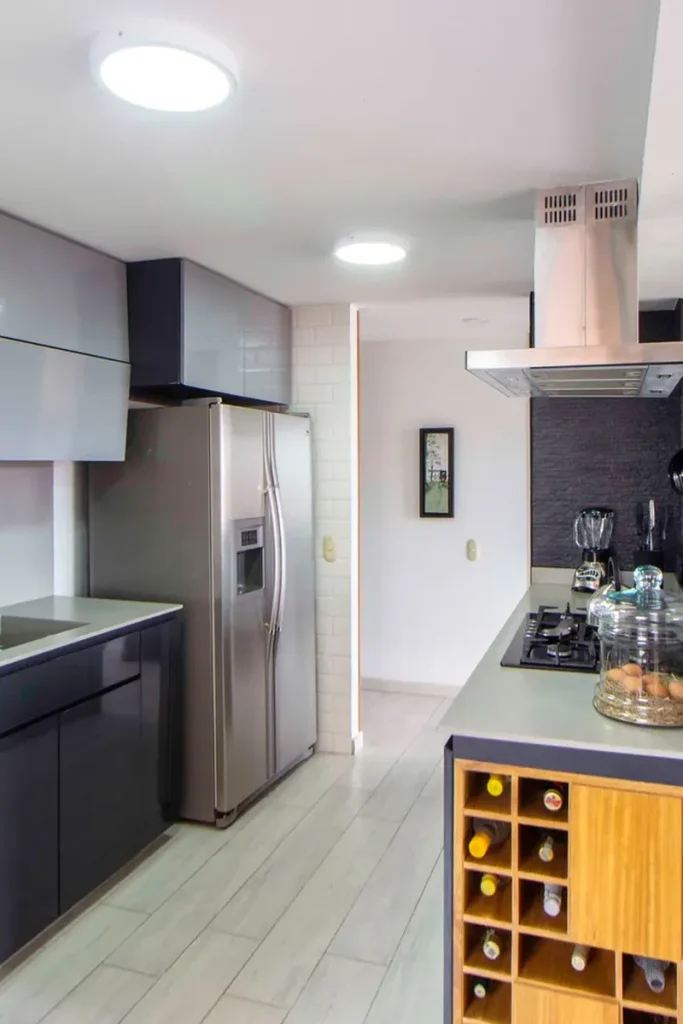
One ceiling fixture cannot do every job. Combine bright overhead light with under-cabinet task lighting and one softer evening source, such as a small lamp on a safe dry corner. Use the same warm-to-neutral color temperature across fixtures so food does not look blue on one counter and orange on the other.
Rough cost: plug-in LED bars or rechargeable lights can cost $30–$150; hardwired lighting with an electrician may run several hundred to a few thousand dollars. Plug-in options are renter-friendly. Hide cords with removable channels, and never place a lamp beside the sink unless it is designed and located for that use.
14. Create a Tiny Breakfast Landing Zone
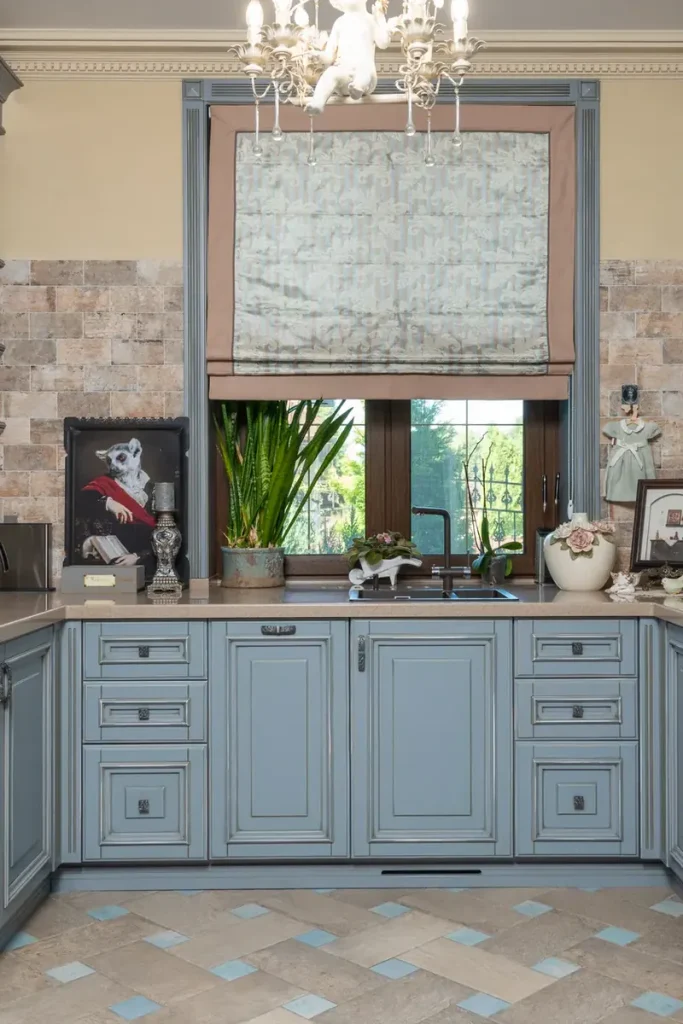
If the galley opens into another room, a shallow counter ledge or narrow console can become a coffee and breakfast station. Moving mugs, cereal, and the coffee maker out of the main prep lane keeps morning traffic from blocking the cook. Two backless stools can tuck underneath when space allows.
Rough cost: $150–$700 for a slim freestanding setup, or $1,000 and up for a built-in ledge. Renters should choose a console no deeper than about 12 to 15 inches and secure tall furniture safely. It is amazing how peaceful breakfast feels when nobody has to ask, “Can I just reach past you for one spoon?”
15. Use Reflective Surfaces in Small Doses
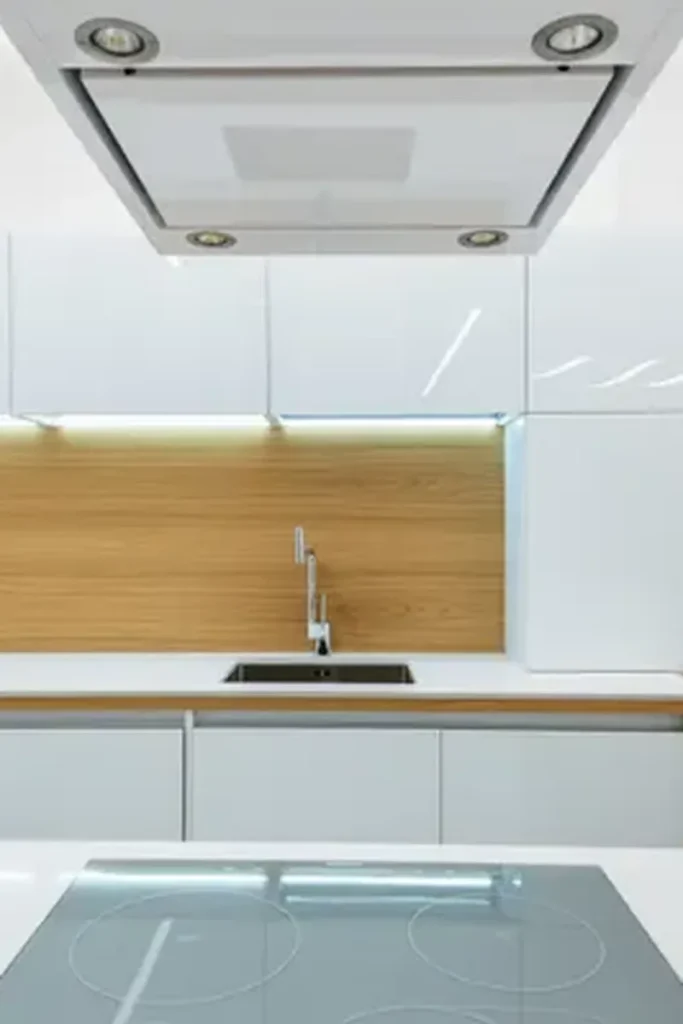
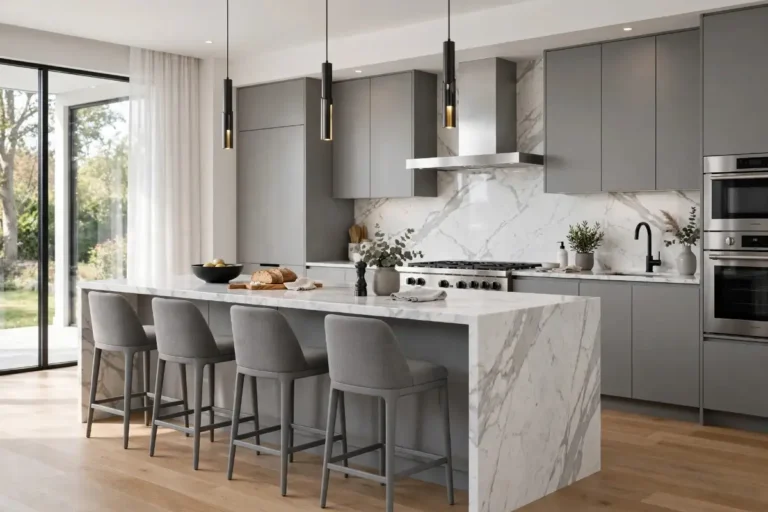
A glossy backsplash, satin cabinet finish, stainless panel, or pale quartz counter can bounce light down the narrow room. The key is balance. If every surface shines, the kitchen may feel like a jewelry store. Pair one reflective element with matte paint, wood, or fabric for warmth.
Rough cost: $40–$200 for a renter-friendly peel-and-stick metal-look panel, while new counters or tile can cost thousands. Keep reflective surfaces clean with nonabrasive products, because scratches and streaks show quickly. This idea works best near a window or under-cabinet light, where it can borrow brightness instead of demanding attention.
16. Protect the Walkway Like It Is Prime Real Estate
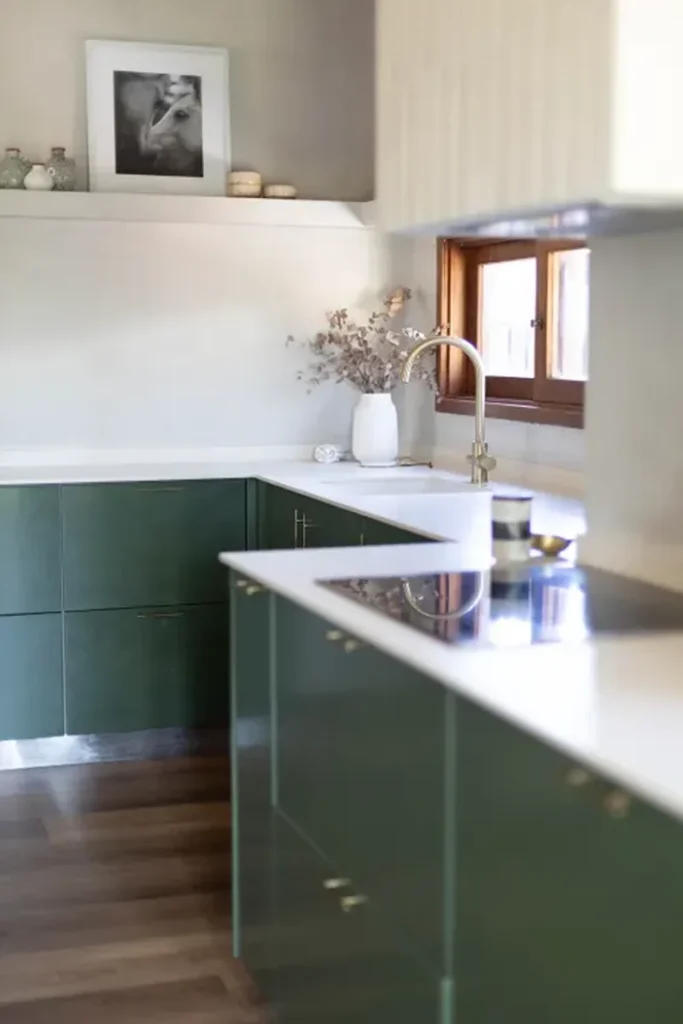
The final idea is not glamorous, but it changes daily life the most: keep the center lane clear. Choose counter-depth appliances when replacing old ones, use trash pull-outs, avoid deep knobs, and make sure opposite doors can open without a collision. If you are planning a remodel, tape appliance depths and door swings on the floor before ordering.
Rough cost: free if you are simply editing clutter, a few hundred dollars for organizers, or several thousand for new appliances and cabinetry. Renters can use over-door storage only where it does not block doors or ventilation. In a galley, every inch is valuable. Treat the walkway like a VIP guest—no obstacles, no junk mail, and definitely no surprise step stool.
The “Keep the Layout” Rule That Saves Money
If your sink, range, and refrigerator already work well, keeping them in place is usually the friendliest choice for your budget. Moving plumbing, gas, ventilation, or major electrical lines can turn a pretty update into a serious renovation. Start with paint, light, hardware, storage, and one strong surface change. Live with those improvements before deciding the room needs surgery.
For a fast plan, choose one idea from each stop: one visual opener, one storage fix, one personality layer, and one working-detail upgrade. That gives you a balanced makeover instead of sixteen half-finished projects. My old kitchen did not become wider after its refresh. It simply stopped feeling like it was arguing with me. The counters stayed clearer, the walkway worked, and two people could finally make coffee without filing a traffic report.
Your Galley Can Be Small and Still Feel Special
A narrow kitchen does not need to copy a giant open-concept room. Its strength is efficiency. Lean into the long lines, protect the walkway, hide what creates clutter, and let one or two finishes carry the style. Whether you spend $80 on a runner and new pulls or plan a full cabinet upgrade, the best change is the one that makes ordinary mornings easier. Measure twice, sample colors in real light, and save the original hardware if you rent. Then enjoy the little room that quietly does a very big job.