18 Bathroom Vanity Ideas That’ll Make Your Builder-Grade Bathroom Look Like a Custom Remodel
My old bathroom vanity did not fail with dignity. A slow faucet leak soaked into the particleboard until one side puffed up like a kitchen sponge. The drawers stuck, the fake wood grain peeled off in curly strips, and opening the cabinet became a two-handed workout. Nothing else in the room looked quite so sad, which taught me a useful lesson: the vanity is the visual anchor of a bathroom. Change it, and the floor, mirror, and even the towels suddenly look more intentional. Whether you have $75 or $2,500, these ideas can help you trade builder-grade blah for a bathroom that feels personal, polished, and much easier to use.
Before You Shop: The 3 Measurements That Matter
First, measure the wall and subtract about four inches so the vanity has breathing room and does not scrape trim. Second, note exactly where the drain and water lines enter. Keeping plumbing in place saves a headache; moving pipes can add $500 or more once labor and wall repairs enter the chat. Third, test every door swing, including the bathroom door, shower door, and vanity drawers. Painter’s tape is my favorite low-tech planning tool: outline the vanity footprint on the floor, then open everything around it. Also measure baseboards and the doorway from edge to edge. A gorgeous cabinet is less charming when it cannot make the turn into the room.
Small Bathrooms, Big Ideas
A tight footprint does not require tiny style. These first five vanities make every inch work harder without making the room feel crowded.
1. The Floating Vanity (Wall-Mounted Magic)
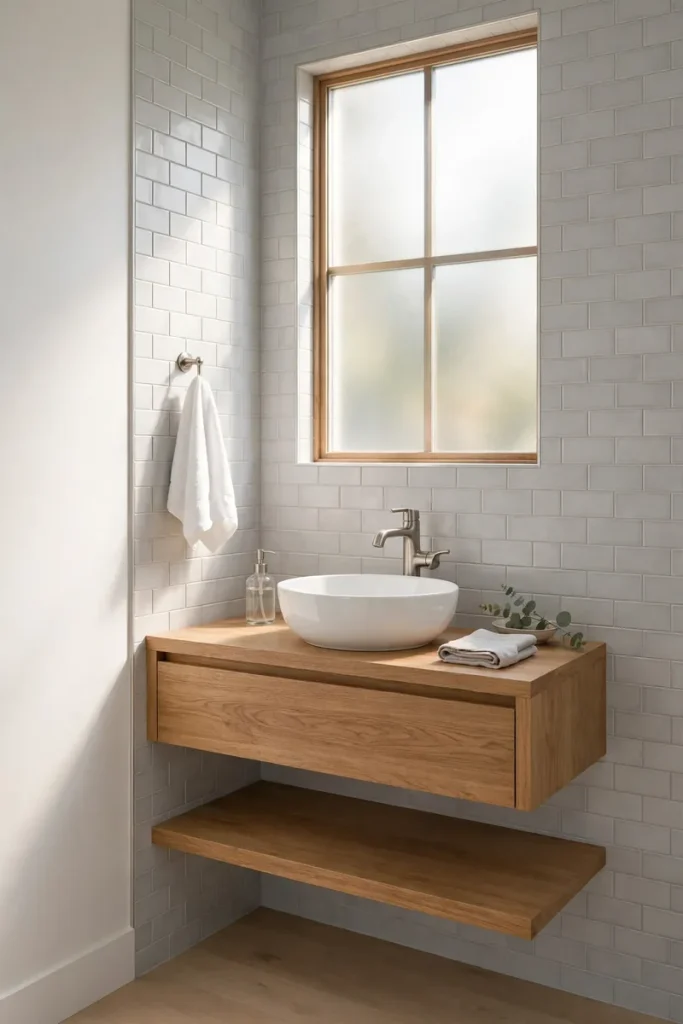
A floating vanity exposes more floor, which tricks the eye into seeing a larger bathroom. I installed one in a narrow guest bath and immediately stopped bumping my toes into chunky cabinet feet—a glamorous victory. Most ready-made versions cost about $350 to $1,200, while professional wall reinforcement and installation can add $200 to $600. Choose a 24- to 36-inch width for small rooms and leave roughly 9 to 12 inches visible underneath. That gap makes mopping easy, but it also puts plumbing on display, so use a neat chrome trap or conceal lines inside the cabinet. Renters should skip this one unless the landlord approves, because secure mounting usually means opening or heavily anchoring the wall.
2. The Corner Vanity (Dead-Corner Rescue)
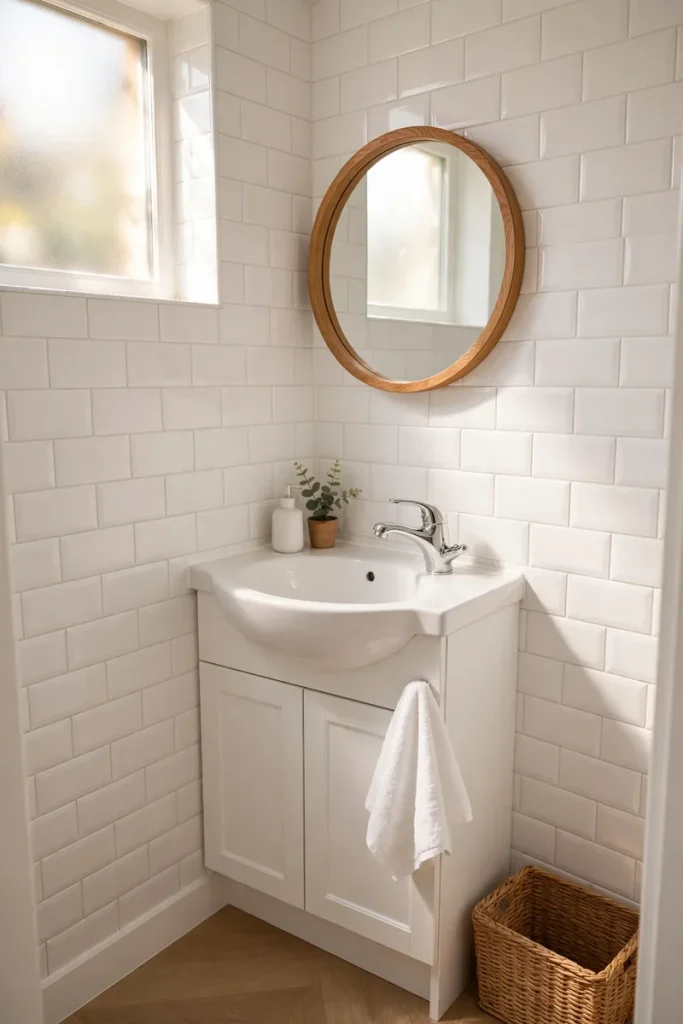
A corner vanity turns the bathroom’s most awkward triangle into a useful washing station. This is especially smart when a standard cabinet blocks the toilet path or door swing. My friend’s powder room gained enough knee room that guests no longer had to perform a sideways shuffle. Compact corner units generally run $200 to $700, with custom cabinetry costing more. Look for a front width around 18 to 24 inches and check that the sink bowl is deep enough to reduce splashing. Storage will be limited, so add a medicine cabinet above. Before buying, tape the angled footprint on the floor; some triangular models project farther into the room than their innocent product photos suggest.
3. The Slim 24-Inch Console (Powder-Room Hero)
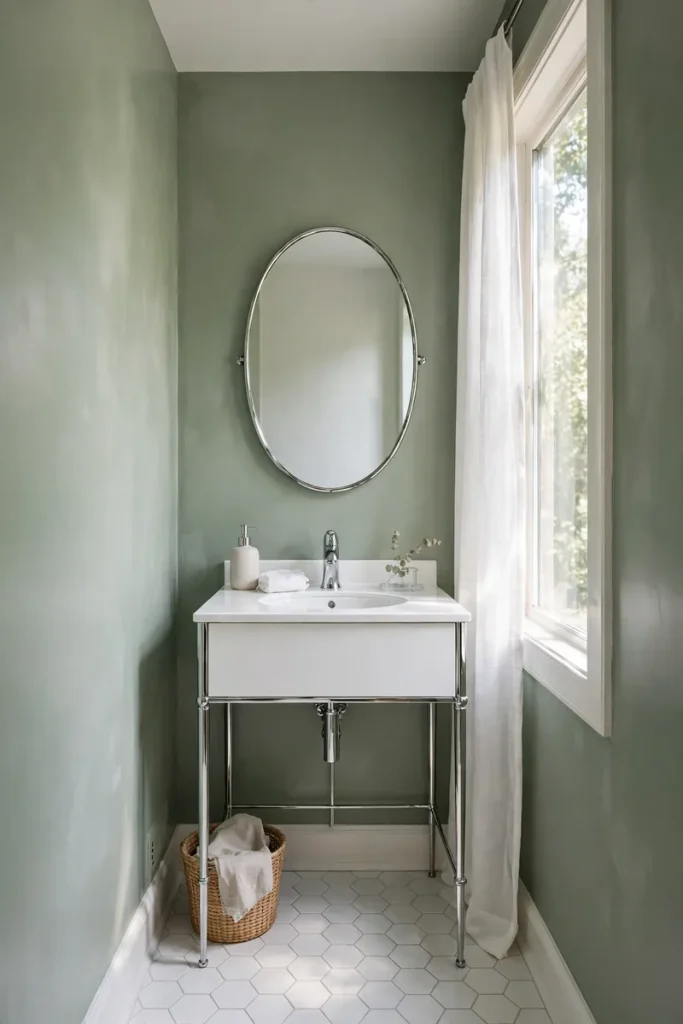
A 24-inch console vanity gives you a real sink and a little counter without swallowing the room. The open metal legs feel lighter than a full cabinet, which helped my tiny half bath look less like a storage closet with plumbing. Expect to spend around $250 to $900 depending on the top and finish. Measure the basin depth carefully; anything too shallow may send toothpaste water onto your shirt before coffee. A small basket underneath can hold extra rolls, while a wall-mounted soap dispenser keeps the narrow top clear. Polished chrome is easy to wipe, but unlacquered brass develops a changing patina. If you prefer a spotless look, choose sealed metal and dry splashes before hard-water spots settle.
4. The Vessel Sink Vanity (Bowl-on-Top Drama)
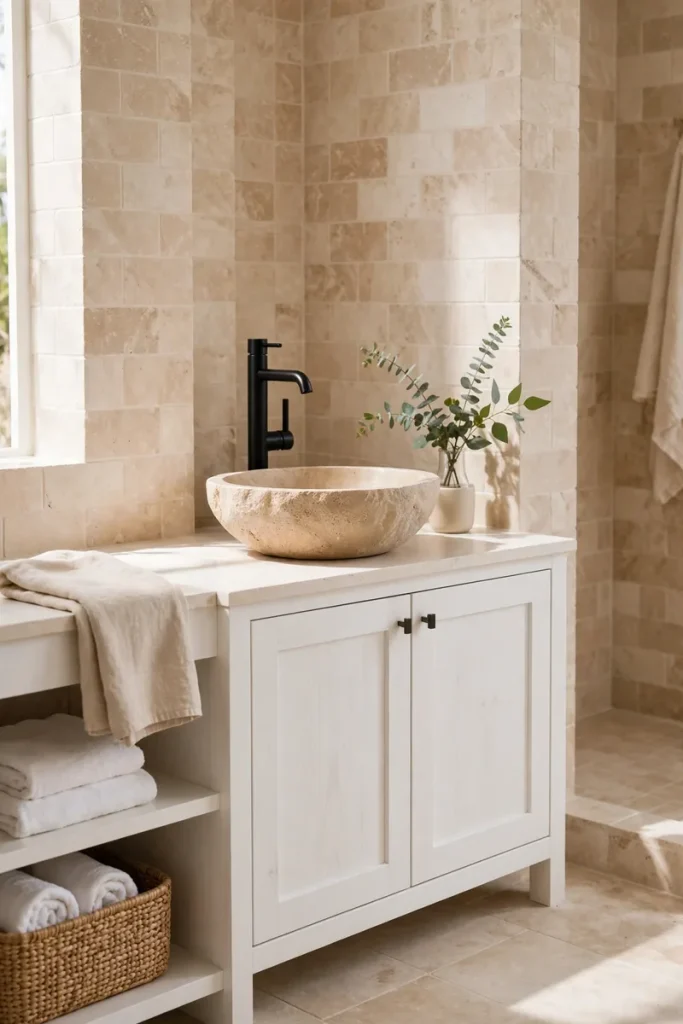
A vessel sink adds height, shape, and instant boutique-hotel drama to a plain vanity. I once paired a round white bowl with a secondhand wood cabinet, and suddenly everyone assumed the bathroom had a design budget. The secret is height: because the basin sits on top, aim for a counter around 29 to 32 inches high rather than the usual 34 to 36. Basic vessel sinks start near $80; faucet-and-sink sets often land between $180 and $500. Choose a tall faucet with enough reach so water hits near the drain, not the front rim. Clean around the sink base weekly, since dust and drips love that seam. Renters can try the look with landlord approval and save every original part.
5. The Open-Shelf Vanity (Towels as Decor)
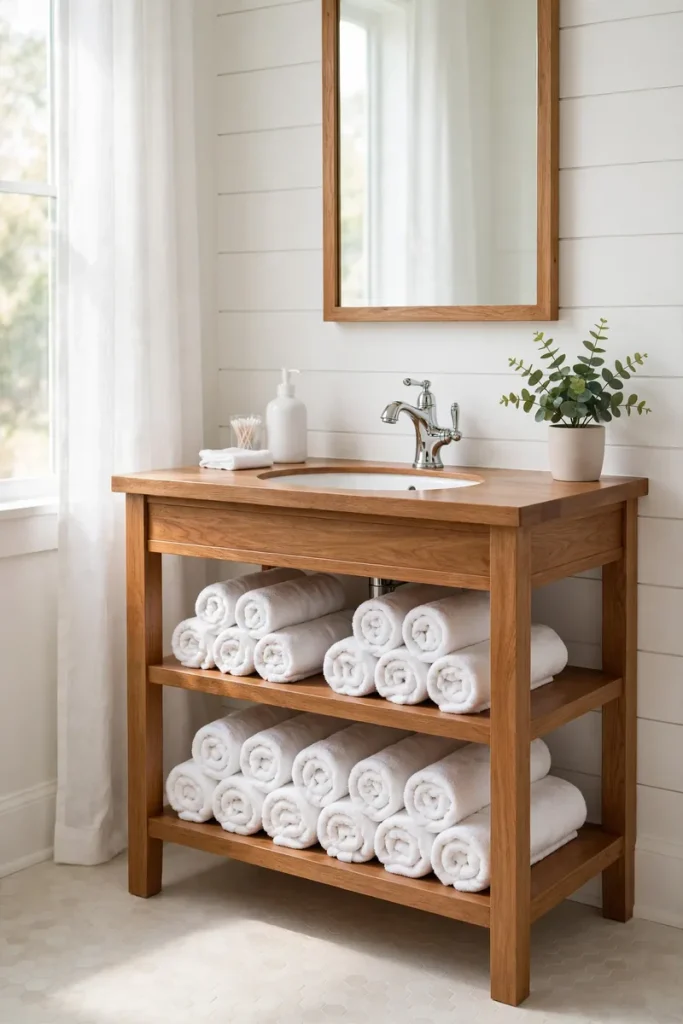
An open-shelf vanity makes a small bathroom feel airy while turning rolled towels into decor. Mine looked magazine-ready for three days, until someone stuffed a neon cleaning bottle underneath. Matching baskets solved that little reality check. Stock models cost roughly $300 to $1,000, while a simple DIY wood frame can be less if you already own tools. Use sealed hardwood, exterior-grade paint, or a moisture-resistant finish; raw wood and wet towels are not a healthy romance. Leave at least 10 inches between shelves for baskets, and keep plumbing centered and tidy because it will be visible. This style works best for organized households, but two large lidded bins can hide enough everyday clutter to preserve the illusion.
Style Statements Worth the Splurge
If the vanity is your bathroom’s main character, these options are ready for the close-up. They cost more, but the finish and presence can carry the whole room.
6. Mid-Century Walnut Vanity (Tapered-Leg Charm)
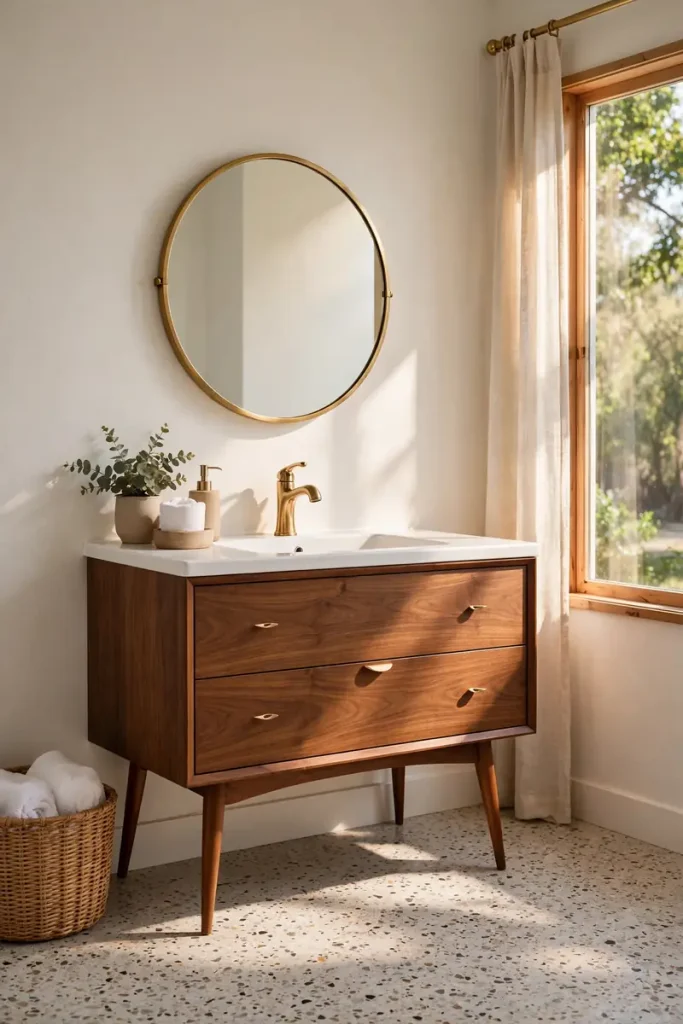
A walnut vanity with tapered legs warms up cold tile and gives a basic bath an instant mid-century mood. I added one beneath a plain round mirror, and the room finally looked planned instead of slowly accumulated. Veneer models usually cost $700 to $1,500; solid walnut can climb above $2,000. Check that the legs include levelers, since bathroom floors often slope toward a drain. Walnut hides small marks well, but standing water can cloud the finish, so wipe the counter and cabinet edges after messy handwashing. A 36-inch single-sink model gives one person comfortable elbow room without overwhelming a modest bath. Pair it with simple brass or matte-black pulls and let the wood grain do the talking.
7. The Fluted Wood Vanity (Texture Everyone’s Pinning)
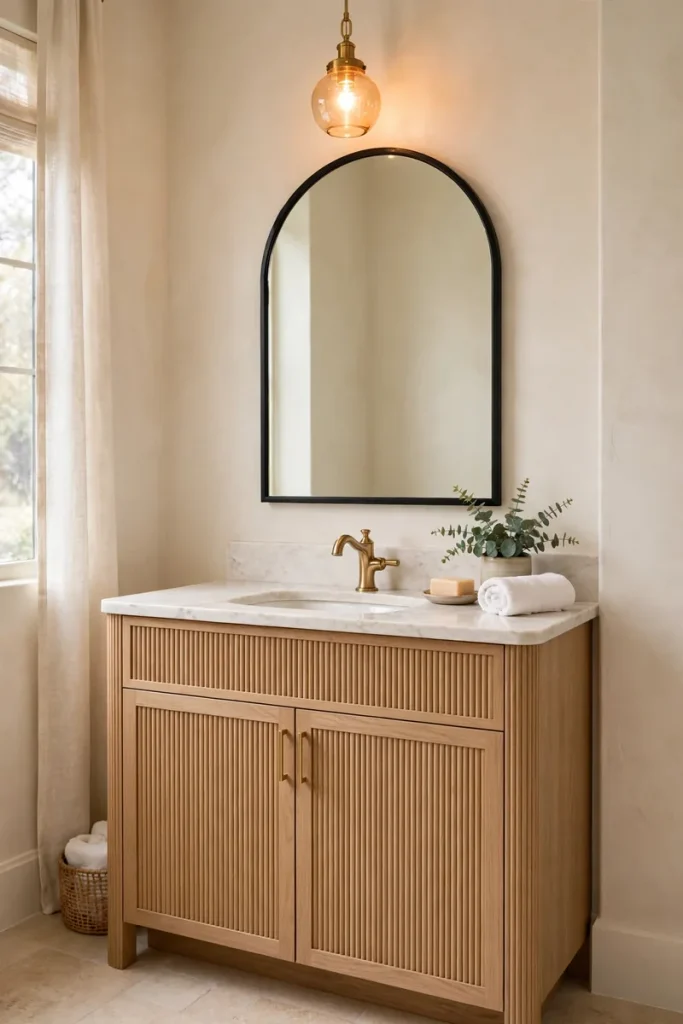
Vertical fluting adds shadow and texture, making even a boxy cabinet feel custom. It is the kind of detail that made me stop mid-scroll and whisper, “Okay, bathroom, show-off.” Ready-made fluted vanities typically cost $800 to $1,800, while a DIY door update using half-round molding may stay under $200 before paint. The grooves collect dust, so use a soft brush attachment or microfiber cloth rather than waiting for spring-cleaning courage. Choose sealed wood in a humid room and keep fluting off the toe-kick, where mop water gathers. For a small bathroom, medium oak or warm beige feels lighter than dark espresso. Slim integrated pulls preserve the clean lines and are less likely to snag a robe.
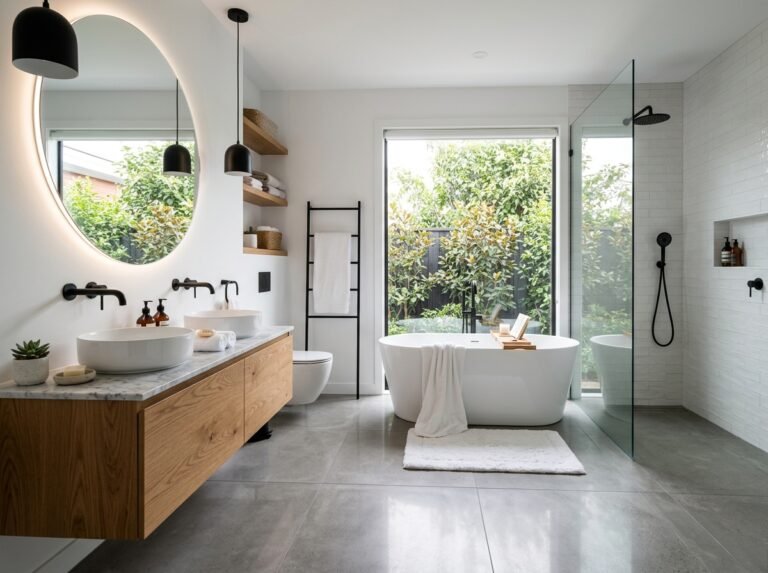
8. The Double Marble-Top Vanity (His-and-Hers Peace Treaty)

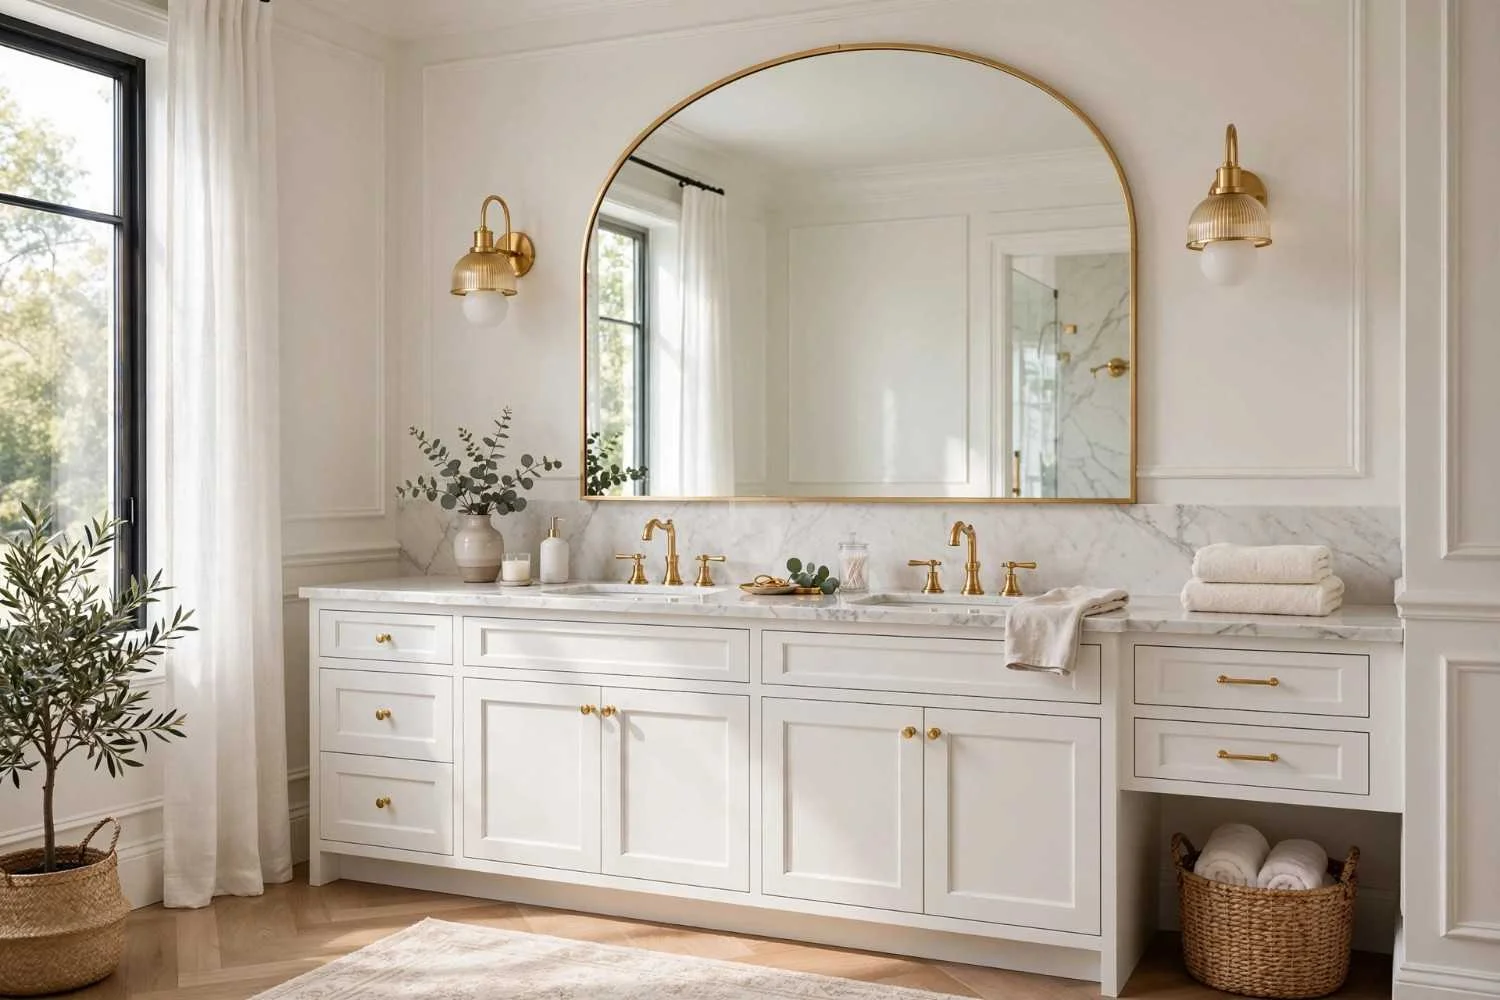
A double vanity ends the morning battle over toothpaste territory, and a marble top makes the peace treaty look luxurious. Our shared counter once had an invisible border down the middle; two sinks turned that border into actual breathing room. A 60- to 72-inch double vanity generally runs $1,200 to $3,500, plus faucets and installation. Allow at least 30 inches of width per sink and confirm that drawers clear both drain traps. Real marble needs regular sealing and quick cleanup because makeup, hair dye, and acidic cleaners can stain or etch it. For a similar look with less fuss, choose marble-patterned quartz. Keep the plumbing layout close to existing lines to avoid an expensive wall-opening surprise.
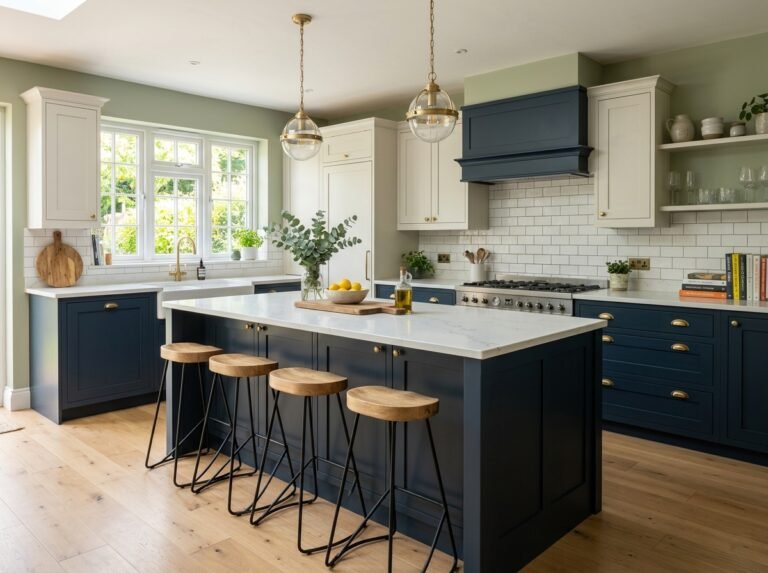
9. Navy Vanity + Brass Hardware (The Color Pop That Never Fails)
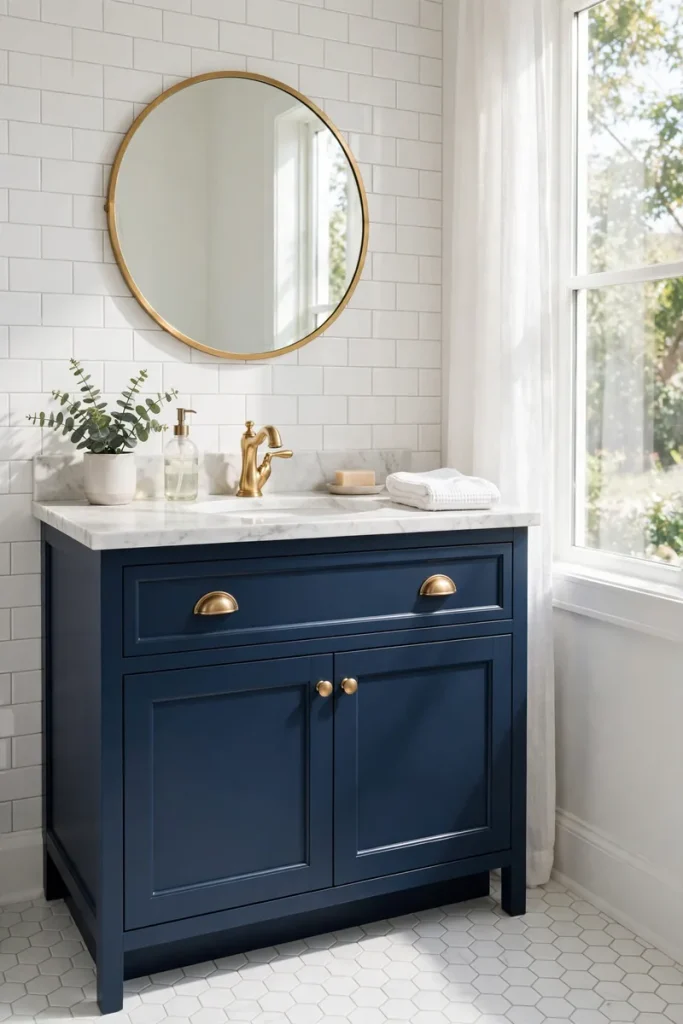
Navy feels bold without behaving like a short-lived trend, especially beside warm brass hardware. I painted a tired vanity deep blue for about $70, and my mother asked when I had replaced the cabinet. That compliment still pays emotional dividends. New navy vanities usually cost $450 to $1,400, but painting is the budget route: clean, sand, prime, and use durable cabinet enamel. Satin or semi-gloss finishes handle splashes better than flat paint. Test the color beside your tile because navy can lean green, gray, or almost black under bathroom lighting. Solid brass pulls cost more, while brass-finish hardware can deliver the look for $25 to $80. Wipe both with mild soap to protect the finish.
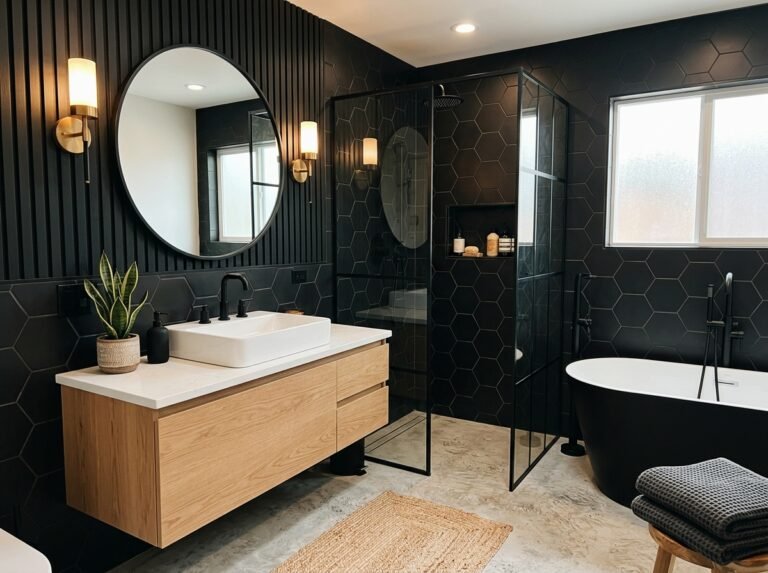
10. The Matte Black Vanity (Moody and Magnificent)
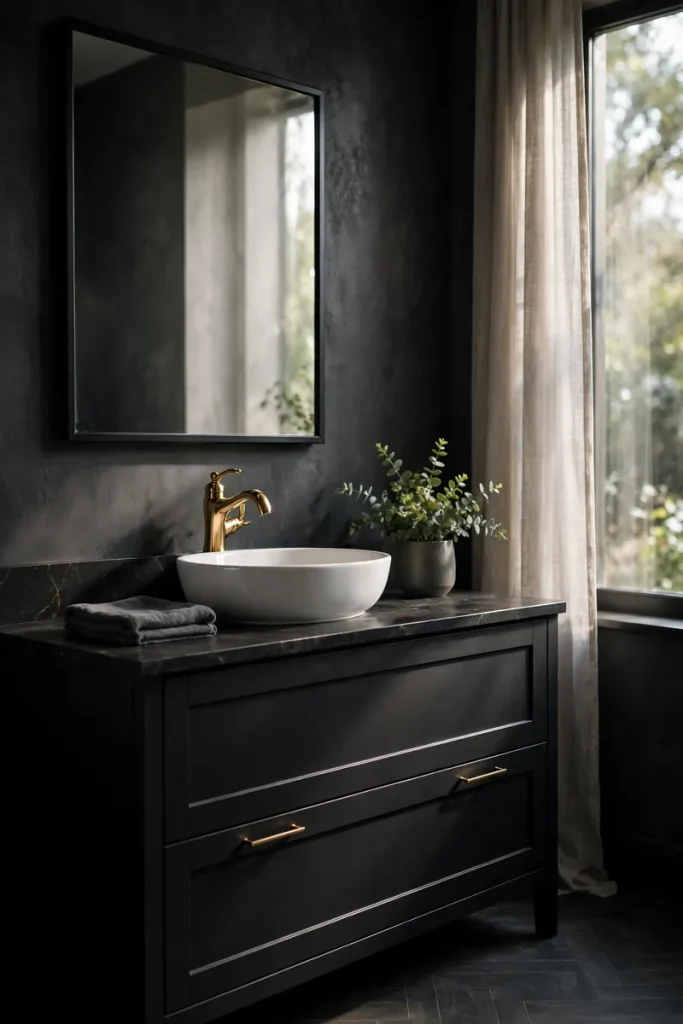
A matte black vanity gives pale tile a strong anchor and can make bargain finishes look surprisingly polished. I worried mine would turn the room into a tiny cave, but a large mirror and warm white walls kept it dramatic rather than gloomy. Prices range from about $500 for a compact model to $1,800 for a wide double vanity. Black shows dust, toothpaste, and hard-water drops, so keep a microfiber cloth nearby and avoid chalky spray cleaners. A wood or white quartz top softens the look, while black-on-black feels sleek and modern. In a windowless bath, add layered lighting instead of relying on one ceiling bulb. Choose finger pulls or knobs; push-to-open doors quickly collect visible smudges.
11. Natural Oak Japandi Vanity (Calm in Cabinet Form)
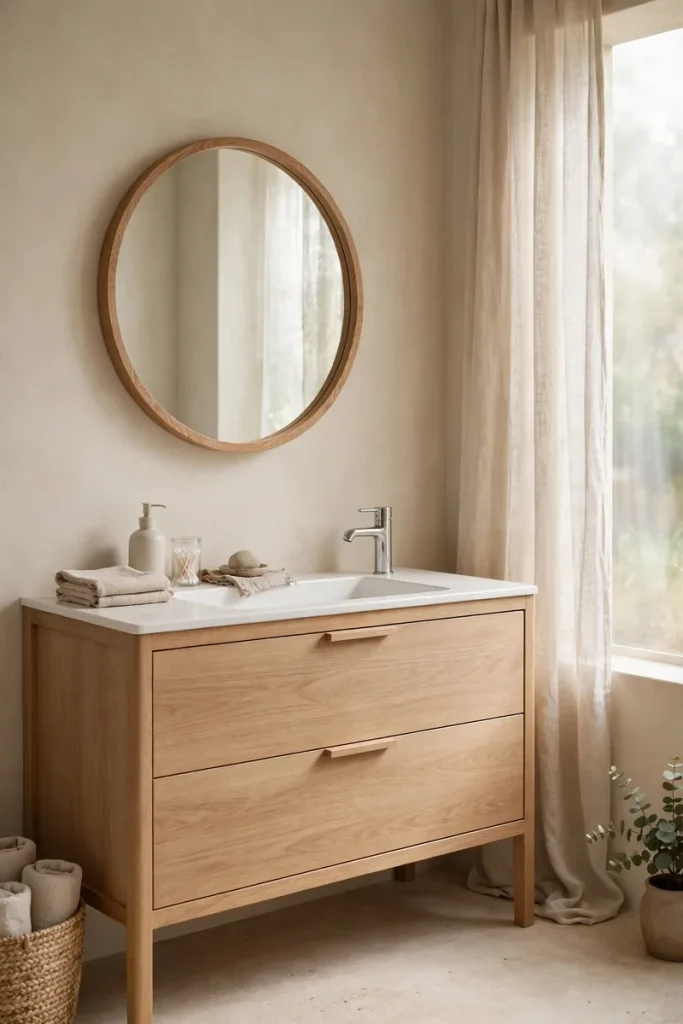
Natural oak, flat-front doors, and minimal hardware create that calm Japandi look without making the room feel cold. After installing a light wood vanity, I started folding towels more neatly, as if the cabinet had quietly raised the household standards. Expect a well-made 36- to 48-inch model to cost around $900 to $2,200. Look for real wood veneer over stable plywood rather than thin film over particleboard, especially near a tub or shower. A pale quartz top is easy to clean and keeps the grain center stage. Use drawer organizers so the peaceful exterior does not hide total chaos. For longevity, run the exhaust fan during showers and wipe water from the cabinet edges before it finds a seam.
Budget & Renter Wins
A custom look does not require custom-cabinet money. These ideas lean on smart paint, removable finishes, and pieces with personality.
12. The Repurposed Dresser Vanity (Thrift-Store Treasure)

A vintage dresser can become a one-of-a-kind vanity for less than many flat-pack cabinets. I found one with charming brass feet and one suspicious drawer smell; baking soda handled the smell, and a sink handled the makeover. Budget about $100 to $400 for the dresser, then $150 to $500 for a sink, faucet, waterproof top, and plumbing modifications. Choose a sturdy piece about 32 to 36 inches high, and expect the plumber to shorten drawers around the drain. Seal every wood surface, including cut edges and the back, with a moisture-resistant finish. Old furniture may contain lead paint, so test before sanding. This is not a quick renter project, but homeowners with patience get real character and useful storage.
13. The Peel-and-Stick Vanity Makeover (Renter’s Best Friend)
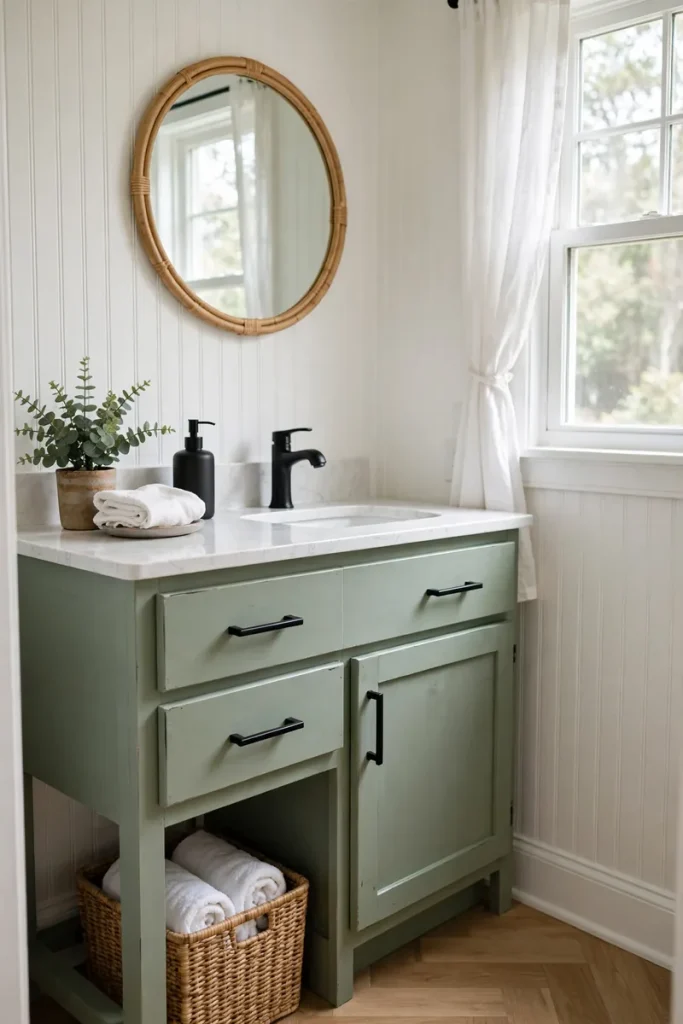
Removable vinyl can disguise a dated cabinet or faux-stone top without a demolition day. I wrapped a beige vanity in warm wood-look film, and only one corner tested my vocabulary. A roll costs about $20 to $60, so even a small mistake is cheaper than replacement. Clean the surface with a grease-cutting cleaner, let it dry fully, and use a felt squeegee to push out bubbles. Choose thicker, water-resistant vinyl and overlap seams away from the sink edge. Heat from a hair dryer helps the material bend around corners, but too much can stretch it. Renters should test a hidden spot first and confirm removal rules with the landlord. Keep a dry cloth nearby because standing water can lift weak edges.
14. The Classic White Shaker Vanity (Cheap, Cheerful, Timeless)

A white Shaker vanity is the little black dress of bathrooms—except it shows toothpaste and comes with drawers. Its simple frame works with farmhouse, coastal, traditional, or modern decor, so you can change mirrors and hardware without replacing the cabinet. Stock 30- to 36-inch models often cost $300 to $900, especially during home-improvement sales. Look for plywood drawer boxes, soft-close hinges, and a separate backsplash to reduce water damage. White paint makes chips visible, but a matching touch-up pen handles most bumps. If the bathroom feels bland, add patterned floor tile or colorful towels rather than committing to a trendy cabinet color. Measure plumbing carefully; a center drawer stack can collide with an off-center drain.
15. The Farmhouse Apron-Front Vanity (Chip-and-Joanna Energy)

An apron-front sink brings farmhouse charm right to the vanity and gives a small bathroom a strong focal point. I love the look, though I learned that “farmhouse” does not mean permission to decorate with seventeen tiny signs. Complete vanities generally cost $700 to $1,800, depending on cabinet width and sink material. Because the sink front is exposed, verify that the cabinet is built to support its weight; a standard vanity may need reinforcement. Fireclay resists stains but can chip from a dropped perfume bottle, while cast iron is extremely heavy. A 36-inch model usually balances storage and presence. Pair it with one simple mirror and washable paint so the texture feels cozy, not crowded.
Finishing Touches That Fake a Full Remodel
Sometimes the vanity is only half the magic. The right mirror, lighting, and storage can make one upgrade feel like an entirely new bathroom.
16. Arched Mirror + Round Vessel Sink (The Pinterest Pairing)
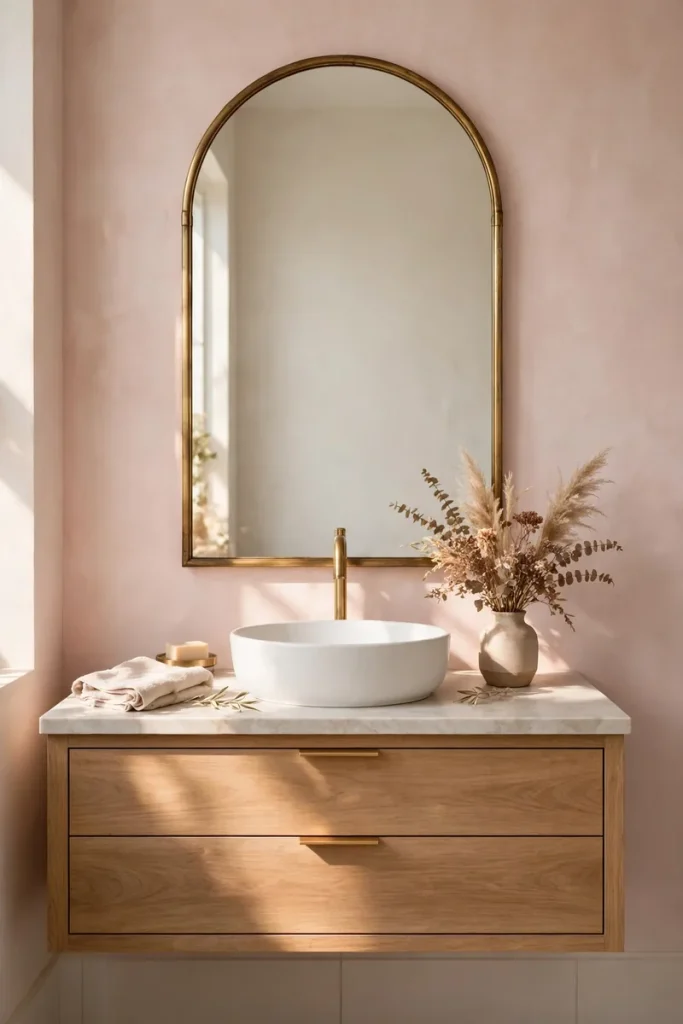
An arched mirror and round vessel sink repeat soft curves, which makes a square bathroom feel friendlier. I tried this pairing above a plain cabinet, and it looked like I had hired a designer who understood geometry. An arched mirror can cost $90 to $400, while a vessel sink starts around $80; shop the mirror first if wall width is tight. Keep it a few inches narrower than the vanity, and center it over the faucet or sink rather than the entire wall. Leave enough space between the faucet and mirror for handwashing without constant splashes. Frameless mirrors are easy to wipe, while metal frames add warmth. Use a mounting system rated for the mirror’s weight, especially over tile.
17. The Backlit LED Mirror Setup (Glow-Up Lighting)

A backlit LED mirror creates an even glow that makes morning routines easier and the bathroom look far more expensive. Mine revealed that my old overhead bulb had been applying makeup with the honesty of a candle. Basic plug-in models start near $150; larger hardwired, dimmable versions can cost $400 to $900 before electrical work. Choose a mirror with adjustable color temperature so warm evening light and clear daytime light can coexist. A front-lit edge is better for tasks than backlighting alone, so check the design carefully. Hardwired installation belongs to a qualified electrician, and bathroom outlets must be properly protected. Wipe the glass with cleaner sprayed onto a cloth, not directly at the LED edges.
18. Vanity + Linen Tower Combo (The Storage Wall)
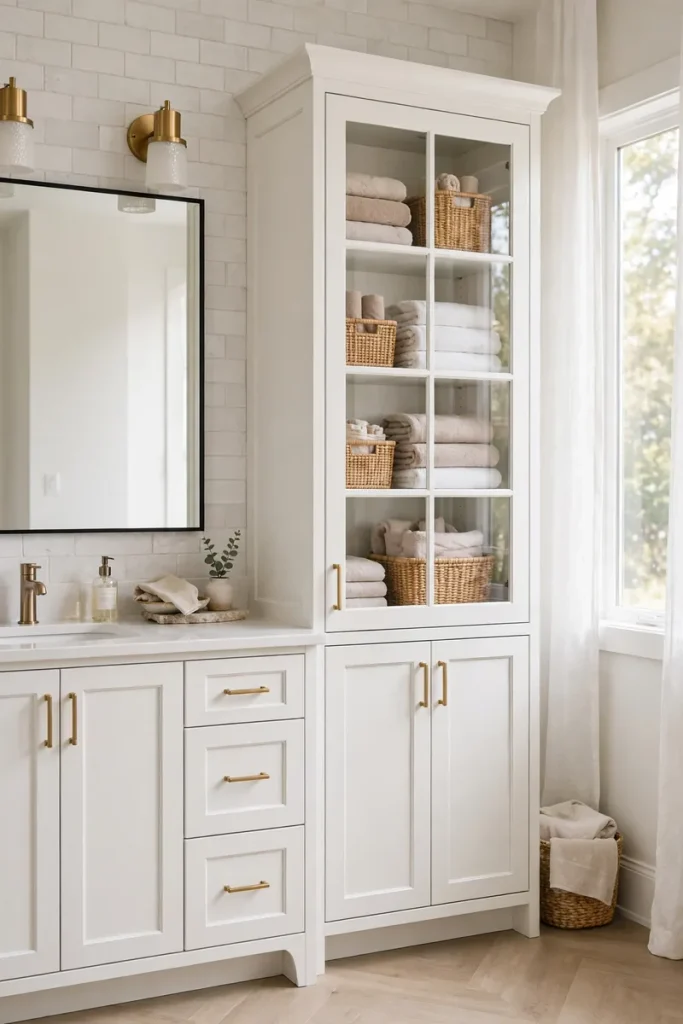
A matching linen tower turns the vanity wall into a hardworking storage zone, perfect for bathrooms with no closet. I moved towels, toilet paper, and my embarrassing supply of backup shampoo into one tower, and the room finally stopped feeling like a warehouse. A coordinated set usually runs $1,000 to $3,000, depending on size and material. Leave a small filler strip beside the wall so doors open past trim, and anchor tall cabinets securely to studs. In a narrow room, choose a tower 12 to 18 inches wide with shallow shelves. Store everyday items between shoulder and knee height, then reserve the top for extras. Matching finishes look built-in; contrasting oak and white can feel lighter and more collected.
5 Vanity Mistakes I Made So You Don’t Have To
I skipped the shut-off valve check. Old valves can freeze, leak, or refuse to close when the installer needs them most. Test both valves a few days before demo, and budget for replacement if they look crusty or drip.
I ignored drawer depth versus plumbing. Deep drawers are wonderful until they hit the drain trap. Compare the cabinet’s plumbing cutout with your pipe location, not just the vanity width.
I bought before measuring the doorway. The vanity fit the wall and absolutely did not fit around the hallway turn. Measure doors, trim, stairs, and every tight corner along the delivery route.
I chose porous stone with hard water. The surface was pretty but demanded constant attention. If your water leaves spots, choose quartz or sealed stone and keep a squeegee or cloth nearby.
I forgot a nearby GFCI outlet. Hair tools, electric toothbrushes, and LED mirrors all need power. Have a qualified electrician confirm safe, code-appropriate outlet placement before the vanity blocks access.
Your Vanity Glow-Up Starts This Weekend
You do not need to gut the bathroom to make it feel special. Start by measuring, choose one vanity idea that solves your biggest daily annoyance, and build the look from there. Maybe that means a $40 roll of removable vinyl, a calm oak cabinet, or a double vanity that ends the morning elbow war. Protect the finish from water, respect the plumbing, and leave enough room for doors and drawers to move. By next weekend, even a builder-grade bathroom can feel more like your home—and much less like the room your leaky particleboard cabinet designed by accident.