18 Kitchen Shelving Ideas So Good, You May Finally Ditch That Cluttered Cabinet
My kitchen shelving obsession began with a cabinet door that attacked me. I opened it for one bowl, a plastic lid fell out, and three travel mugs followed like they had planned an escape. That afternoon, I cleared one wall and added two open shelves. The room did not become bigger, but it felt brighter, easier, and much more like me.
Kitchen shelves can do more than store dishes. They can warm up a plain wall, create a pantry where none exists, and give a small kitchen breathing room. The secret is choosing the right shelf for the right job. Pretty is welcome, but secure brackets, useful spacing, and easy cleaning matter just as much.
Below are 18 ideas arranged like a real decorating plan: first stretch the room, then improve storage, and finally add personality. Rough costs are broad U.S. estimates for materials or common projects; local labor, wall conditions, wood choice, and custom work can change them. Always confirm fasteners, weight limits, and clearances before installation.
18 Smart Ways to Put Your Walls to Work
1. Let One Long Shelf Stretch the Room
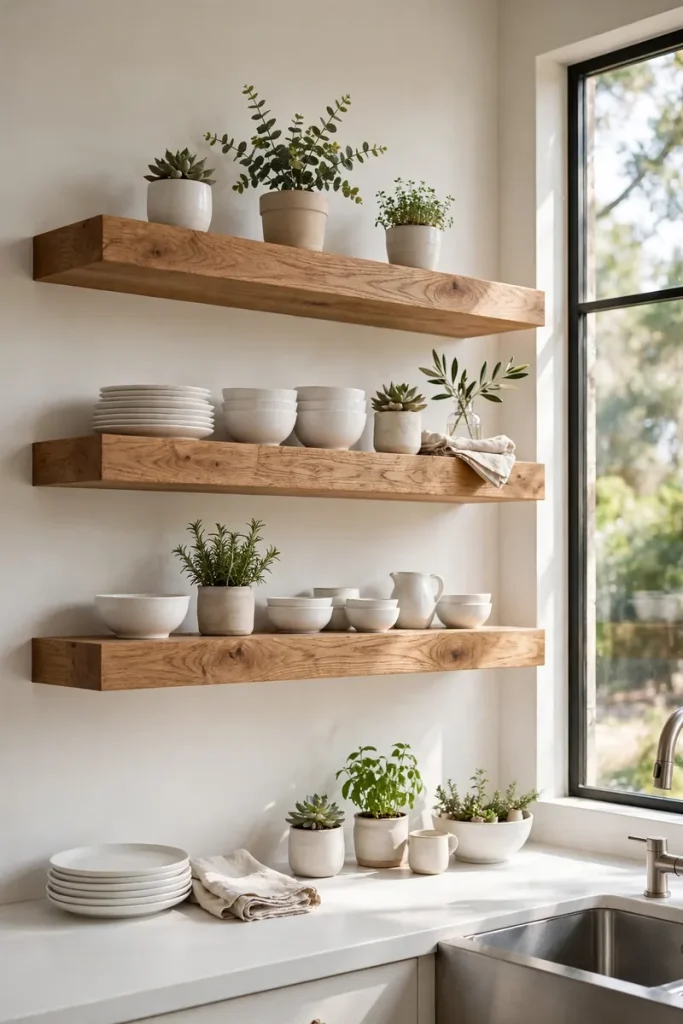
A single wood shelf can make a short wall feel wider because your eye follows one clean line. Run it above the counter and stop a few inches before the doorway. Keep daily bowls and glasses near the center, then use one plant at the end to soften the look. A basic eight-foot pine board with sturdy brackets may cost about $60 to $180 before installation; oak or walnut will cost more. Check the wall studs and the bracket weight rating before loading it. I tried this in my first tiny kitchen and suddenly the counter stopped looking like a garage sale. The shelf did not create more dishes, thank goodness—it simply gave every useful piece a home.
2. Frame a Sunny Window With Shelves
If your kitchen has a window over the sink, slim shelves on both sides can turn that bright spot into a feature. Match the shelf depth to the wall space so you do not bump your shoulder while washing pans. Place herbs, pretty cups, or clear jars there; natural light makes simple objects look special. This layout works best when the shelves do not block the glass or window trim. Two short ready-made shelves often cost $40 to $140, while custom fitted pieces can reach $300 or more. For a renter-friendly version, place narrow freestanding towers on each side instead of drilling into tile.
3. Wake Up a Forgotten Corner
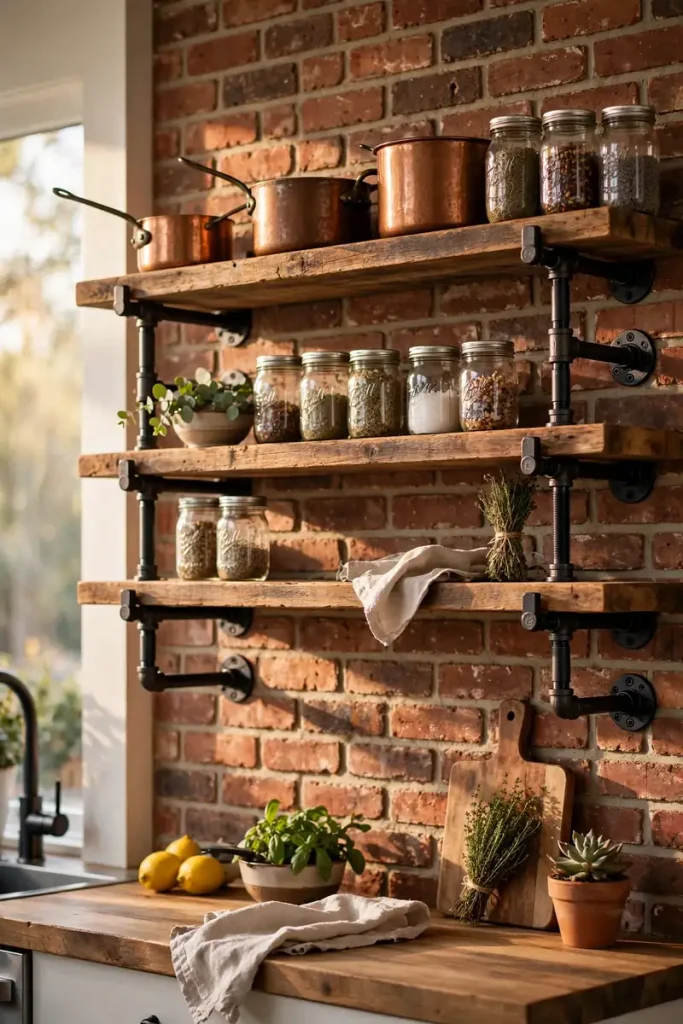
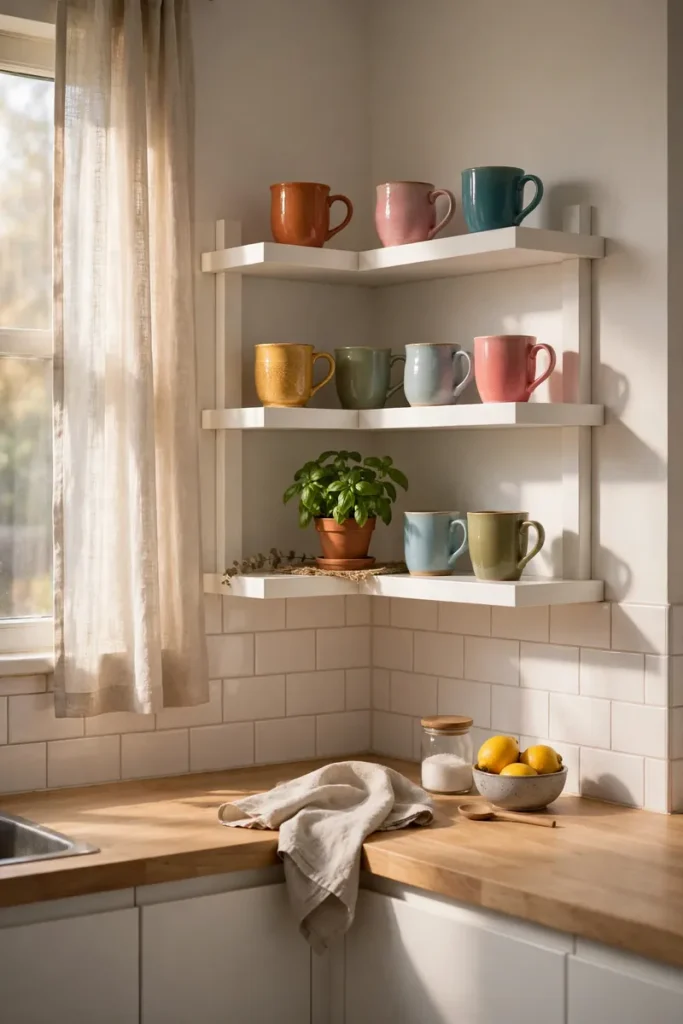
An empty kitchen corner is often too tight for a cabinet but perfect for two or three corner shelves. Choose triangular shelves for a fitted look, or let straight floating shelves meet at the corner. Store light pieces such as mugs, small bowls, and plants instead of heavy appliances. Rough cost: $35 to $160 for a DIY set, depending on wood and hardware. Before buying, make a cardboard template and hold it in place. It sounds a little silly, but cardboard has saved me from more decorating mistakes than any expensive app. Leave enough headroom above the counter so the corner still feels open.
4. Add a Slim Shelf Above the Sink
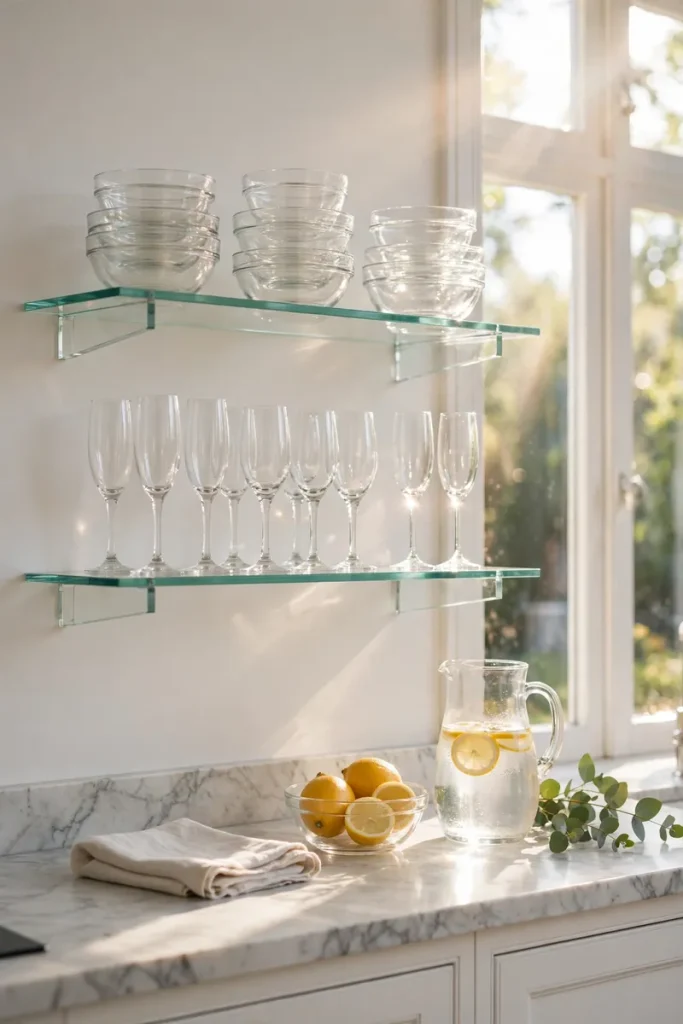
A narrow ledge above the sink is useful when a full cabinet would feel heavy. It can hold hand soap, a small vase, or the mug you use every morning. Keep the depth around four to six inches so it does not hover over your head like a tiny wooden threat. In a small kitchen, this is a smart way to use blank backsplash space without losing light. Expect roughly $25 to $100 for a simple ledge. Renters can use a strong suction shelf on smooth tile, but follow the maker’s weight limit and avoid placing glass above the basin.
5. Mix Open Shelves With a Brass Rail
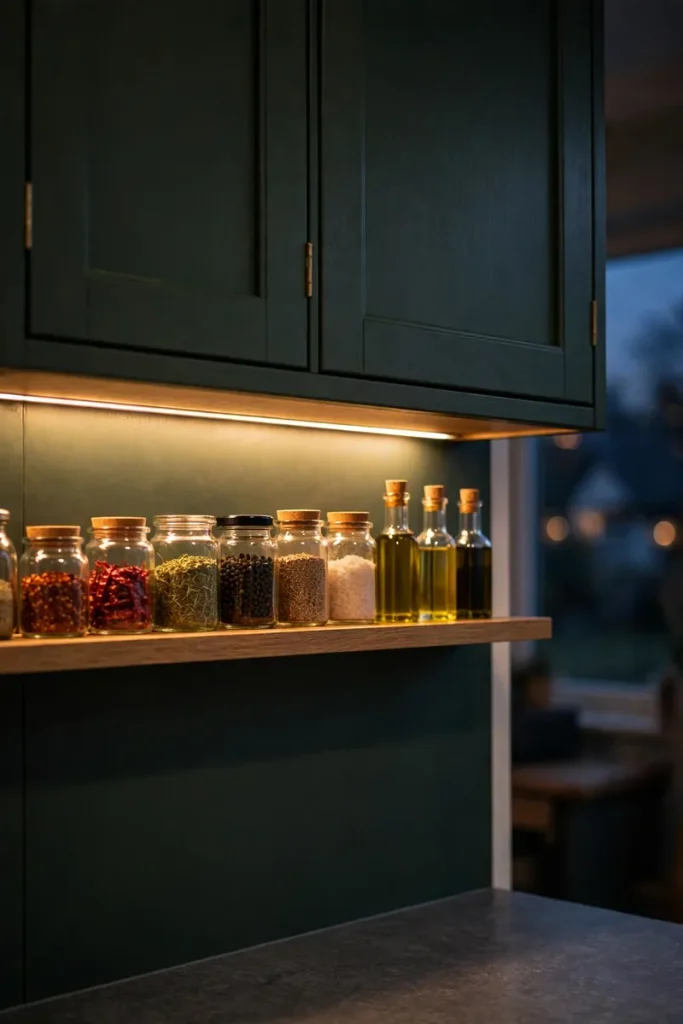
A slim brass rail along the front of a shelf adds a polished detail and helps keep small items from sliding. It looks beautiful with white dishes, warm wood, and marble-look counters, but it can also dress up an affordable painted board. A shelf-and-rail setup may run $90 to $350 per section, depending on the metal and whether it is custom. Use unlacquered brass if you enjoy a changing patina; choose sealed metal if you want the color to stay bright. I love this idea near a coffee station, where even my mismatched cups somehow begin acting fancy.
6. Bring in Reclaimed-Wood Warmth
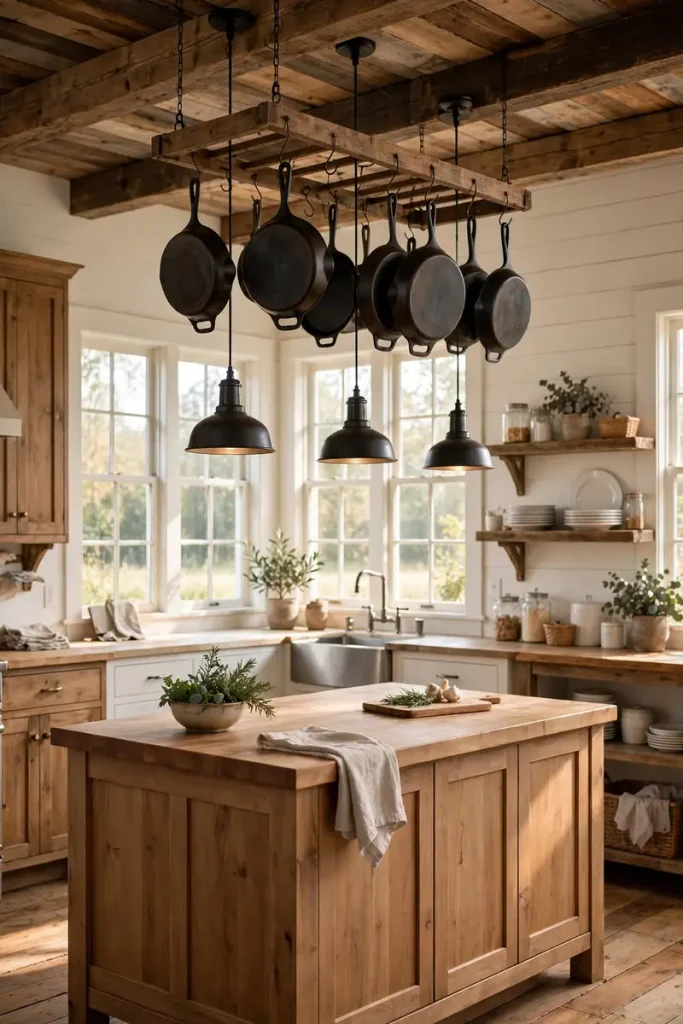
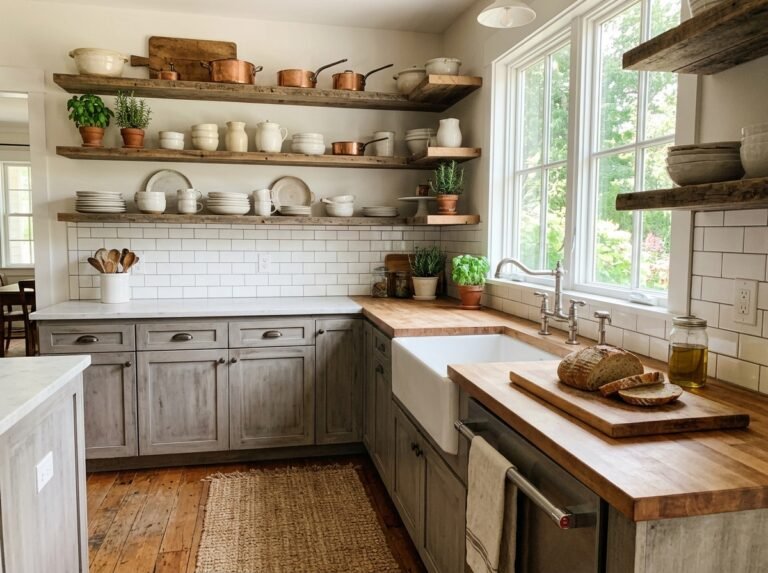
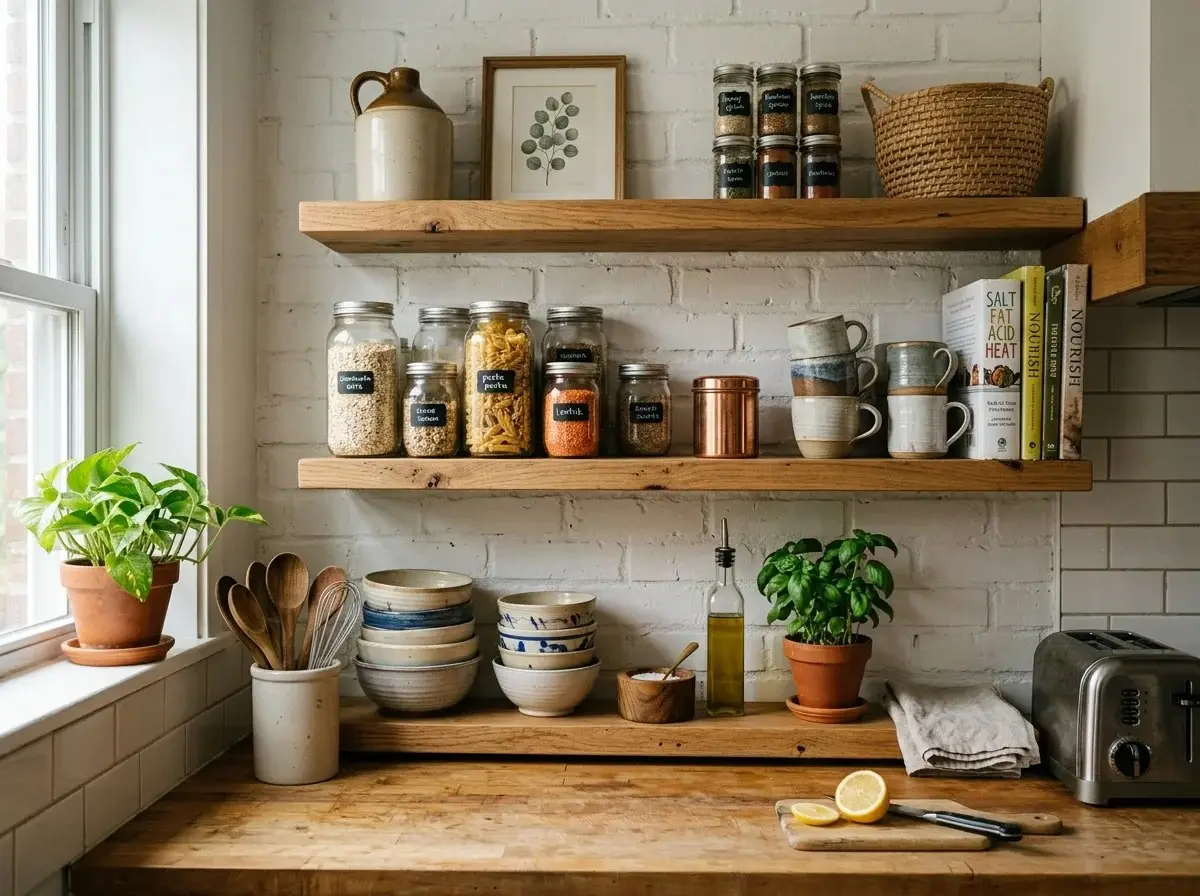
Reclaimed wood shelves add texture to a kitchen that feels too new or flat. Look for boards that are kiln-dried, cleaned, and safe for indoor use. Old paint can contain lead, so mystery boards from a barn are not the place to play detective. Pair rough wood with simple black brackets and smooth ceramic dishes for balance. Depending on the source, materials may cost $80 to $300 for two shelves. To save money, stain new pine in a warm medium tone. You get a similar relaxed feeling with fewer splinters and much less family drama during installation.
7. Turn a Wall Into an Open Pantry
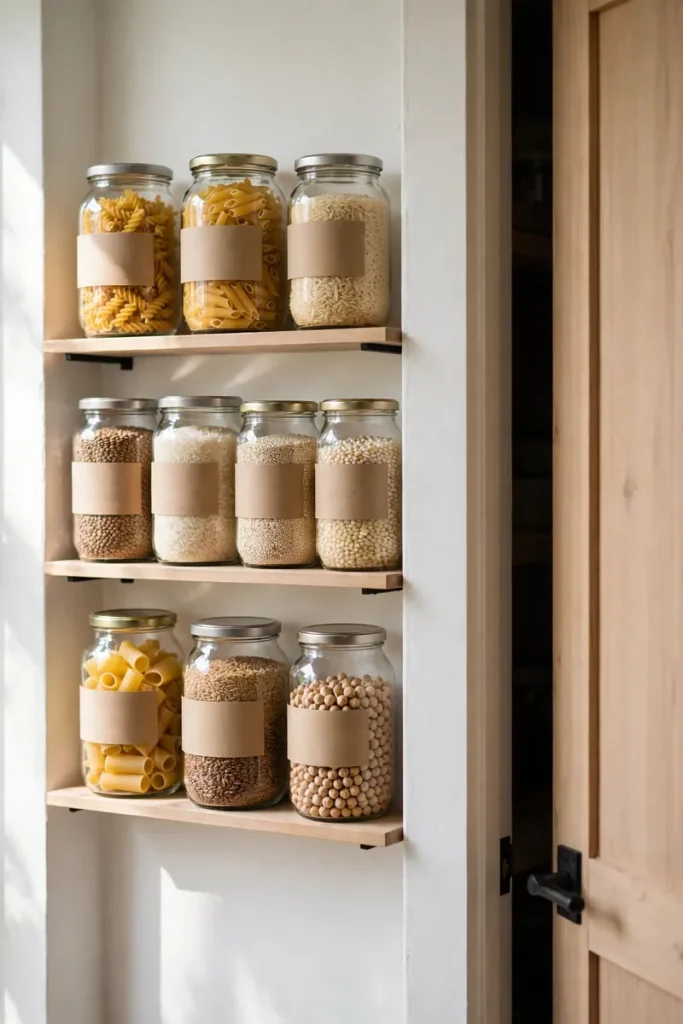
A full wall of shallow shelves can become a hard-working pantry, especially when your kitchen has no closet. Keep shelf depth around 10 to 14 inches so cans do not disappear three rows deep. Put heavy appliances on the lowest shelf, everyday food at eye level, and rarely used baskets up top. A freestanding unit may cost $150 to $600; built-in shelving can cost $700 to $2,500 or more. Labeling is optional, but grouping food by use is not. Breakfast together, baking together, snacks somewhere children—or hungry adults—can actually reach.
8. Carve Out a Built-In Niche
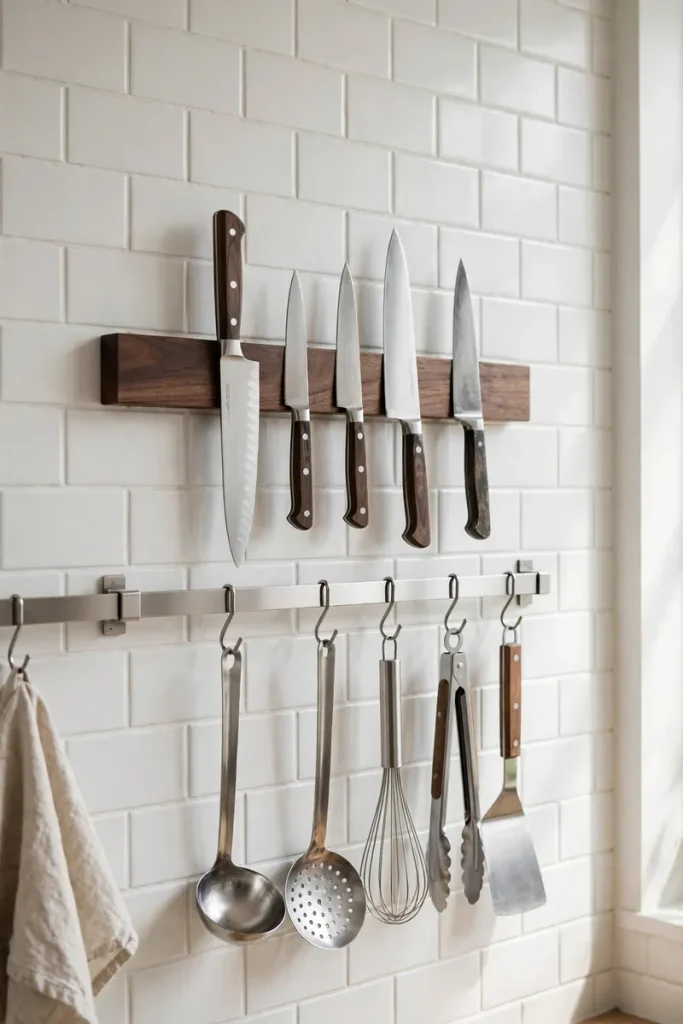
A recessed niche gives you storage without projecting far into the room. It is especially pretty beside a range or at the end of a cabinet run. Line it with tile, wood, or the same paint as the wall, then add shelves sized for oils and bowls. Because cutting into a wall may reveal plumbing, wiring, or structural framing, this is usually a professional job. A small niche may cost around $500 to $1,500, while detailed tile and carpentry can push it higher. The finished effect is quiet and custom, like the kitchen was always waiting for that exact little pocket.
9. Sneak a Spice Shelf Under Cabinets
The strip below upper cabinets can hold a shallow shelf for spices, tea tins, or tiny prep bowls. Keep it narrow enough that it does not steal your counter workspace, and mount it away from steam and grease when possible. Uniform jars are pretty, but the real goal is seeing what you own before purchasing your fourth jar of cinnamon. A DIY rail or shelf can cost $20 to $80. Adhesive versions can work for renters on a suitable smooth surface; test one first in a hidden spot and never exceed the stated load. Keep labels readable and dates easy to check.
10. Choose a Cottage Peg-Rail Shelf
A shelf with pegs underneath does two jobs in one slim shape. The top can hold art and jars, while the pegs carry aprons, baskets, measuring cups, or lightweight pans. Paint it the same color as the wall for a built-in cottage look, or use natural oak for contrast. Ready-made peg rails usually cost $45 to $180. In a narrow kitchen, place it outside the main cooking path so hanging items do not brush your arm. Mine once held three aprons, although only one had ever met actual flour. Decorating can be honest later.
11. Make a Glass-Shelf Coffee Bar
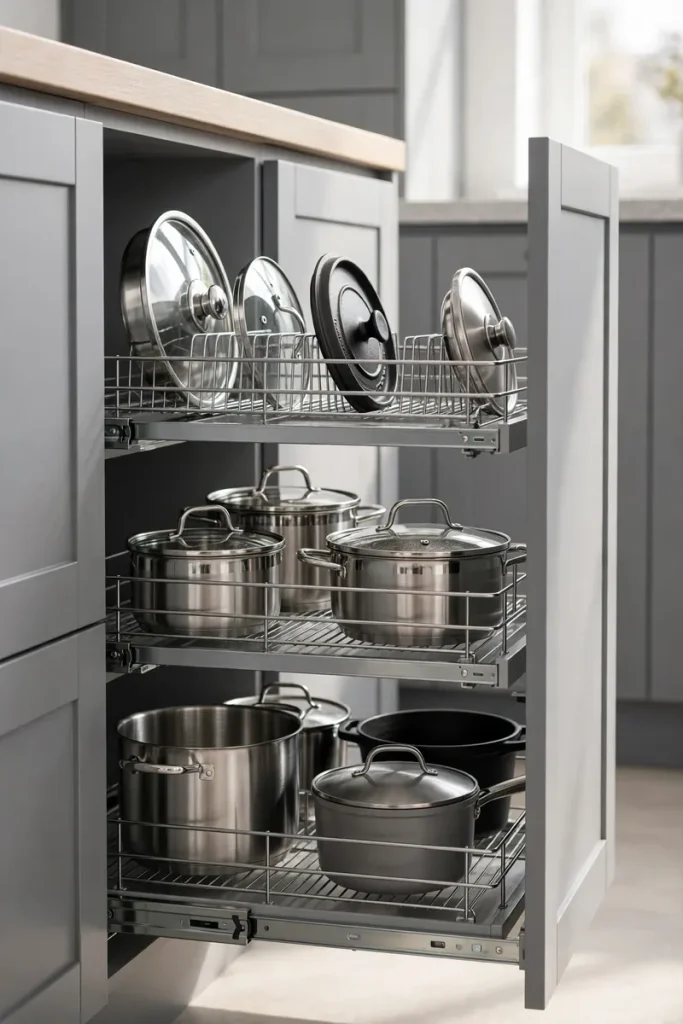
Glass shelves keep a coffee corner visually light and let a pretty backsplash show through. Use tempered glass made for shelving, supported by hardware rated for the load. Place mugs and light canisters above, while the coffee maker stays safely on the counter. Two custom glass shelves may cost $120 to $450, including brackets; simple kits can be less. Wipe them often because coffee dust has a special talent for appearing overnight. Add a small warm lamp nearby if there is no window, and leave enough clear space above the machine for steam and refilling water.
12. Show Off One Live-Edge Shelf
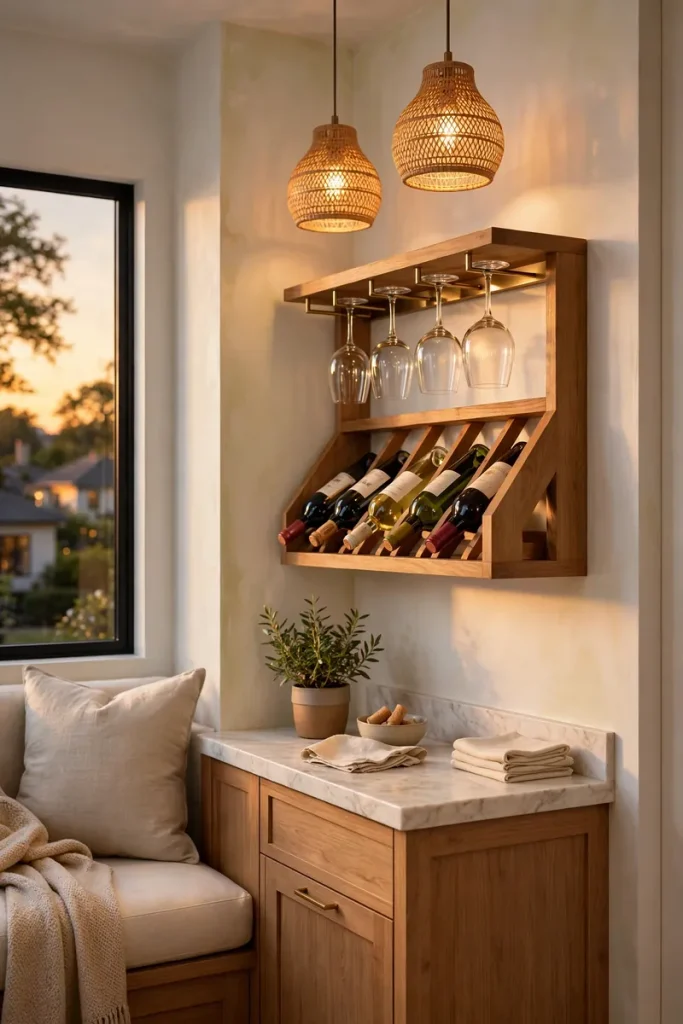
One live-edge wood shelf can bring an organic shape into a clean modern kitchen. Let it be the star rather than filling the wall with several heavy slabs. Because these boards vary, shop in person if possible and look for a piece that sits flat against the wall. Expect about $120 to $500 for a finished shelf, more for rare wood or custom brackets. Style it with only a few objects: a stack of bowls, a plant, and one framed recipe. The uneven edge already gives the eye plenty to enjoy, so this is not the shelf for seventeen tiny salt shakers.
13. Paint Shelves the Same Color as the Wall
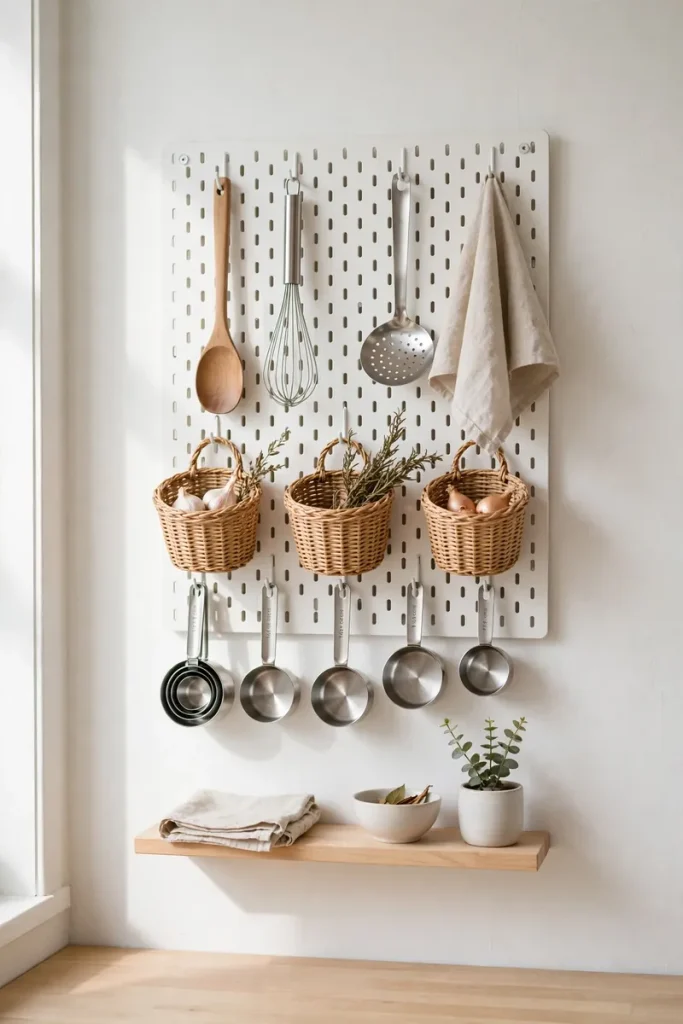
Color-drenched shelves blend into the wall and make open storage feel calmer. Deep green, dusty blue, warm beige, and charcoal can all work; repeat the color on lower cabinets for a connected look. Use a durable washable finish, and allow paint to cure fully before adding dishes. Painting existing shelves may cost only $30 to $90 in supplies. This trick is excellent for small kitchens because the shelves do not create another strong visual line. Test the color in morning and evening light first. A brave paint chip can become surprisingly loud after sunset.
14. Build a Shelf Around the Microwave
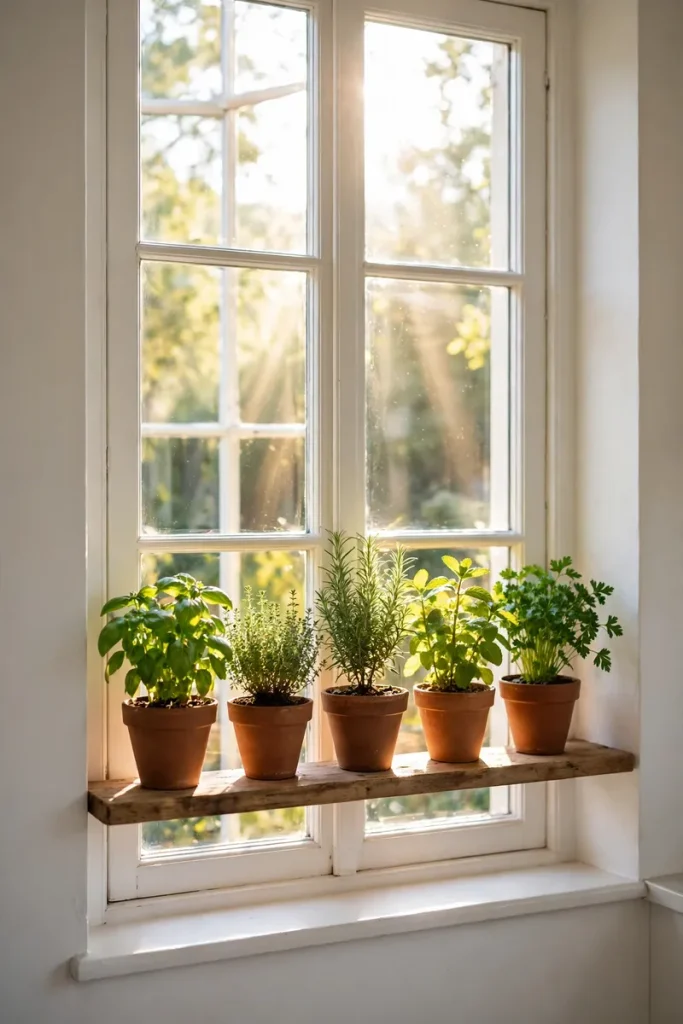
A microwave can look less bulky when it sits inside a simple shelving zone. Place it on a strong, properly supported shelf or counter-level cubby, then use the space above for baskets and cookbooks. Follow the appliance manual for ventilation clearances, outlet placement, and safe installation—do not squeeze it into a cute box that traps heat. A basic microwave shelf may cost $100 to $400; custom cabinetry can run much higher. In a small kitchen, this plan frees valuable counter space and keeps snack supplies together. It is basically a tiny convenience store, minus the awkward fluorescent lighting.
15. Create a Plate-Display Ledge
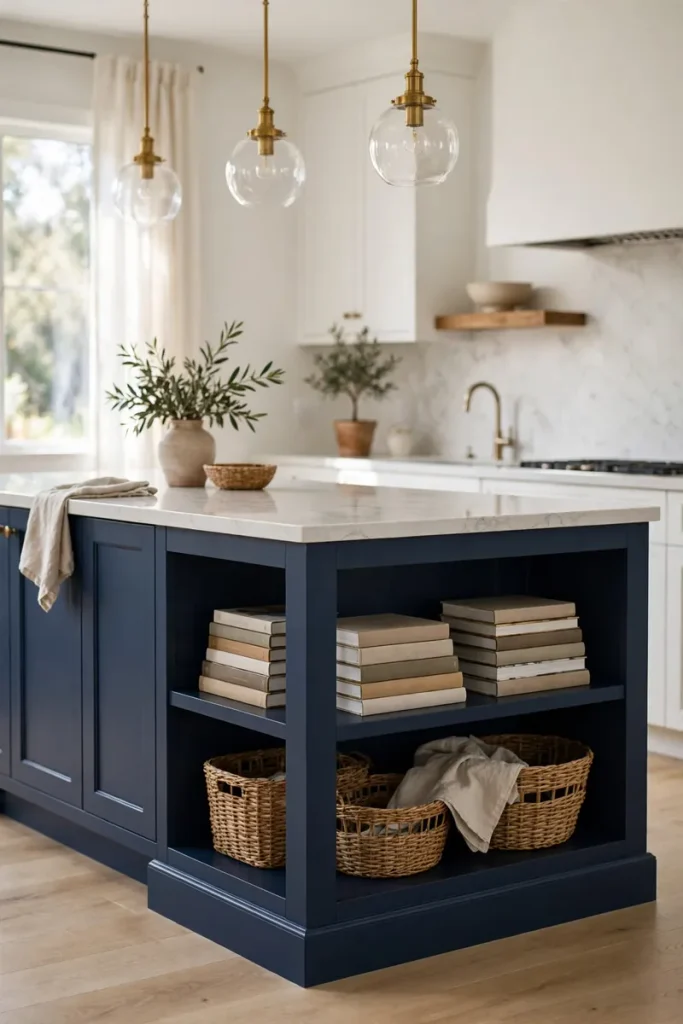
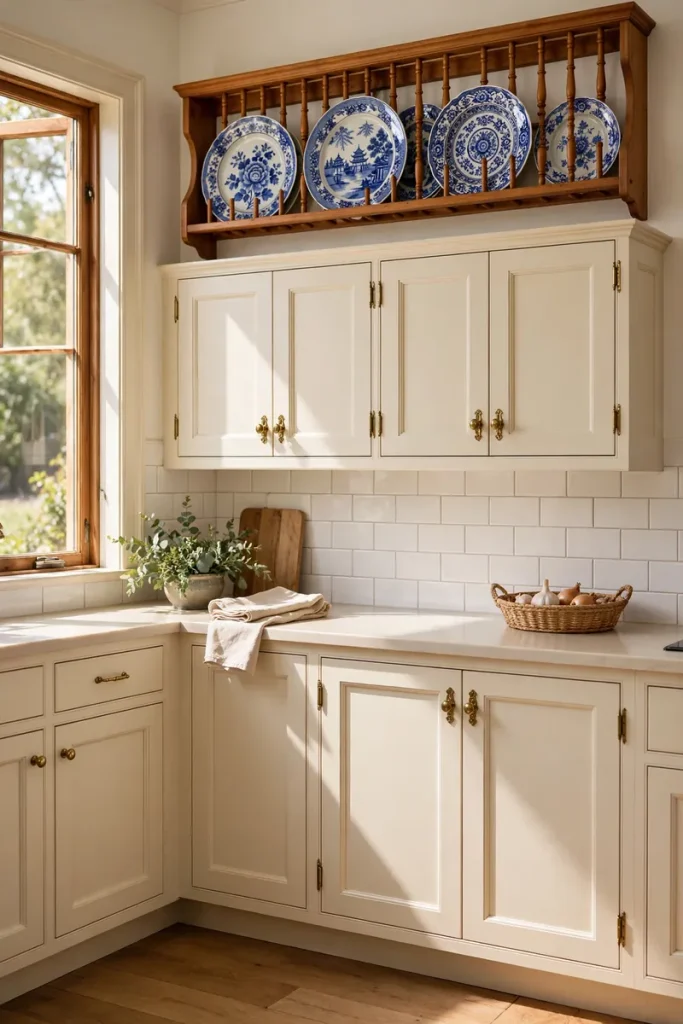
A ledge with a groove or front lip can display colorful plates without taking much depth. Use it above a breakfast nook, on a blank end wall, or over a low cabinet. Secure valuable pieces with plate stands or museum putty, especially in busy homes. One or two picture ledges may cost $30 to $120, making this an affordable way to add personality. Rotate the plates by season instead of buying new decor. My favorite display plate came from a thrift store for six dollars and receives more compliments than the expensive set I am afraid to use.
16. Float Shelves Above the Island
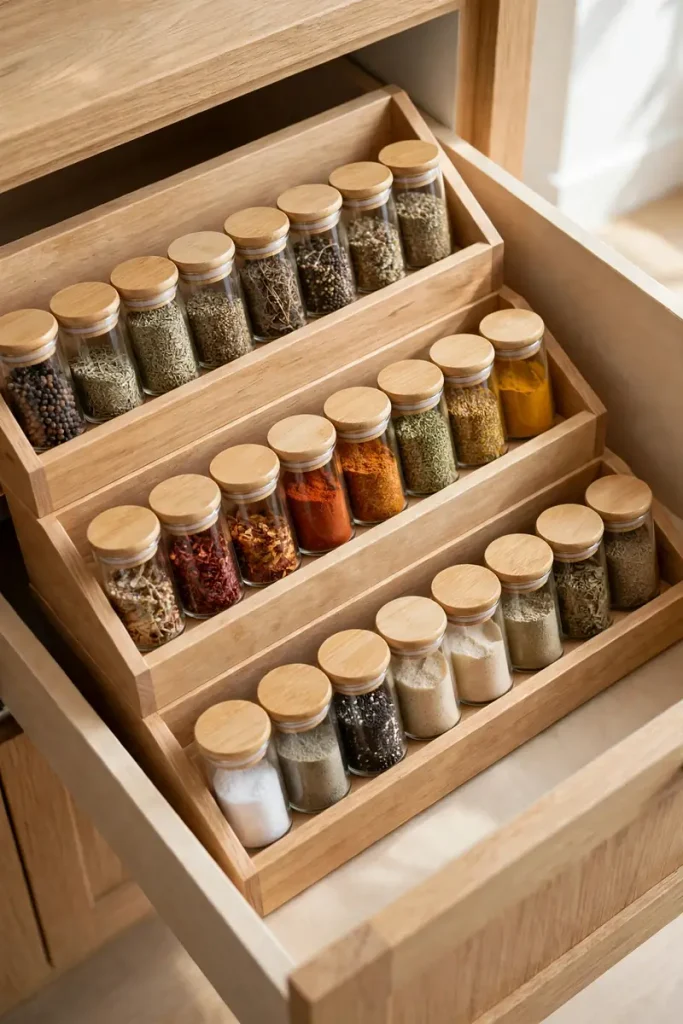
Ceiling-mounted shelves above an island can define an open kitchen while keeping sight lines more open than solid cabinets. They work best in rooms with enough ceiling height and a large island, since the frame should never make the prep zone feel cramped. This is a professional-install project: the structure must attach securely to ceiling framing. Costs often begin around $800 and can climb beyond $3,000 for custom metalwork, lighting, or hardwood. Store attractive, light items rather than your heaviest cookware. And measure head clearance carefully—beautiful storage loses its charm the first time someone bonks a forehead.
17. Use a Freestanding Ladder Shelf
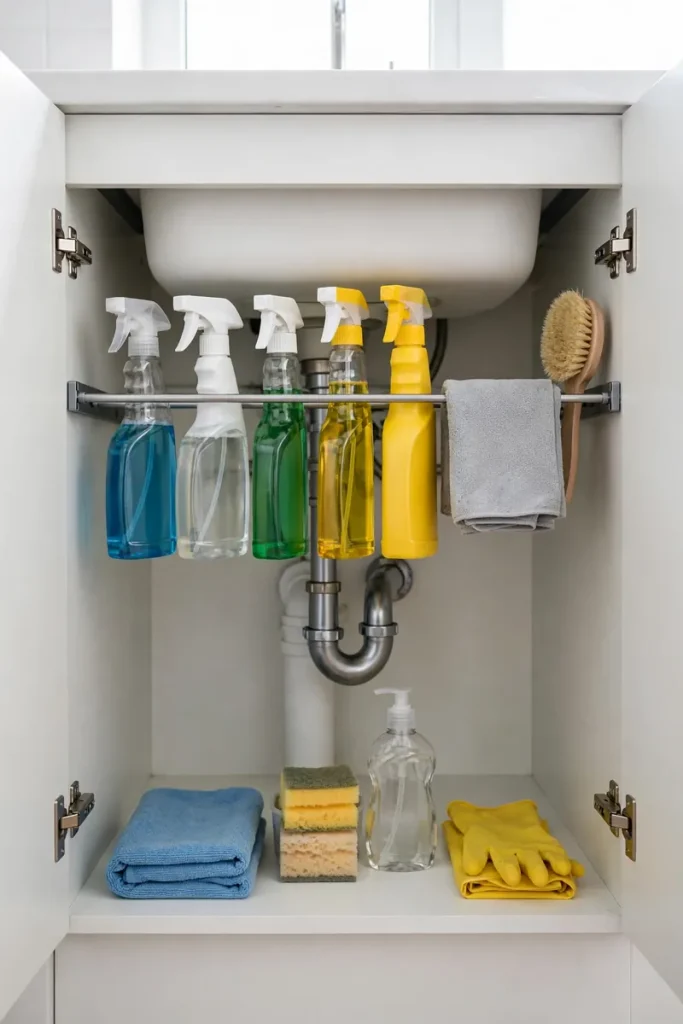
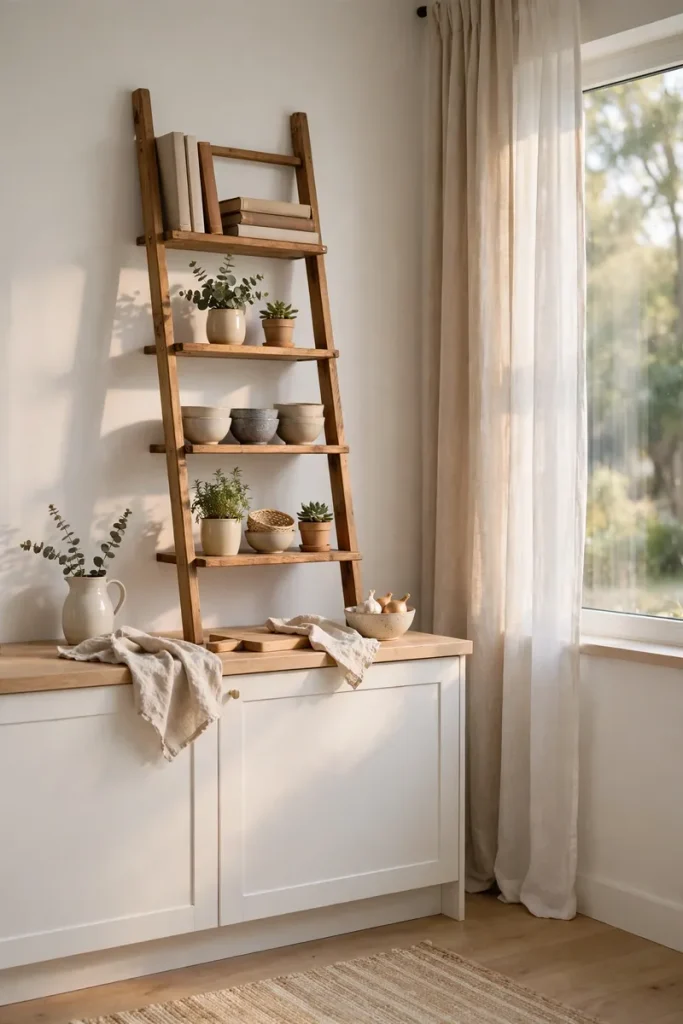
A narrow ladder shelf or baker’s rack gives renters storage with no holes in the wall. Slide one beside a cabinet, near a dining corner, or into an unused stretch of wall. Choose a unit with adjustable feet and anti-tip hardware; use the anti-tip option your lease allows. Keep heavy appliances low and light baskets high. Prices usually range from $70 to $350. This is also a smart trial run before committing to built-ins. If the shelf becomes a clutter magnet, you can move it, restyle it, or send it to another room without calling a contractor—or your most patient friend.
18. Finish With a Cozy Coffee Nook
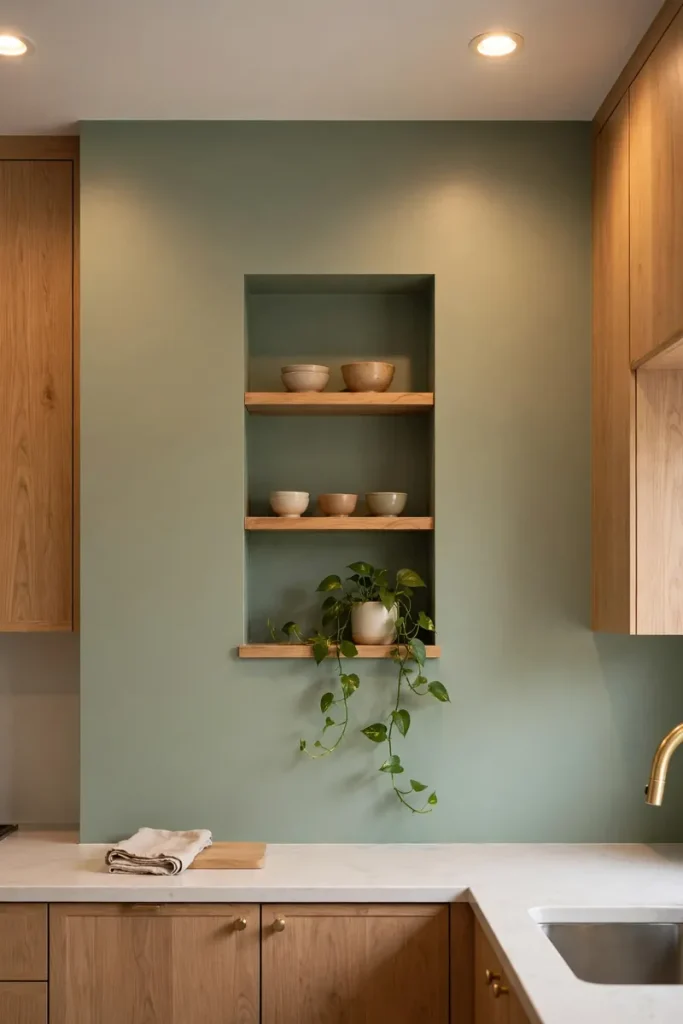
End with shelves that support a small daily ritual. Two short shelves above a cabinet can hold mugs, tea, beans, and one cheerful piece of art, while the counter handles the machines. Put frequently used items on the lower shelf and backup supplies in a basket above. A simple coffee nook can cost $100 to $500 using furniture you already own; custom cabinets raise the budget. Add an under-shelf light for dark mornings and keep cords tidy. This corner does not need to look like a café. It only needs to make the first cup easier—and perhaps stop everyone from asking where the filters went.
Your Shelf Plan, Without the Overwhelm
Start by photographing the wall straight on, then measure its width, ceiling height, nearby doors, windows, outlets, and appliances. Tape the shelf outline on the wall with painter’s tape. Live with it for a day. If nobody bumps it and the room still feels open, you are ready to choose materials.
For most kitchens, a simple mix works best: closed cabinets for the not-so-cute necessities, open shelves for daily dishes, and one decorative moment that makes you smile. Keep the items you use most between waist and eye level. Store heavy pieces low, leave breathing space around objects, and edit the display every few months. If cleaning every shelf sounds awful, choose fewer shelves instead of pretending you will become a different person on Monday.
You do not need a huge renovation to make a kitchen work better. One ledge, one peg rail, or one renter-friendly ladder shelf can solve an annoying problem and change how the whole room feels. Begin with the wall that bothers you most. That is where the best idea usually belongs—and where the next falling travel mug can finally be stopped.