15 Curly Hairstyles to Draw, From Pencil Ringlets to One-Line Art
When I started teaching a weekend drawing class for teens, one of my students handed me a portrait of her best friend. The face was beautiful: careful eyes, a lovely smile. But the hair was a big scribbled cloud. “I don’t know how to draw curls,” she admitted, “so I just scribble.”
I understood completely, because I used to do the same thing with my own curly hair in self-portraits. Curls feel impossible to draw until you realize they follow simple shapes, like springs, ribbons and spirals.
So in this post, I’m sharing 15 curly hairstyles to draw, organized by drawing medium: pencil, ink, watercolor, digital, cartoon and minimal line art. Each style comes with the trick that makes it work and a common slip-up to avoid, plus stories from my classes and my own sketchbook.
How Curls Actually Look
Before picking up your pencil, it helps to understand what you’re drawing:
- Waves form loose S-shapes.
- Curls form spirals, like the inside of a spring.
- Coils are very tight spirals, close together.
- Zigzag textures bend sharply rather than curving smoothly.
Most heads of curly hair contain more than one of these shapes. Look closely at your reference photo before you start.
The Spring Secret
Here’s the idea that unlocked curls for me: draw each curl like a spring or a twisted ribbon, not a flat circle. A spring has a front and a back. The front of each loop is closer to you and slightly lighter; the back is farther away and darker. Showing that difference is what makes curls look three-dimensional.
Pencil (Realistic)
Pencil is perfect for detailed, realistic curls with lots of light and shadow.
1. Big Loose Curls Worn Down
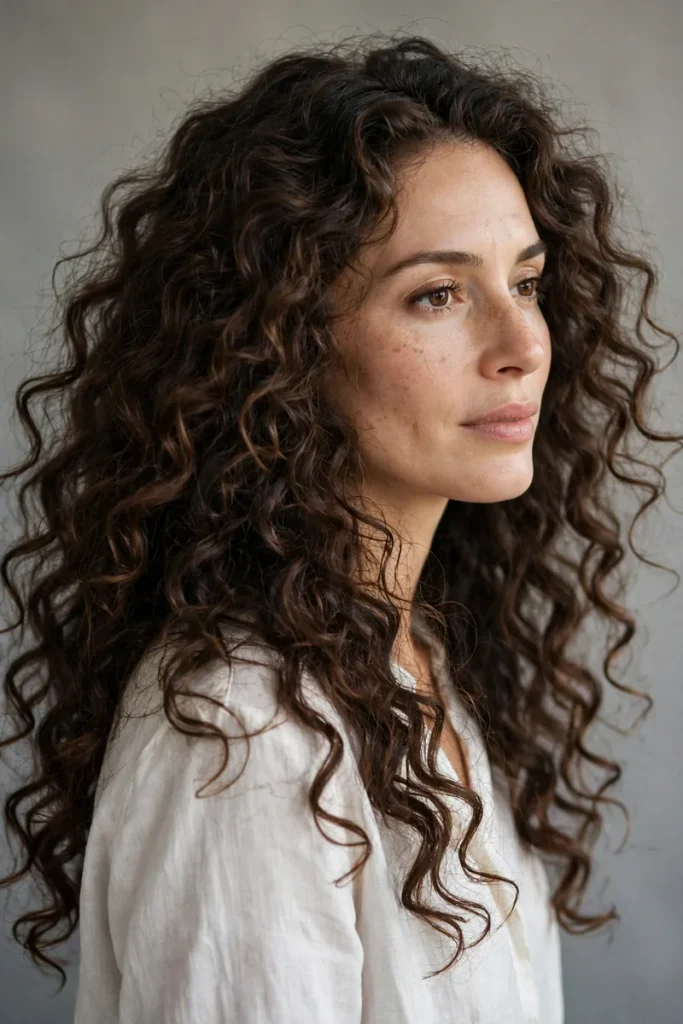
Big, loose curls falling past the shoulders are a beautiful first project. Sketch the overall shape first, then divide it into large curl clumps, each shaped like a soft spiral ribbon.
The trick: draw curl clumps first, then add only a few strands inside each one.
Common slip-up: drawing every curl the same size, which looks unnatural.
2. The Curly Ponytail
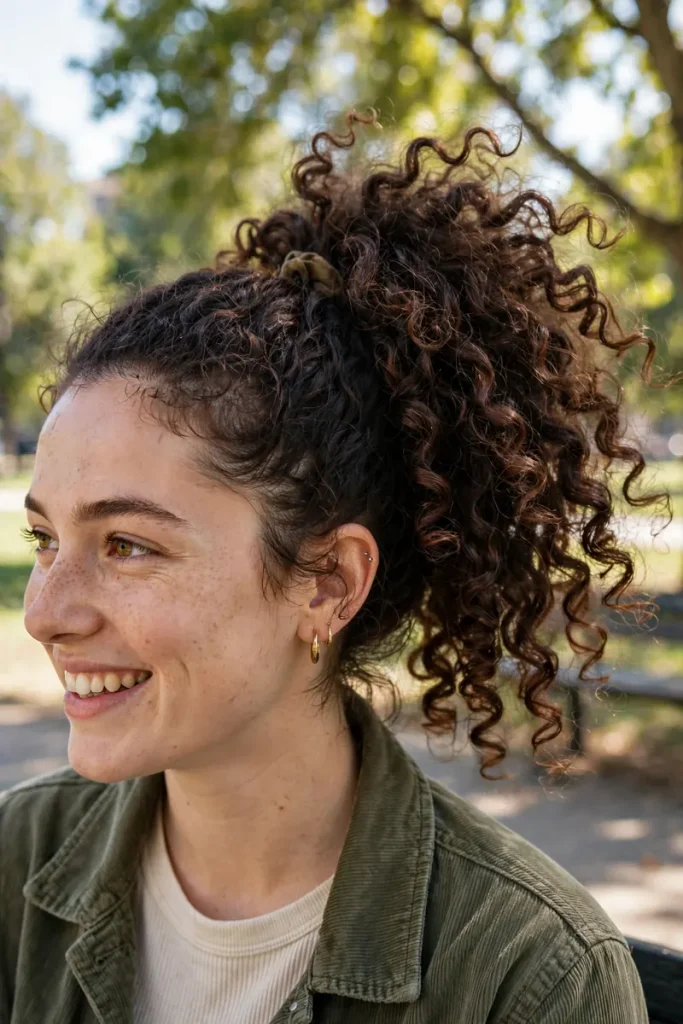
A high ponytail of springy curls teaches you to show curls bunched together at one point and then spreading out. Draw the smooth hair leading to the tie, then let the curls burst out below.
The trick: make the curls nearest the tie smaller and tighter, and the curls at the ends looser.
Common slip-up: forgetting the shadow under the hair tie.
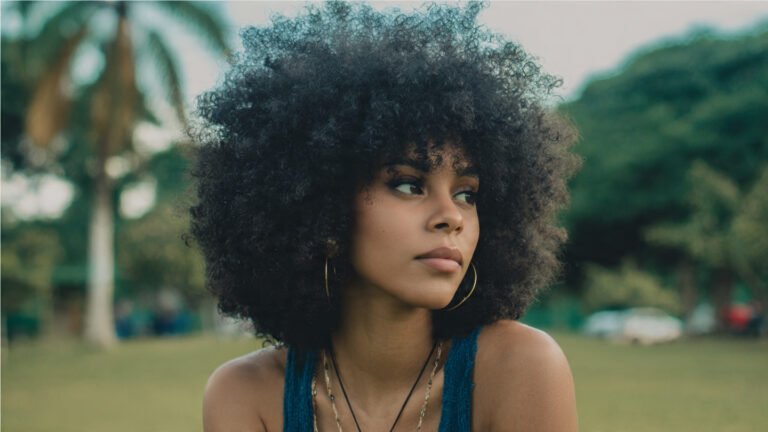
3. Tight Coils in a Rounded Afro
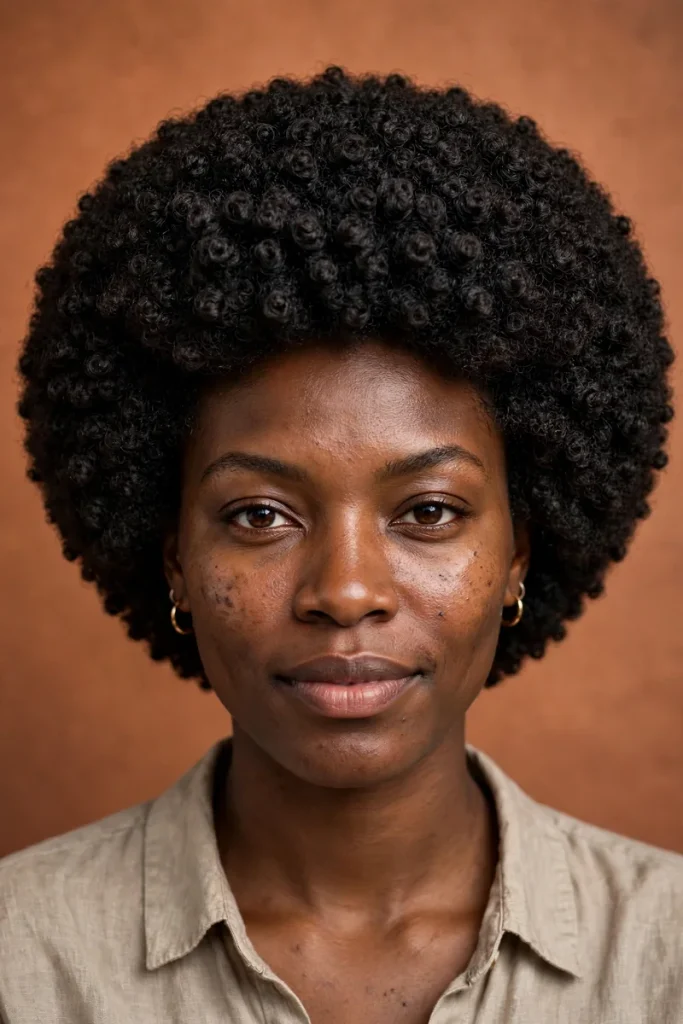
A full, rounded afro of tight coils shows the beauty of natural texture. Sketch a soft, rounded silhouette, then suggest coil texture mainly along the edges and in a few areas inside.
In my class, I asked my student to try this instead of scribbling. She spent twenty minutes adding tiny coil shapes around the edges and soft shading inside, and the portrait suddenly came alive.
The trick: show texture at the edges and in a few patches; let shading suggest the rest.
Common slip-up: filling the entire shape with dense scribbles.
Ink and Line Art
Ink forces you to simplify, which actually makes curls easier.
4. The Curly Bob in Clean Line Art
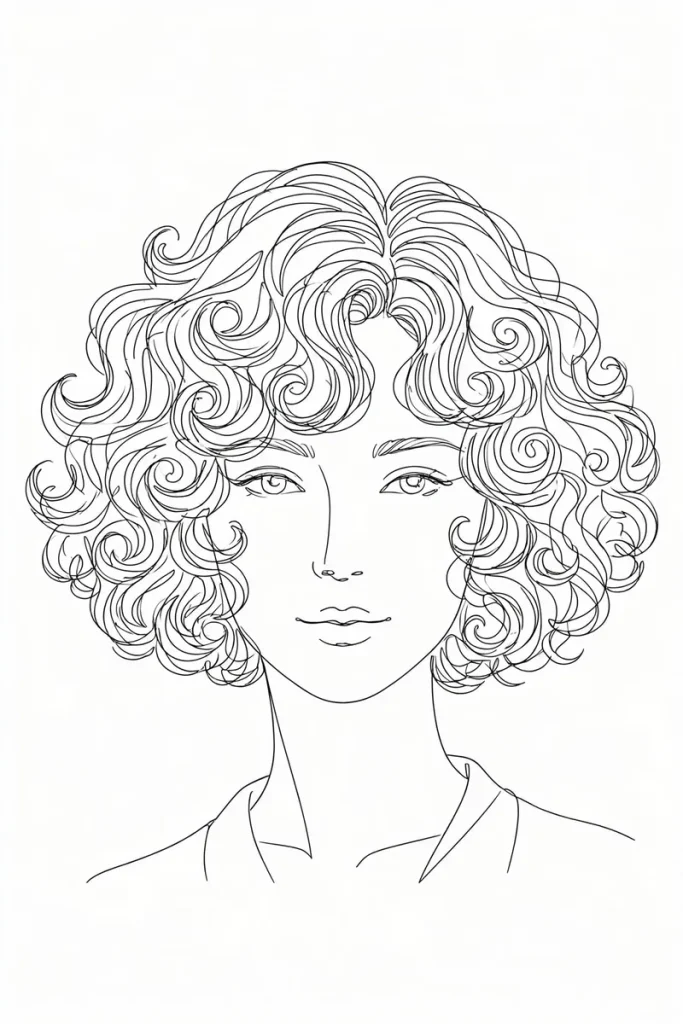
A short curly bob drawn with clean, confident ink lines. Outline the overall bob shape, then add a few spiral lines inside to suggest curls.
The trick: vary your line thickness, using thicker lines for the outer edge and thinner ones inside.
Common slip-up: using too many lines, which makes the bob look busy.
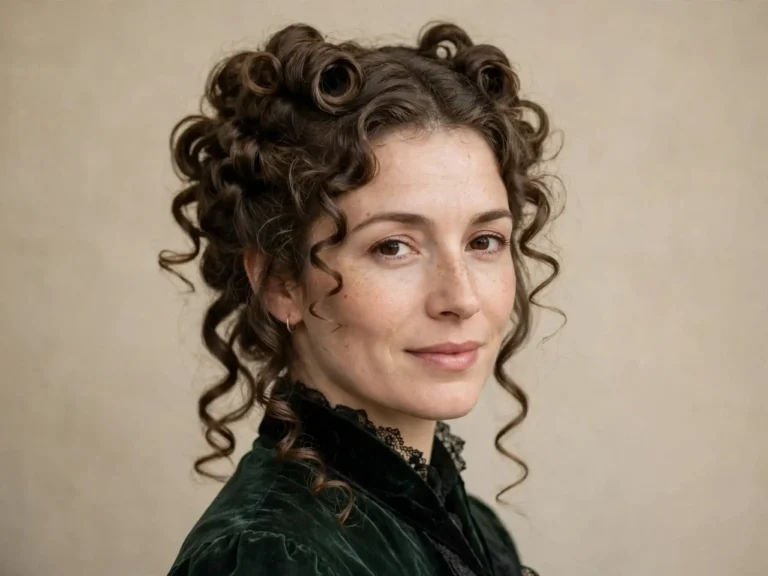
5. Spiral Ringlets
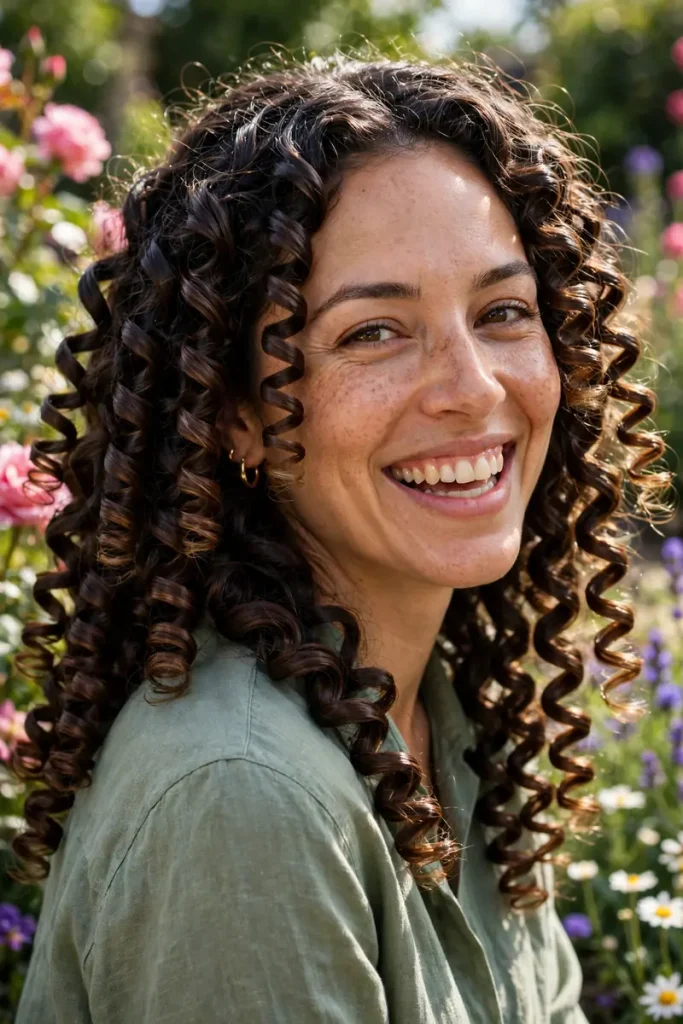
Long, defined ringlets look like hanging corkscrews. Draw each ringlet as a twisted ribbon, alternating the direction of the curves.
The trick: leave small gaps of white space on the front of each twist to show shine.
Common slip-up: drawing ringlets as stacked circles.
6. Curly Half-Up
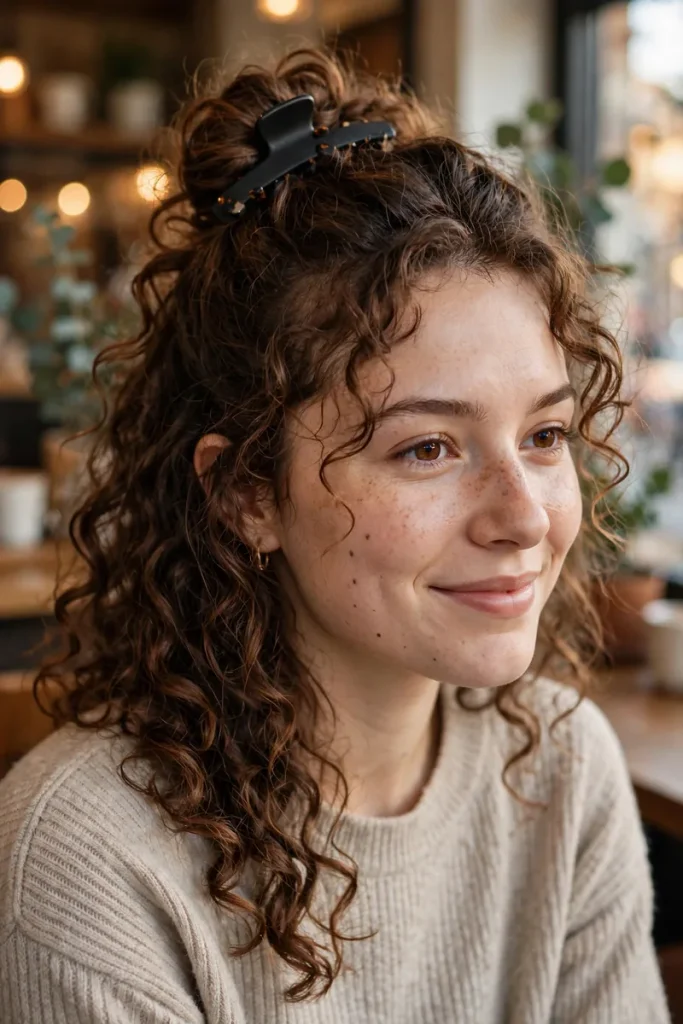
The top half of the hair pulled back, with curls falling below. Draw the smooth pulled-back section with long, flowing lines, then switch to spiral lines for the curls.
The trick: contrast smooth lines on top with springy lines below.
Common slip-up: making the pulled-back section too curly.
Watercolor
Watercolor creates soft, glowing curls with beautiful color variation.
7. The Pineapple Updo
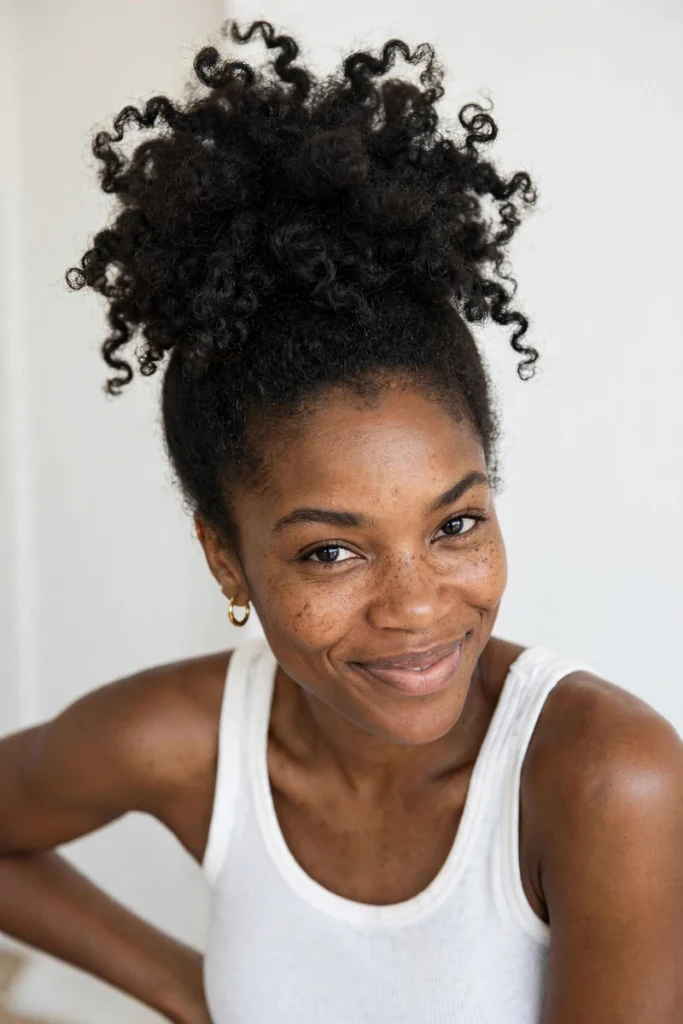
Curls gathered loosely on top of the head look lovely in watercolor. Paint a soft base wash for the overall shape, then add darker spirals inside while the paint is still slightly damp.
The trick: let colors blend softly, and add darker accents once the first layer has dried.
Common slip-up: overworking the paint, which turns colors muddy.
8. Vibrant Red Curls
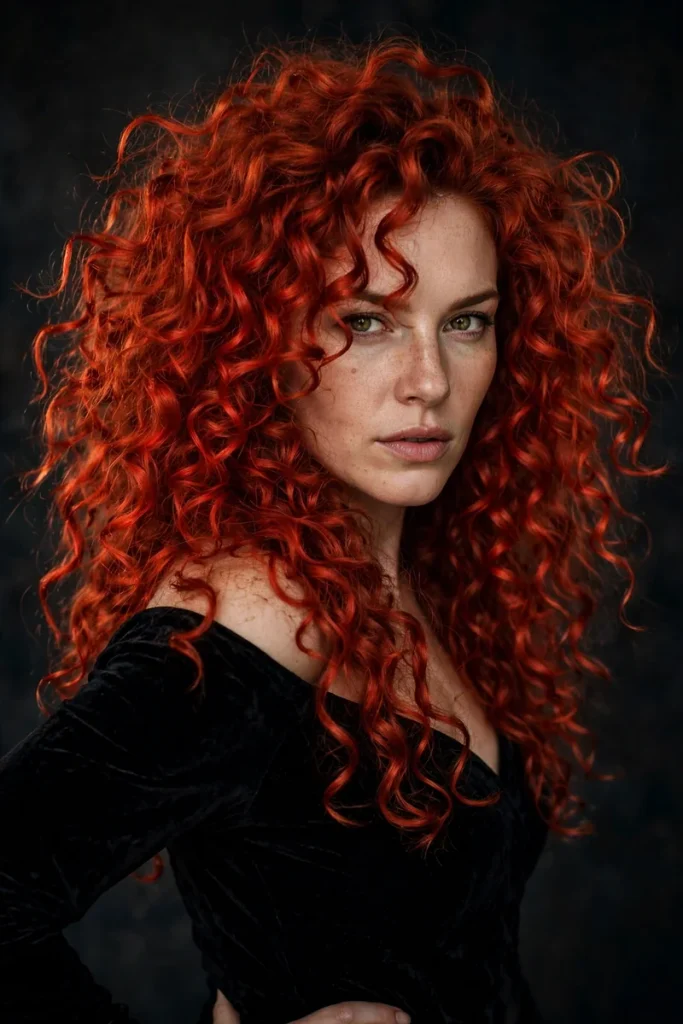
Red curly hair is a joy to paint in watercolor. Layer warm shades like orange, crimson and deep brown, leaving bright highlights on the front of each curl.
My niece has bright red curls, and painting her for her birthday became one of my favorite projects. I used at least five different shades of red and orange to capture them.
The trick: use several shades rather than one red.
Common slip-up: painting the curls one flat color.
Digital Drawing
Digital tools make it easy to layer, adjust and experiment.
9. Curly Pigtail Puffs
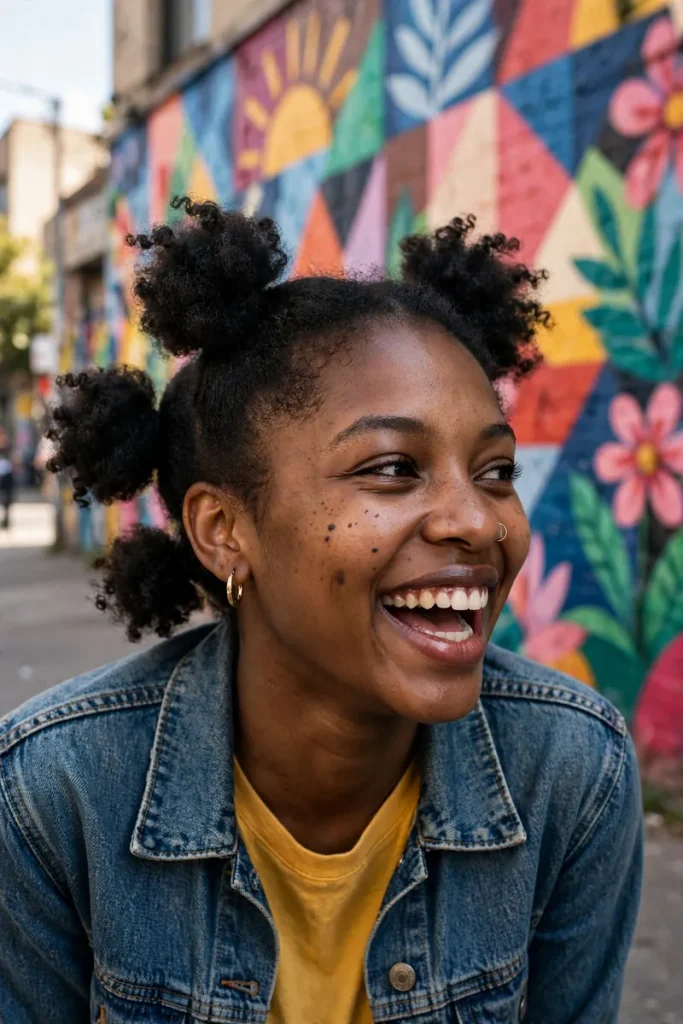
Two curly puffs on either side of the head look playful in digital art. Draw the puff shapes, add a mid-tone base color, then use a textured brush to suggest curls.
The trick: draw shadows and highlights on separate layers so you can adjust them easily.
Common slip-up: making both puffs perfectly identical.
10. Curls With Glossy Highlights
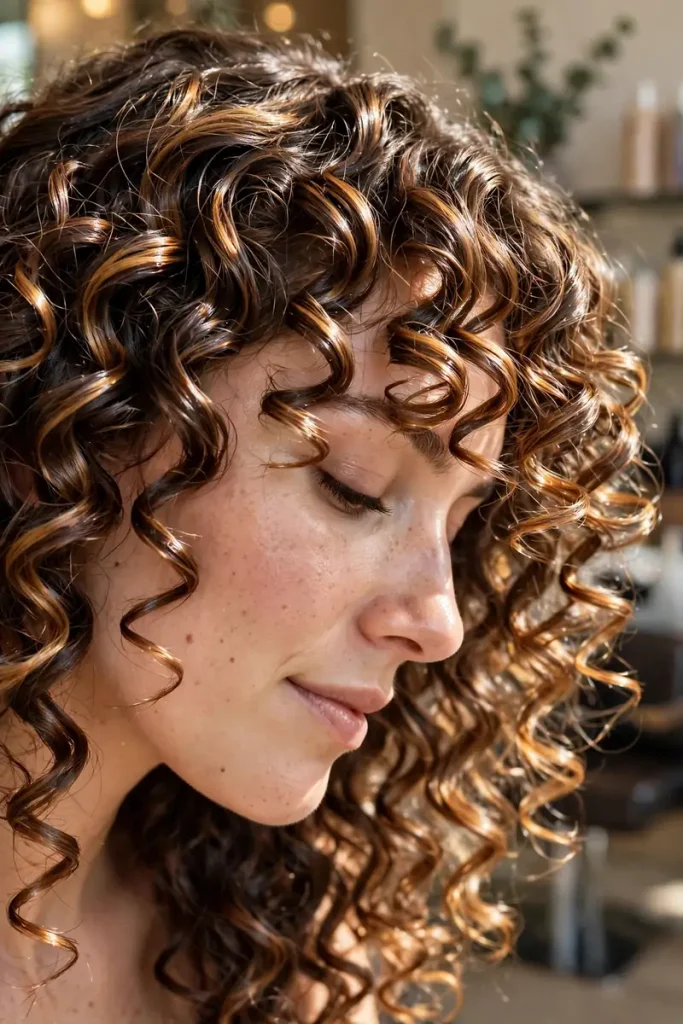
Defined curls with bright, glossy highlights look stunning digitally. After shading your curls, add small, bright highlight shapes on the front of each spiral.
The trick: use a soft brush with low opacity for subtle shine.
Common slip-up: adding highlights everywhere, which makes curls look flat.
11. Windblown Curls
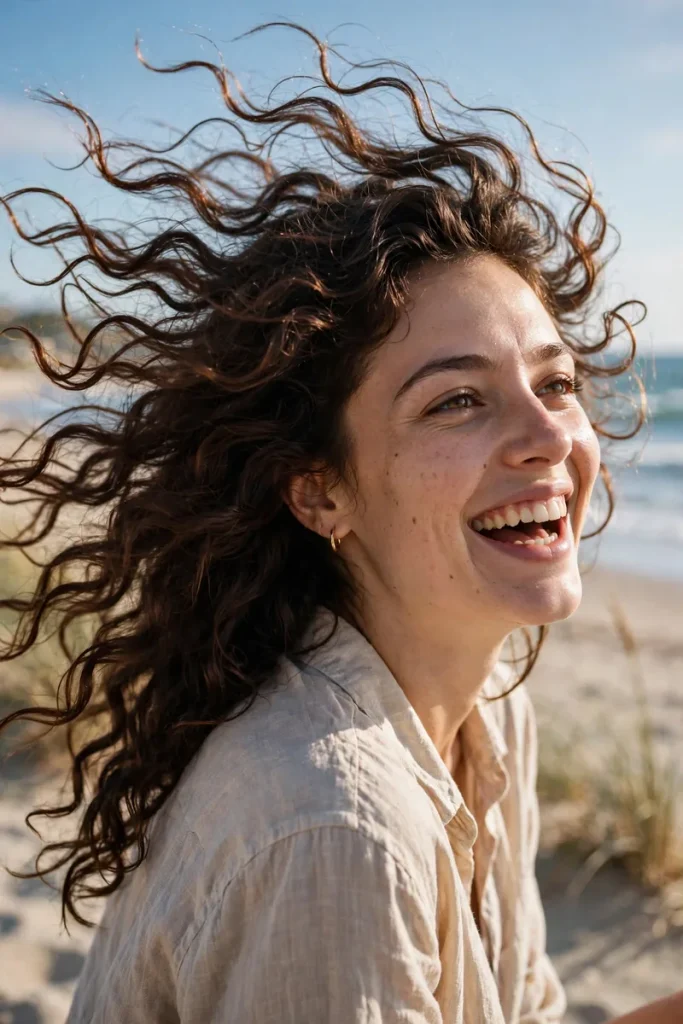
Curls lifted and moving in the wind show energy and movement. Draw curls stretched slightly in the direction of the wind.
The trick: stretch the curls on the side facing away from the wind.
Common slip-up: keeping curls perfectly round, which looks stiff.
Cartoon and Chibi Styles
Cartoon styles simplify curls into fun, bold shapes.
12. The Chibi Curly Bun
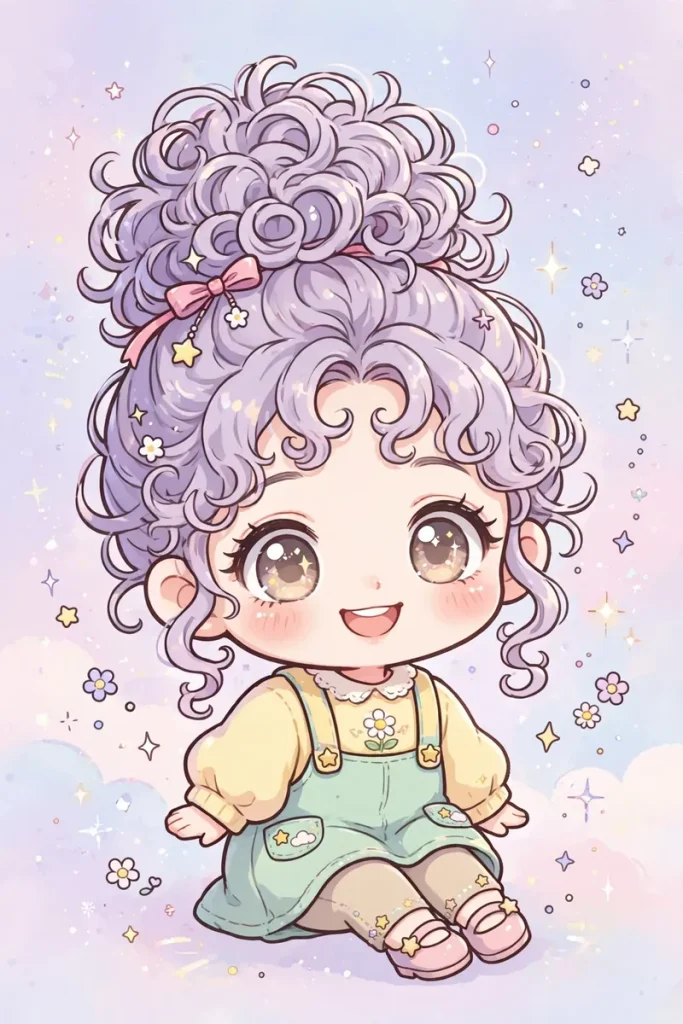
A chibi character has a large head and small body. Give them a big curly bun on top, drawn as a round shape with a few simple swirls inside.
The trick: exaggerate the bun’s size for extra cuteness.
Common slip-up: adding too much detail to a simplified style.
13. Cartoon Afro Puffs
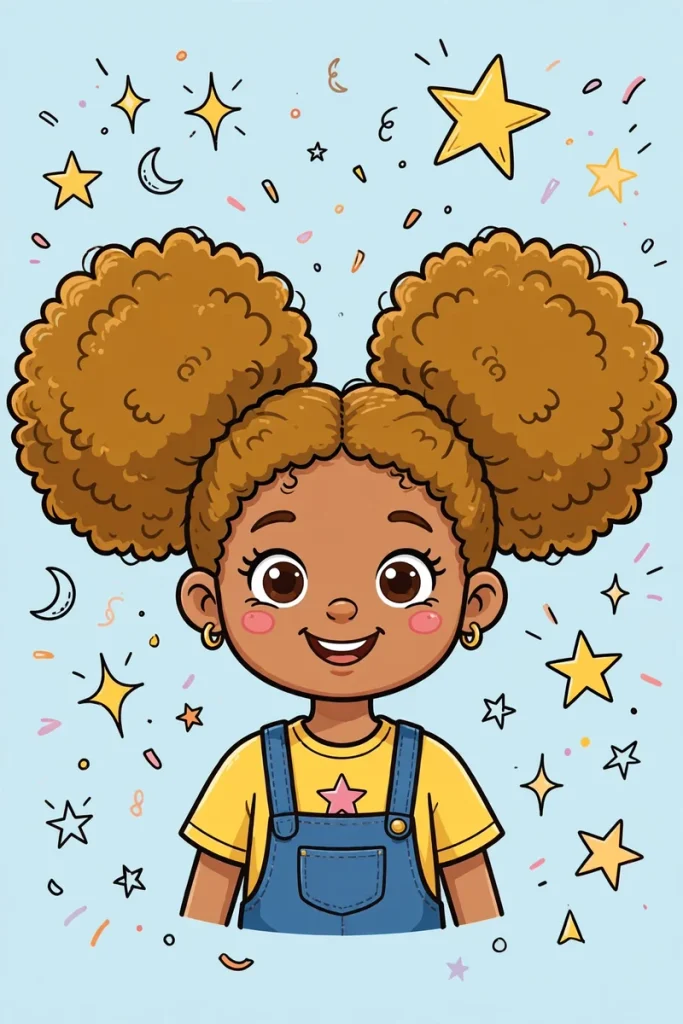
Two round afro puffs drawn with simple, bumpy outlines and a few curved lines inside. It’s playful and charming.
The trick: use a bumpy outline to suggest texture without drawing every coil.
Common slip-up: using a smooth circle, which loses the curly feeling.
Minimal Line Art
Minimal drawings capture curls with just a few lines.
14. One-Line Curly Profile
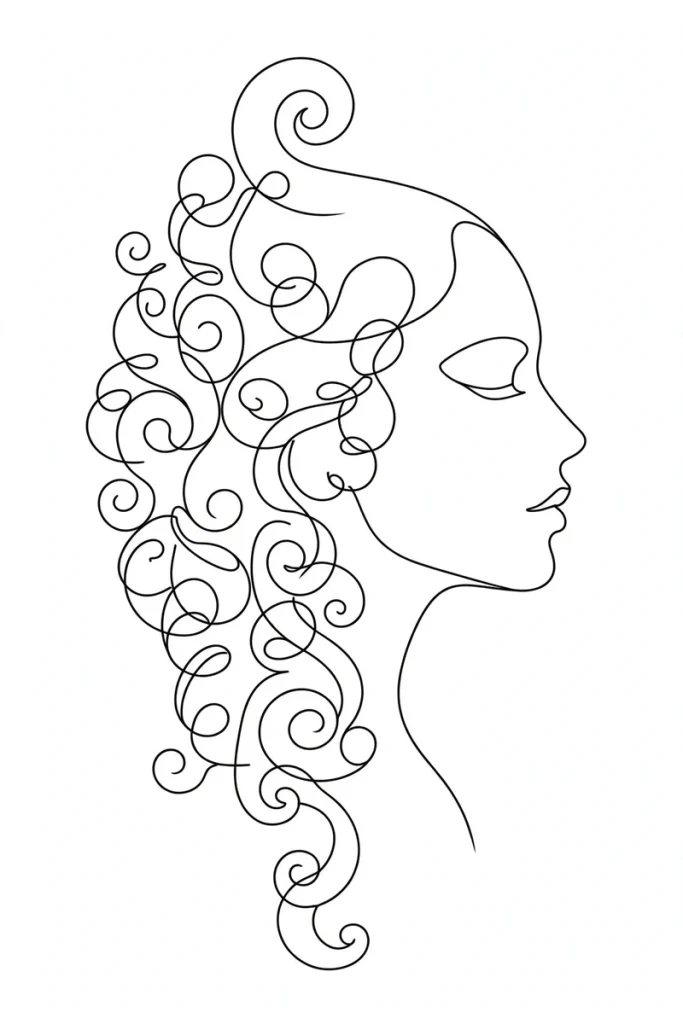
Draw a profile of a face and curly hair in a single continuous line, without lifting your pen. The curls become loops in the line.
The trick: loosen up and let the line flow freely.
Common slip-up: stopping and starting, which breaks the one-line effect.
15. Minimal Curly Silhouette
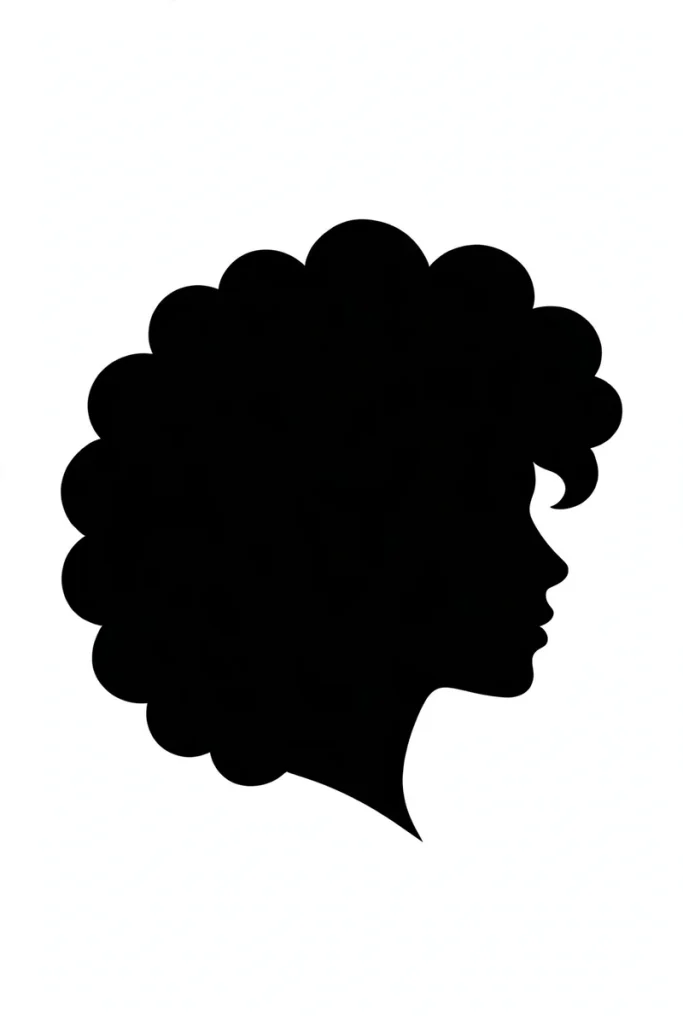
Fill in a curly silhouette with solid black, leaving only a few curved white lines inside to suggest curls.
The trick: focus on a strong, interesting outline.
Common slip-up: making the outline too smooth.
Avoid the Scribble Shortcut
It’s tempting to draw curly or coily hair as one big scribbled shape, but this can look careless and doesn’t capture the real beauty of curly textures. Instead:
- Look closely at real reference photos.
- Break the hair into shapes before adding texture.
- Suggest texture thoughtfully, especially around the edges.
- Practice many curl types, from loose waves to tight coils.
Drawing curls with care shows respect for the people and hair you’re drawing.
Use Real Curls as Your Reference
The best curly hair reference is real life. Try:
- Drawing your own curls in a mirror.
- Asking friends with curly hair if you can sketch them or photograph their curls.
- Saving photos of different curl types for practice.
I filled half a sketchbook with drawings of my own curls before I felt confident drawing anyone else’s.
Building a Color Palette for Curly Hair
Curly hair is rarely one flat color. Try including:
- A base color for the overall hair
- A darker shade for shadows between curls
- A lighter shade for the front of each curl
- A bright highlight for shine
- An accent color, like warm red or cool blue, for depth
A Seven-Day Curly Drawing Challenge
Build your skills one day at a time:
- Day 1: Draw ten springs or spirals.
- Day 2: Draw loose curls in pencil.
- Day 3: Draw tight coils.
- Day 4: Try a curly bob in ink.
- Day 5: Paint curls in watercolor.
- Day 6: Draw a cartoon curly character.
- Day 7: Create a one-line curly portrait.
By the end of the week, curls will feel far less intimidating.
Final Thoughts
Drawing curly hair becomes so much easier once you think of curls as springs, ribbons and spirals instead of impossible scribbles. Whether you love detailed pencil work, flowing watercolor, digital art or simple line drawings, there’s a curly hairstyle here to practice.
Pick a medium, choose a style and start sketching. Your curls are waiting.
Which medium are you drawing curls with first? Let me know in the comments below.