15 Quick Braided Hairstyles You Can Learn From Just 5 Techniques
When I was nine, I begged my mom to teach me how to braid. I practiced on my dolls, my little sister, the fringe on a throw blanket and, eventually, my own hair. My first braids were lumpy, crooked and fell apart by lunch. But once I finally got it, a whole world of hairstyles opened up.
Here’s the secret I wish I’d known back then: you don’t need to learn 15 different skills to wear 15 different braided hairstyles. Learn a handful of basic techniques, and you can turn each one into several quick, pretty styles.
So this post is built around five braiding techniques, each with three quick hairstyles. For every style, you’ll see the time it takes, the skill level and how long it lasts. At the end, you’ll find tips for braiding your own hair, braiding short or slippery hair, and sleeping in braids for heatless waves.
Before You Braid: Three Quick Prep Steps
Detangle first. Brush your hair thoroughly before you start. Knots make braids lumpy and uneven.
Add a little grip. Freshly washed hair can be slippery. Spray a little texturizing spray or dry shampoo through your hair so the strands hold together.
Keep clips nearby. Sectioning clips help you separate the hair you’re braiding from the hair you’re not. They make everything faster.
Technique 1: The Classic Three-Strand Braid
The braid most of us learned first. Divide your hair into three equal sections. Cross the right section over the middle, then the left section over the new middle. Repeat until you reach the end, and secure with an elastic.
1. The Side Braid

Sweep all your hair over one shoulder and create a loose three-strand braid. Gently pull at the edges of the braid to make it look fuller and softer.
Time: 3 minutes
Skill: first-timer
Lasts: all day
2. The Braided Headband
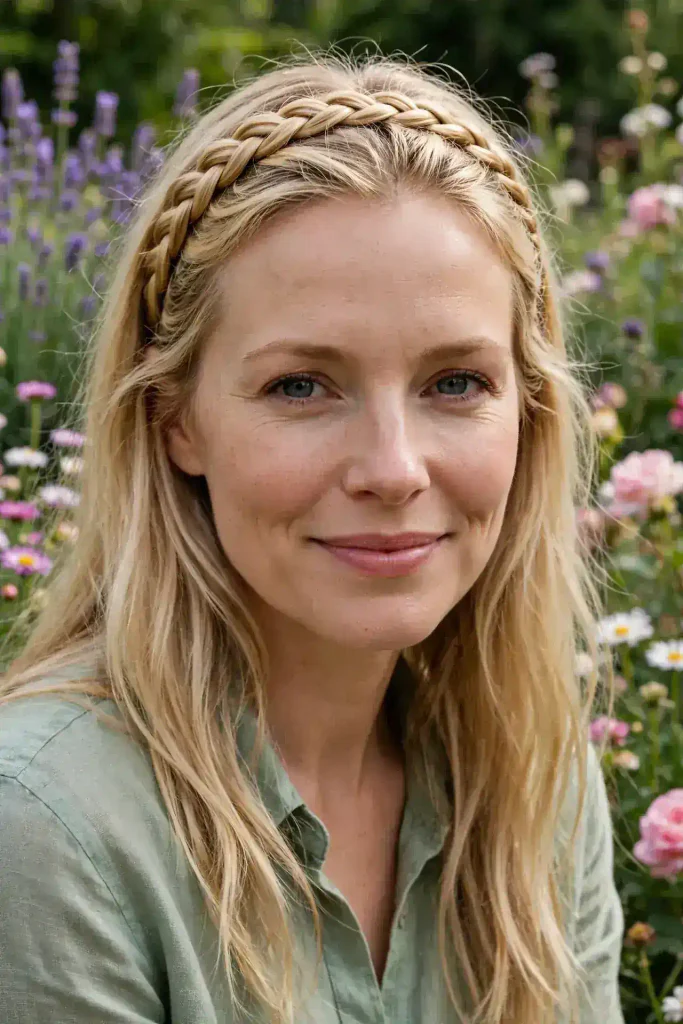
Take a small section of hair just behind your ear on one side and braid it. Bring the braid over the top of your head, just behind your hairline, and pin it behind the opposite ear. It works like a pretty headband.
Time: 5 minutes
Skill: first-timer
Lasts: all day
3. The Braided Low Bun
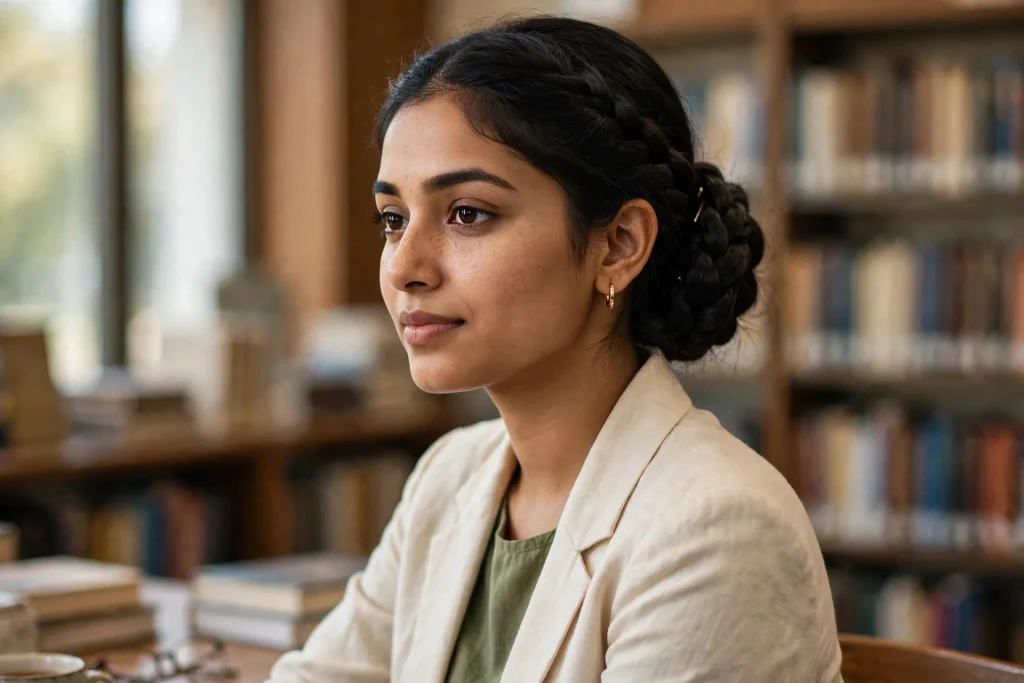
Braid your hair into a low three-strand braid, then wrap the braid around itself at the nape of your neck and secure it with pins. It’s elegant and holds beautifully.
Time: 5 minutes
Skill: first-timer
Lasts: all day, even overnight
Technique 2: The Fishtail Braid
A fishtail uses only two sections. Divide your hair in half. Take a small piece from the outside of the right section and cross it over to join the left section. Then take a small piece from the outside of the left section and cross it over to the right. Repeat to the end.
4. The Messy Fishtail Ponytail

Make a ponytail, then braid the ponytail into a loose fishtail. Gently tug at the edges to make it look full and relaxed.
Time: 5 minutes
Skill: getting there
Lasts: all day
5. Mini Face-Framing Fishtails
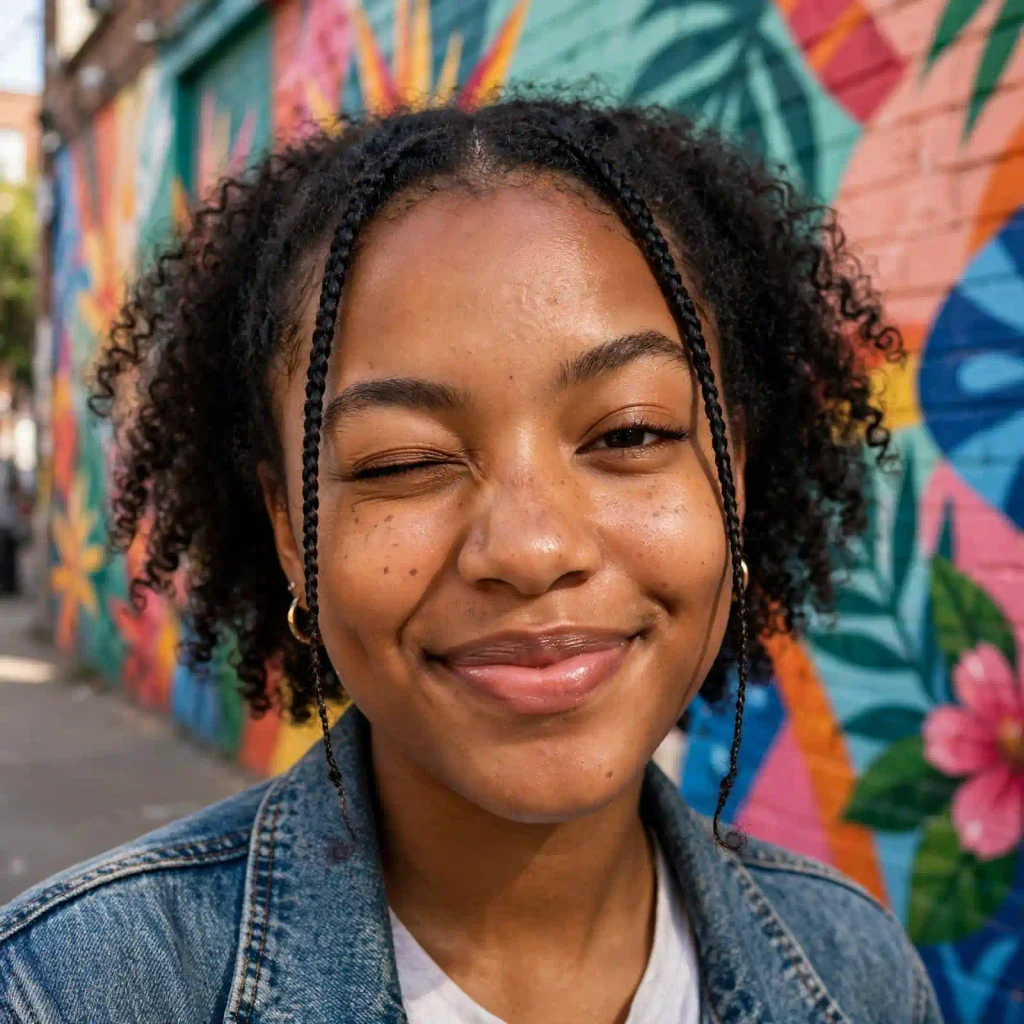
Braid two very thin fishtails on either side of your face and leave the rest of your hair loose. It’s a delicate, bohemian look.
Time: 5 minutes
Skill: getting there
Lasts: all day
6. Double Fishtail Pigtails
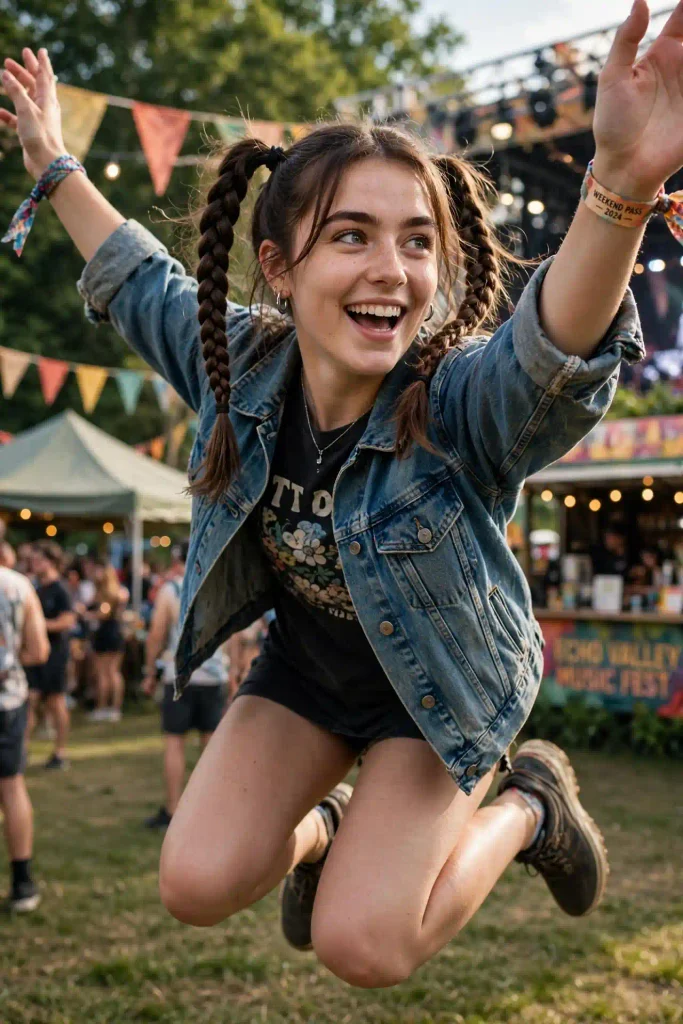
Part your hair down the middle and braid each side into a fishtail. It’s playful and very cute for weekends or festivals.
Time: 8 minutes
Skill: getting there
Lasts: all day, and overnight
Technique 3: The Rope Twist
Technically a twist rather than a braid, but it looks like one. Divide your hair into two sections. Twist each section in the same direction, then wrap them around each other in the opposite direction. The opposite twisting is what holds it together.
7. The Rope Twist Ponytail
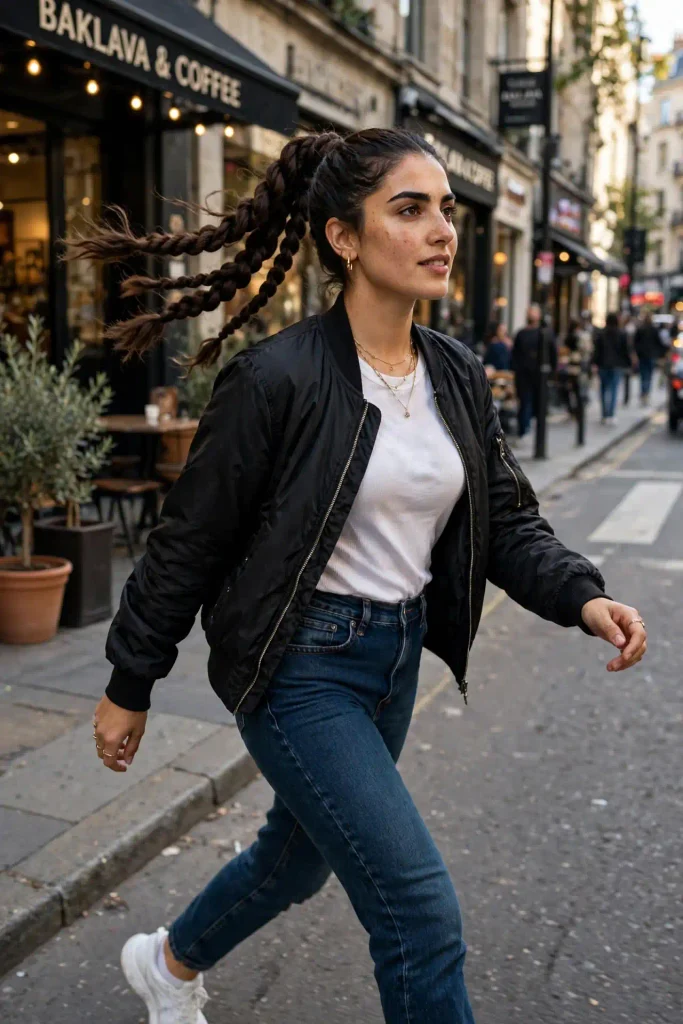
Make a high or low ponytail, then twist it into a rope. Secure the end with an elastic. It looks sleek and polished.
Time: 3 minutes
Skill: first-timer
Lasts: all day
8. The Twisted Crown
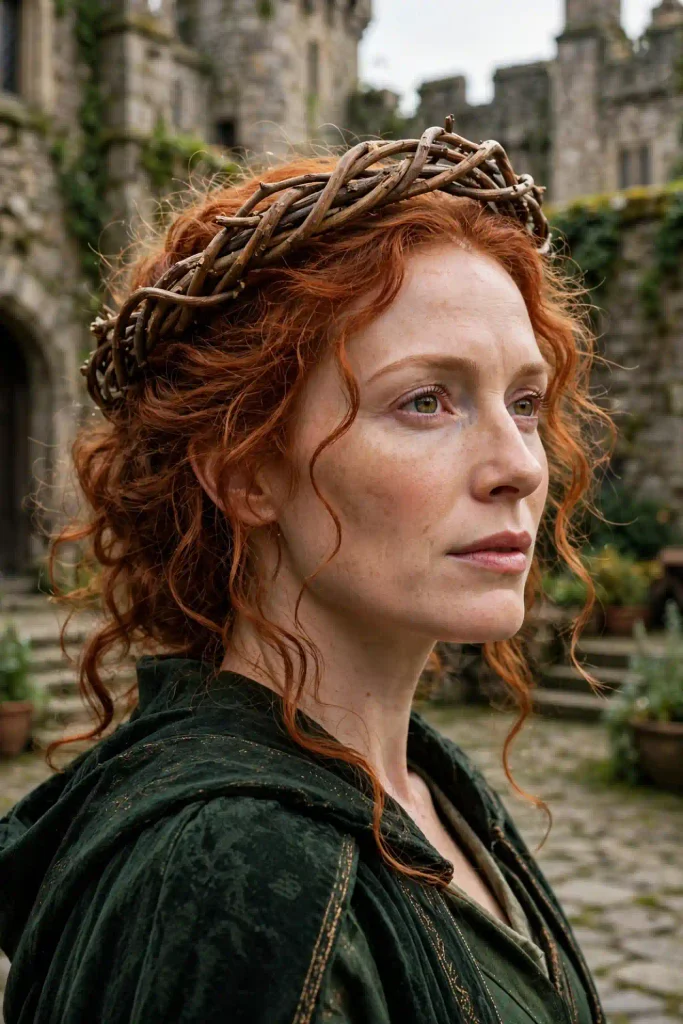
Twist a section of hair from each side of your head toward the back, then pin both twists together at the back like a crown.
Time: 5 minutes
Skill: first-timer
Lasts: all day
9. The Rope Twist Side Bun
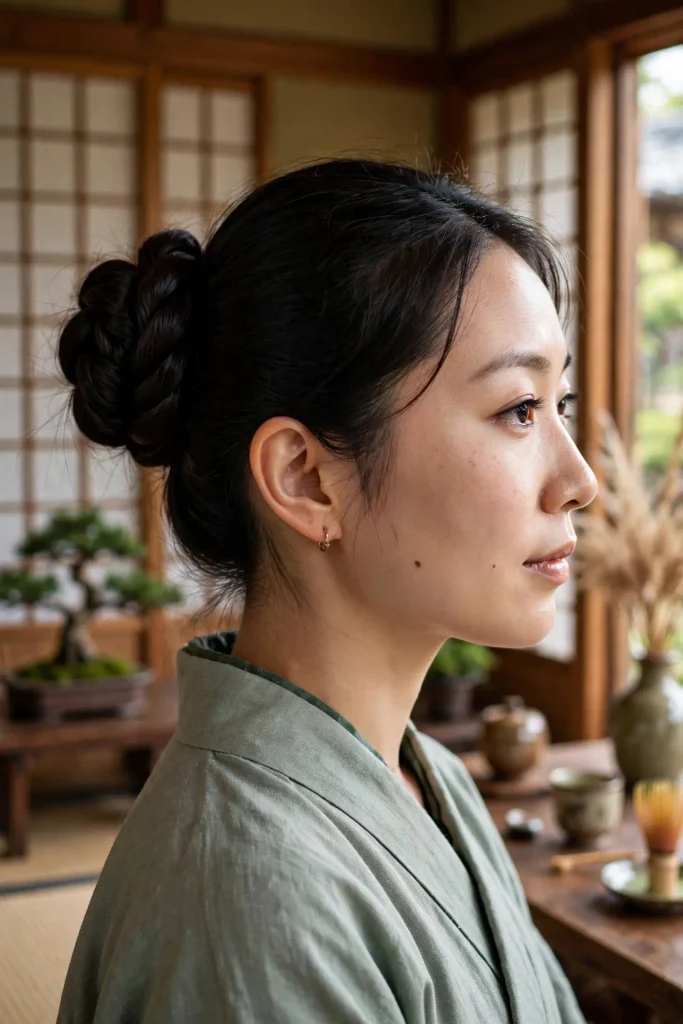
Create a rope twist over one shoulder, then wrap it into a low side bun and secure it with pins. It’s elegant and perfect for events.
Time: 7 minutes
Skill: getting there
Lasts: all day
Technique 4: French and Dutch Braids
A French braid starts at the top of your head and adds new hair to each section as you braid down. A Dutch braid is the same, except you cross the strands under the middle instead of over, which makes the braid stand out from your head.
10. The Single Dutch Braid

A single Dutch braid starting at your forehead and running down the back of your head. It’s sporty, secure and perfect for workouts and busy days.
Time: 10 minutes
Skill: confident
Lasts: all day and overnight
11. The Dutch Braid Messy Bun

Flip your head upside down and Dutch braid from the nape of your neck up to your crown. Then gather the rest of your hair into a messy bun on top. It looks impressive but is surprisingly quick.
Time: 10 minutes
Skill: confident
Lasts: all day
12. The French Braided Bangs
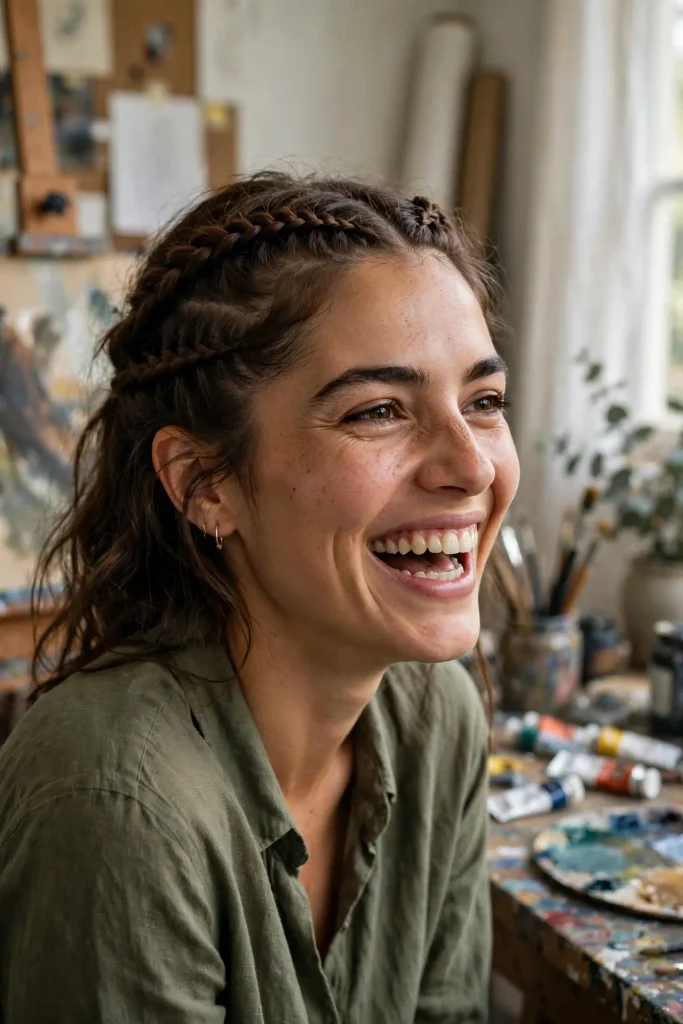
French braid your bangs or front section along your hairline, back toward your ear, and pin the end behind your ear. It’s perfect for growing out bangs.
Time: 5 minutes
Skill: getting there
Lasts: all day
Technique 5: The No-Braid Cheats
These styles look like braids, but they use elastics or ribbon instead of actual braiding.
13. The Bubble Braid
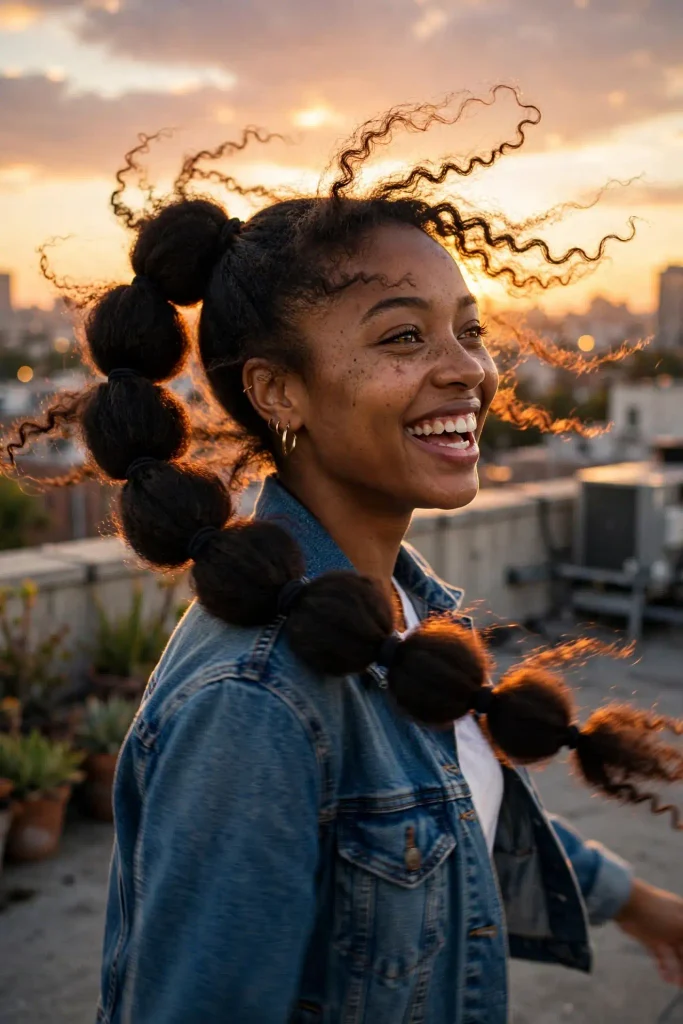
Make a ponytail, then add elastics every two to three inches down the length. Gently pull each section out to create rounded “bubbles.”
Time: 5 minutes
Skill: first-timer
Lasts: all day
14. The Pull-Through Braid
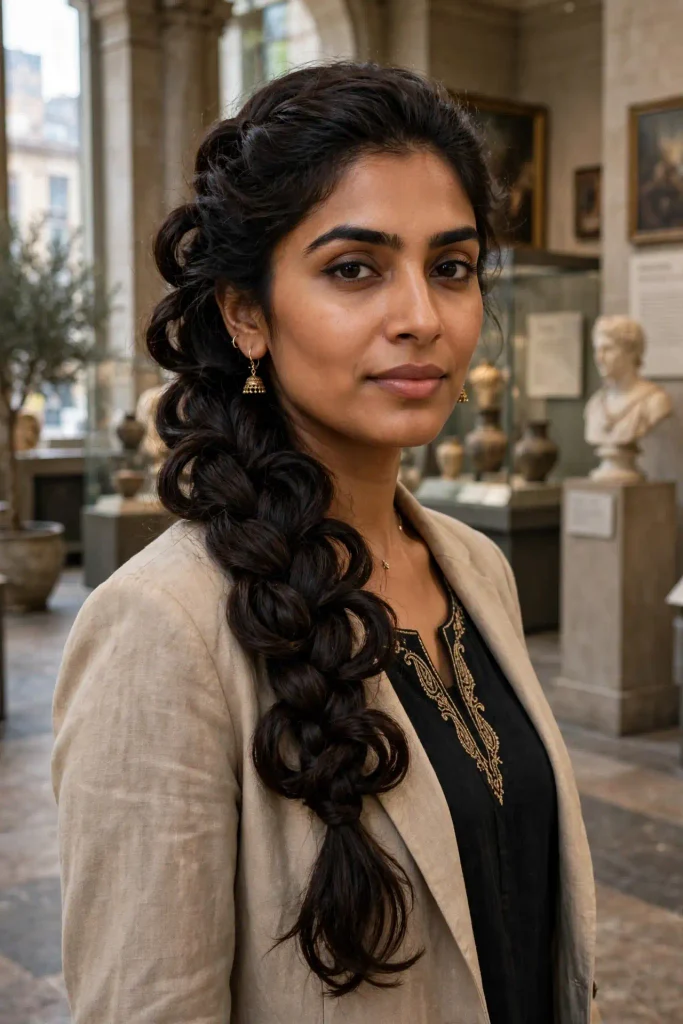
Make a small ponytail at the top of your head. Make another ponytail just below it, then split the top ponytail in two and bring the lower ponytail through the middle. Repeat down your head, then pull the sections out for volume.
Time: 8 minutes
Skill: first-timer
Lasts: all day
15. The Ribbon Crisscross Ponytail
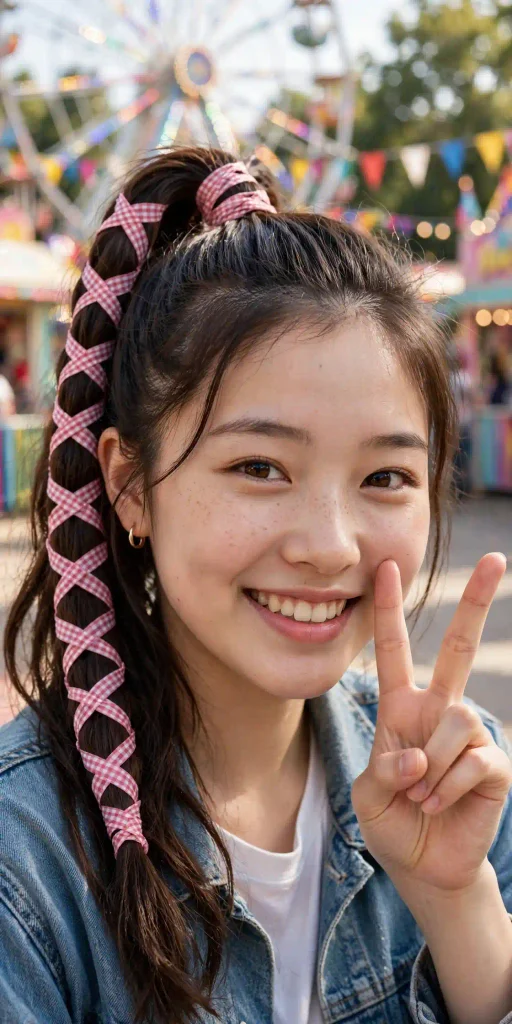
Tie a ponytail with a long ribbon, then crisscross the ribbon down the length of the ponytail and tie it at the end. It creates a braid-like effect with almost no effort.
Time: 3 minutes
Skill: first-timer
Lasts: all day
How to Braid Your Own Hair
Braiding your own hair is harder than braiding someone else’s, mostly because your arms get tired and you can’t see what you’re doing. These tips help:
- Use two mirrors to see the back of your head.
- Practice on a friend, a sibling or even a wig before trying on yourself.
- Rest your elbows on a table or counter to reduce arm fatigue.
- Braid slightly damp hair, which is less slippery.
- Don’t worry about perfection. Slightly messy braids often look better.
Braiding Short, Layered or Slippery Hair
Short hair: Try braided headbands, French braided bangs and mini face-framing braids, which work on shorter lengths.
Layered hair: Shorter layers can poke out of braids. Use a little gel or styling cream on the strands to keep them in.
Slippery or fine hair: Use texturizing spray, braid slightly damp hair, or start with second-day hair for more grip.
Thick or curly hair: Detangle thoroughly, use a little leave-in conditioner, and section carefully. Thick hair often holds braids beautifully.
Sleeping in Braids for Heatless Waves
Braids are a wonderful way to create waves without heat:
- Start with damp, not wet, hair. Very wet hair may not dry overnight.
- Apply a light mousse or curl cream for hold.
- Braid your hair into one or two loose braids. More braids create tighter waves.
- Sleep on a satin or silk pillowcase to reduce frizz.
- Unbraid in the morning and gently break up the waves with your fingers.
Two Dutch braids create soft, bouncy waves; a single braid creates looser, beachy waves.
Braid Accessories Worth Trying
- Ribbons woven into braids or tied at the end
- Small gold or silver hair cuffs clipped onto braids
- Pearl pins tucked into crown braids and buns
- Scrunchies for a soft finish on ponytails and pigtails
- Mini claw clips to secure the end of a braid
Protecting Your Hair While Braiding
- Avoid braiding too tightly, especially along your hairline, which can cause tension and breakage.
- Use snag-free elastics, without metal pieces.
- Don’t keep the same braid in for days, without giving your hair a break.
- Moisturize regularly, especially if you have dry or curly hair.
Frequently Asked Questions
What is the easiest braid for beginners?
The classic three-strand braid is the easiest to learn. Once you master it, try the rope twist and fishtail.
What’s the difference between a French braid and a Dutch braid?
In a French braid, you cross strands over the middle section. In a Dutch braid, you cross them under, which makes the braid stand out from your head
How can I make my braids look thicker?
Gently pull at the edges of each section after braiding. This technique is often called “pancaking.”
Can I braid my hair when it’s wet?
Slightly damp hair is easier to braid, but very wet hair may not dry properly and can be more fragile.
Learn Five Techniques, Wear Fifteen Styles
You don’t need to be a hairstylist to wear beautiful braids. Start with the classic three-strand braid, add the rope twist, then try a fishtail. Before long, French and Dutch braids will feel easy too.
Pick one technique this week, practice it a few times, and try all three of its styles.
Which braiding technique are you learning first? Tell me in the comments, and share your quickest braided hairstyle.