16 Halloween Decorations Ideas That Make Your Home the Best on the Block (Most Under $20)
I’ll admit it: I’m the neighbor who starts pulling Halloween bins out of the garage the first cool week of September. My husband pretends to be annoyed, the kids pretend they’re too old for it, and by October everyone’s asking when we’re putting the floating witch hats back up.
Over the years I’ve learned that the best Halloween decorations aren’t the most expensive ones. The magic comes from a few clever ideas, good lighting, and a little bit of DIY.
So today I’m walking you through my house, from the front porch to the powder room, with 16 Halloween decoration ideas that look amazing and mostly cost less than a pizza. For each one I’ve included a rough cost, how long it takes, and the one trick that makes it look store-bought rather than homemade.
At the end you’ll find my safety checklist, how I turn Halloween decor into fall decor on November 1st, and the storage system that saves my sanity every year.
First, Pick Your Halloween Vibe
Before you buy a single spider, decide what kind of Halloween you want. Mixing every style at once is the number one reason decor ends up looking cluttered.
Cute and cozy: friendly ghosts, orange and cream, smiling pumpkins. Perfect for homes with little kids.
Vintage spooky: black cats, old-fashioned portraits, apothecary bottles and candlelight. Think haunted Victorian house.
Modern neutral: white, black and wood tones, velvet pumpkins and dried branches. Chic enough to leave up well into October.
Full-on fright: skeletons, fog and eerie lights. For the house the whole neighborhood talks about.
Choose one main vibe and borrow one or two ideas from another. My home is mostly vintage spooky with a cute kids’ room, and it works because each space has its own mood.
Out Front: The Porch and Yard
Your porch is the first thing trick-or-treaters see, so this is where I spend the most effort.
1. Floating Witch Hats
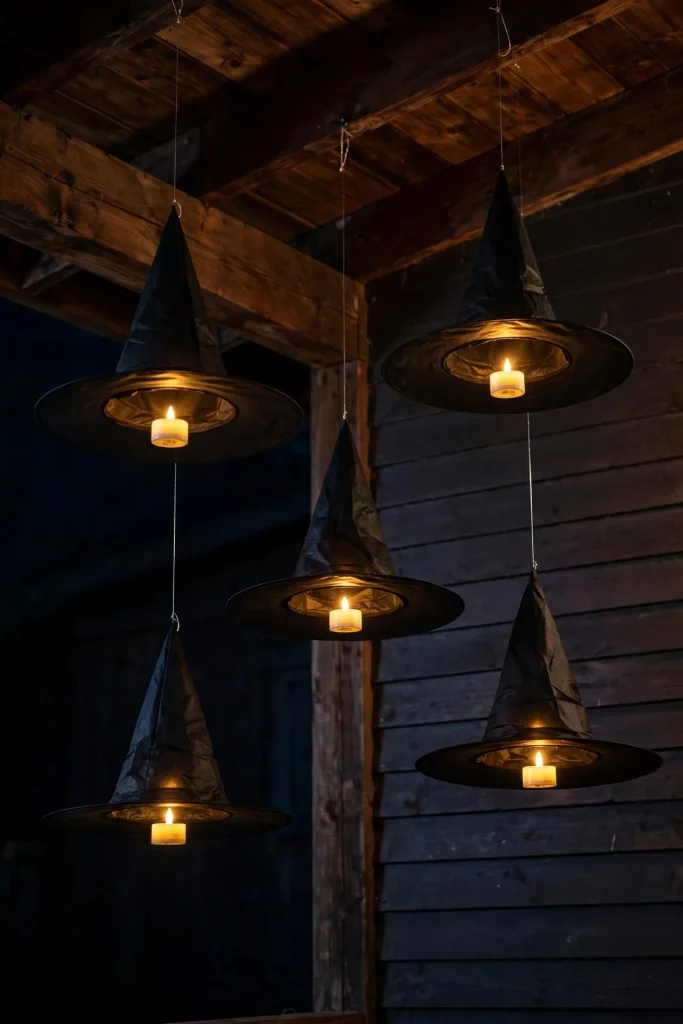
This is my family’s favorite idea, and it gets more compliments than anything else I’ve ever made. Hang cheap witch hats from the porch ceiling with clear fishing line, and tuck a small battery-powered LED tea light inside each one. At night they glow and seem to float in midair.
Cost: about $20 for six hats and lights | Time: 30 minutes
My tip: Hang the hats at slightly different heights. Perfect rows look like a store display; uneven heights look like a coven just flew in.
2. The Stacked Pumpkin Topiary
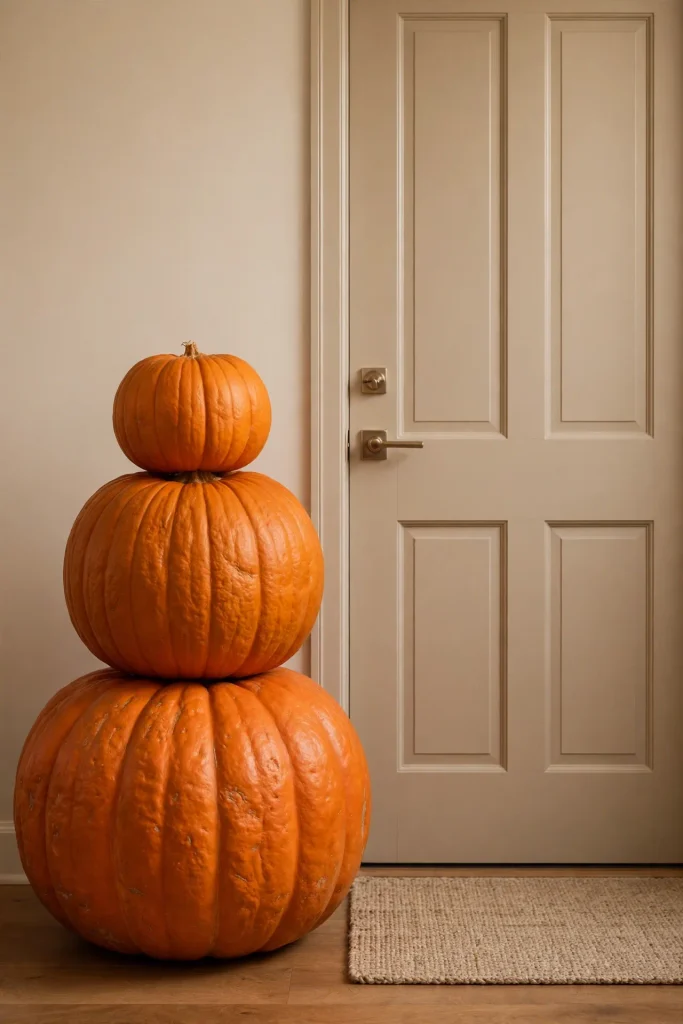
Stack three pumpkins of decreasing size on top of each other beside your front door, biggest at the bottom. Mix real and faux: real for the base (it’s heavy and stable) and faux for the top two so they last all month.
Tuck a few dried corn stalks or branches behind it for height.
Cost: $15–30 | Time: 15 minutes
My tip: Cut the stems off the top of the lower pumpkins so the next one sits flat. A dab of hot glue on faux pumpkins keeps the stack steady in the wind.
3. Glowing Eyes in the Bushes
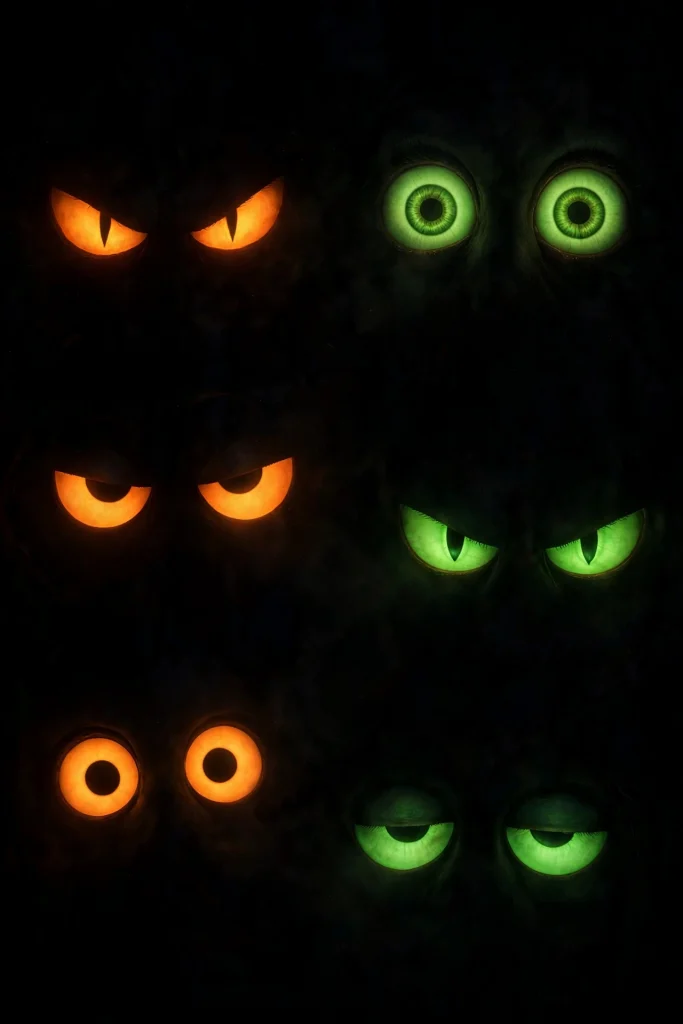
Save your empty toilet paper rolls! Cut two eye shapes into each roll, drop a glow stick inside, and tuck them into shrubs and hedges. After dark, it looks like creatures are watching from the garden.
Cost: under $5 | Time: 20 minutes
My tip: Make each pair a different eye shape: angry slits, round surprised eyes, sleepy half-moons. Kids love spotting them all.
4. Milk Jug Ghost Path Lights
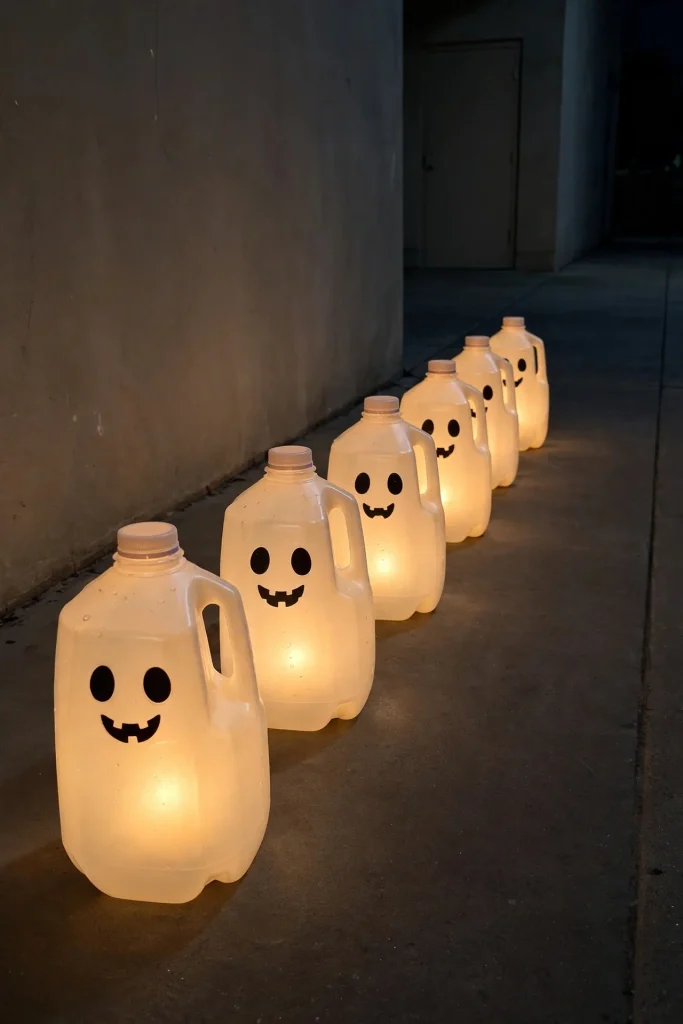
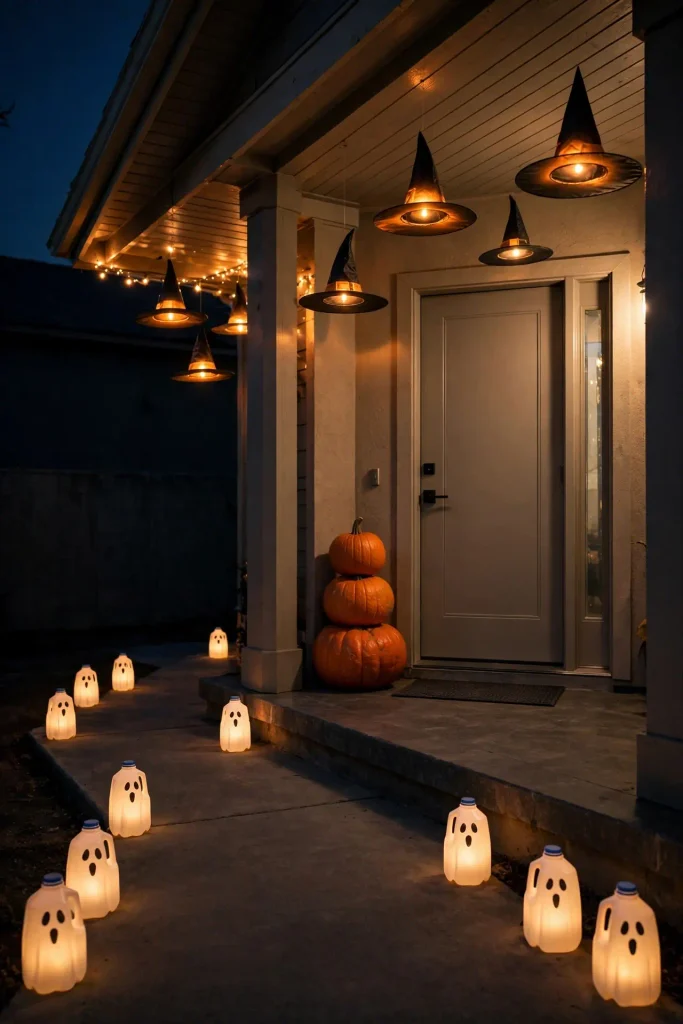
Wash out plastic milk jugs, draw ghost faces on them with a black marker, and place a battery LED light inside. Line them up along your walkway to guide trick-or-treaters to the door.
Cost: nearly free | Time: 30 minutes
My tip: Use a permanent marker with a thick tip, and draw the faces before you put the lights inside. It’s much easier to draw on an empty jug.
Windows: Your Secret Weapon
Windows are the most overlooked space in Halloween decorating, and they’re visible to every car that drives past.
5. Backlit Window Silhouettes
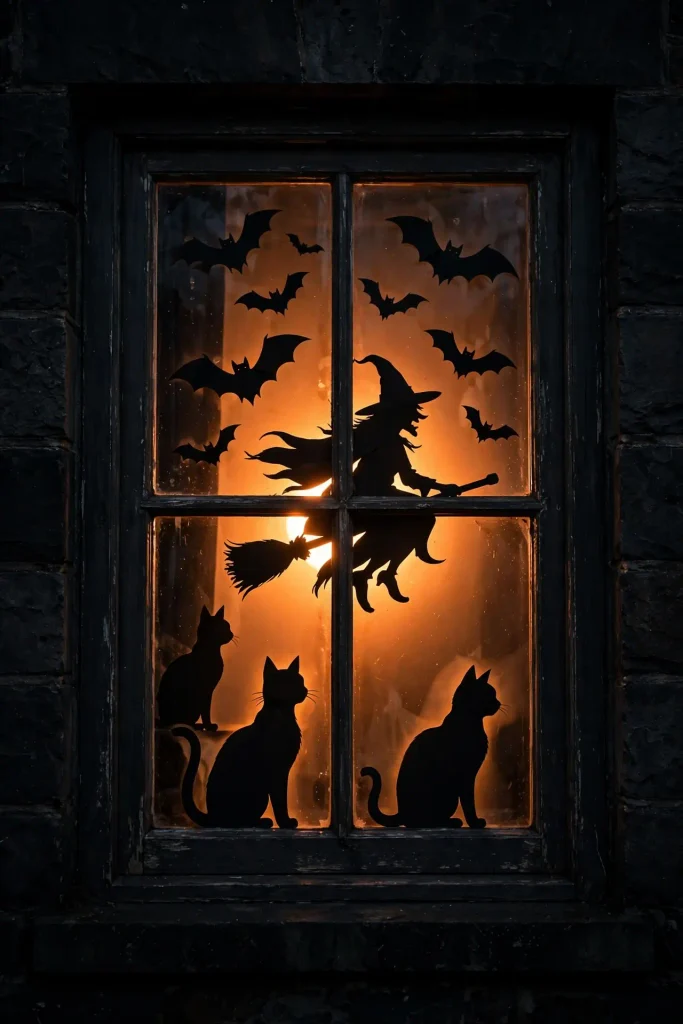
Cut simple shapes from black cardstock: a witch on a broom, black cats, bats or a crooked tree. Tape them to the inside of your windows, then put a warm orange or amber bulb in the nearest lamp.
From the street, your house looks like a scene from an old Halloween movie.
Cost: under $10 | Time: 1 hour
My tip: Search for free printable silhouette templates, print them, and trace them onto black cardstock. Simple outlines read best from a distance.
The Living Room and Entryway
Inside, I like decorations that feel a little eerie but still let the room feel like home.
6. The Haunted Portrait Gallery

Swap a few of the family photos on your wall for “haunted” portraits: vintage-style printables of stern ladies and gentlemen whose eyes seem to follow you, or pictures that change from normal to spooky.
Frame them in thrifted gold or black frames and hang them in a tight cluster.
Cost: $10–15 using thrift-store frames | Time: 45 minutes
My tip: Keep your normal frames and just slip the printables in front of your photos. Come November, you pull them out and your gallery is back to normal.
7. The Moody Mantel
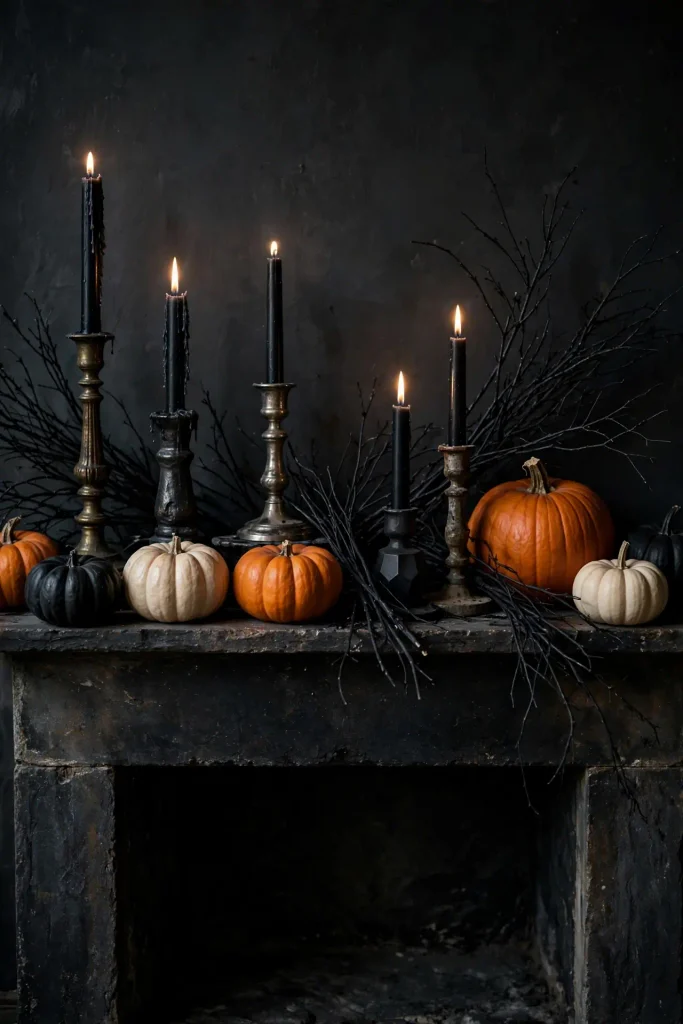
A Halloween mantel doesn’t need 40 things on it. Mine uses just three ingredients: black taper candles in mismatched candlesticks, dried branches or bare twigs sprayed black, and a few pumpkins in different sizes.
Keep the colors to black, cream and one accent, such as copper or deep orange.
Cost: $15–25 | Time: 30 minutes
My tip: Use flameless taper candles if you have pets or kids. The newer ones flicker convincingly.
8. Paper Bats Flying Up the Wall
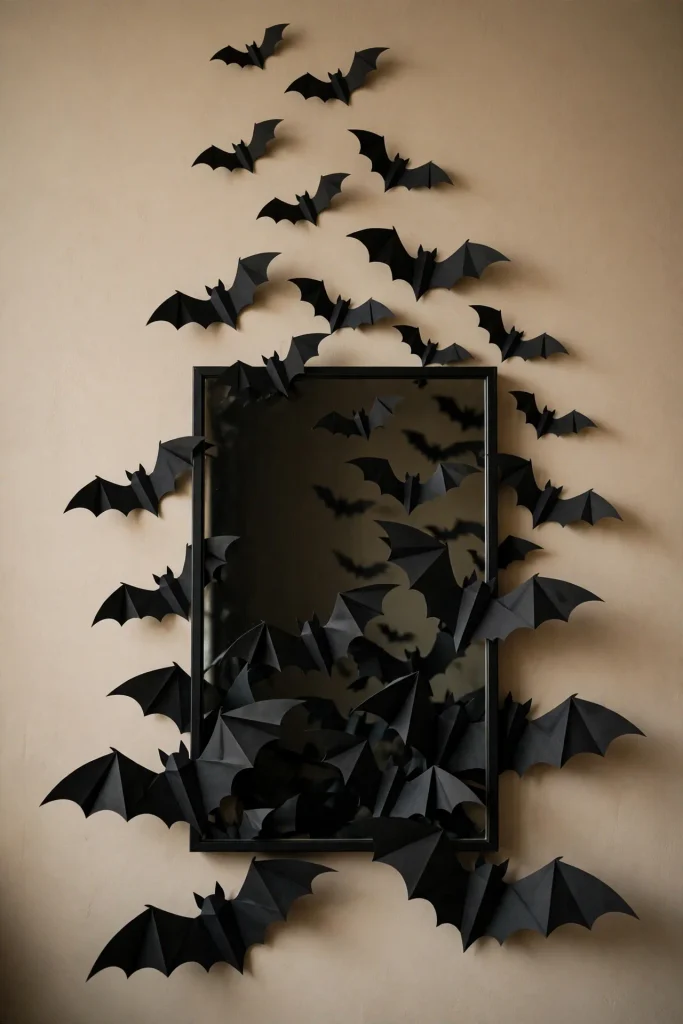
This is the easiest dramatic idea on the list. Cut 30 to 40 bats from black cardstock, fold the wings slightly so they look three-dimensional, and stick them to the wall with removable putty so they swoop up from the floor or out from behind a mirror.
Cost: under $8 | Time: 1 hour
My tip: Cut bats in three sizes and place the biggest ones closest to the “starting point.” It creates a real sense of a colony flying out.
9. Floating Cheesecloth Ghosts
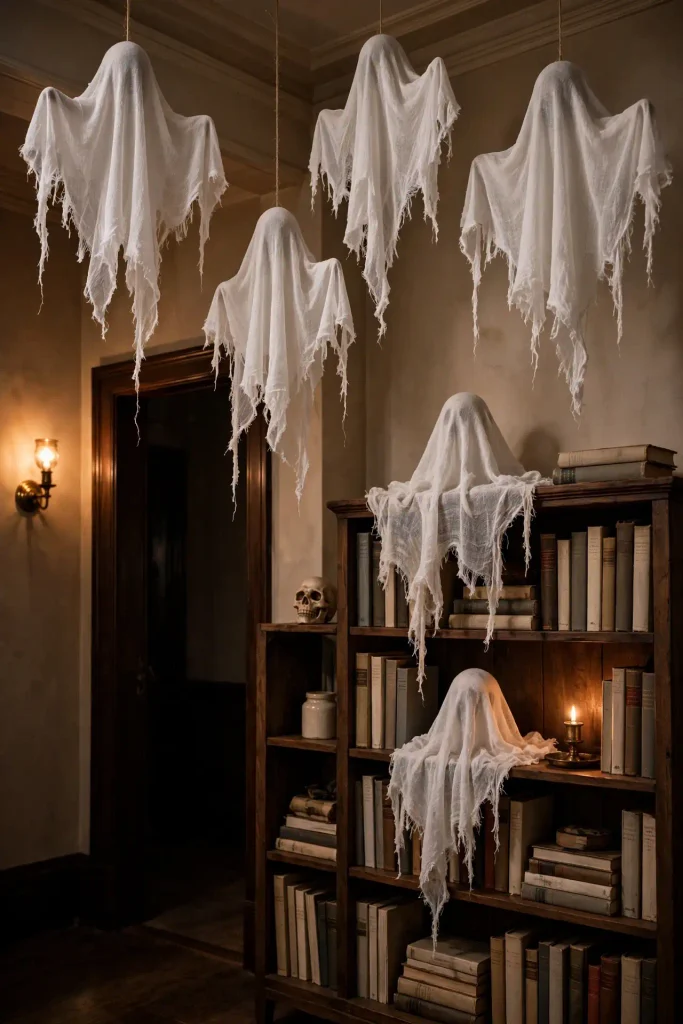
This is a fun weekend project. Drape cheesecloth over a balloon set on a jar, spray it generously with fabric stiffener (or a mix of glue and water), and let it dry overnight. Pop the balloon, and you have a free-standing ghost.
Hang a few from the ceiling in your entryway or perch them on bookshelves.
Cost: about $10 | Time: 30 minutes plus drying
My tip: Tear the edges of the cheesecloth before shaping. The frayed, uneven hem is what makes them look spooky instead of like a sheet.
10. The Cozy Swap: Pillows and Throws
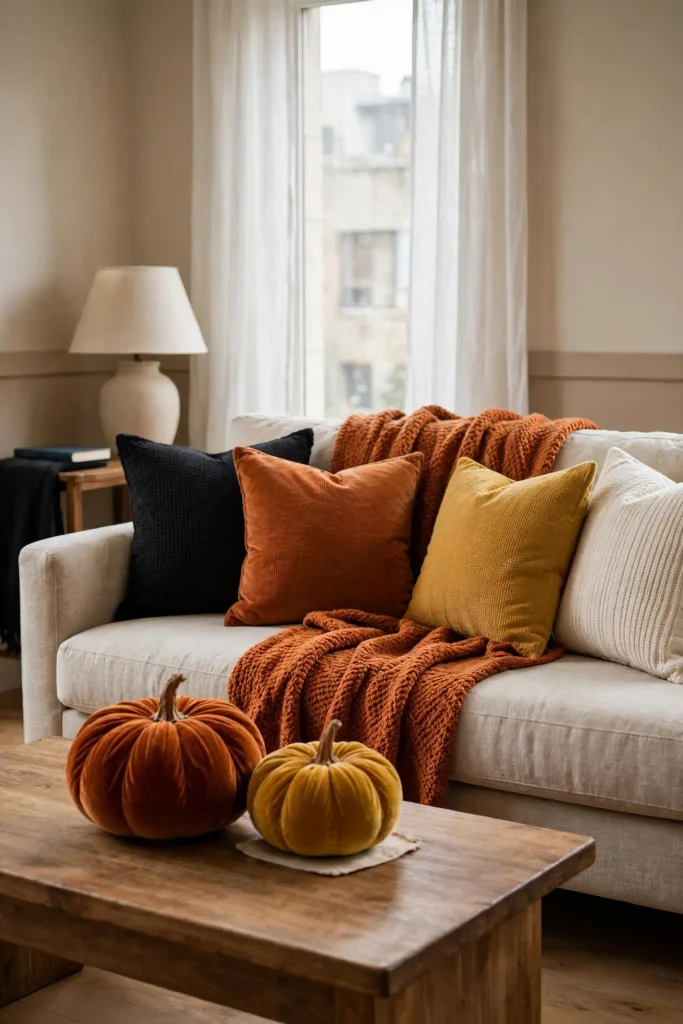
Not every Halloween decoration needs to be scary. Swapping a few pillow covers and a throw blanket into black, burnt orange, mustard or cream changes the whole feel of a room.
Add a velvet pumpkin or two to the coffee table, and your living room says “October” even in daylight.
Cost: $10–25 for covers | Time: 10 minutes
My tip: Buy pillow covers rather than new pillows. They fold flat for storage and cost a fraction of the price.
Dining Room and Kitchen
11. A Witchy Dinner Tablescape
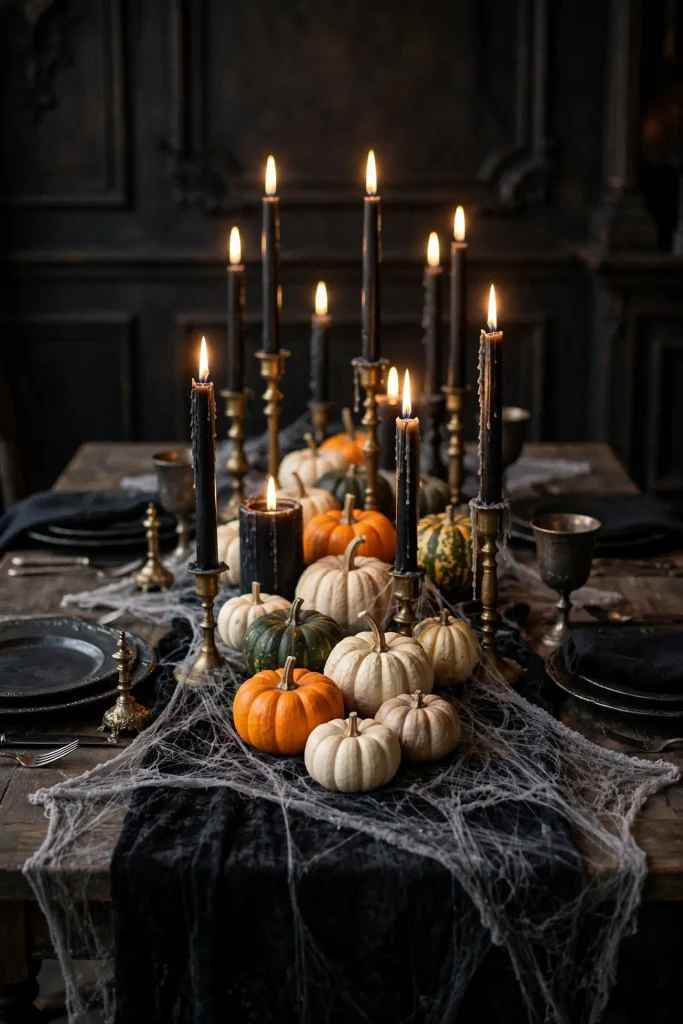
Set your table with a black runner or cloth, scatter mini pumpkins and gourds down the middle, and add tall candles at different heights. Drape a piece of black lace or a spider-web runner over the top for a gothic touch.
For a dinner party, place a tiny black paper bat or a mini pumpkin with each guest’s name on it as a place card.
Cost: $20–30 | Time: 30 minutes
My tip: Keep the centerpiece low, under about 12 inches, so guests can see each other across the table.
12. Mummy Mason Jar Lanterns
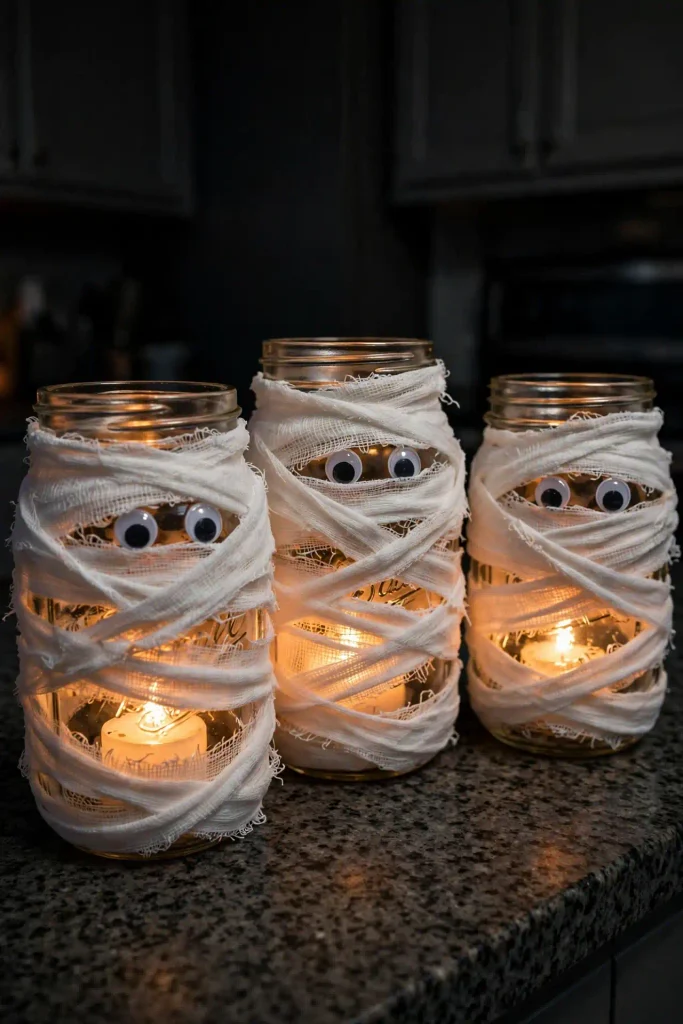
Wrap mason jars or old glass jars in gauze or thin strips of white cloth, leaving a small gap. Stick two googly eyes in the gap and drop an LED tea light inside.
They glow softly on a kitchen counter, a windowsill or down the center of the table.
Cost: under $5 if you have jars | Time: 20 minutes
My tip: Leave a few gaps in the wrapping so more light shines through. Fully covered jars look like cotton balls.
13. Potion Bottle Shelf
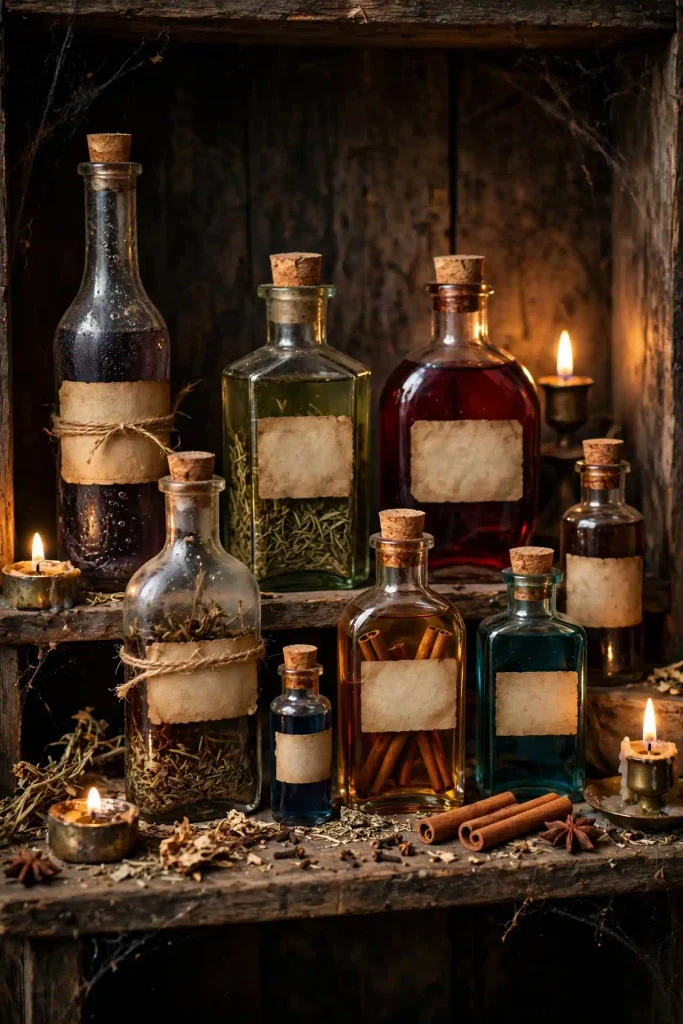
Collect odd-shaped glass bottles from thrift stores, then fill them with colored water, dried herbs or even cinnamon sticks. Add printable vintage labels like “Bat Wings,” “Eye of Newt” or “Witch’s Brew.”
Group them on an open kitchen shelf or bar cart.
Cost: $10–15 | Time: 45 minutes
My tip: Stain printed labels with cold coffee or tea before gluing them on. It gives an aged, apothecary look.
Little Spaces That Surprise Guests
14. The Spooky Powder Room
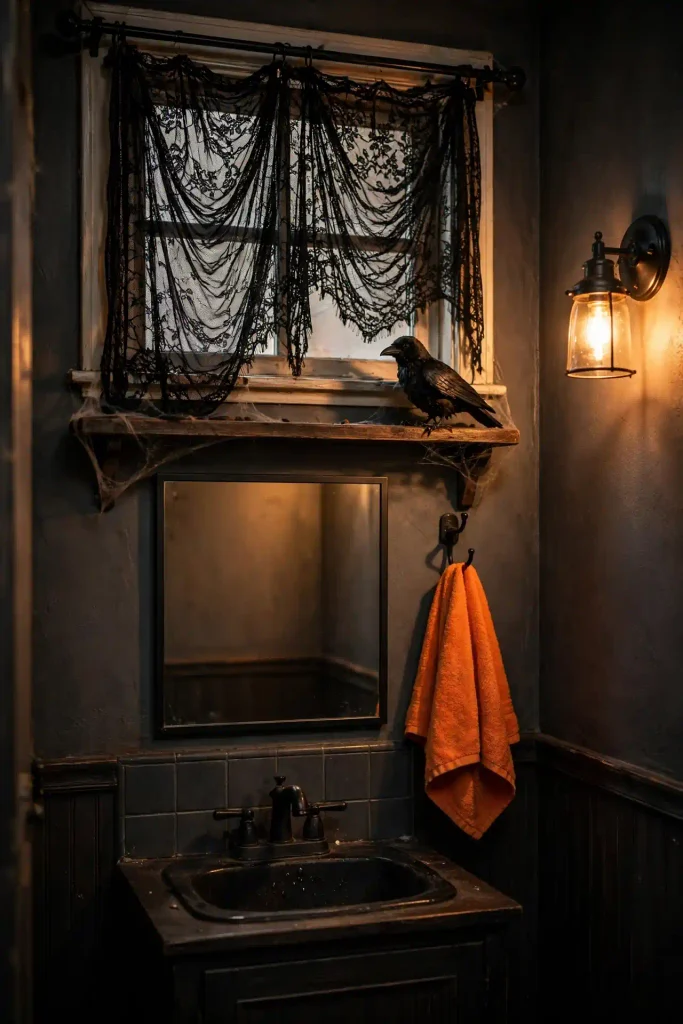
Your guest bathroom is a secret decorating opportunity, because everyone goes in there eventually. Hang a black lace curtain, swap in a black or orange hand towel, and use a window marker or dry-erase marker to write “You’re next…” or “BOO” in the corner of the mirror.
A single faux crow on the shelf finishes it off.
Cost: under $10 | Time: 15 minutes
My tip: Test your marker on a small corner first to make sure it wipes clean.
15. A Friendly Kids’ Room
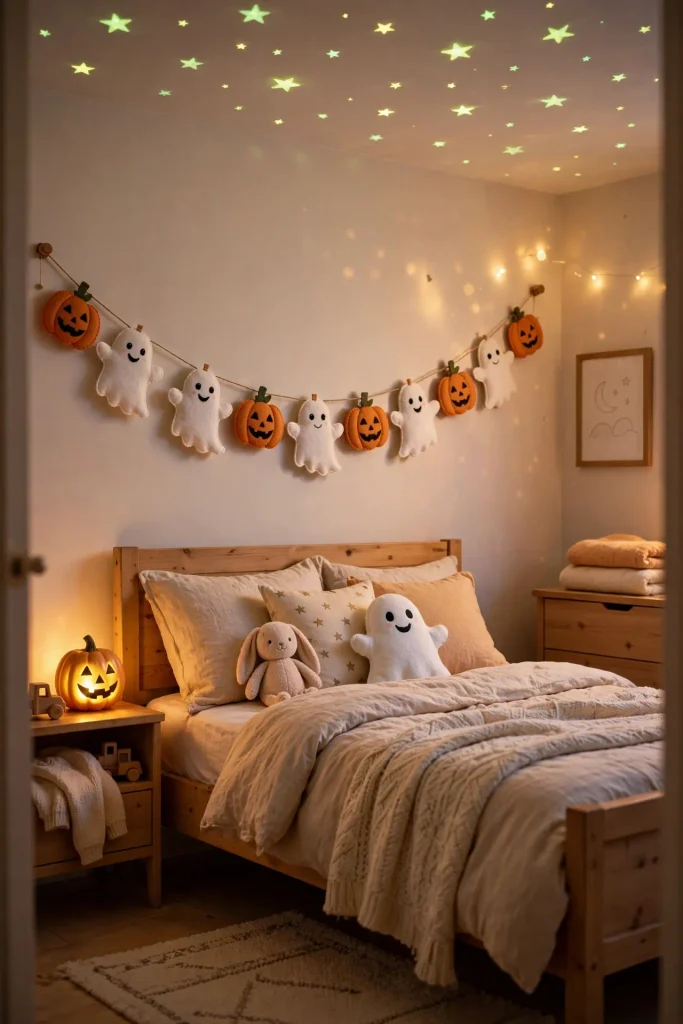
For little ones who get scared easily, keep their room cute. Hang a garland of smiling felt ghosts or pumpkins, add glow-in-the-dark stars to the ceiling, and put a pumpkin night-light by the bed.
It lets them join in the fun without bedtime tears.
Cost: $10–15 | Time: 20 minutes
My tip: Let your kids help make the garland. They’ll be proud of “their” decorations and far more likely to sleep happily beside them.
16. No-Carve Painted Pumpkins
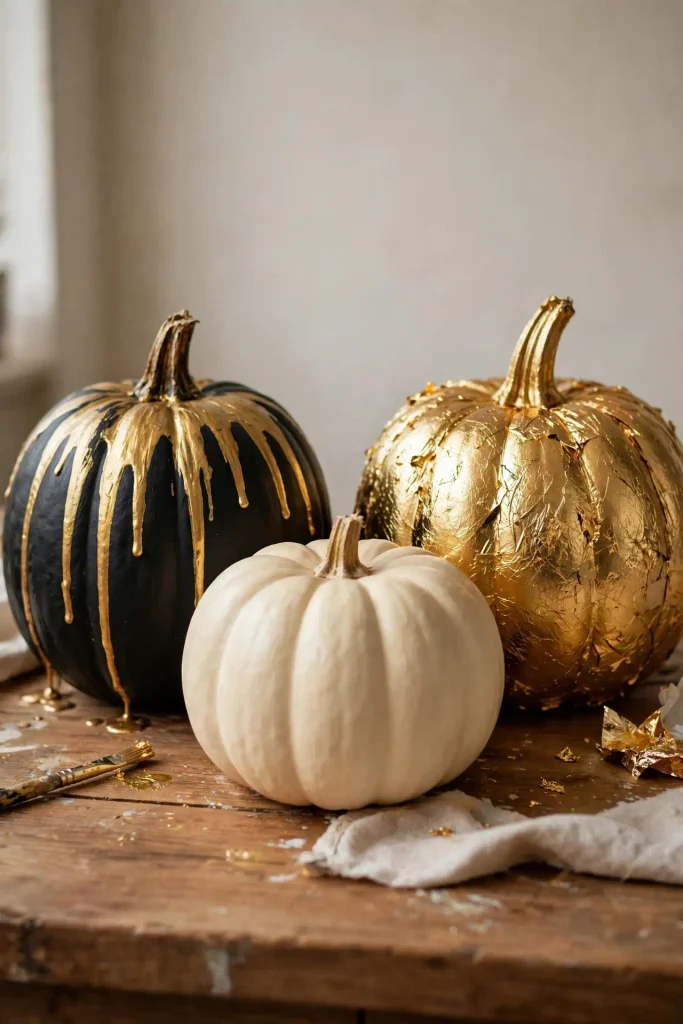
Carved pumpkins rot quickly, especially in warm climates. Painted pumpkins can last all season. Try matte black with gold drips, simple cream with a painted face, or a pumpkin covered in gold leaf.
Kids can paint their own with washable paints, making it a great family afternoon.
Cost: $10–20 | Time: 1 hour
My tip: Wipe the pumpkins with a little diluted vinegar before painting. It removes dirt and helps the paint stick.
My Halloween Decorating Safety Checklist
Halloween should be spooky, not dangerous. These are the rules I follow every year:
Choose LED over real flames, especially near cheesecloth, paper and dried branches, which catch fire fast.
Keep walkways clear. Trick-or-treaters wear long costumes and masks that block their view. Tape down cords and keep props off the steps.
Watch the pets. Glow sticks, fake cobwebs and small decorations can be dangerous if swallowed. Keep them out of reach of dogs and cats.
Check outdoor lights for outdoor ratings. Indoor extension cords outside are a common hazard in wet autumn weather.
Secure tall props. Wind can easily topple skeletons and stacked pumpkins onto little visitors.
November 1st: How I Turn Halloween Into Fall Decor
This is my favorite trick, and it saves me so much money. Most of my Halloween decorations are designed to “graduate” into Thanksgiving decor.
The pumpkin topiary stays by the door; I just remove anything black. The mantel keeps its branches and pumpkins, but the black candles are swapped for cream ones. The pillow covers in mustard and burnt orange stay all season. The table keeps its mini pumpkins and gourds, with a linen runner replacing the spider-web lace.
Only the obviously Halloween pieces, like bats, ghosts, witch hats and haunted portraits, get packed away. Within an hour, my house goes from haunted to harvest.
Storing Halloween Decorations Without Losing Your Mind
I learned this the hard way after years of tangled lights and crushed witch hats.
Label bins by room, not by item. “Porch,” “Mantel,” “Kitchen” bins let you decorate one space at a time next year.
Wrap lights around cardboard. A piece of cardboard with notches on each end keeps strings of lights tangle-free.
Store paper bats and silhouettes flat in a folder or between cardboard sheets so they stay crisp.
Take photos before you pack. Snap a quick picture of each decorated space. Next year, you’ll know exactly how you set it up.
Frequently Asked Questions
When should I put up Halloween decorations?
Most people decorate in early October, though fall-themed pieces often go up in September. Outdoor decorations with real pumpkins last best if you put them out in the last two or three weeks of October.
How can I decorate for Halloween on a budget?
Start with free or nearly free projects: toilet paper roll eyes, milk jug ghosts, paper bats and painted jars. Thrift stores are also great for frames, candlesticks and bottles.
How do I make my Halloween decorations look high-end?
Stick to a limited color palette, use good lighting, and group items in odd numbers. Three well-chosen pieces look more expensive than twenty random ones.
Are Halloween decorations safe for pets?
Many are, but avoid glow sticks, small loose items and fake cobwebs within your pets’ reach. LED candles are much safer than real flames around curious tails.
Before You Grab the Glue Gun
You don’t need to do all 16 ideas this year. Pick one for your porch, one for your living room, and one fun surprise, like the powder room or bats flying up the wall.
Start small, have fun, and let your family join in. The best Halloween homes aren’t the ones with the biggest budgets. They’re the ones where you can tell someone had a lot of fun decorating.
Now tell me: are you a cute-and-cozy Halloween person or full-on spooky? Share your favorite decoration in the comments. I’m always looking for new ideas for next year.