17 Halloween Acrylic Nails, With the Exact Words to Tell Your Nail Tech
I once walked into a salon and said, “Something Halloween, please.” Three hours later I had ten very long orange nails covered in glitter, and I looked like a traffic cone at a disco. It was my fault. I had not told my tech what I meant.
Acrylics can do things regular polish cannot. Your tech can sculpt tiny 3D bats, seal glitter inside the nail, and build a strong shape that holds a design for weeks. But acrylic work is quick, expensive, and hard to change once it is done, so being clear matters.
So each design below has a “Tell your tech” line. Copy it, screenshot it, or read it out loud. The designs are grouped by technique: Painted (art on the surface), Encapsulated (art sealed inside the acrylic), and Sculpted (3D shapes built with acrylic).
Group One: Painted (Art on the Surface)
Flat designs that are easiest to fix and the friendliest on budget.
1. Black Cherry Web.
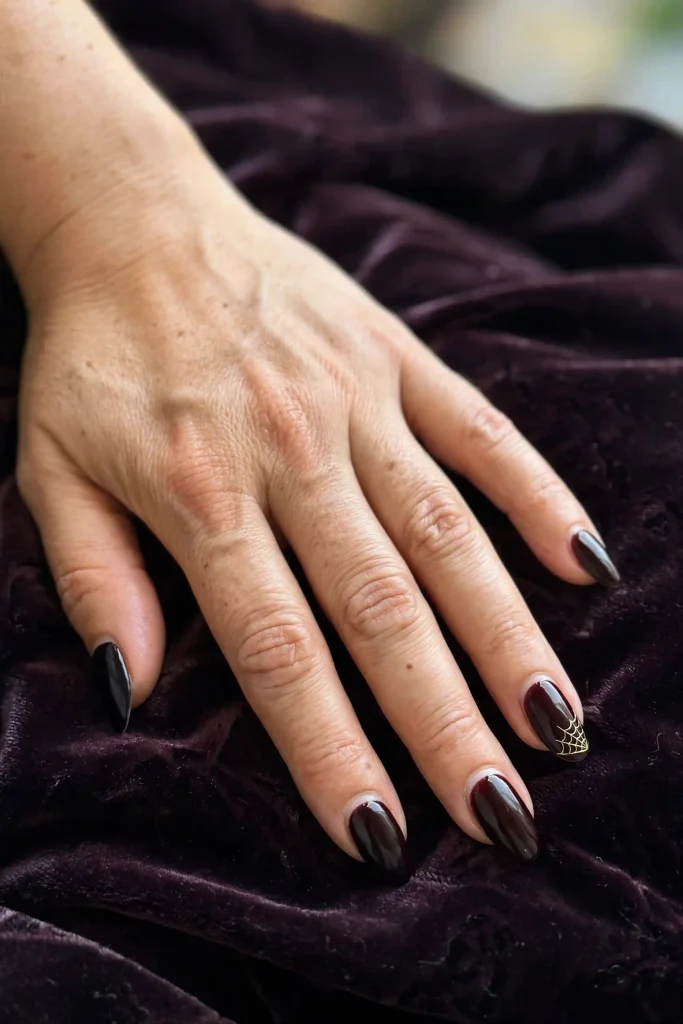
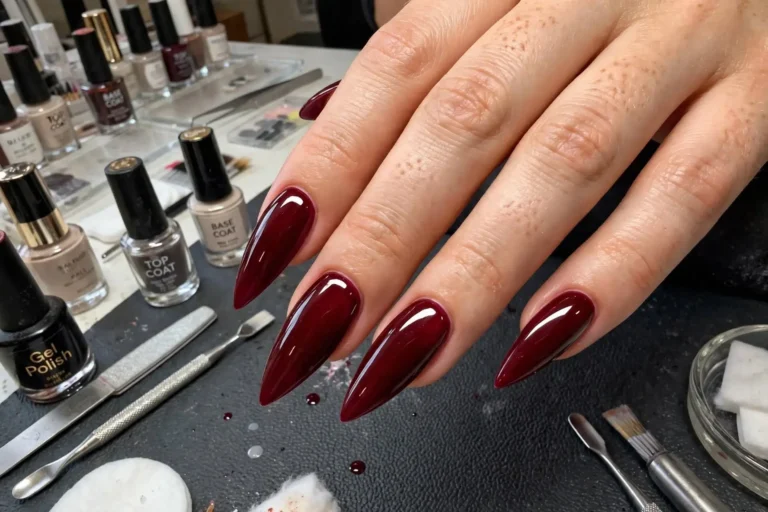
A deep black cherry base with one fine gold web in the corner of a single nail. It looks elegant with velvet and gold hoops. Tell your tech: “Medium almond, black cherry, one small gold web on the ring finger only.”
2. Milk Ghost Set.
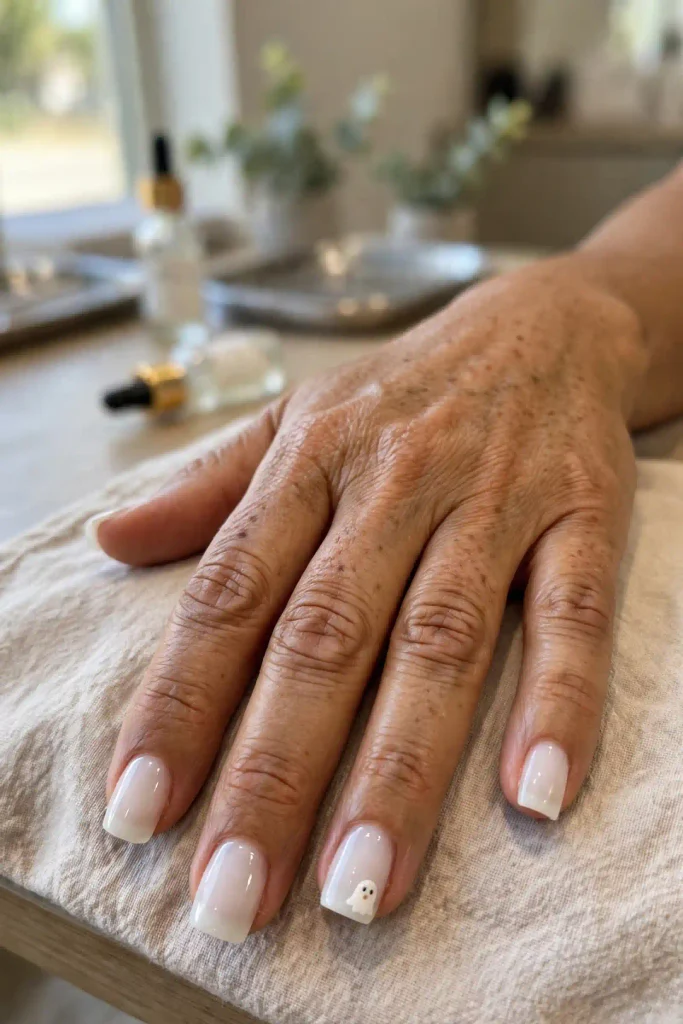
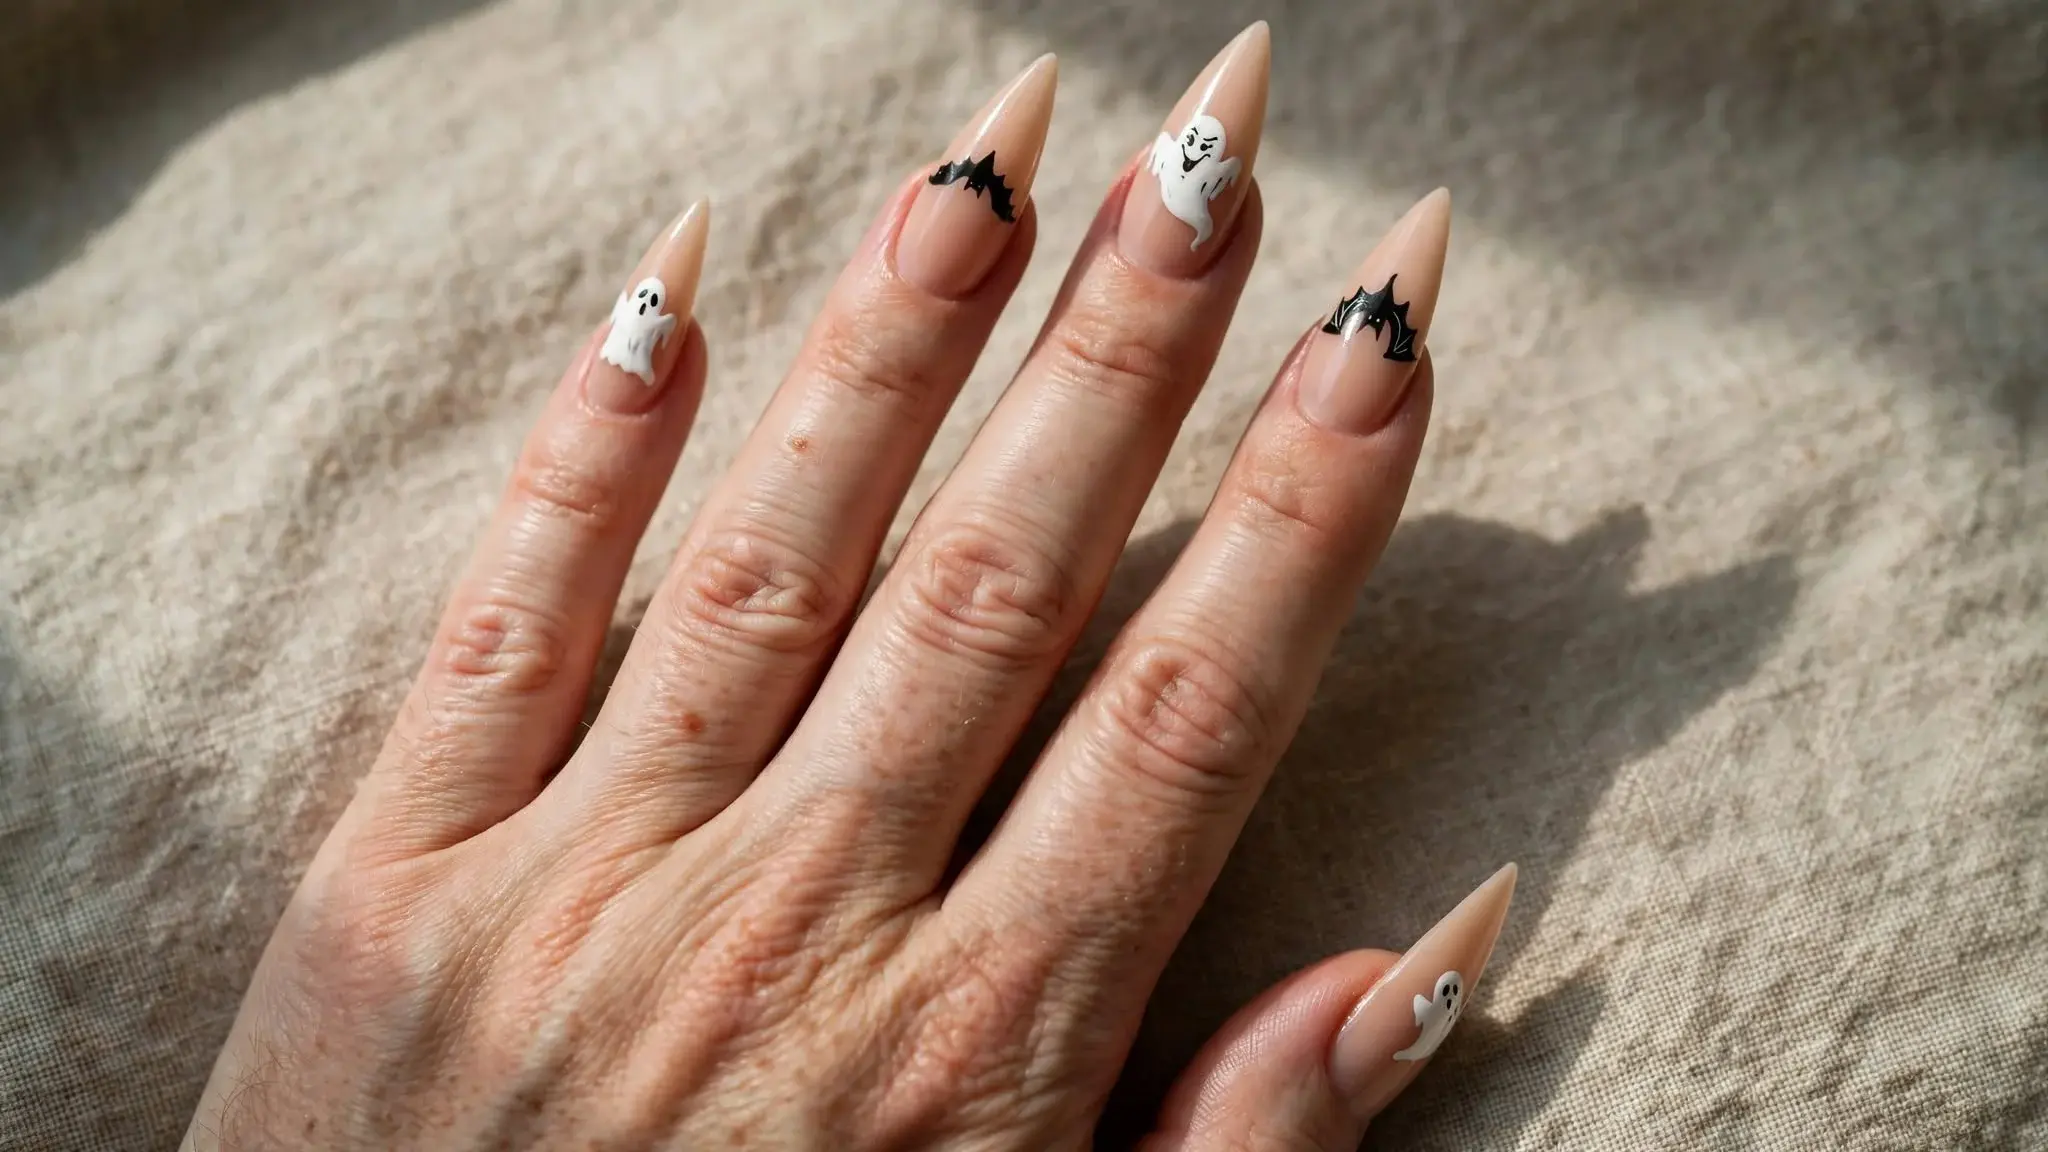
Sheer milky white acrylic with one small ghost near the tip of each ring finger. Soft enough for the office, cute enough for a party. Tell your tech: “Short square, milky white, two tiny ghosts with dot eyes, everything else plain.”
3. Dripping Tips.
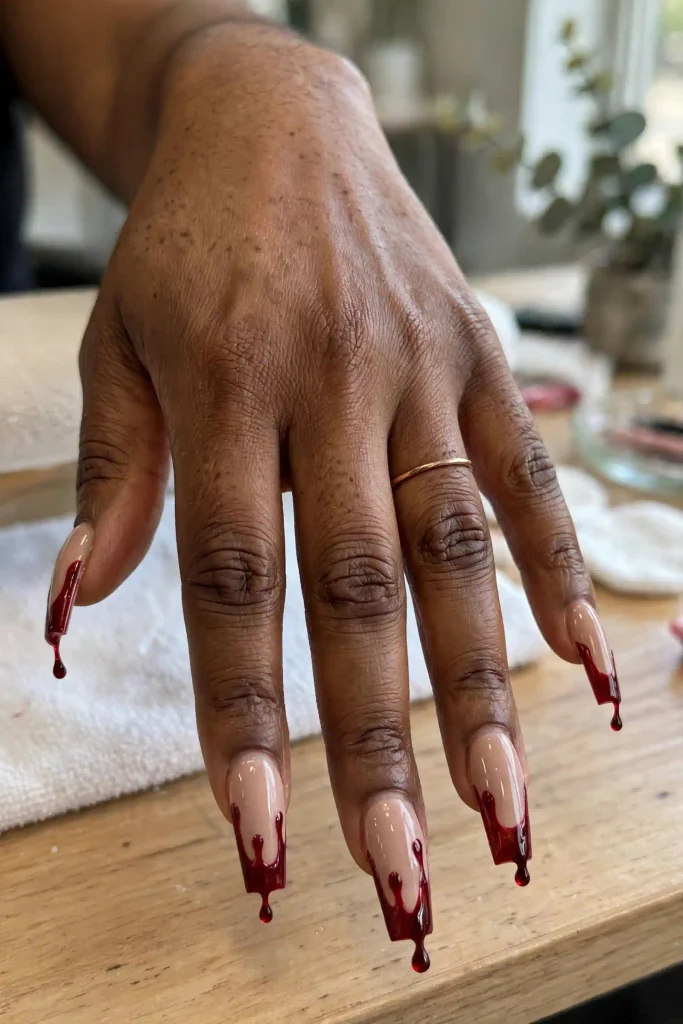
A nude base with deep red drips falling from the tip. Ask for drips of different lengths and one glossy dot at the end of a drip. Tell your tech: “Medium coffin, nude base, uneven red drips, high-shine top coat.”
4. Bone Lines on Matte Black.
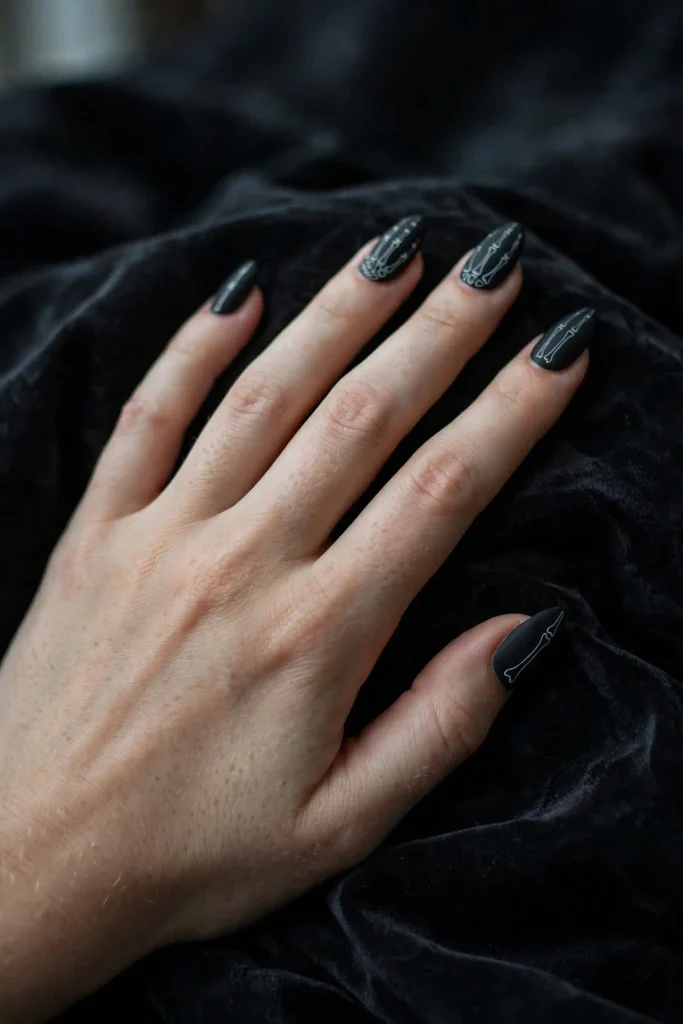
Thin white bone lines over a matte black base. It looks graphic and stays quiet when your hands are still. Tell your tech: “Medium almond, matte black, white skeleton lines, no gems.”
5. Candy Corn French.
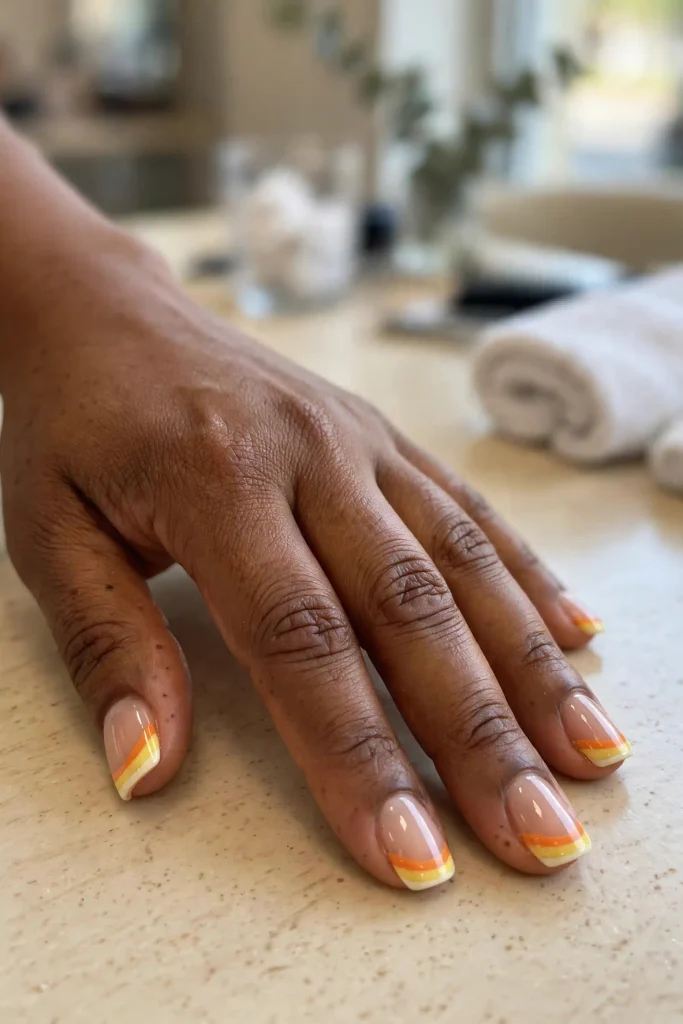
A French tip in butter yellow, orange, and cream, curved to follow your nail shape. Tell your tech: “Short to medium squoval, three-band candy corn tips, glossy finish.”
6. Graveyard Fog Ombre.
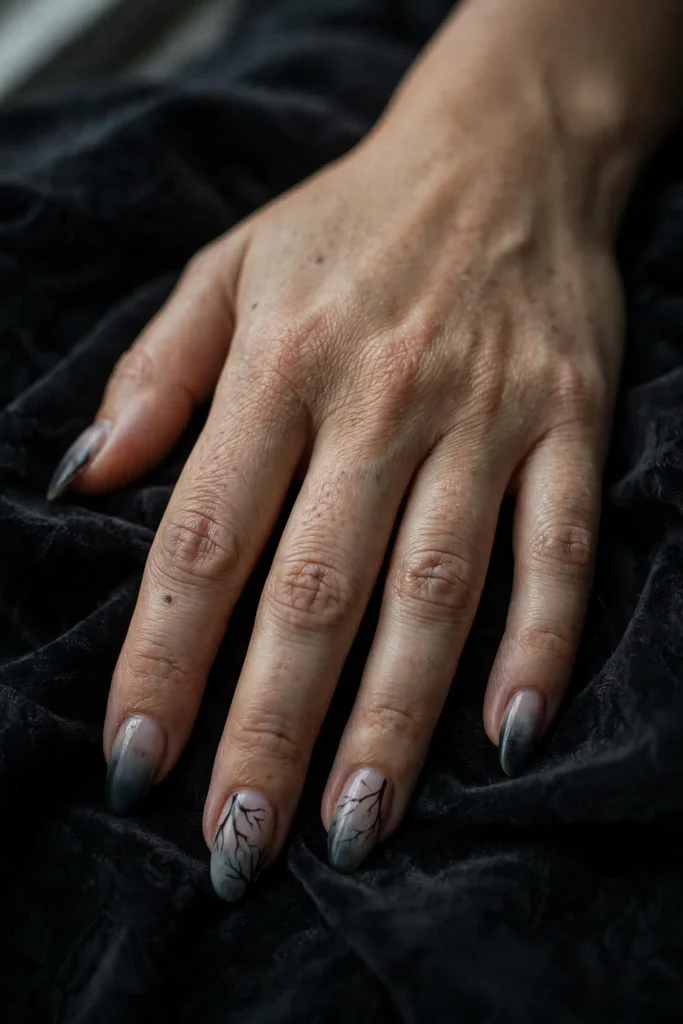
Charcoal at the tip fading into misty gray, with a few thin black branches. Tell your tech: “Medium almond, gray-to-black ombre, three thin branches on two nails.”
Group Two: Encapsulated (Sealed Inside the Acrylic)
Glitter, foil, and tiny elements are buried in clear or tinted acrylic, so they never chip or snag a sweater.
7. Pumpkin Ember.
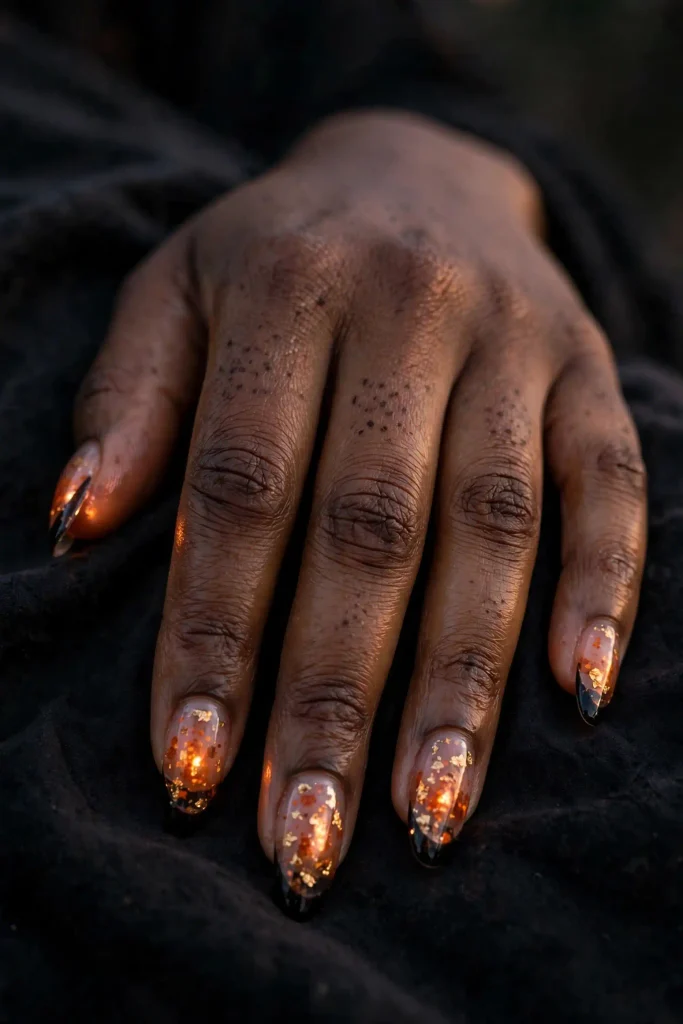
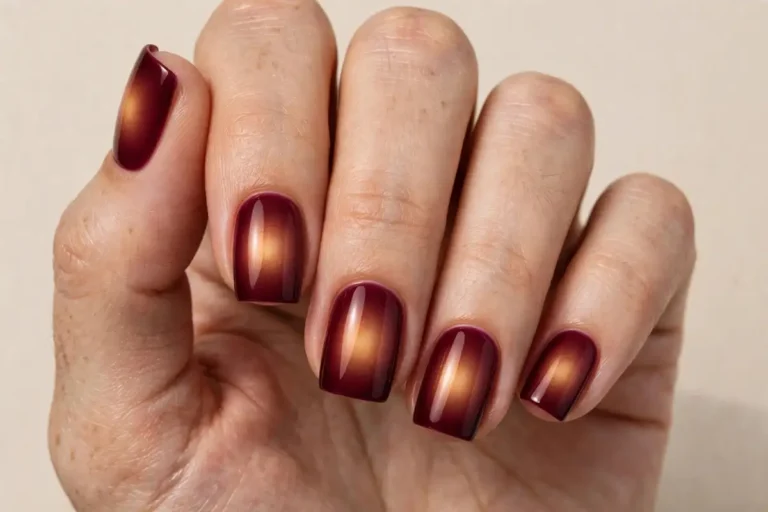
Burnt orange and black gold flakes trapped inside clear acrylic, so the nail glows like a lit pumpkin. Tell your tech: “Medium almond, encapsulated orange and gold foil, black at the tip.”
8. Black Glitter Cauldron.
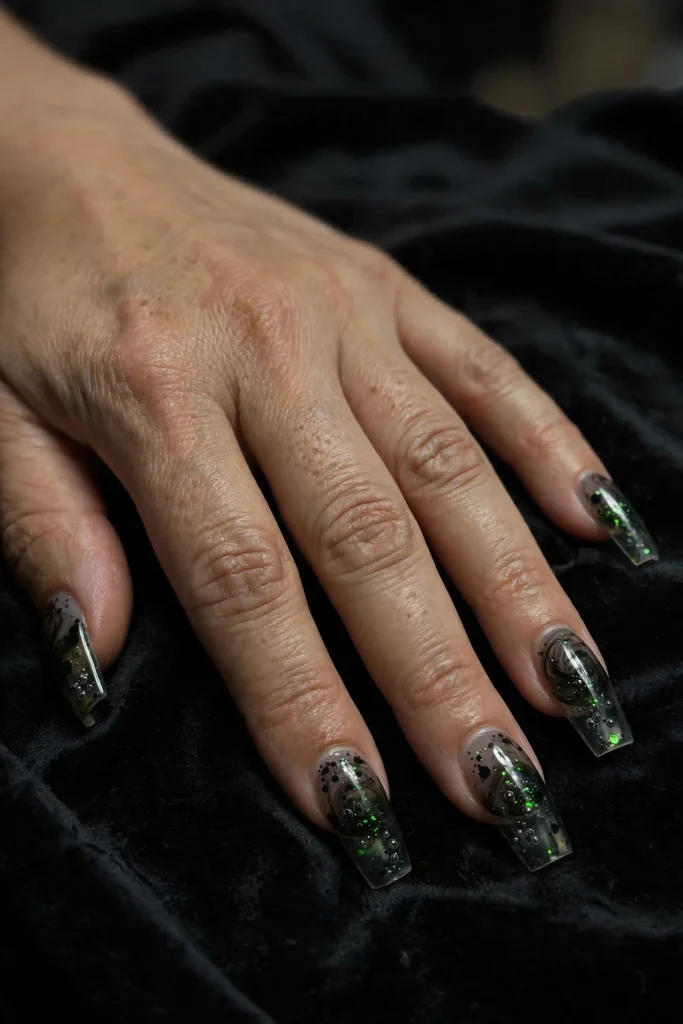
Fine black and green glitter sealed inside a smoky base, like a bubbling potion. Tell your tech: “Medium coffin, smoky black acrylic with green and gold glitter inside, no glitter on top.”
9. Starry Night Sky.
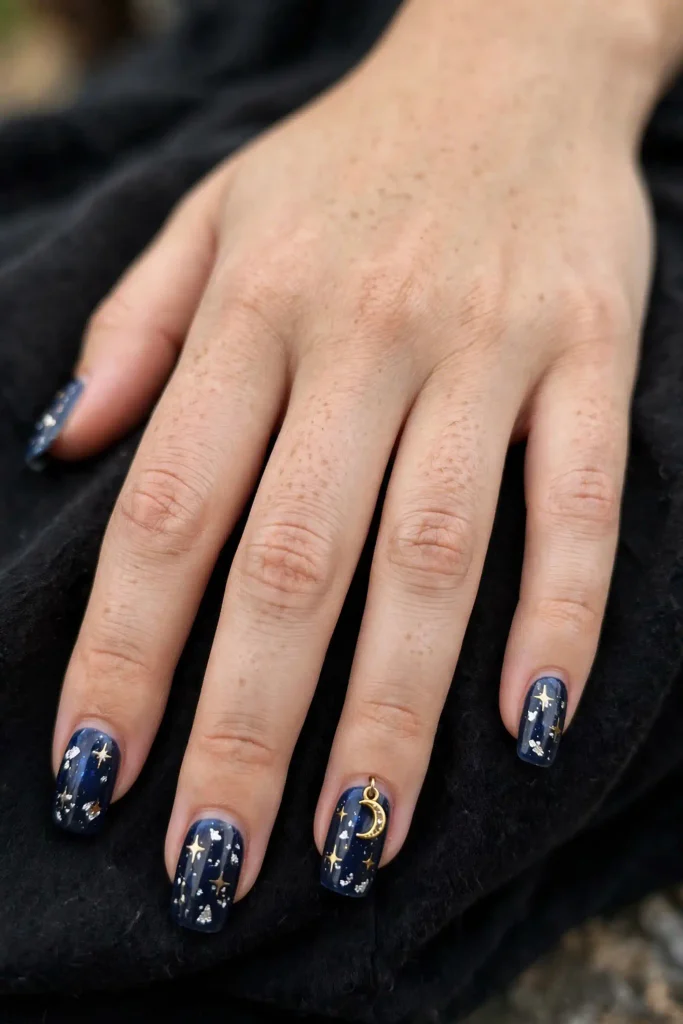
Midnight blue acrylic with tiny gold stars and silver flakes sealed inside. Tell your tech: “Medium squoval, deep blue with stars and flakes encapsulated, one moon charm on the ring finger.”
10. Blood Orange Jelly.
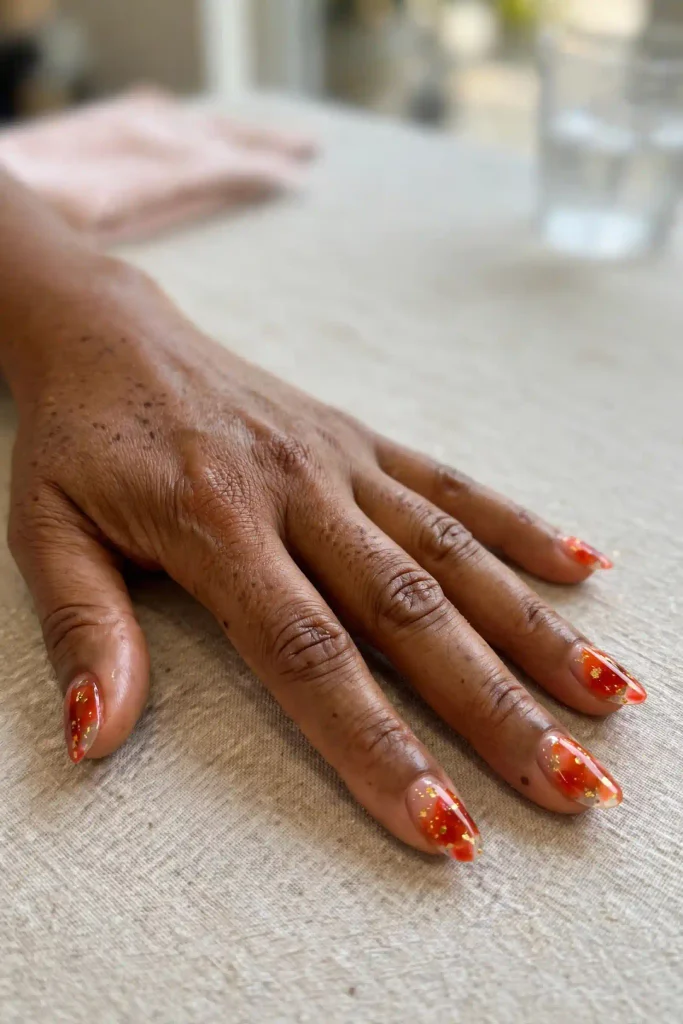
Translucent red-orange acrylic with a few gold flakes, like stained glass. Tell your tech: “Short almond, jelly red-orange, tiny gold flecks inside, glossy top.”
11. Spiderweb Sealed Under Clear.
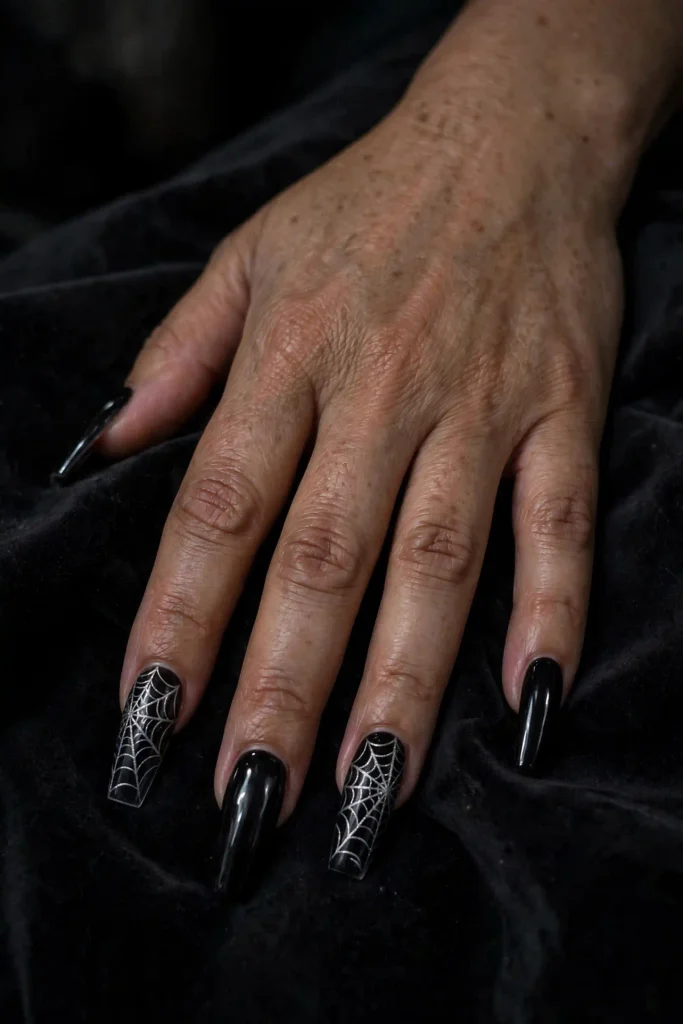
Fine web lines drawn on a dark base and sealed under a layer of clear acrylic. Nothing can peel. Tell your tech: “Long coffin, black base, silver web drawn on and sealed under clear on two nails.”
Group Three: Sculpted (3D Shapes)
The showstoppers. Tiny sculptures built from acrylic, best for one or two accent nails.
12. 3D Bat Wing.
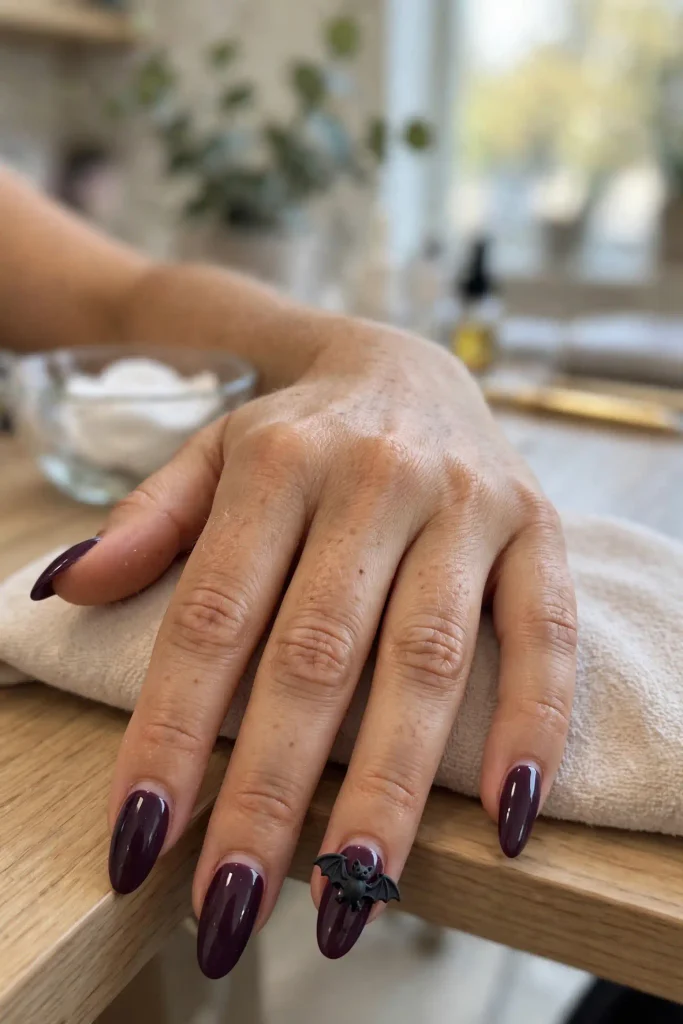
A small raised bat shape sculpted onto a plum nail. Ask for it on one nail only. Tell your tech: “Medium almond, plum base, one small 3D bat on the ring finger, keep it low so it does not snag.”
13. Raised Spider Web.
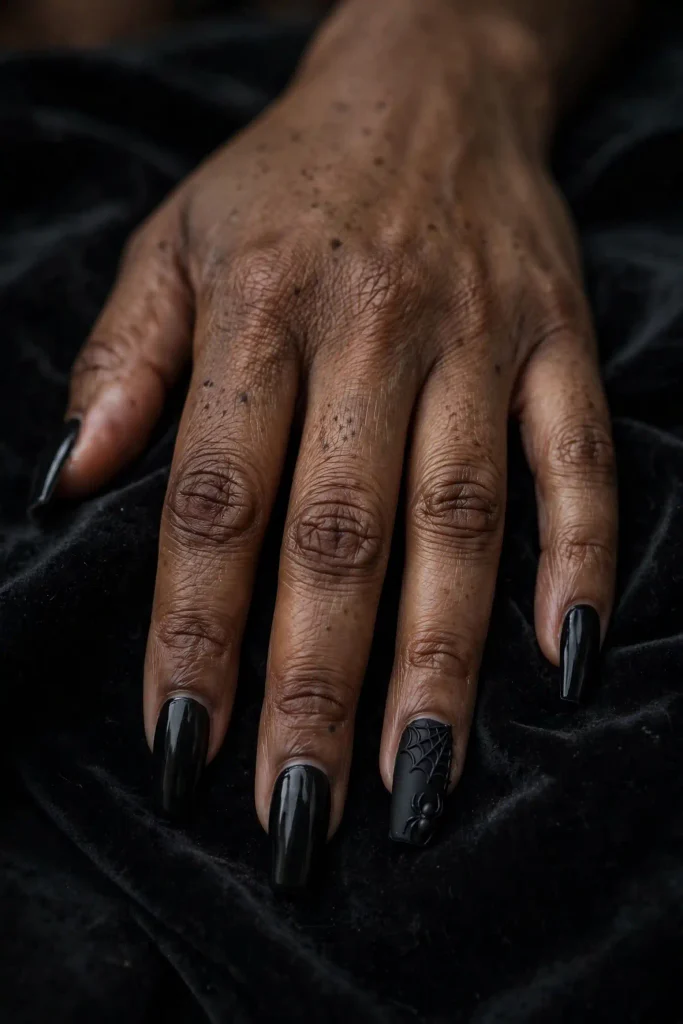
A fine, raised web sculpted at the corner of a black nail with a tiny spider. Tell your tech: “Medium coffin, black, raised web on one nail, small spider, everything else flat.”
14. Sculpted Pumpkin Charm.
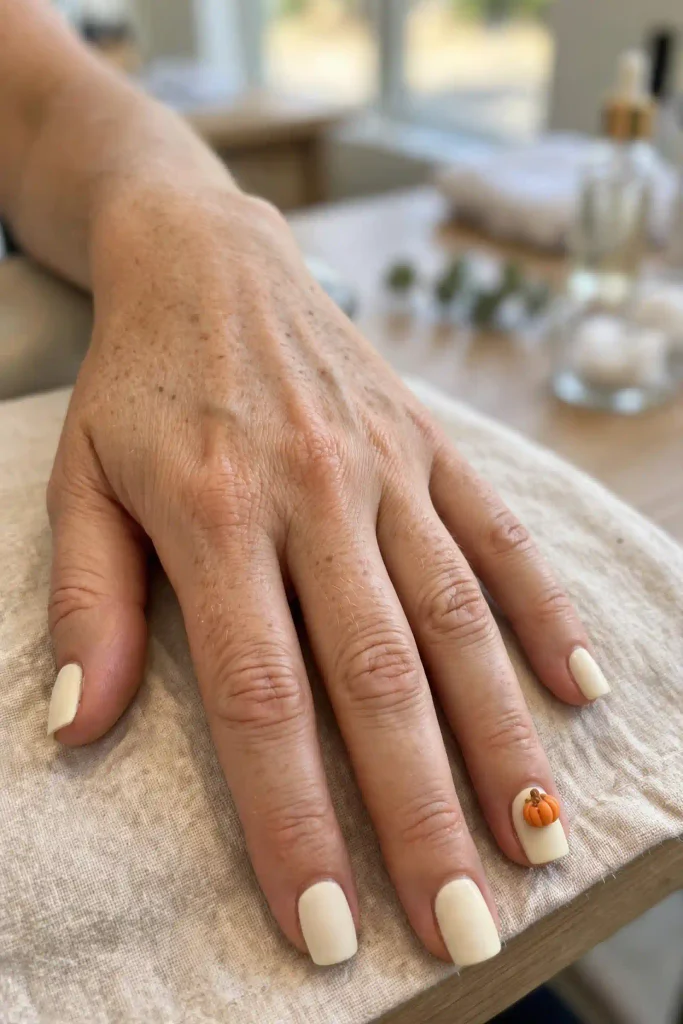
A small orange pumpkin shape sculpted at the cuticle of a cream nail. Tell your tech: “Short square, cream base, one small sculpted pumpkin near the cuticle.”
15. Bone Ridge.
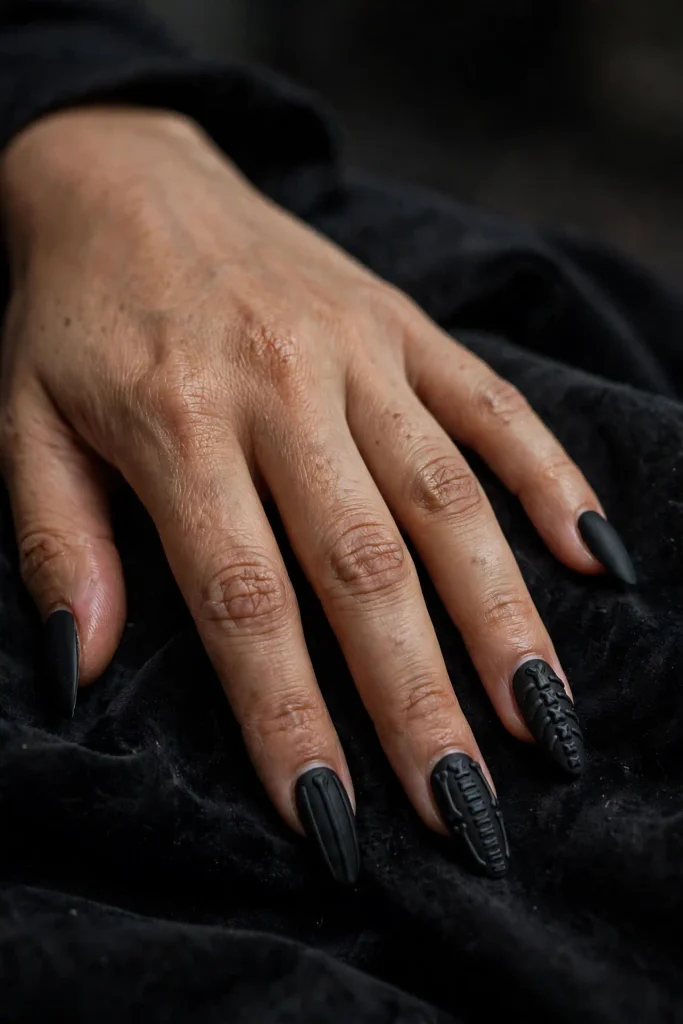
Thin raised ridges along the nail, like bones or ribs, over a black or gray base. Tell your tech: “Long almond, matte black, thin raised bone ridges on the middle and ring fingers.”
16. Vampire Fang Tips.
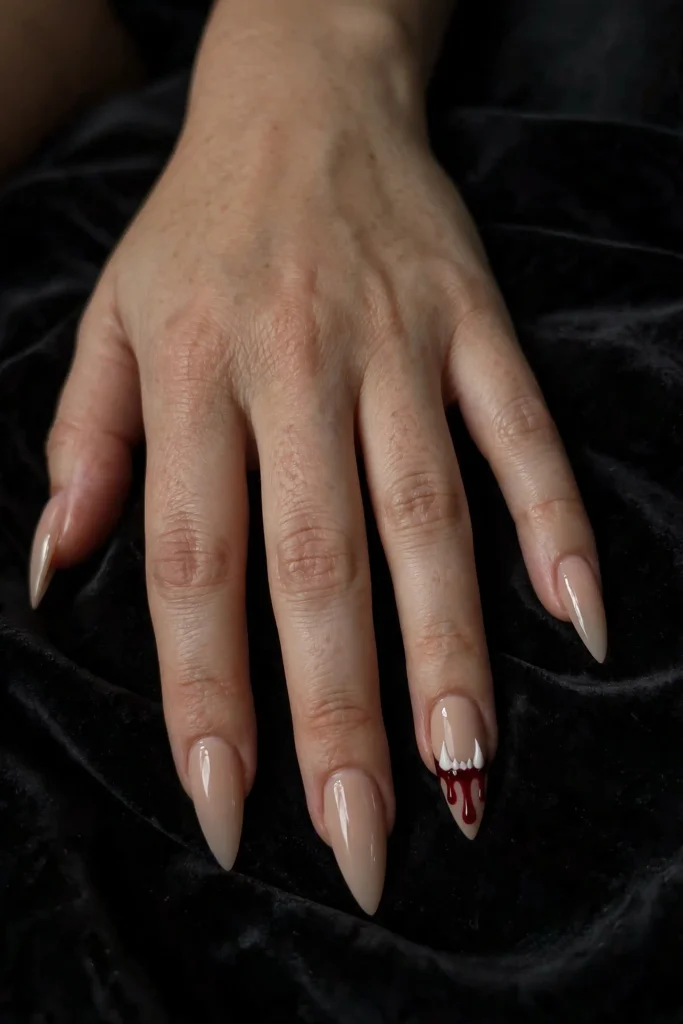
A nude base with tiny pointed white tips sculpted on the free edge, plus a deep red drip. Best for confident wearers. Tell your tech: “Medium stiletto, nude base, two small fang-shaped tips on the ring fingers only.”
17. Ghost Charm Cluster.
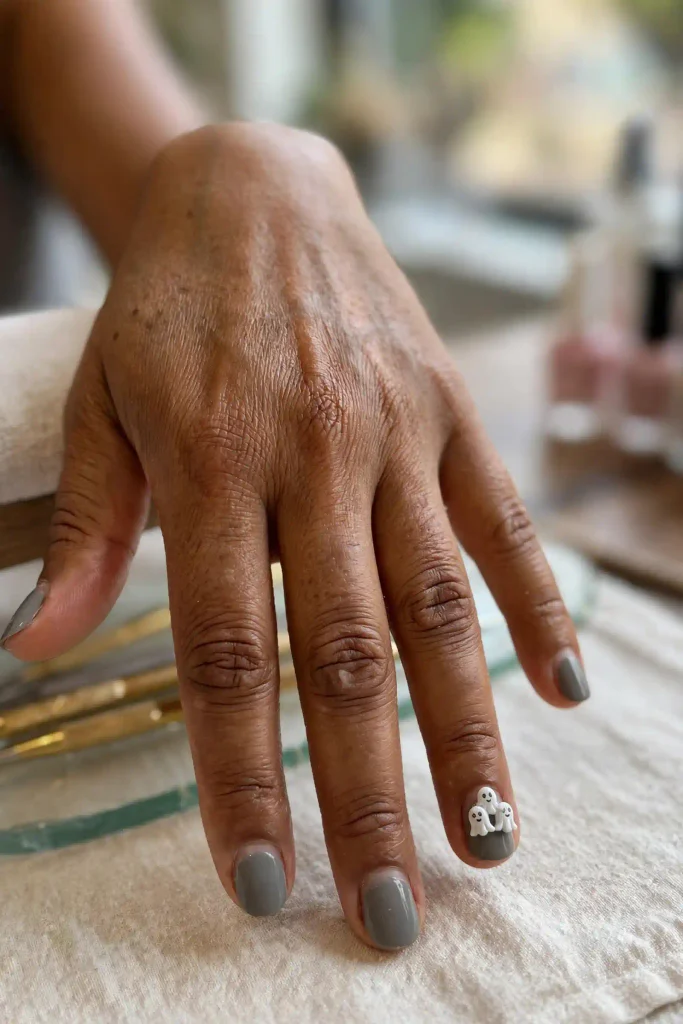
Three tiny sculpted ghosts clustered near the cuticle of one nail, with a plain gray base. Tell your tech: “Short to medium round, gray base, three tiny sculpted ghosts on one nail, keep them flat and smooth.”
The Acrylic Reality Check
Here is what nobody says at the front desk.
Time: A full set takes about two to three hours. Detailed or sculpted designs can take longer.
Cost: Prices vary by city and salon, so ask before you sit down. A full set costs more than a fill, and 3D art usually costs extra per nail.
Wear time: Most sets last two to three weeks before a fill is needed. If you plan to wear yours through Halloween, book your appointment about a week before the party.
Best for: Special occasions and people who want a strong, long shape. If you only want Halloween for one weekend, press-ons or regular polish may be more economical.
Shape and Length Cheat Sheet for Halloween
Almond suits drips, gradients, and moon designs. Coffin suits webs, glitter, and wide art. Square suits candy corn and checkers. Stiletto suits fangs and drama. Short lengths suit dots, ghosts, and accent art. Longer lengths suit gradients and encapsulated glitter. If you type or work with your hands, choose short to medium and a squoval or almond shape.
Safety and Comfort Rules
Book a salon that is well ventilated. Tell your tech if your skin itches, burns, or gets red after acrylic, since some people react to the products. Do not peel or pull off acrylic; it can tear your natural nail. Do not use the tips of your nails as tools. Keep cuticle oil and hand cream near your bed and use them every day.
Removal and Recovery
Have acrylics soaked off by a professional, or file down the top layer and soak carefully in acetone at home. Never rip them off. After removal, cut your nails short, use a strengthening base coat, and rest them for a few days before your next set. Healthy natural nails hold the next set better.
A Money-Saving Plan
If Halloween is one weekend, get a set with one sculpted accent nail and keep the rest simple, since 3D work is what costs more. If you want to wear the set beyond October, choose a design that still looks good in November, like black cherry, milky white, or a starry blue. A fill in two or three weeks is cheaper than a new full set.
Three Things I Wish I Had Known
Look at your tech’s portfolio before booking, especially for detailed art. Bring a photo, but also bring your “Tell your tech” line, because photos alone are easy to misread. And keep 3D pieces low and smooth, since anything raised can catch on sweaters and hair.
Which technique are you choosing first: painted, encapsulated, or sculpted? Save this post for your next salon booking, and send it to a friend who says acrylic is too much.