14 Christmas Tree Drawing Ideas Anyone Can Actually Finish
Stop scrolling past flawless trees and deciding you cannot draw. A good christmas tree drawing is mostly one honest triangle, a few brave lines and white space left alone.
Fourteen christmas tree drawing styles follow, from a five-minute doodle to a slow evening mandala, each with its tools, a realistic time and a fix for the usual wobble.
I judge a tree drawing by one test: would I still pin it on the fridge in January? The styles below pass, because each one forgives a shaky hand instead of punishing it.
Skip This If…
Three honest warnings before you pick up a pencil. Skip this if you want a realistic forest scene, because every style here is proudly decorative: the doodle (idea 2), cartoon (idea 7) and pop art (idea 14) trees would rather make you smile than fool a botanist. Skip this if you have under fifteen minutes and shaky patience, since the mandala (idea 6), engraving (idea 8) and pattern-filled (idea 11) trees reward slow evenings, not coffee breaks. And skip this if you refuse to practise on scrap paper first, because even the easy styles look twice as good after one rough rehearsal.
The Fourteen Styles
1. Watercolour Tree With Soft Red and Gold Baubles
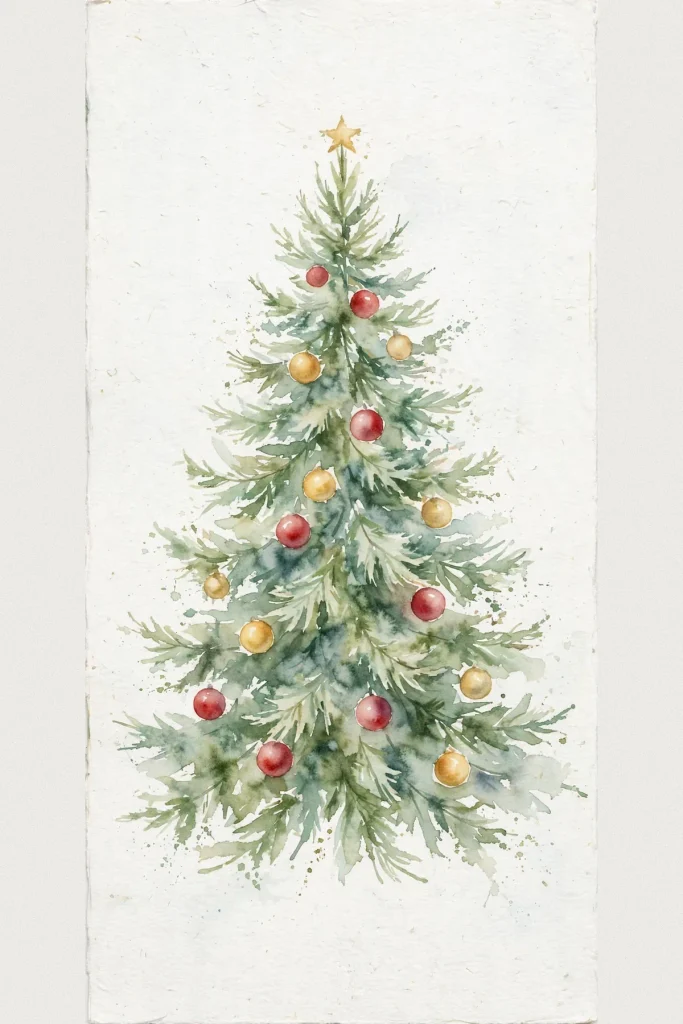
This is the style I would save first if homemade cards are your plan. Loose washes of two greens build the branches in soft layers, and the baubles go on last, once the paint is fully dry, so the reds and golds stay clean and round. Difficulty is Medium, mostly because watercolour rewards patience between layers. My tip: leave tiny white gaps in the green on purpose. Those gaps read as sparkle in a way extra paint cannot.
Tools note: One round brush, two greens, a red and a gold, and proper watercolour paper. Thin sketchbook paper buckles and makes the tree look tired before you start.
Dry-time note: Give the green ten full minutes before the baubles. Wet-on-wet red bleeds into pink clouds, the one mistake that ruins this style.
2. Doodle Tree in Black Ink
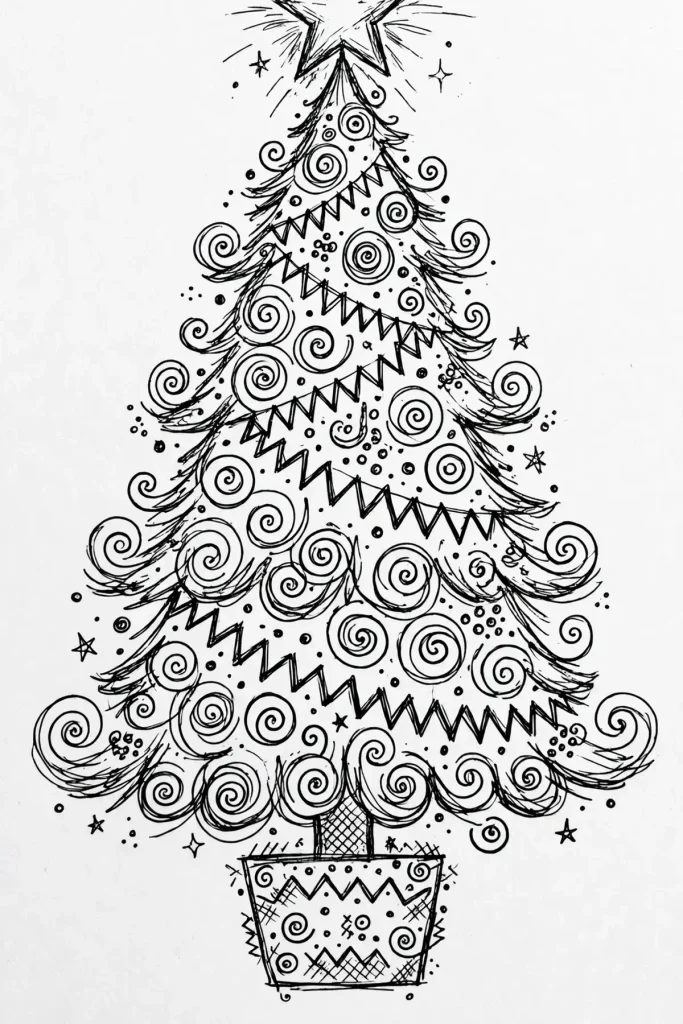
Grab a fineliner and build the whole tree from spirals, stars, dots and zigzag garlands. A doodle tree is Easy, takes about ten minutes, and sits happily in a journal margin, on a gift tag or filling the corner of a December planner page. There is no wrong line here, only lines that need company: if one swirl looks lonely, add two smaller ones beside it. Keep the trunk short and the star slightly too big; that one exaggeration keeps a doodle cheerful instead of cramped.
Speed note: Work top to bottom in small sections. Turning the page as you go keeps your hand out of the wet ink and stops smudged branches.
Rescue note: A wobbly swirl is fixed by thickening it, not erasing it. Ink cannot be erased anyway, so commit and make the line bolder.
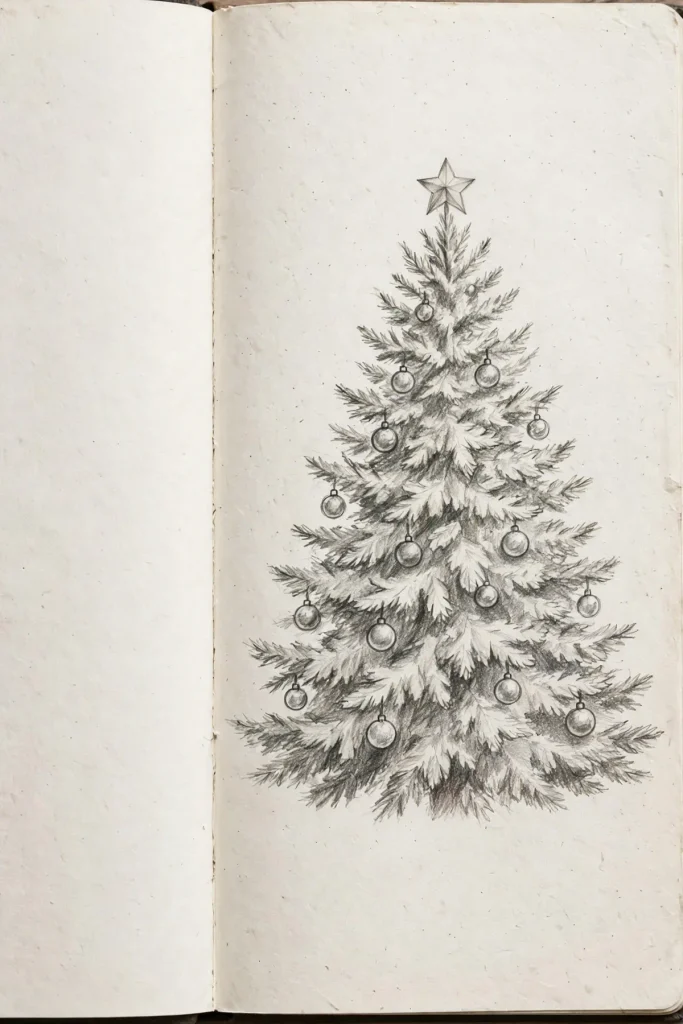
3. Pencil Sketch Tree With Soft Shading
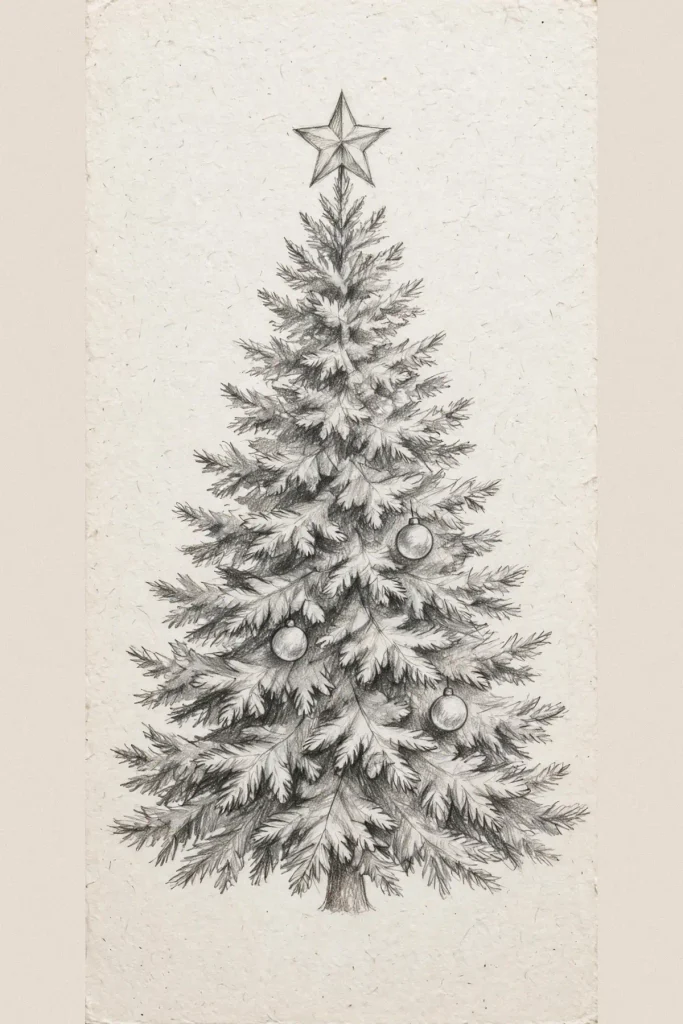
The common mistake with a pencil tree is pressing hard from the first line, so every early wobble becomes permanent. The fix is a pale first pass you can barely see, then darker shading only where branches overlap. It suits quiet, realistic drawings for framing or a winter sketchbook page. Difficulty is Medium, at around half an hour. Blend shadows with a fingertip or tissue, keep the lit side almost empty, and let contrast do the work detail cannot.
Paper note: Slightly textured paper grips graphite and gives soft, smoky shadows. Very smooth paper makes shading streaky.
Eraser note: Use a kneaded eraser to lift highlights back out of dark areas. Dab, do not rub, or the branch edges turn to fog.
4. Geometric Tree From Triangles and Circles
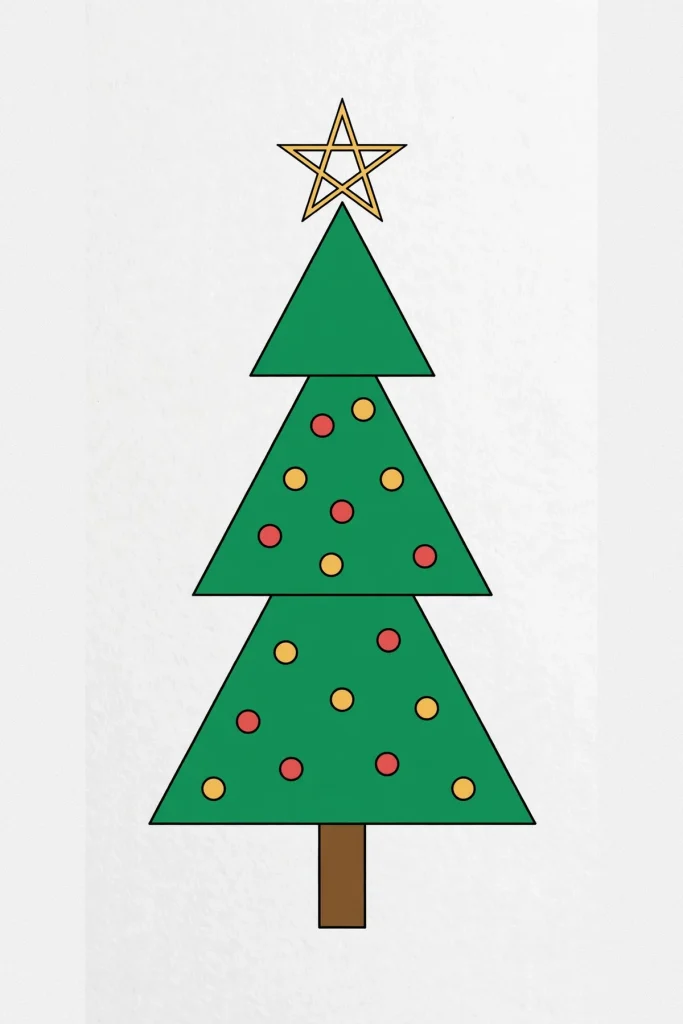
Build this one in three steps:
- Stack three triangles, each smaller than the one below, and centre them on one straight trunk line.
- Add circles for baubles in a loose zigzag, keeping the biggest circles near the bottom.
- Ink the outlines, erase the pencil guides, and colour flat, bold sections.
Here is the secret nobody mentions: a triangle is not cheating. Every strong tree drawing starts as one honest shape and earns its branches later.
It suits modern cards and anyone who trusts a ruler over a free hand. Difficulty is Easy to Medium; sharper corners look smarter.
Ruler note: Draw the centre trunk line first and measure both sides from it. Symmetry problems in this style are usually a wandering centre.
Wobble fix: If one triangle leans, redraw only that tier’s pencil line before inking. Ink forgives nothing, so the pencil stage is your one cheap edit.
5. One-Line Tree Without Lifting the Pen
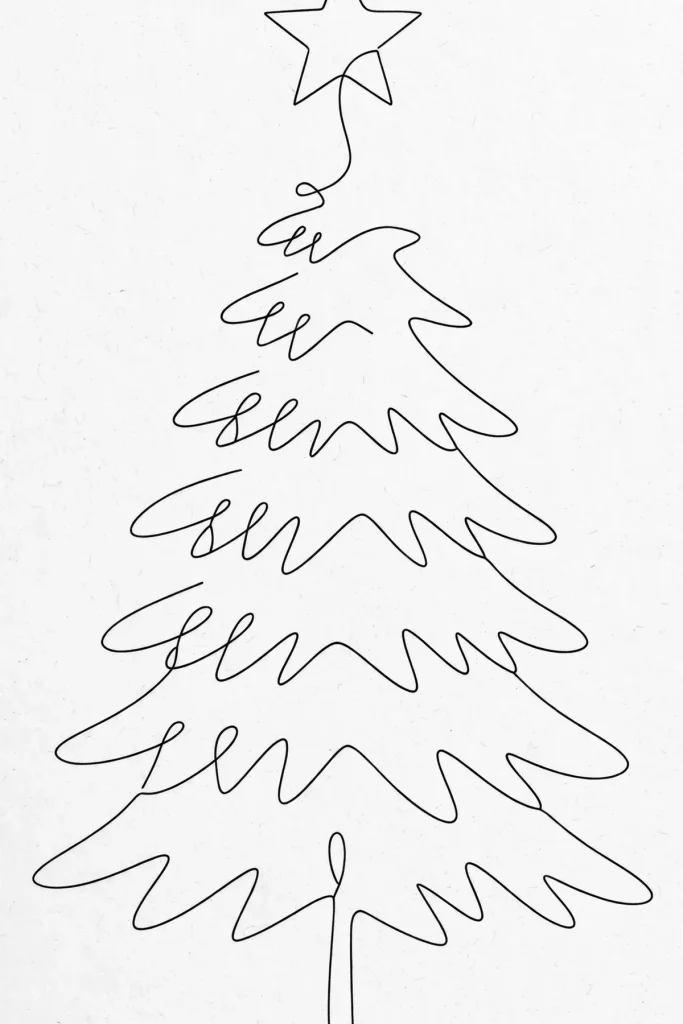
One continuous line loops down one side, across in branchy zigzags and up the other, finishing with a star drawn in the same breath. The style is the whole trick: Medium difficulty, five minutes, and a result that looks deliberate even when it wobbles. It suits minimal cards and envelope backs. Practise twice on scrap, then commit to good paper on the third try; the third attempt is usually the charming one.
Pen note: A medium fineliner flows better than a fine one here. Scratchy nibs catch on the paper and break your rhythm mid-branch.
Restart note: If the line goes wrong, do not lift the pen to hide it. Loop back through the mistake and make it a branch; the eye reads confidence, not errors.
6. Mandala Tree Full of Circular Patterns
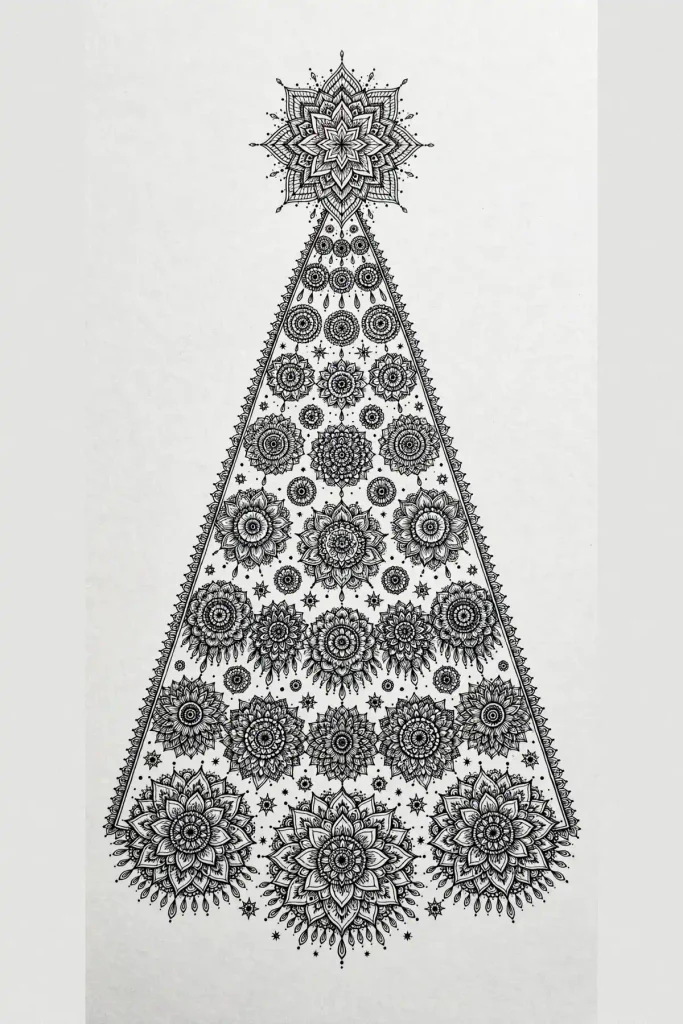
This one suits you if drawing is your December slow-down. Inside a simple tree outline, rings of petals, dots, teardrops and tiny stars repeat in calm rows, growing smaller towards the top. Difficulty is Expert, not because any single line is hard, but because the patience bill is real: allow an hour or more. Start at the trunk and work upwards in sections you can finish. A half-filled mandala looks intentional; a rushed one looks frayed.
Patience note: Set a stopping point per sitting, like one full tier. Mandalas punish greed; three calm tiers beat six tired ones.
Pattern note: Repeat each motif at least three times before inventing a new one. Repetition is what makes it read as a mandala instead of random clutter.
7. Cute Cartoon Tree With a Smiling Face
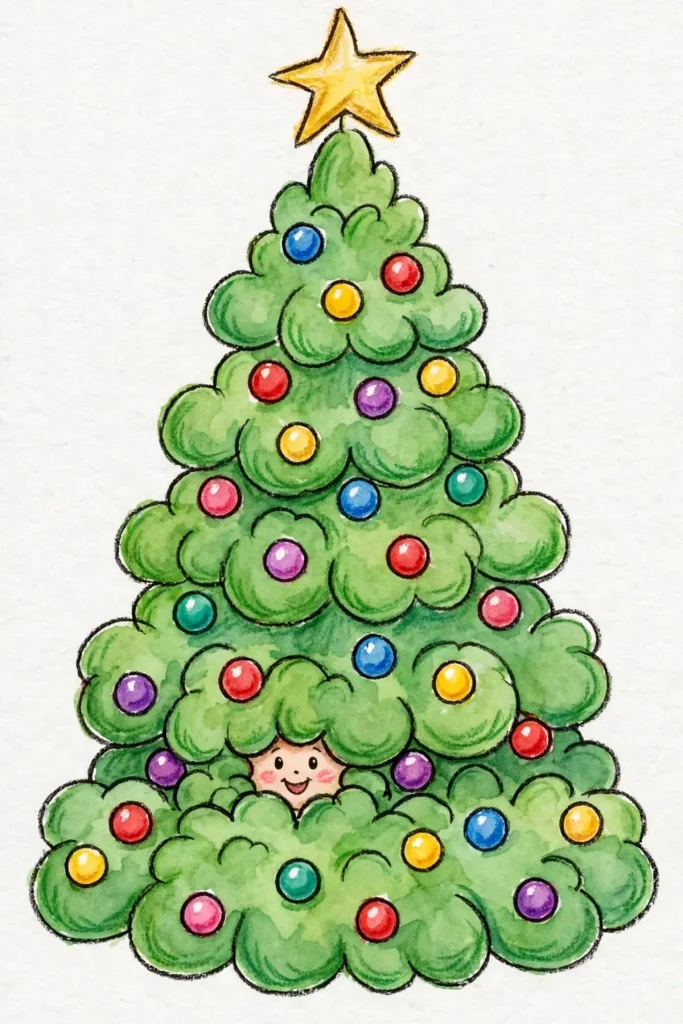
Round, plump branches, a star worn slightly wonky, and a small smiling face tucked between the baubles: this is the tree kids ask for by name. It suits cards for children, classroom walls and gift wrap you draw yourself. Difficulty is Easy and twenty minutes is generous. Keep the face low and central so it peeks out rather than shouting, and give the tree short, chubby proportions. Tall, thin cartoon trees read as sad, and this style refuses sad.
Colour note: Two greens are enough. One for the branches, one darker for shadow blobs under each tier, and the cuteness survives.
Face note: Draw the face last, after the baubles. Faces placed early get crowded out, and a squashed smile helps nobody.
Halfway reminder: seven styles down, and every one of them started with the same light triangle. Shape first, personality second.
8. Vintage Engraving Tree With Crosshatching
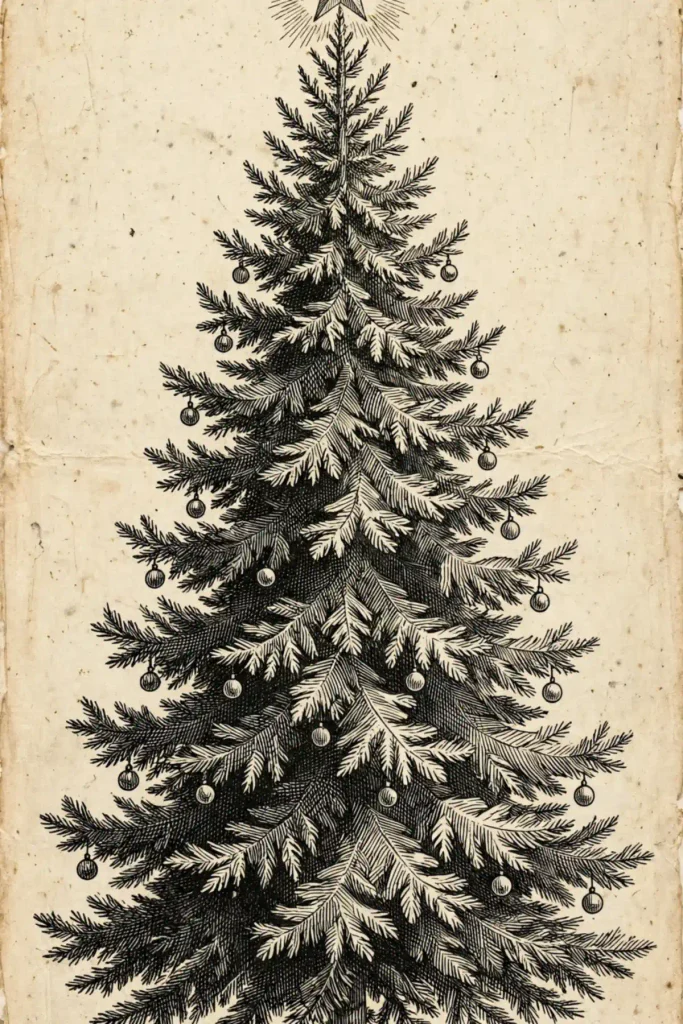
The mistake here is treating it like a colouring page and rushing the lines. Engraving style is built slowly: fine parallel strokes for shadow, crosshatching where branches deepen, and plenty of bare paper left as light. It suits readers who like old book illustrations and want a drawing that looks inherited rather than made. Difficulty is Expert, and an hour is realistic. Work in one direction per area, rest your hand often, and keep baubles as simple circles; the texture is carrying the performance already.
Line note: Keep strokes following the branch direction, not straight down. Lines that follow growth look like engraving; lines that ignore it look like rain.
Time note: Hatch the darkest tier first while your hand is fresh. Tired crosshatching spreads and loosens, and it shows most in dark areas.
9. Silhouette Tree in Solid Black
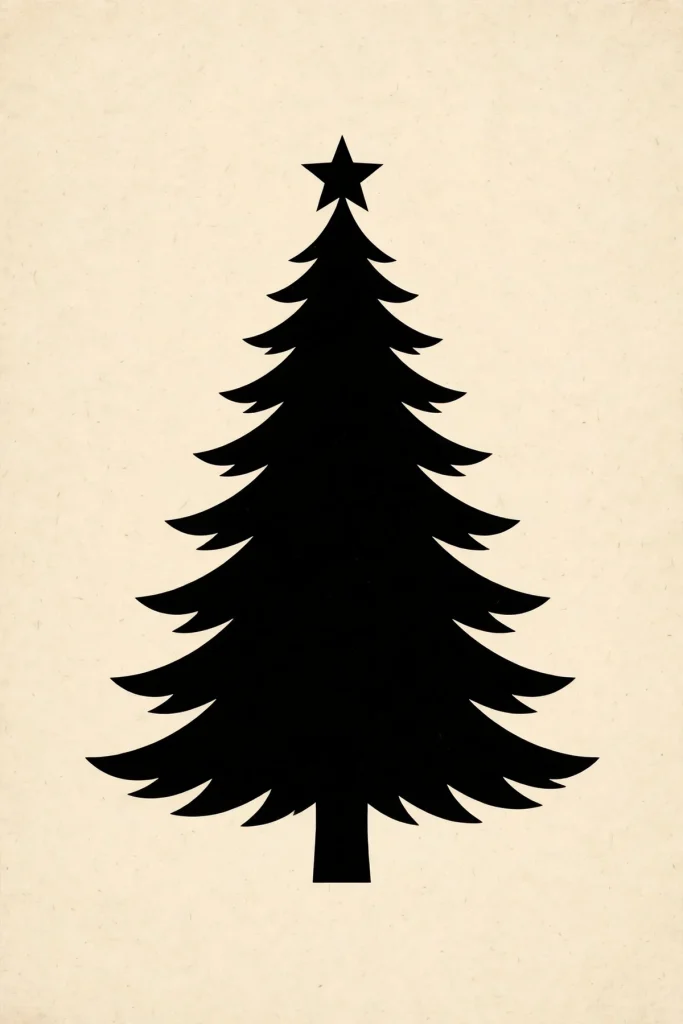
A silhouette is the fastest route to a dramatic result: one bold tree shape, filled completely black, against cream or pale gold paper. It suits striking cards and anyone whose freehand detail is shaky but whose outlines are confident. Difficulty is Easy, around fifteen minutes including drying. Draw the outline in pencil, check the star and the branch tips, then fill with a brush pen or marker in slow strokes from the edges inward. One bare branch tip left unfilled will glare at you forever, so check the outline twice before you start filling.
Contrast note: The paler the background, the richer the black looks. Cream and soft gold beat harsh pure white here.
Edge note: Fill up to the pencil line, not over it. Crossing the edge makes branches look fuzzy, and fuzzy is the enemy of a silhouette.
10. Chalk Tree on a Dark Chalkboard
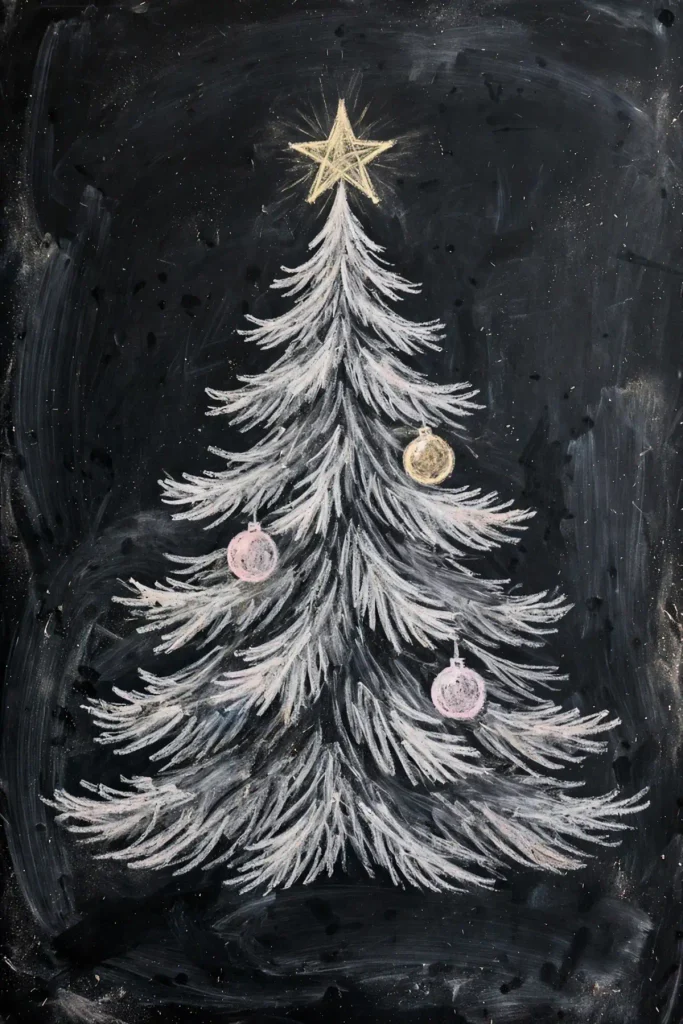
Build it in three steps:
- Sketch the tree shape in white chalk, lightly, and rub out the guidelines you do not need.
- Add a second layer of short strokes for branch texture, keeping the edges soft and dusty.
- Finish with pale colour chalk baubles, then sharpen only the star and the top tier outline.
It suits kitchen boards, cafe-style decor and art you can change tomorrow. Difficulty is Medium; chalk forgives but smudges, so work top down and rest your wrist off the board.
Chalk note: Real chalk gives the soft glow; markers give cleaner lines but a flatter look. Mix both: soft for branches, marker for the star.
Smudge note: If a sleeve wipes a branch, do not patch it with one hard line. Rebuild the area with several soft strokes so the texture matches.
11. Pattern-Filled Tree, Section by Section
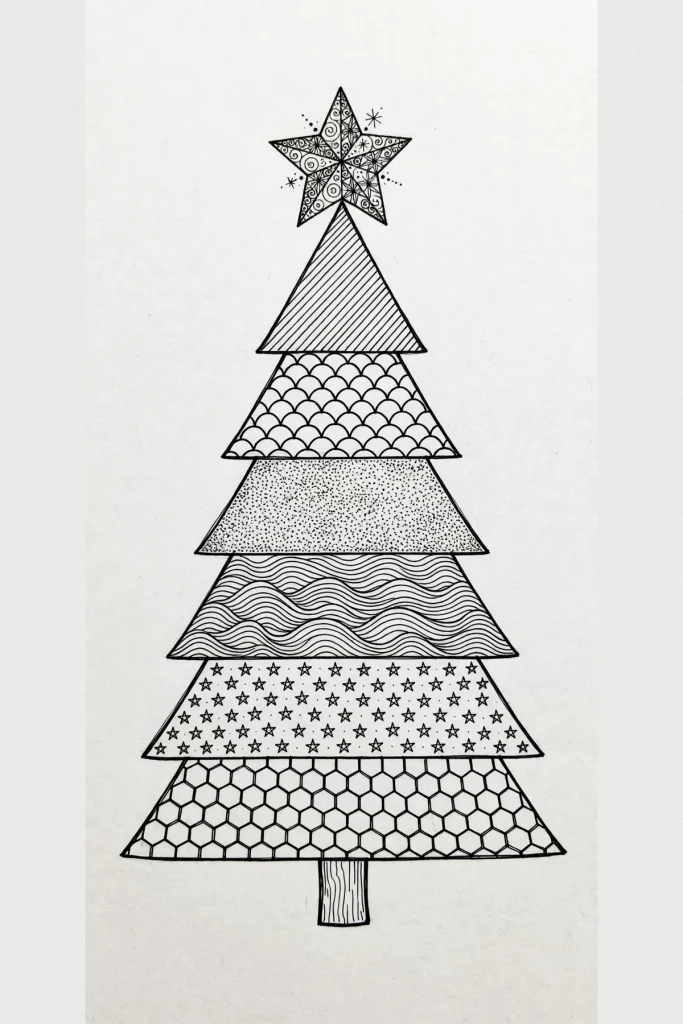
Divide the tree into stacked sections, each filled with a different pattern: stripes, scales, dots, waves, tiny stars. It suits the zentangle habit of one small area at a time. Difficulty is Expert for stamina rather than skill. Outline the sections in pencil first so patterns stay in their lanes, and alternate busy sections with calm ones. Two loud patterns side by side fight; a quiet section between them lets both win.
Fill one small section at a time and a plain outline turns into the drawing people stop and ask about. Pace is the whole talent here.
Section note: Five or six sections is the sweet spot. More, and each pattern gets too small to enjoy.
Fix-it note: A pattern that goes wrong can be filled in solid black and restarted as a calm section. Nobody will ever know it was not the plan.
12. Origami-Look Tree From Folded Shapes
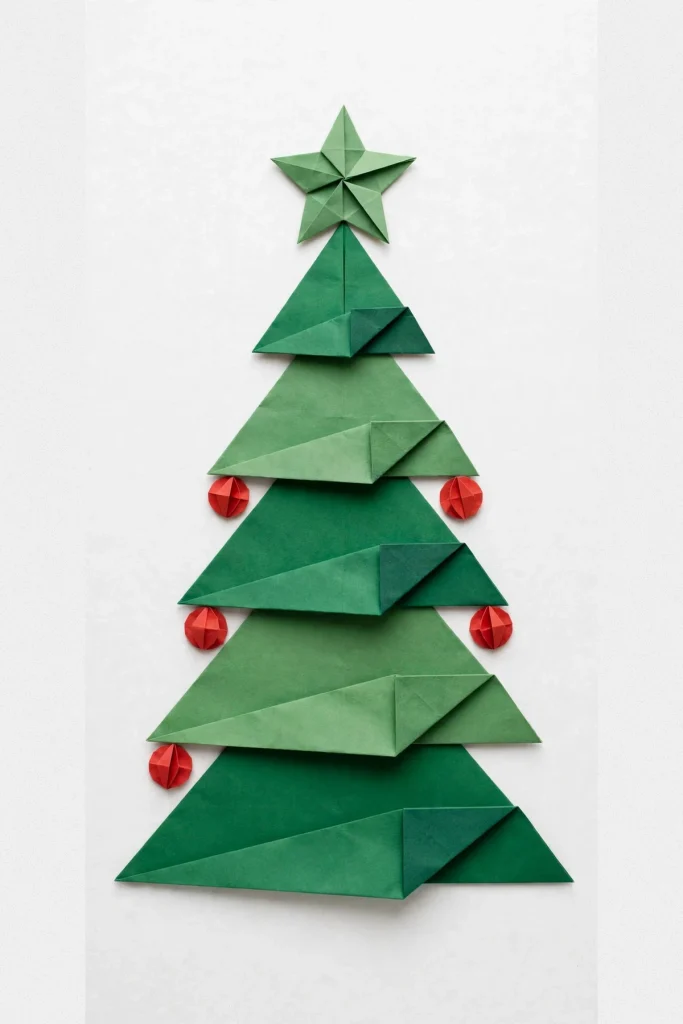
This one suits you if flat, clever design pleases you more than realism. The tree is built from crisp triangular folds, each tier a flat shape with one shaded flap to suggest folded paper. Difficulty is Medium, and the effect depends on straight edges and consistent light: pick one side for every shadow and stick to it. Add a simple folded star on top and a few round baubles for contrast. It makes a smart, modern card that photocopies beautifully.
Fold note: Draw every tier as a full triangle first, then add the fold line. Skipping the full shape is how origami trees end up lopsided.
Shadow note: Keep shadows one flat grey or one flat colour. Soft blended shading breaks the paper illusion instantly.
13. Kids’ Crayon Tree, Big and Bright
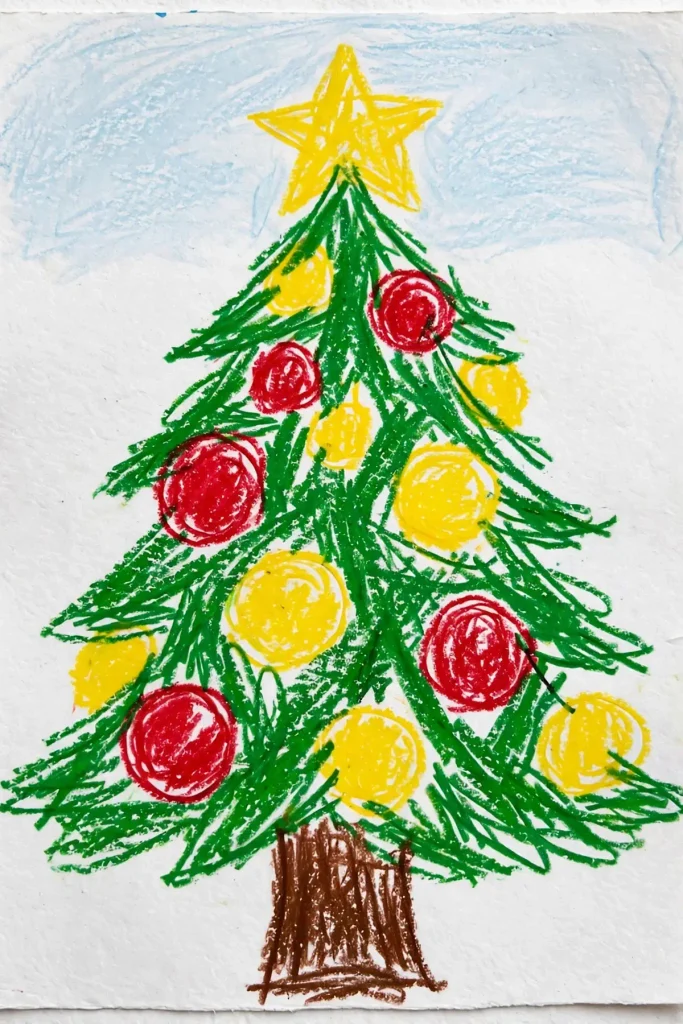
Thick crayon strokes, a trunk like a chocolate stick and baubles the size of plums: this short, joyful style is Easy and takes fifteen minutes with a child, or five without one. It suits drawings that will live on the fridge and be pointed at proudly. Use the side of the crayon for the big green areas and the point for baubles. Wax resists a watercolour wash painted over the top, so a pale blue sky wash at the end finishes the page with almost no extra skill.
Crayon note: Warm the page with the green first and add decorations second. Children naturally do decorations first and then cannot fit the tree around them.
Mess note: Put a spare sheet under the drawing hand. Crayon drag is real, and one green smear across the sky starts arguments.
14. Pop Art Tree With Bold Colour Blocks
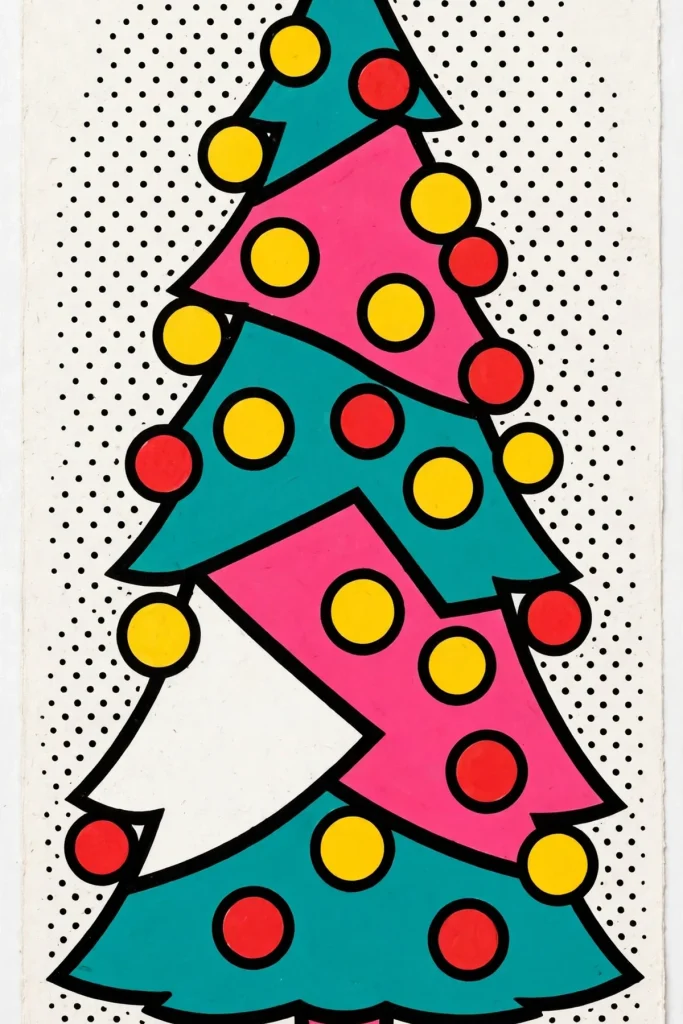
The mistake is reaching for natural green. Pop art wants the opposite: a teal or hot pink tree, flat colour, thick black outlines and baubles like sweets. It suits a teen’s door, a party invite or a journal that refuses to be tasteful. Difficulty is Medium, and markers beat paint here because flat is the point. Divide the tree into big simple zones, outline everything first, and leave one zone white. That single white section is what makes the loud colours look designed instead of spilled.
Ink note: Outline after colouring if your markers bleed, before if they do not. Test on scrap; brands differ.
Pop note: Add small black dots or short dashes on the background, evenly spaced. Empty backgrounds make pop art look unfinished.
Paper and Tools That Earn Their Space
You need less than the art shop hopes. A basic pencil, a kneaded eraser, one black fineliner and one brush pen cover nine of these fourteen styles. Paper matters more than pens: watercolour needs proper watercolour paper or it buckles, and chalk needs a dark surface to glow against. Buy one small pad of heavy paper for final attempts, and keep scrap paper for rehearsals, where the wobbles belong.
Start With the Triangle: A Shape Trick for Every Style
Every tree above began the same way, so here is the trick in full. Lightly draw one tall triangle, taller than feels safe, then a short centre line for the trunk. Build everything inside that frame: washes for the watercolour, tiers for the geometric, sections for the pattern-filled, one black fill for the silhouette. The triangle keeps both sides honest, so the tree cannot drift, bulge or lean without you noticing early. Erase any guide lines that still show at the end. The charm is not the decorations. It is a triangle drawn before confidence arrived, doing quiet work underneath.
The Wonky Tree Clinic
Leaning tree? Your centre line wandered, so redraw the trunk plumb and shift the top tier, not the whole tree. Flat, dull top? The star is too small or too low; redraw it bigger and let it overlap the top branch. Gaps that look empty? Cluster three baubles there instead of spreading singles around, because clusters look planned and singles look lost. Bottom tier too wide and heavy? Narrow it by deepening the shadow colour along both lower edges, which visually trims the shape without erasing anything. Almost every bad tree is one of these four, and each fix takes minutes.
Keeping Drawings Safe Until Next December
Store finished drawings flat, with a clean sheet between each one, especially chalk and pencil, which smudge in a stack. Keep frames away from strong direct sun; reds and pinks fade first, and a faded bauble looks like a printing error. If a drawing is meant for a card, scan or photograph it in daylight before posting the original. A good scan is your insurance, and it lets one strong tree become a whole set of cards.
Christmas Tree Drawing Questions Beginners Ask Me
How do I draw a Christmas tree if I cannot draw at all?
Start with the geometric tree, idea 4, because it needs a ruler more than talent. Draw the triangle stack, add circles, ink the outlines and colour inside your lines.
What is the easiest christmas tree drawing for a total beginner?
The doodle tree, idea 2, is the easiest place to begin. No line is wrong in a doodle, it takes about ten minutes, and a fineliner is the only tool.
Which paper should I use for a watercolour tree?
Use proper watercolour paper, the heavier the better. Thin paper buckles under washes, and a buckled page makes good painting look tired.
How do I stop my tree leaning to one side?
Draw a light centre line for the trunk before anything else, and check both sides against it as you build. Most leans start in the first three lines, not at the end.
Can children manage any of these tree styles?
Yes. The crayon tree, idea 13, was built for children, and the cartoon tree, idea 7, suits older kids. Keep sessions short and baubles oversized.