18 Easy Braided Hairstyles: The 5-Minute Braids That Look Like You Tried for an Hour
Confession: I Couldn’t Braid Until I Was 24
Everyone assumes braiding is a childhood skill, like riding a bike. Not for me. I grew up with two left hands and a mother who did my hair in a hurry every morning. At twenty-four, I watched a YouTube tutorial for a basic three-strand braid eleven times. Eleven. My arms ached, my fingers cramped, and the braid looked like a crooked rope. But somewhere around attempt twelve, my hands just understood. Muscle memory is real, and it is waiting for you too.
Six years later, braids are my superpower. Job interview? Braid. Bad hair day? Braid. Wedding where I need to look like I hired someone? Definitely a braid. These eighteen are the ones I actually wear, ordered by how much morning you have, because “easy” means nothing without a time limit.
The Braid Starter Kit (What You Actually Need)
Forget the hundred-product tutorials. You need five things: small clear elastics, bobby pins that match your hair color, a light texturizing spray, a tail comb, and patience for exactly one week. Braiding is a motor skill. Your first five braids will be ugly. Your twentieth will be effortless. Everyone goes through the ugly phase, and the ugly phase is not a sign to quit.
The single biggest beginner upgrade: braid slightly dirty hair. Freshly washed hair is slippery and rebellious. Day-two hair grips itself. If you must braid clean hair, a little texturizing spray is the difference between a braid that holds and a braid that surrenders by noon.
Under 5 Minutes: The Emergency Braids
These are the braids for real mornings. Alarm snoozed twice, coffee in one hand, seven minutes total.
1. The Classic Three-Strand, Perfected
Time: 3 minutes. Difficulty: the one everyone should master first.
Do not skip this because it sounds basic. A truly neat three-strand braid, slightly loosened at the end for softness, is the little black dress of hairstyles. I wore one to a client presentation after my curling iron died mid-morning, and nobody knew it was a backup plan. The trick is tension: keep every crossover equally snug, then gently tug the edges outward (pancaking) once the elastic is in.
The trick: braid over your shoulder, not behind your head. You can see what you are doing, and the braid sits prettier anyway.

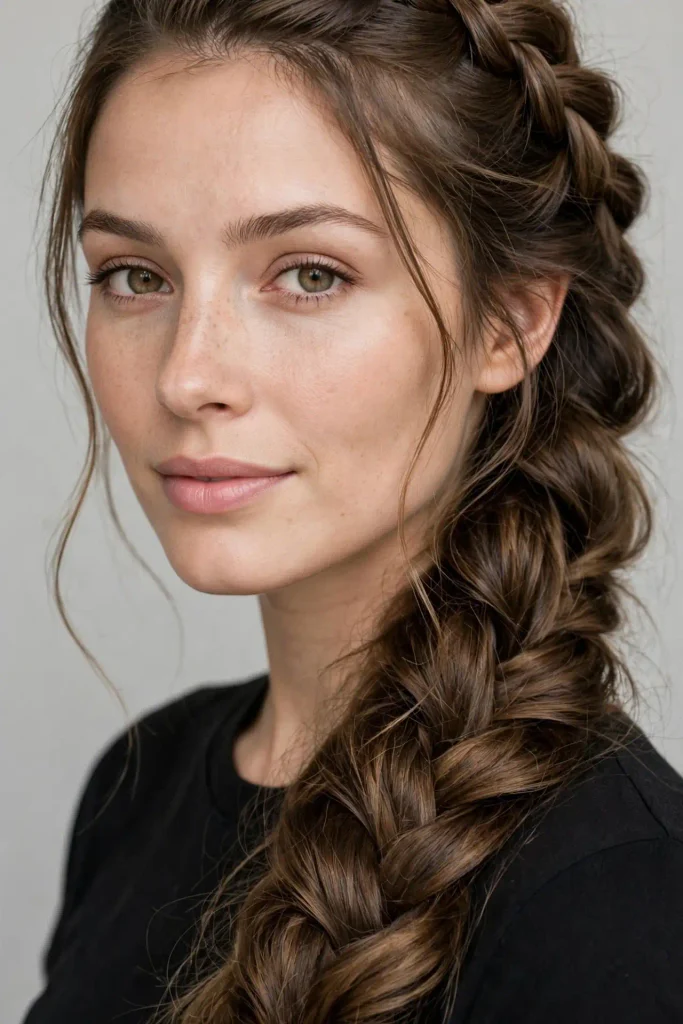
2. The Side Braid That Isn’t Boring
Time: 4 minutes. Difficulty: easy.
A side braid reads romantic where a back braid reads practical. Sweep everything over one shoulder, braid loosely, and pull a few face-framing pieces out before you start. I wore this to a mehndi where I knew I would be dancing for hours. It survived the dancing. It survived the hugging. It barely survived me, but it survived.
The trick: start the braid behind your ear, not at the nape. Higher placement keeps it from sliding around all day.

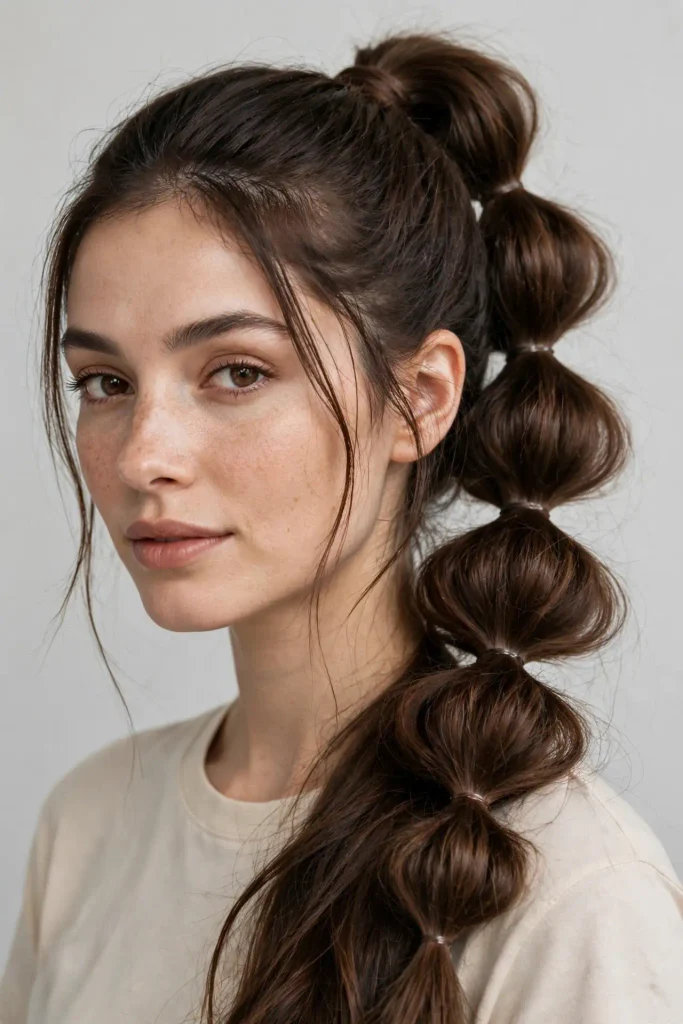
3. The Bubble Braid (Zero Braiding Required)
Time: 3 minutes. Difficulty: if you can tie a ponytail, you can do this.
This is technically not a braid at all, which is exactly why beginners love it. Ponytail, then elastics every two inches down the length, then puff each section out into bubbles. It looks intricate. It is elastics. I taught this to my twelve-year-old niece in one sitting, and she wore it to school the next day like she invented it.
The trick: use clear elastics and hide each one by wrapping a tiny strand of hair around it. Suddenly it looks expensive.
4. The Rope Twist
Time: 2 minutes. Difficulty: easier than the three-strand.
Two sections, twist each one clockwise, then wrap them around each other counterclockwise. The opposing directions lock the twist in place. This is the braid I do when I have literally two minutes and a video call in five. It looks deliberate and polished, and nobody needs to know it took less time than brushing my teeth.
The trick: the counterclockwise wrap is not optional. Skip it and the whole thing unravels like your plans.
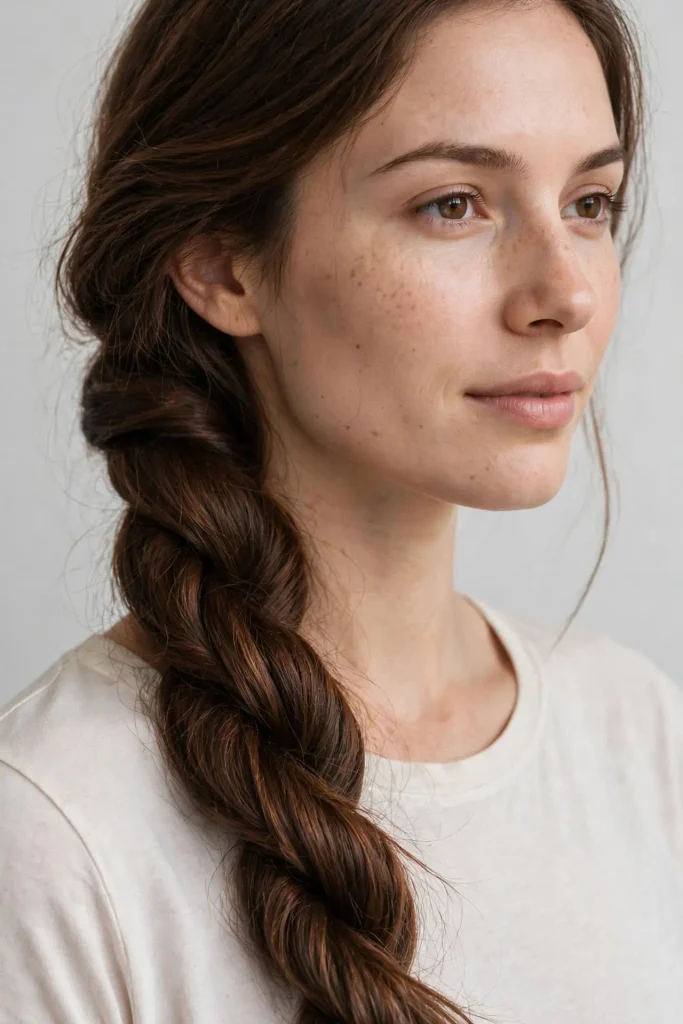
5. The Braided Ponytail
Time: 5 minutes. Difficulty: easy.
Ponytail first, braid the tail. That is the whole recipe, and it upgrades a gym ponytail into something you can wear to dinner. I lived in this during a month of early-morning flights. Ponytail at the hotel, braid in the taxi, presentable human at the meeting. The braid also keeps long hair from tangling into a bird’s nest in the wind.
The trick: pancake the braid wide and flat. A skinny braided ponytail looks severe. A fat one looks styled.
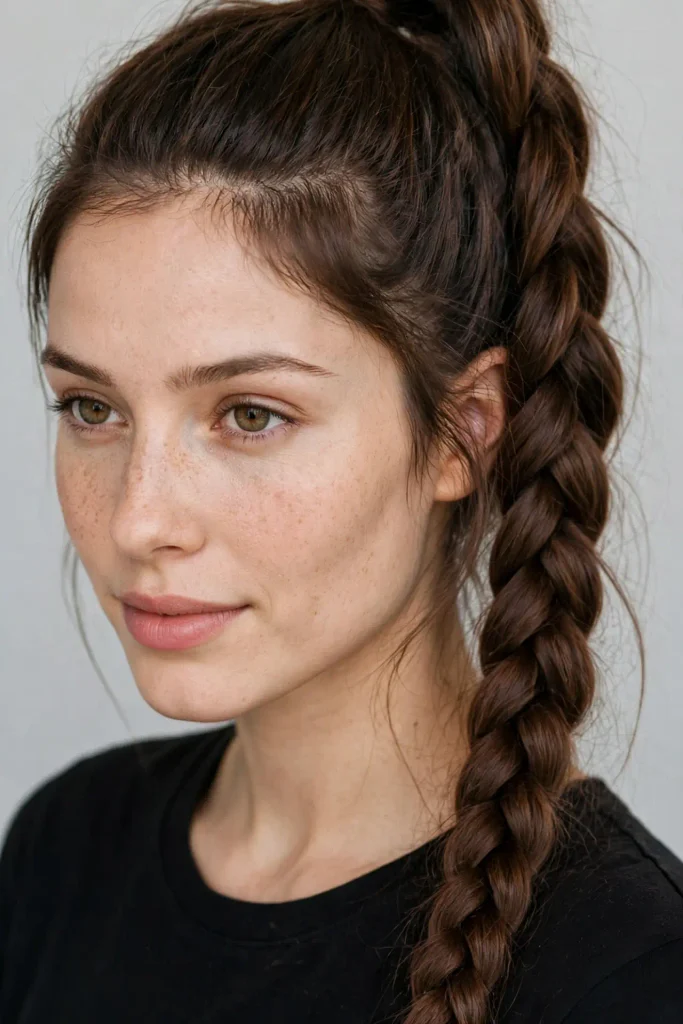
Under 15 Minutes: The Ones That Get Compliments
You have a little time. A podcast episode. These are the braids strangers ask about.
6. The Dutch Braid
Time: 10 minutes. Difficulty: medium, worth learning.
The Dutch braid is the French braid’s cooler inside-out sibling. Instead of crossing strands over, you cross them under, so the braid sits on top of the hair like a 3D rope. Learning it took me a full weekend of practice, and I am not ashamed to say I practiced on a patient friend. Now it is my most-requested style, the one people assume took an hour.
The trick: keep your hands close to the scalp and add small sections. Big sections make a lumpy Dutch. Small sections make a sleek one.
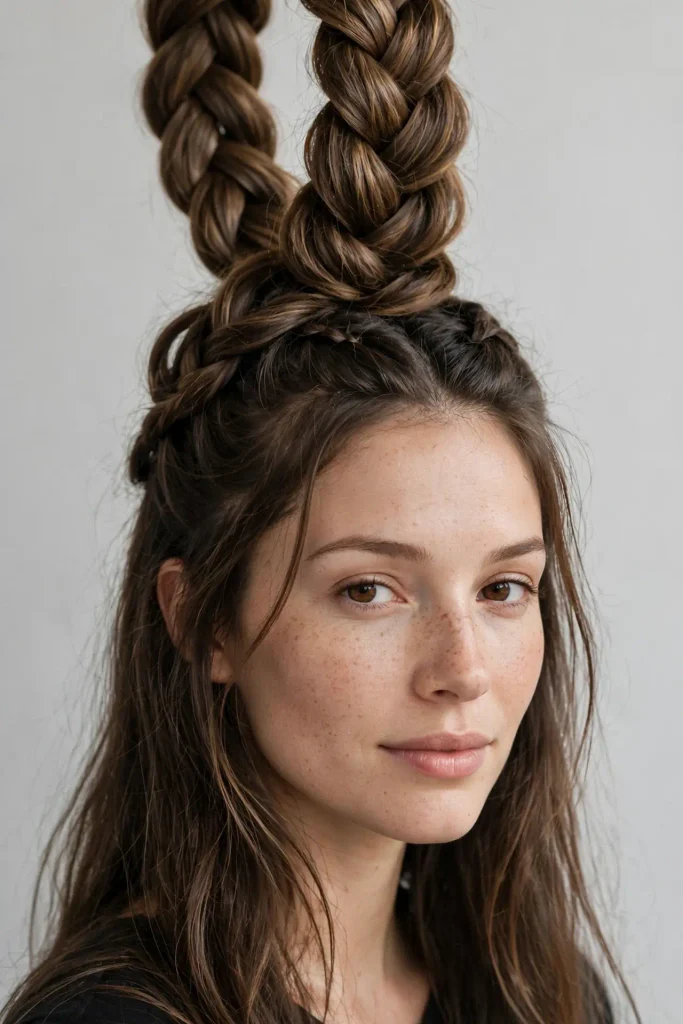
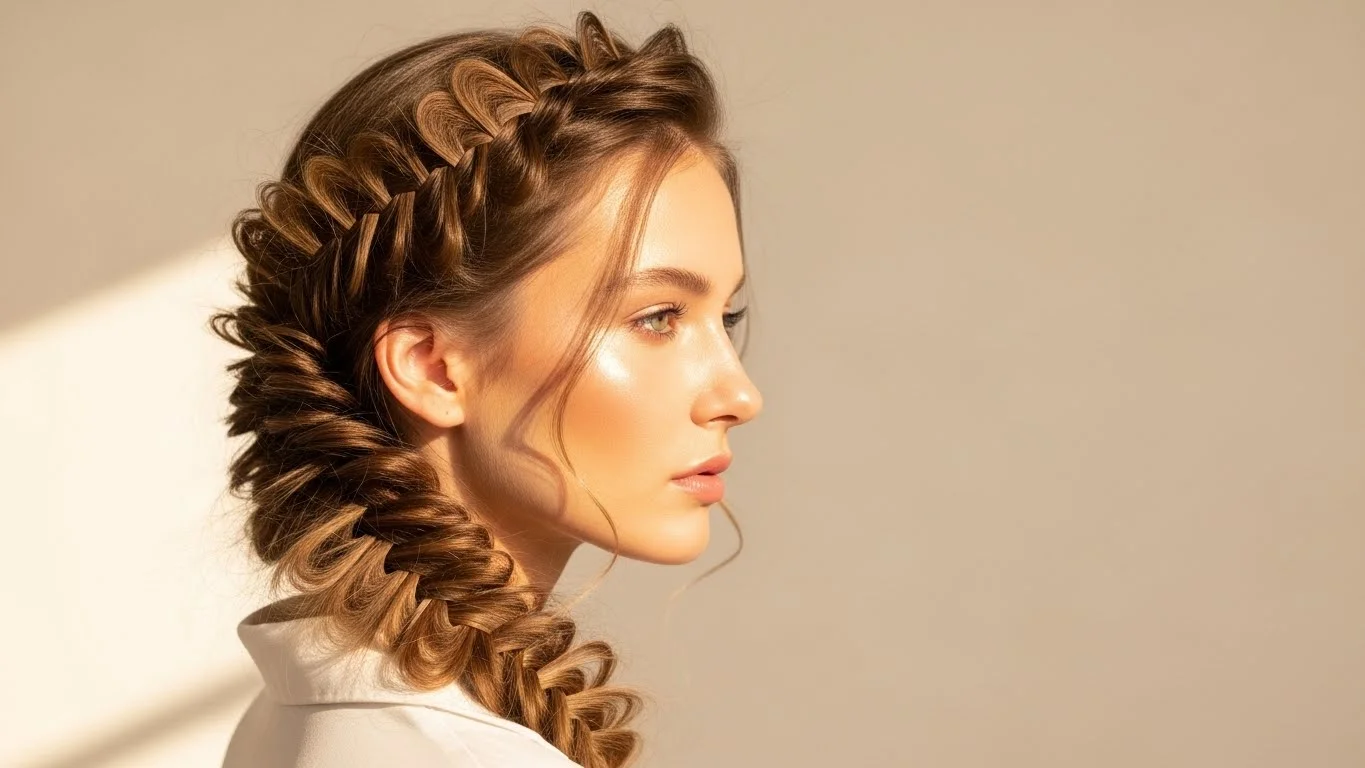
7. The Fishtail
Time: 12 minutes. Difficulty: medium, meditative once learned.
Two sections, tiny pieces crossed back and forth. It is tedious and weirdly calming, like knitting for your head. The result looks impossibly intricate, all fine woven detail. I did a fishtail for a beach wedding and spent the whole evening being asked if it was extensions. It was just patience and Netflix the night before, practicing.
The trick: smaller pieces equal a prettier fishtail but take longer. Find your compromise. Mine is pinky-finger-width pieces.
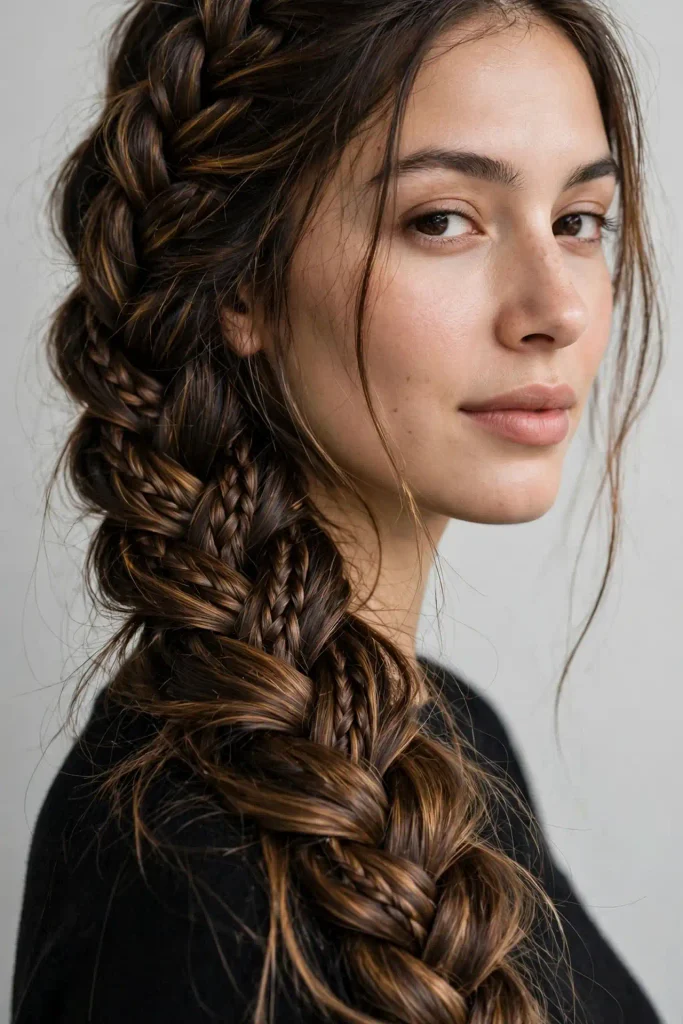
8. The Waterfall Braid
Time: 12 minutes. Difficulty: medium.
A horizontal braid across the back of the head where you drop the bottom strand each time and pick up a new one, so pieces of hair “waterfall” through the braid. It is the most romantic braid on this list and the one I wear whenever I want to feel like a protagonist. Fair warning: it loosens faster than other braids, so this is an evening-out braid, not an all-day braid.
The trick: pin the end behind your ear, not at the back. The asymmetry is what makes it look effortless.
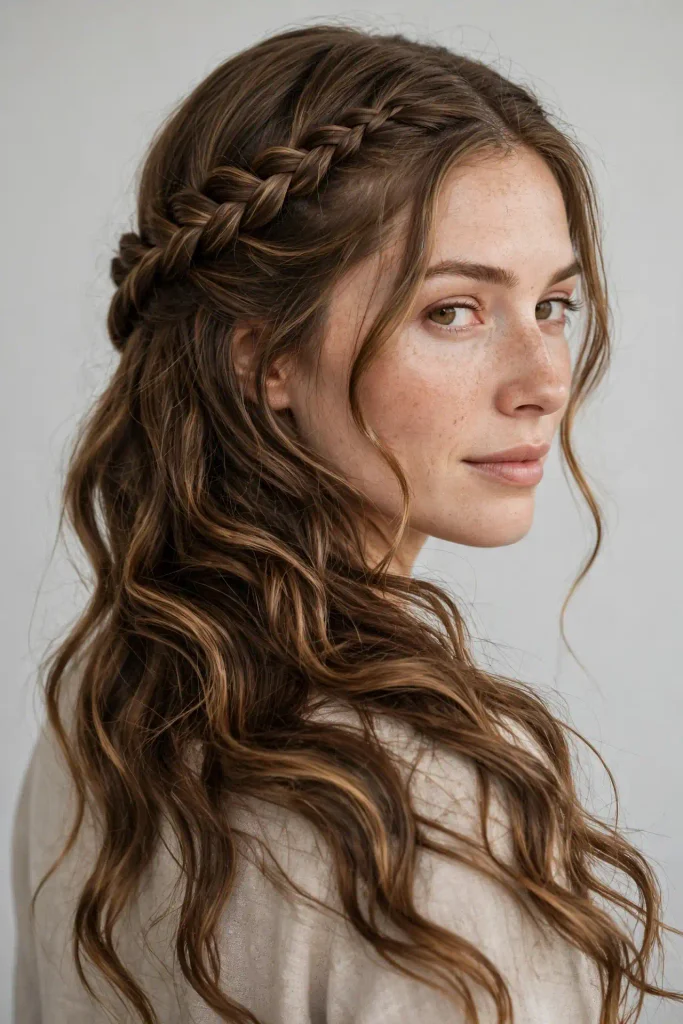
9. The Milkmaid Crown
Time: 15 minutes. Difficulty: medium.
Two braids wrapped over the top of the head and pinned into a crown. It is the ultimate “I have my life together” hairstyle, worn on days when I absolutely do not. I wore this to a job interview in July, and the interviewer spent the first two minutes talking about my hair. I got the job. Correlation is not causation, but I am not taking chances.
The trick: pancake the braids before pinning them up. Flat braids make a flat crown. Fat braids make a crown.
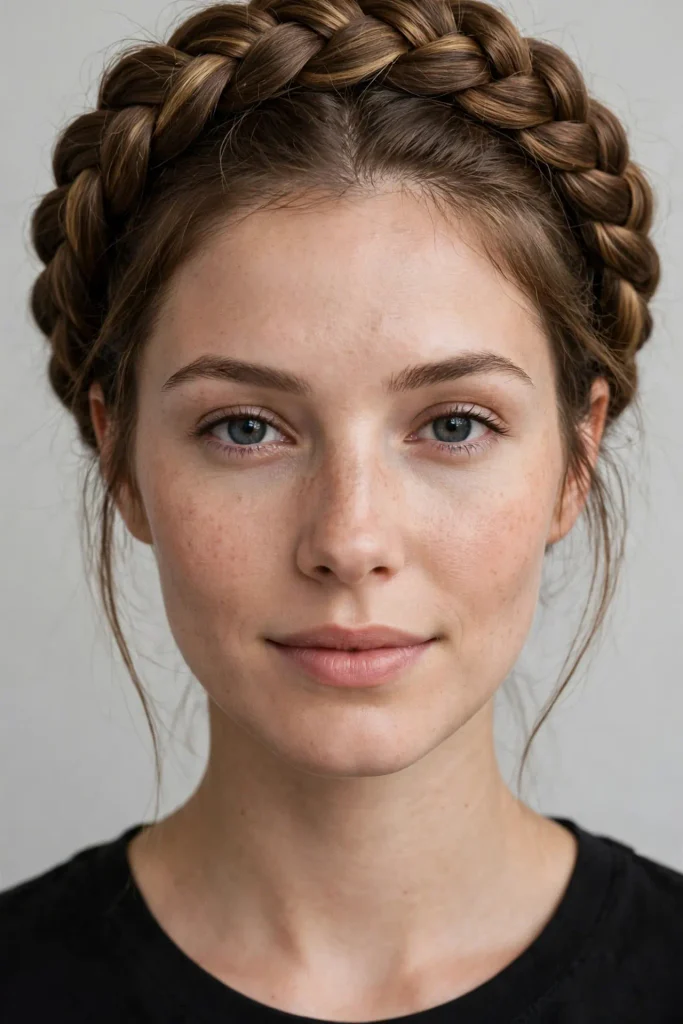
10. The Double Dutch Pigtails
Time: 15 minutes. Difficulty: medium.
Two Dutch braids, one on each side. Sporty, youthful, and secretly the most secure hairstyle ever invented. Nothing moves. I wore these hiking, and at the summit my braids looked exactly like they had at the trailhead, which is more than I can say for the rest of me. They have a reputation for being young, but on an adult with the right outfit they read cool, not childish.
The trick: part your hair with the tail comb first. A crooked part ruins the whole symmetry. Take the sixty seconds.

11. The Braided Bun
Time: 12 minutes. Difficulty: easy-medium.
Braid the length, wrap it into a bun, pin. It is a bun with texture and grip, which means it holds all day without the sad drooping of a regular bun. This is my wedding-guest default, my presentation default, my “I need to look polished for ten hours” default. A braided bun has never let me down. Regular buns have betrayed me more times than I can count.
The trick: wrap the braid loosely. A tight wrap looks like a cinnamon roll. A loose wrap looks like an updo.
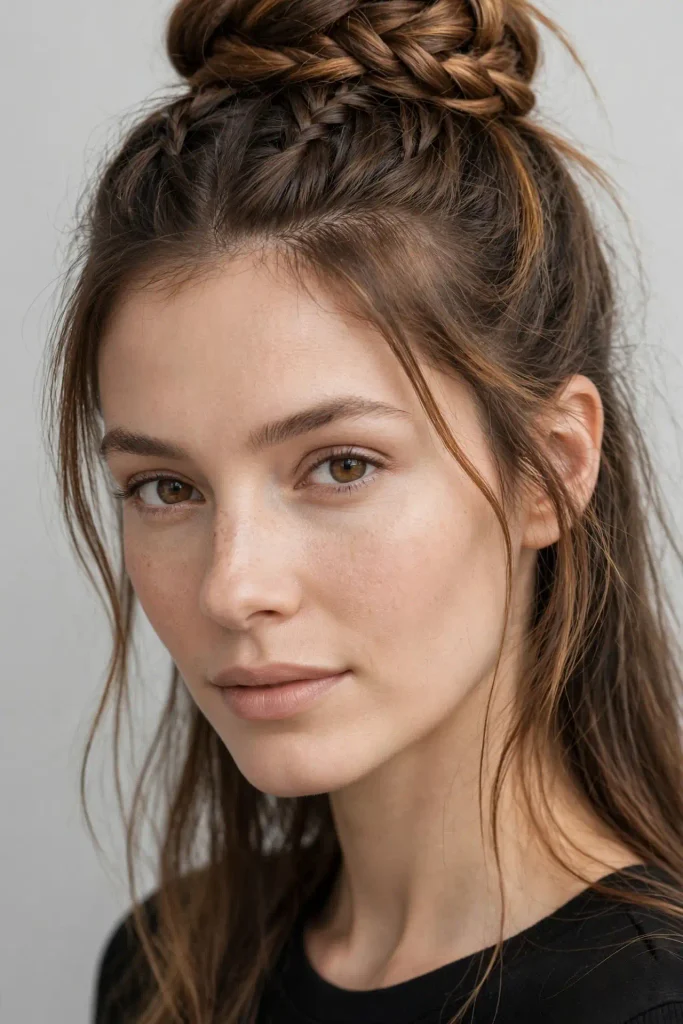
Weekend Projects: The Show-Off Braids
You have time, good lighting, and maybe an event. These take longer but the payoff is enormous.
12. The Four-Strand Braid
Time: 15 minutes. Difficulty: hard-ish, then suddenly easy.
Four sections woven in an over-under pattern. It looks like basket weaving and people will not believe you did it yourself. The learning curve is real: my first four-strand attempt looked like a mistake. My fifth looked like art. There is a rhythm to it, and once your hands find the rhythm, it is actually relaxing.
The trick: say the pattern out loud while learning: “over, under, over.” Your mouth teaches your hands.

13. The Ladder Braid
Time: 20 minutes. Difficulty: hard.
A waterfall braid’s dramatic cousin: multiple horizontal braids stacked so the falling pieces weave through each one like rungs of a ladder. I did this for a photoshoot once and the photographer stopped mid-shoot to photograph just my hair. It is not an everyday braid. It is an event braid, a statement braid, a “remember me” braid.
The trick: this one genuinely needs a mirror behind you or a patient friend. Do not attempt blind on the first try.

14. The Pull-Through Braid
Time: 15 minutes. Difficulty: easy, looks hard.
The great impostor braid. It is made of ponytails looped through each other, not actual braiding, but the result looks like the most complex braid on this list. Maximum drama, minimum skill. I recommend this to every braid beginner who wants the waterfall-braid effect without the waterfall-braid suffering.
The trick: keep each ponytail section even. Uneven sections make it lumpy. Even sections make it look like magic.
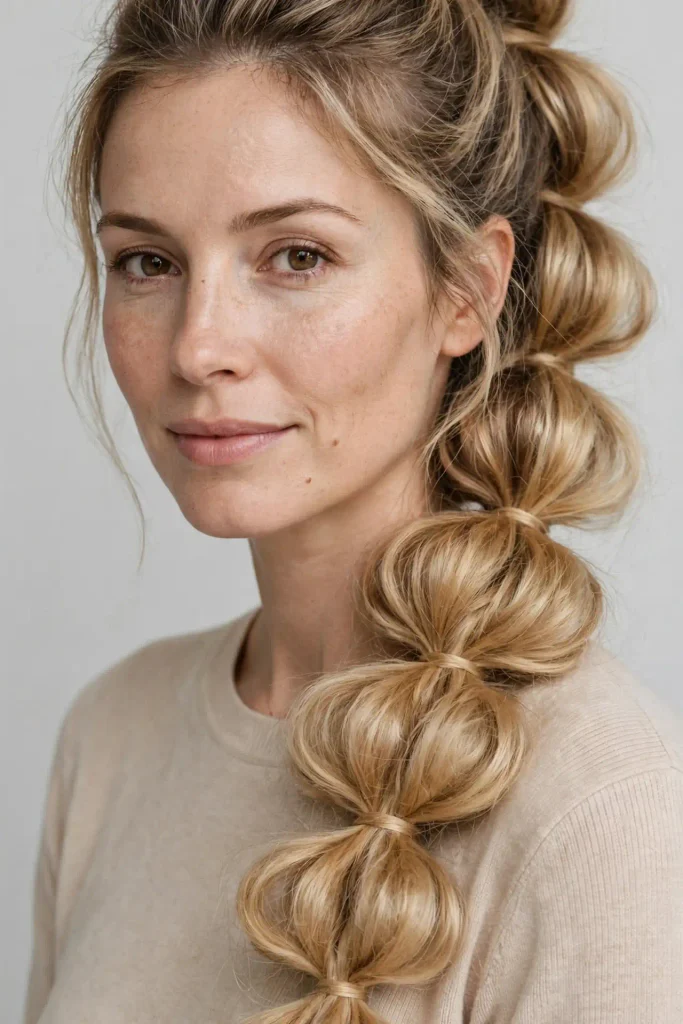
15. The Braided Headband
Time: 10 minutes. Difficulty: medium.
A braid woven across the front of the head like a headband, with the rest of the hair down. It keeps hair off your face while looking infinitely prettier than a plastic headband. I wore this through an entire summer of outdoor dinners. It is practical and pretty, the rarest combination.
The trick: braid from behind one ear to behind the other, not just across the forehead. The longer path sits flatter and holds better.

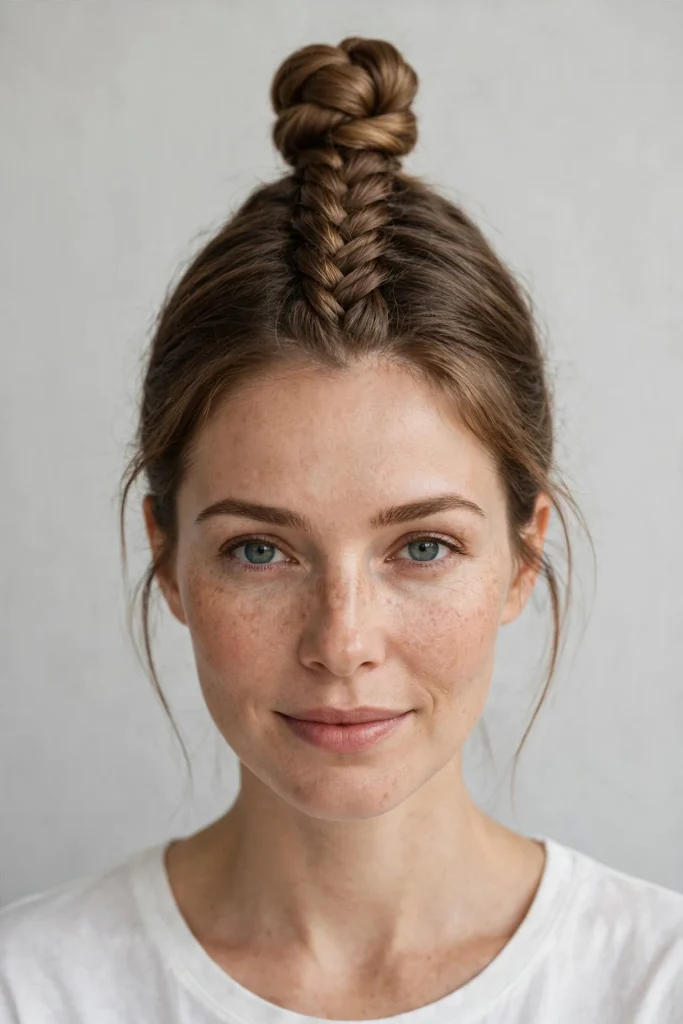
16. The Upside-Down Braided Bun
Time: 15 minutes. Difficulty: medium.
Flip your head over, Dutch braid from the nape upward, then bun the rest on top. The braid crawling up the back of your head is a secret detail that gets revealed every time you turn around. I wore this to a party and spent the evening feeling like I had a surprise hidden in my hair. Because I did.
The trick: braiding upside down is disorienting the first time. Practice the flip on a day with nowhere to be.
17. The Mermaid Braid
Time: 20 minutes. Difficulty: hard.
A loose, wide, romantic braid that starts high and flows like water, pancaked to maximum width. It is the braid of fantasy novels and wedding Pinterest boards. I did this for my best friend’s wedding as her maid of honor, and in the photos my hair looks like it belongs in a different century. A better century, hair-wise.
The trick: the mermaid braid is ninety percent pancaking. Braid it tight first for structure, then pull it apart fearlessly.

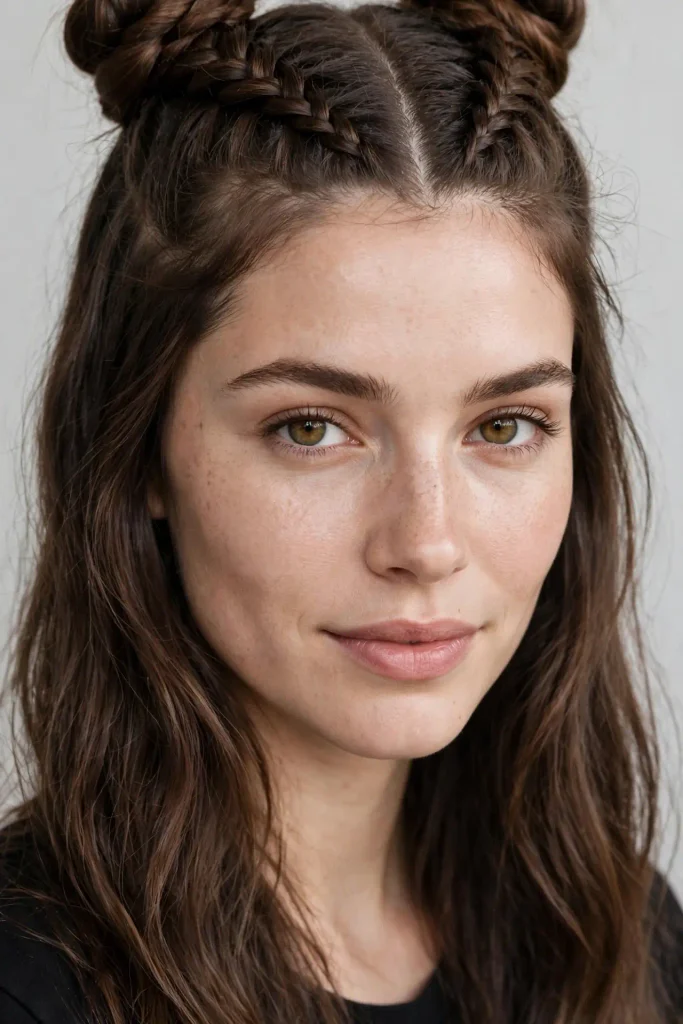
18. The Braided Space Buns
Time: 20 minutes. Difficulty: medium.
Two Dutch braids going up into two buns. Playful, festival-ready, and weirdly flattering on adults when the braids are sleek. I wore these to a concert at thirty and felt seventeen in the best way. There is no age limit on fun hair. Anyone who says otherwise is invited to be boring alone.
The trick: position the buns high and slightly forward. Low space buns look like side buns. High ones look like space buns.
Braid Math: Why Your Braids Fall Apart
Expert corner, because I promised expertise. Braids fail for three mechanical reasons, and none of them are “you are bad at this.” One: uneven tension. If one crossover is tight and the next is loose, the braid twists and loosens. Fix it by keeping your pinkies anchored and pulling each section with the same force. Two: sections shrinking as you go. You start with fat sections and end with thin ones, so the braid tapers weirdly. Fix it by adding hair evenly in French and Dutch braids. Three: the wrong elastic. Tiny clear elastics grip. Big fabric ones slide. This is not a small detail. It is the detail.
Braid Emergency Fixes
It is 3 PM and your braid is dying. Do not take it out. Rescue it. If the top is loosening, slide two bobby pins in an X over the loose spot. If the end is fraying, re-braid just the last three inches and add a second elastic above the fray. If the whole thing looks tired, pancake it wider. A wider braid always looks more intentional than a skinny tired one. And if all else fails, wrap it into a braided bun. Nobody will ever know it was a rescue mission.
Quick Answers
How long does it take to learn braiding? The three-strand takes a day. The Dutch takes a weekend. The fishtail takes a week of evenings. After that, your hands know things your brain forgot.
Why do my braids look thin? Pancaking. You are skipping the pancaking. Gently pull each loop wider after braiding and watch your braid double in size.
Can I braid short hair? Yes for most of the under-5-minute list and the headband braid. French and Dutch braids need at least chin-length hair to work properly.
How do I make braids last all day? Texturizing spray before, small elastics, bobby-pin the danger zones, and accept that a slightly lived-in braid at 6 PM looks better than a stiff one anyway.
Start with number one. Master it. Then pick the one that made you stop scrolling. In a month, your hands will do things that surprise you. Mine still do.