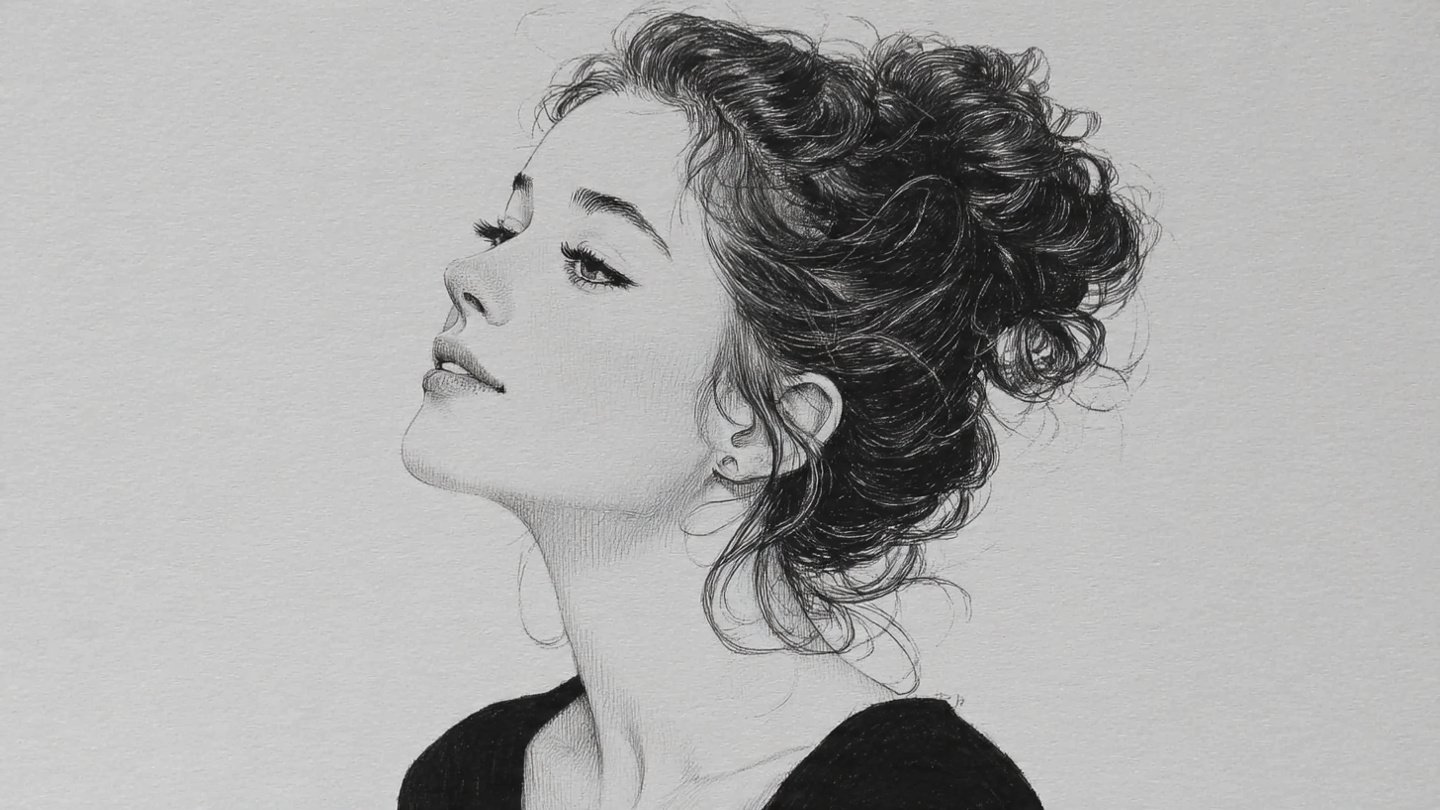
15 Hairstyle Drawing Ideas, Each One Teaching You a New Skill
For years, hair was the part of my drawings I dreaded most. I could manage eyes, noses and even hands, but hair always ended up looking like a stiff helmet or a pile of spaghetti. I’d spend ages drawing individual strands, only to erase everything in frustration.
Things finally changed when an art teacher told me something simple: “Stop drawing hair. Start drawing shapes.” Once I learned to see hair as shapes, flow lines and clumps instead of thousands of strands, my drawings improved almost overnight.
That’s why this post is built as a series of mini lessons. Each of these 15 hairstyle drawing ideas teaches you one specific drawing skill, from basic shapes to movement, volume, texture and layering. Work through them in order, and by the end, you’ll be able to draw almost any hairstyle with confidence.
What You’ll Need
You don’t need fancy supplies. Here’s what I recommend:
- Pencils in different grades, such as 2H for light sketching and 2B to 6B for darker lines and shading
- A kneaded eraser, which can lift highlights without damaging paper
- A blending stump or cotton swab for soft shading
- Smooth drawing paper
- A digital tablet, if you prefer drawing digitally
Before You Begin: Hair Sits on a Head
The most common beginner mistake is drawing hair flat against the outline of the head. Real hair sits on top of the skull, adding volume.
- Sketch the head shape first, as a light circle or oval.
- Draw the hairline, usually about a third of the way down from the top of the head to the eyebrows.
- Add the hair outline slightly outside the head shape, to show volume.
Keep these steps in mind for every hairstyle below.
Skill 1: Shape and Hairline
1. Long Straight Hair With a Middle Part
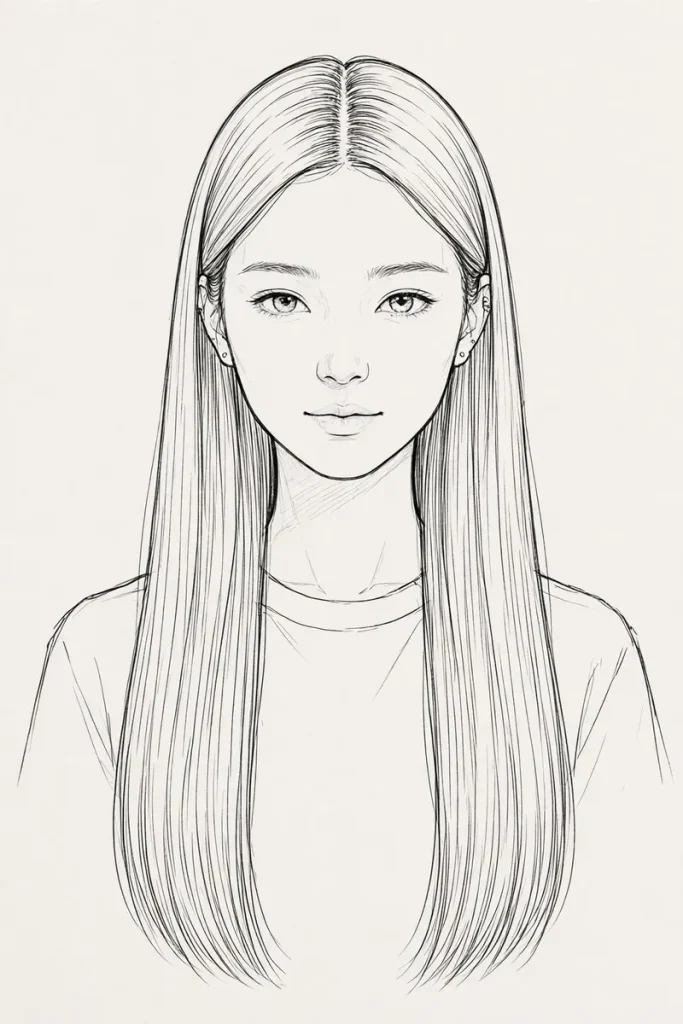
This is the best place to start. Long, straight hair teaches you how hair falls from the part and frames the face.
The skill you’ll practice: drawing a clean part and a simple, flowing outline.
- Draw a light line down the center of the head for the part.
- Sketch two long shapes falling from the part, one on each side of the face.
- Add a few long lines following the direction of the hair.
- Darken the inner edges near the face for depth.
2. The Short Bob
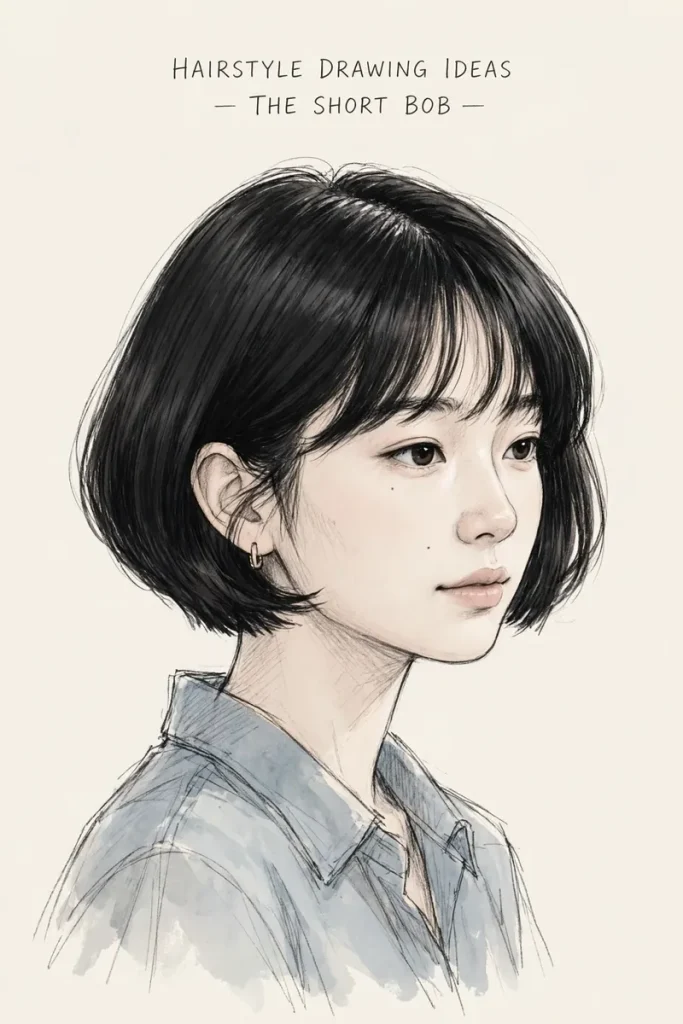
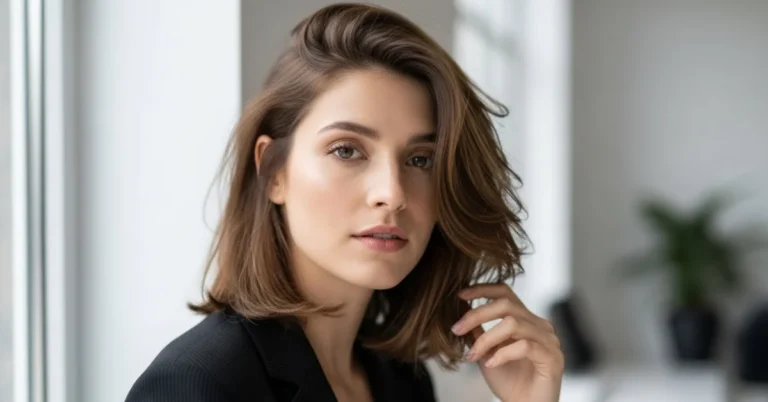
A bob teaches you how hair curves around the jaw.
The skill you’ll practice: drawing a rounded silhouette.
- Sketch a rounded shape around the head, ending at the jaw.
- Curve the ends slightly inward under the chin.
- Add a few curved lines following the shape of the head.
- Shade underneath the bob, where it meets the neck.
Skill 2: Flow and Movement
3. Long Wavy Hair
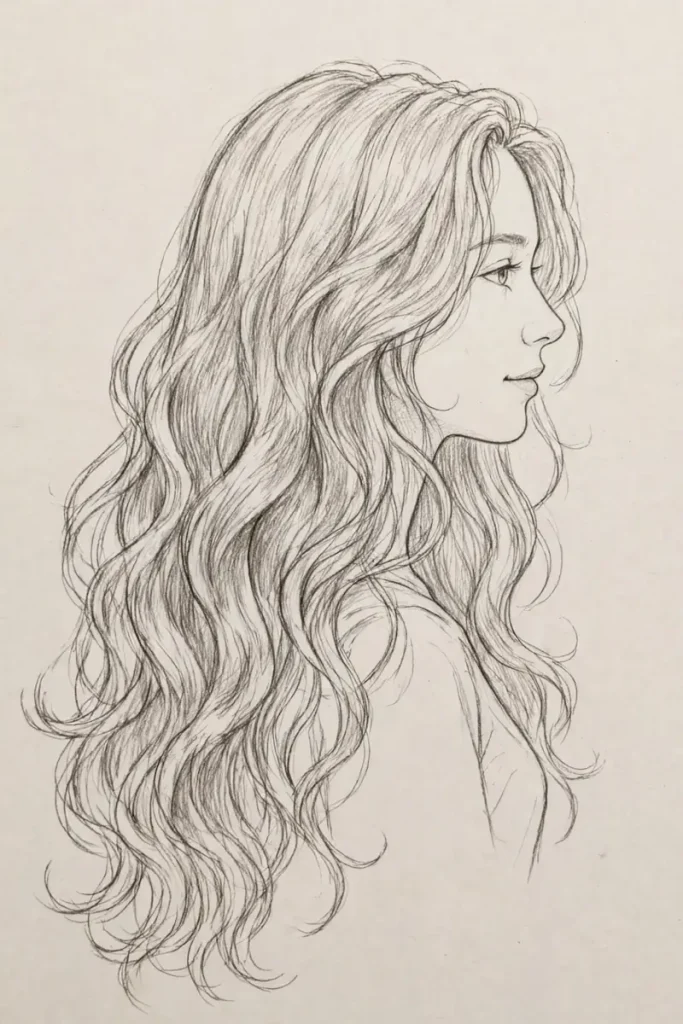
Waves teach you how hair bends and flows.
The skill you’ll practice: drawing S-shaped flow lines.
- Sketch long S-shaped lines from the part to the ends.
- Group the lines into wide wavy sections.
- Add shading where each wave curves inward.
- Leave lighter areas where waves curve outward and catch the light.
4. Windblown Hair
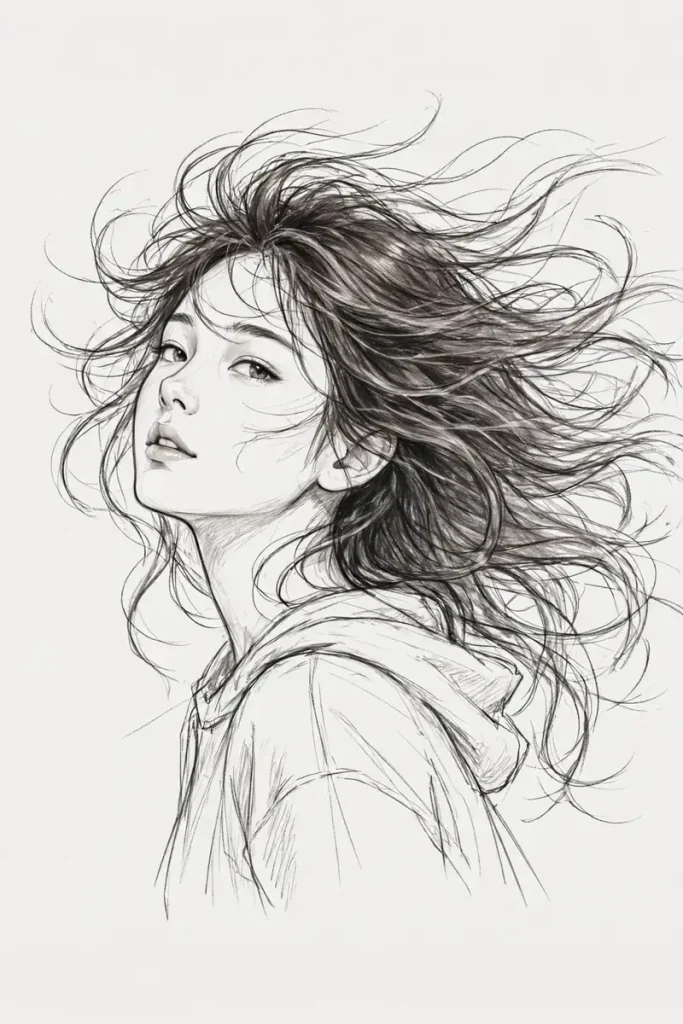
Windblown hair shows movement and energy in a drawing.
The skill you’ll practice: suggesting direction and motion.
- Choose a direction for the wind.
- Sketch hair flowing in that direction, with tapered, pointed ends.
- Add a few loose strands breaking away from the main shapes.
- Keep lines quick and light for a natural, airy feel.
5. The High Ponytail
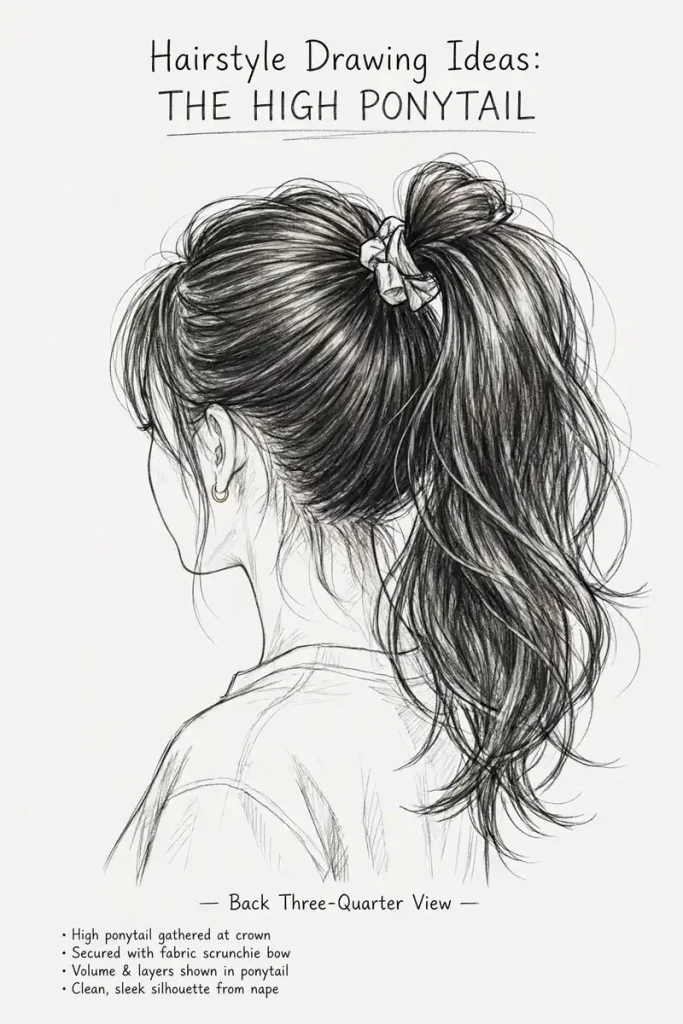
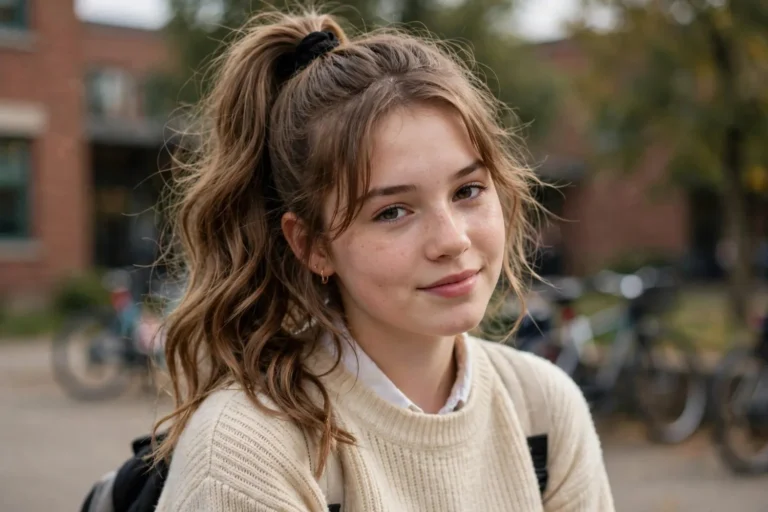
A ponytail teaches you how hair gathers at one point and flows outward.
The skill you’ll practice: drawing hair pulled toward a single point.
- Mark the spot where the ponytail is tied.
- Draw lines from the hairline converging toward that spot.
- Sketch the ponytail flowing down from the tie.
- Add a small band or scrunchie, and shade beneath it.
Skill 3: Volume and Silhouette
6. The Afro
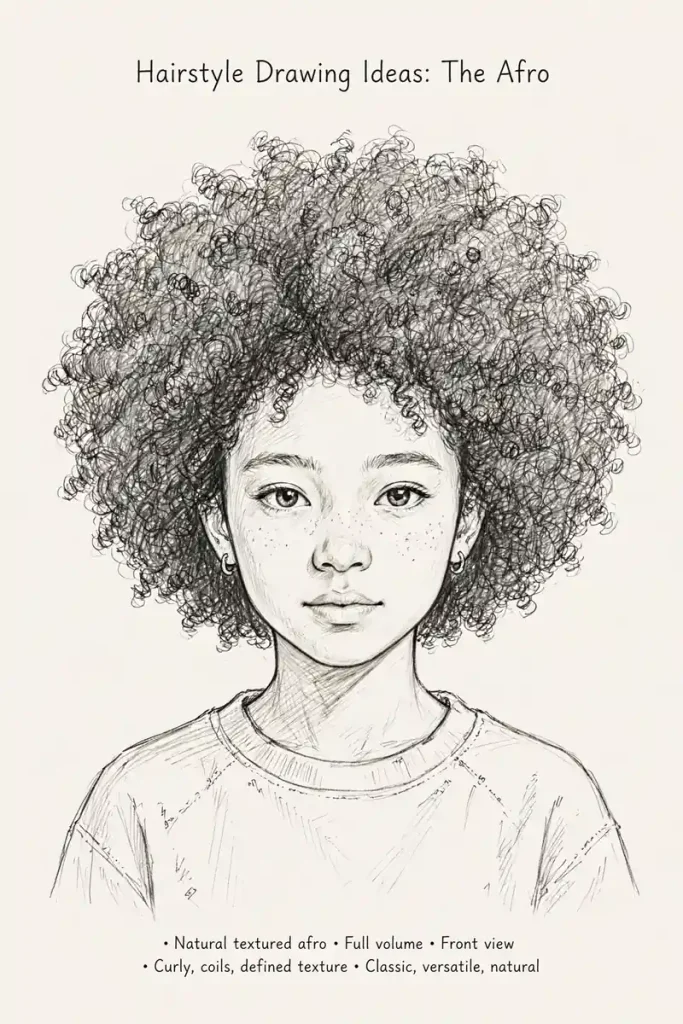
An afro teaches you to think about hair as a full, rounded shape with texture.
The skill you’ll practice: drawing large volume and soft edges.
- Sketch a large, rounded shape around the head.
- Make the outer edge slightly uneven and soft, rather than a perfect line.
- Add small curls or textured marks around the edges.
- Shade gently to show the round, three-dimensional shape.
7. The Messy Bun
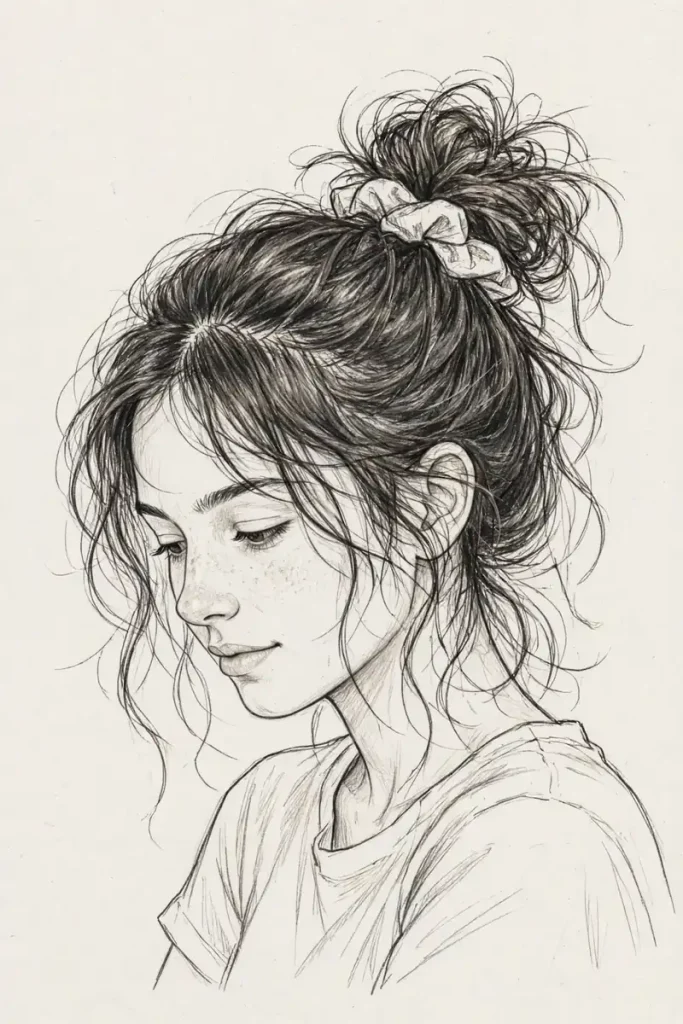
A messy bun teaches you to draw volume while keeping a relaxed, natural look.
The skill you’ll practice: combining structure with loose strands.
- Draw lines from the hairline up toward the top of the head.
- Sketch a round, slightly uneven bun shape.
- Add loops and curved lines inside the bun.
- Draw a few loose strands falling around the face and neck.
8. The Voluminous Pixie
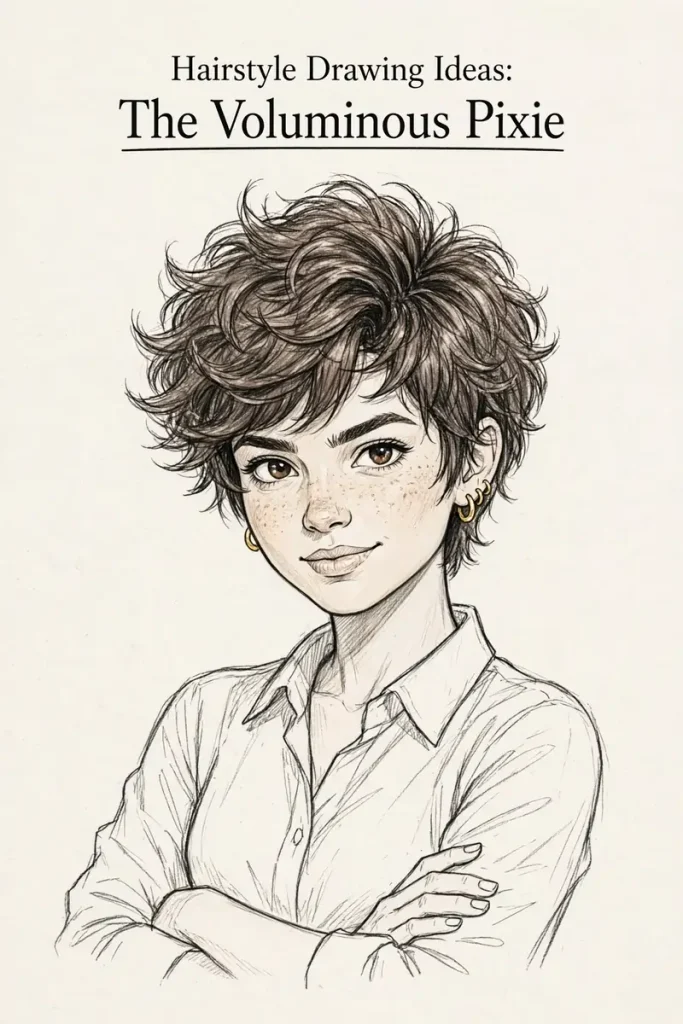
Short hair with volume teaches you to show height and texture in a small space.
The skill you’ll practice: suggesting lift with short lines.
- Sketch the hair shape slightly higher than the head at the crown.
- Add short, curved strokes showing the direction of each section.
- Darken the sides, where the hair is closer to the head.
- Leave the top lighter to suggest volume.
Skill 4: Texture and Pattern
9. Box Braids
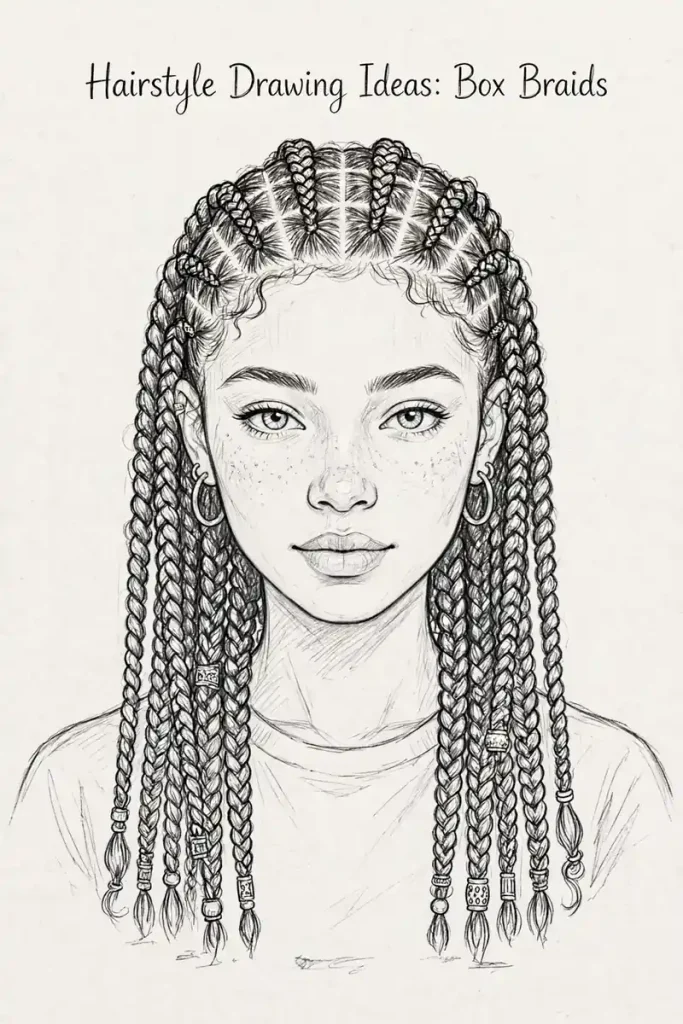
Box braids teach you to draw repeated patterns.
The skill you’ll practice: drawing consistent repeating shapes.
- Sketch the braids as long, narrow tubes falling from the head.
- Draw small, interlocking “V” or zigzag shapes down each braid.
- Add square parts at the scalp.
- Shade between the braids for depth.
10. The Classic Three-Strand Braid
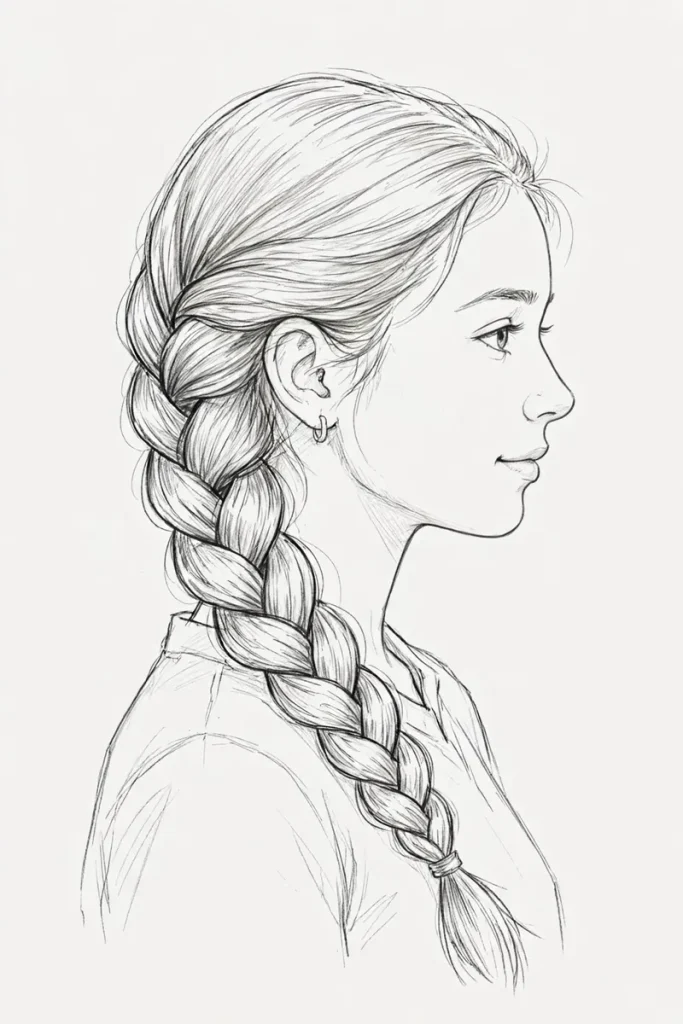
A single braid teaches you how strands weave together.
The skill you’ll practice: drawing overlapping sections.
- Draw a long, narrow shape where the braid will go.
- Divide it into a series of interlocking, slightly curved sections, alternating left and right.
- Shade where each section tucks under the next.
- Finish with an elastic at the end.
11. Tight Curls and Coils
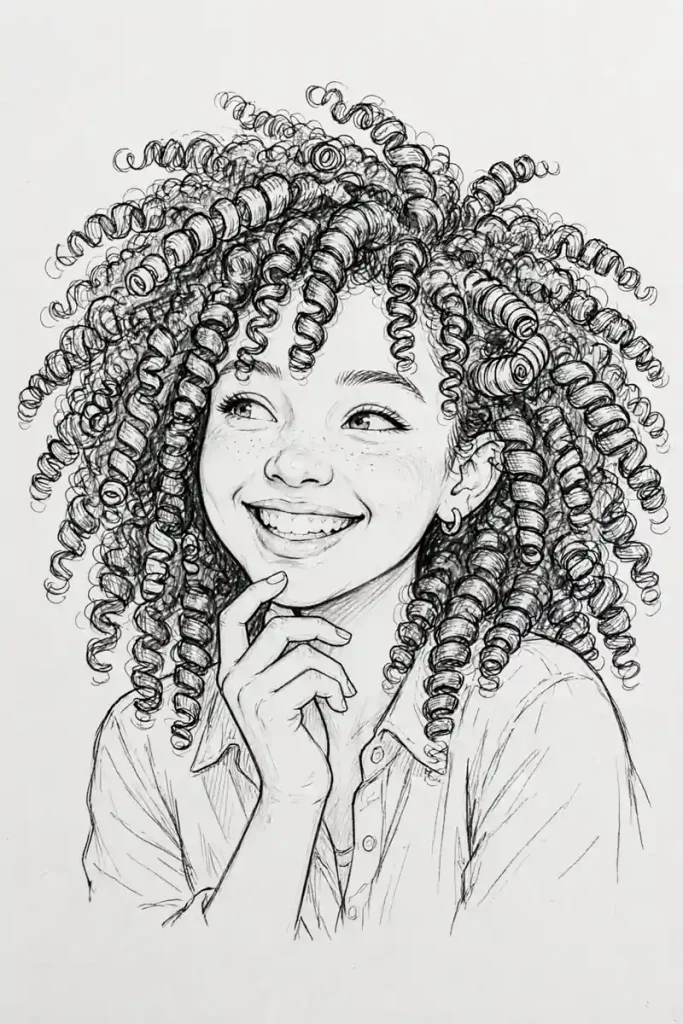
Curly and coily hair teaches you to draw small, detailed textures.
The skill you’ll practice: suggesting texture without drawing every curl.
- Sketch the overall shape of the hair first.
- Add small spiral and loop marks, mostly around the edges.
- Leave some areas less detailed, so the drawing doesn’t look too busy.
- Shade underneath sections to create depth.
12. Locs
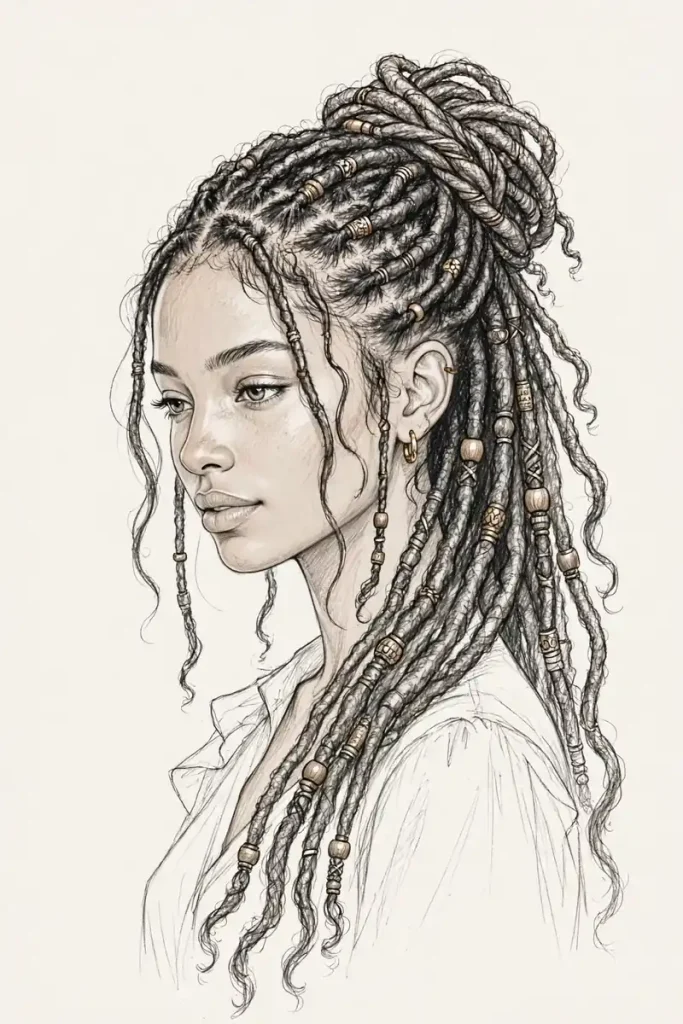
Locs teach you to combine texture and length.
The skill you’ll practice: drawing thick, textured strands.
- Sketch long, rope-like shapes falling from the head.
- Add small curved lines and bumps along each loc.
- Vary the thickness slightly for a natural look.
- Shade between the locs for depth.
Skill 5: Layers and Overlaps
13. Bangs With Layered Hair
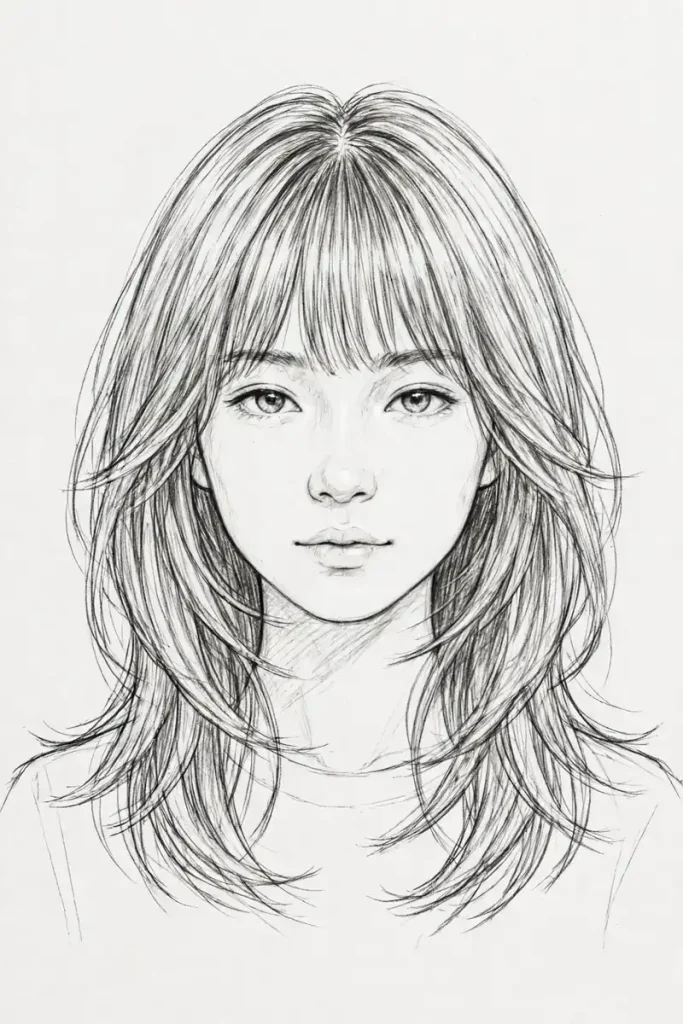
Bangs teach you to draw hair overlapping the face and other sections.
The skill you’ll practice: drawing layers in front of and behind other shapes.
- Sketch the bangs first, falling over the forehead.
- Draw the rest of the hair behind the bangs.
- Add face-framing layers falling past the cheeks.
- Shade under the bangs, where they cast a shadow on the forehead.
14. Space Buns
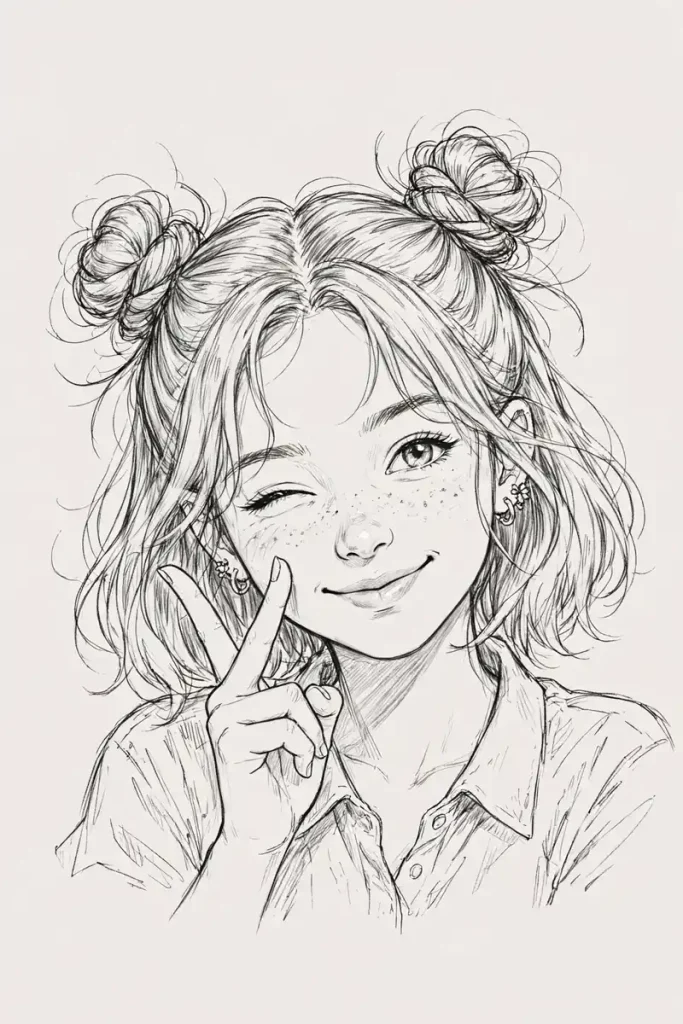
Space buns teach you to draw two separate shapes on the head.
The skill you’ll practice: keeping shapes balanced and symmetrical.
- Draw a center part.
- Sketch two round buns on top of the head, evenly spaced.
- Add lines leading from the hairline up to each bun.
- Add loops inside each bun and shade beneath them.
Skill 6: Stylization
15. Stylized Cartoon or Anime-Inspired Hair
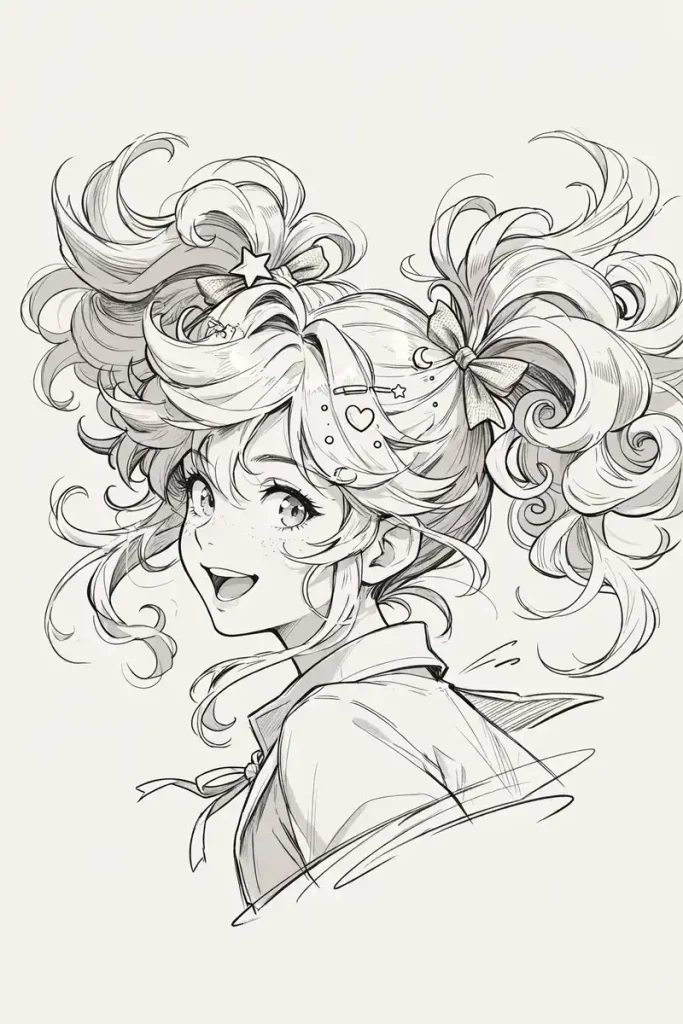
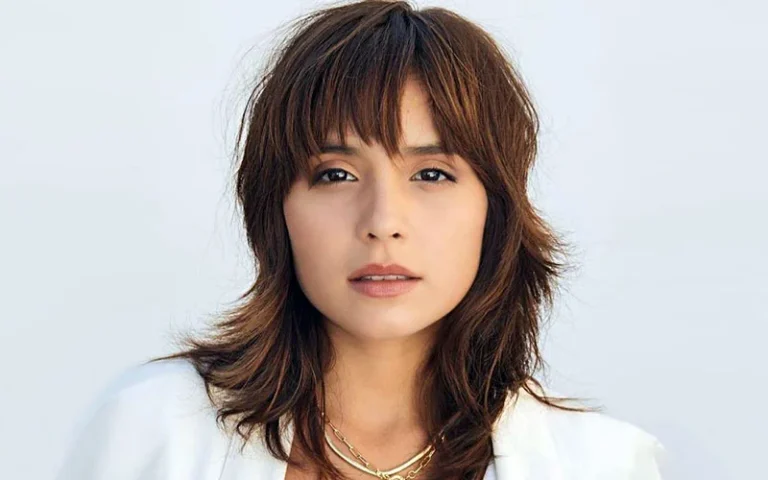
Stylized hair simplifies hair into bold, graphic shapes, often with pointed or chunky sections.
The skill you’ll practice: simplifying hair into strong shapes.
- Sketch the overall silhouette of the hair.
- Divide it into large, pointed or rounded sections.
- Add a few lines inside each section, rather than many strands.
- Add a bold highlight shape across the top.
Develop your own stylized look rather than copying a specific character. That’s how your art becomes uniquely yours.
The Clump Method
The biggest secret to drawing realistic hair is to draw clumps, not strands. Hair naturally groups together into sections. Draw these sections first, then add just a few lines inside each one.
This method saves time, looks more natural and avoids the “spaghetti” effect.
Light, Shadow and the Highlight Band
Shiny hair often has a highlight band, a lighter area where light hits the curve of the head. To create it:
- Decide where your light source is.
- Leave a curved band lighter across the top of the hair, following the shape of the head.
- Shade darker areas near the roots, under layers and where hair curves away from the light.
- Use a kneaded eraser to lift soft highlights.
Drawing Different Hair Textures Respectfully
Hair comes in a beautiful range of textures, from straight to wavy, curly, coily and locs. When drawing hair from different cultures and backgrounds:
- Use real photos as references, rather than guessing.
- Avoid exaggerated or stereotypical shapes.
- Practice many textures, not just the one you know best.
Drawing hair with care and accuracy makes your art more inclusive and more beautiful.
Tips for Drawing Hair Digitally
- Use a textured brush for natural strokes.
- Draw on separate layers for base color, shading and highlights.
- Use a soft airbrush for gentle shading.
- Try a smudge tool to blend strands softly.
- Zoom out often to check the overall shape.
Common Hair Drawing Mistakes
- Drawing every strand, which looks messy and flat.
- Placing the hairline too high or too low.
- Drawing hair flat against the head, without volume.
- Using the same line thickness everywhere.
- Forgetting shadows under bangs, buns and layers.
A 15-Minute Daily Practice Plan
- Warm up for 3 minutes by drawing quick S-shaped flow lines.
- Spend 7 minutes drawing one hairstyle from this list.
- Spend 5 minutes shading and adding highlights.
Practice a different hairstyle each day, and in just two weeks, you’ll have worked through all 15.
Final Thoughts
Drawing hair doesn’t have to be frustrating. Once you start thinking in shapes, flow lines and clumps instead of individual strands, every hairstyle becomes easier. Work through these 15 drawing ideas in order, and you’ll build a new skill with each one.
Grab your pencil, pick a hairstyle and start sketching. Your best hair drawings are still ahead of you.
Which hairstyle are you going to draw first? Let me know in the comments below.