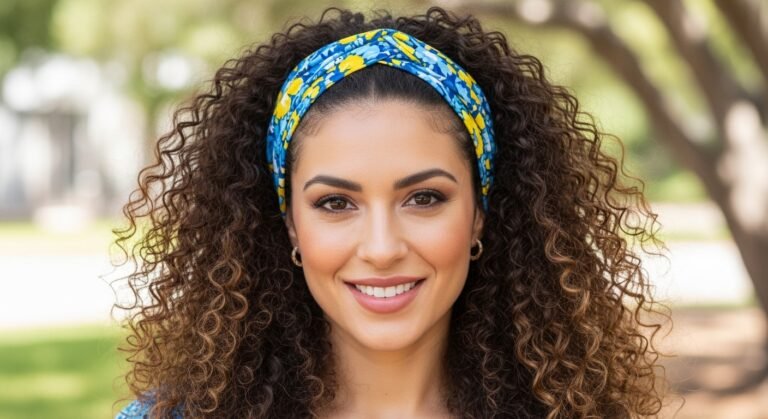
Part Time Genius: 15 Side Part Hairstyles for Women, Sorted by How Much Time You Actually Have
Last spring I took a poll of my group chat. The question was simple: “How long do you spend on your hair on a weekday?” The answers ranged from “four minutes, and one of them is dry shampoo” to “I don’t want to talk about it.” Not one person said “as long as it takes.”
That poll changed how I write about hair. Most style guides assume you have a free hour, a round brush, and a sunny bathroom window. I’ve never had all three at once.
So I built this guide around the clock instead of the occasion. Fifteen side part styles, sorted by the time you can realistically spare, from sixty seconds to a slow Saturday afternoon. There’s also a personality quiz to pick your part, and a seven-day rotation plan so you never stand in front of the mirror wondering what to do.
What a Side Part Does That a Center Part Can’t
A center part is symmetrical, and symmetry is unforgiving. If one eyebrow sits higher than the other or one side of your hair grows differently, a middle part announces it. A side part sidesteps all of that.
It also lifts your roots, since hair parted on one side sits at an angle instead of lying flat. It draws the eye diagonally, which flatters round faces and softens long ones. And it hides regrowth and thin spots better than any product I’ve tried.
In short, it’s the cheapest facelift in your bathroom, and it doesn’t require a cut, a color, or a credit card.
Take the Part Personality Quiz
Here’s the new piece I’m most excited about. Answer these three questions honestly, and I’ll tell you where to begin.
1. Your ideal Saturday looks like:
- A. Farmers market and a long walk
- B. Brunch, then a gallery
- C. Dinner reservation and dancing
2. Your closet is mostly:
- A. Denim, knits, and sneakers
- B. Tailored basics and neutral colors
- C. Statement pieces and something sparkly
3. Your hair’s mood is:
- A. Wild and doing its own thing
- B. Cooperative most days
- C. Dramatic, or willing to be
Mostly A’s: The Soft Parter. Start with a shallow part, about an inch off center. You want ease, texture, and movement. Begin with ideas 1, 2, and 8.
Mostly B’s: The Classic Parter. A medium part, above the arch of your eyebrow, is your sweet spot. Polish without fuss. Begin with ideas 4, 5, and 10.
Mostly C’s: The Dramatic Parter. Go deep, above the outer corner of your eye or further. Glamour is your native language. Begin with ideas 12, 13, and 14.
Whichever you got, you’re allowed to change your mind. Think of it as a starting line.
The Ten-Second Setup Every Look Needs
Two habits make every style below work better.
First, find your natural part. Brush your hair straight back, then push it forward with your fingertips from the crown. The place where it lifts and splits on its own is your natural part. Working with it means the part stays put with less product.
Second, part damp hair, not bone-dry hair. Dry hair remembers its old direction and fights back. A slightly damp line, combed into place and set with a blast of the dryer, holds all day.
The 60-Second Club
For mornings when the alarm and I are not on speaking terms.
1. The Finger-Flip Part

Shake your hair out, flip it to the opposite side of your usual part with your fingers, and leave it. That’s the entire style. The roots lift, the top looks fuller, and the slightly imperfect line looks lived-in rather than lazy.
Best for: Any length, any texture.
My tip: Skip the comb. Fingers give a softer, more natural part.
2. The Tuck-Behind-the-Ear

Part to one side and tuck the heavier section behind your ear. It shows off an earring, opens your face, and keeps hair from falling in your coffee. It’s my unofficial uniform, and it works on every haircut from pixie to waist-length.
Best for: Errands, commutes, days you’re running late.
My tip: Add a tiny bobby pin behind the ear if your hair is silky and slides out.
3. The Deep Side Sweep with Dry Shampoo
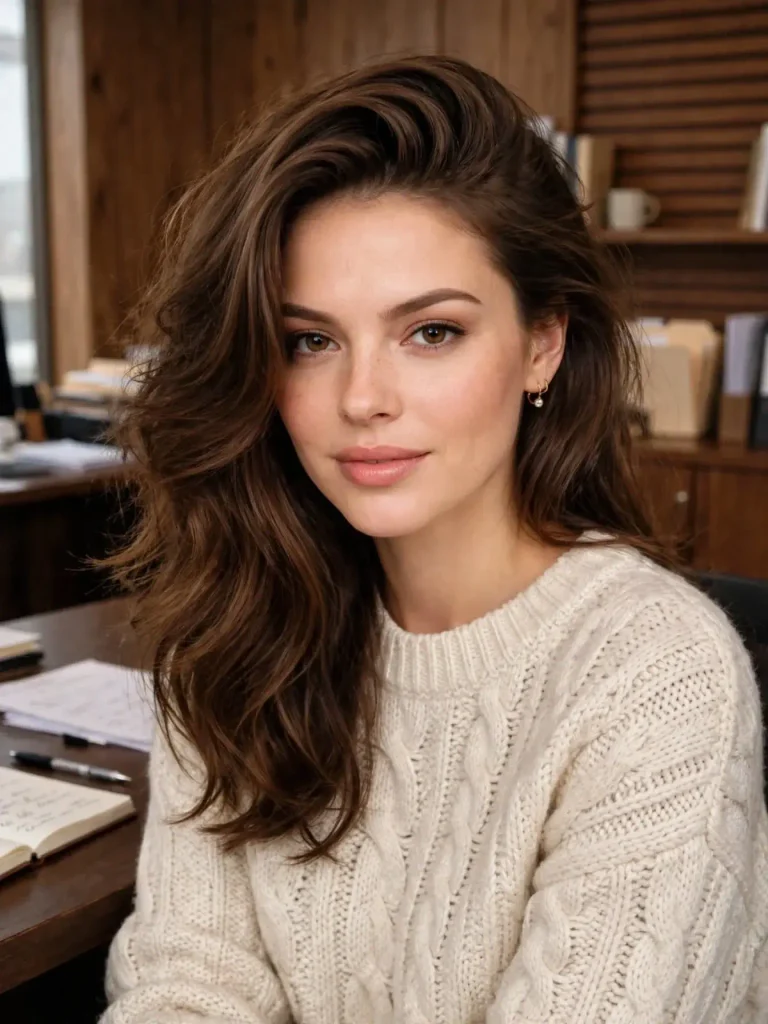
If your hair is on day three, spray dry shampoo at the roots, wait a minute, and then create a deep side part with your fingertips. The dry shampoo adds grip, so the part holds and the volume is built in. It looks intentional, and nobody needs to know about the laundry pile.
Best for: Oily roots and second or third day hair.
My tip: Massage the dry shampoo in rather than brushing it, to avoid a chalky finish.
4. The Blowout-Bounce Part
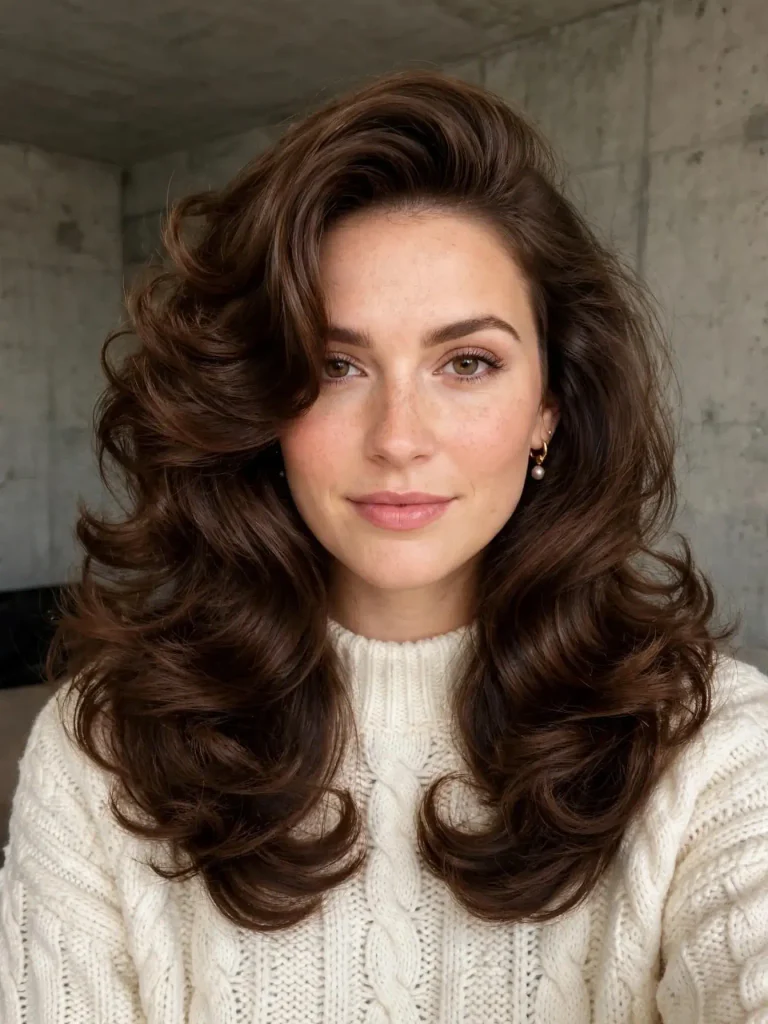
Flip your head over, blow-dry the roots until they’re dry, then flip back and part to the side. The lift happens because you dried the hair in the opposite direction. It takes a minute and gives salon-level volume.
Best for: Fine or flat hair that needs a boost.
My tip: A dab of root-lifting spray on damp roots doubles the effect.
The Ten-Minute Club
For mornings when you have a little room to play.
5. The Classic Medium Side Part with Loose Waves

This is the little black dress of hairstyles. Part above your eyebrow arch, then curl small sections with a large-barrel iron, always turning away from your face. Finish by running your fingers through the curls to break them up into soft, brushed-out waves.
Best for: Almost everything, from work to dinner.
My tip: Leave the last inch of every strand out of the iron. It keeps the ends from looking overly done.
6. The Sleek Straight Side Part

Glossy, straight hair with a crisp line looks polished and expensive. Use a fine-tooth comb for a clean part, flat iron in sections with heat protectant, and finish with a drop of shine serum. It’s the style I wear for presentations.
Best for: Important meetings and photos.
My tip: Curve the flat iron slightly at the ends so they turn under softly instead of ending bluntly.
7. The Side Part with a Low Ponytail

Part deeply, smooth hair back, and secure a low ponytail at the nape. Wrap a small strand around the elastic and pin it underneath to hide it. It looks refined with a blazer and keeps you cool in summer.
Best for: Warm days and hair that needs to stay out of the way.
My tip: Pull two small pieces loose at the temples to soften the look.
8. The Curly Side Part
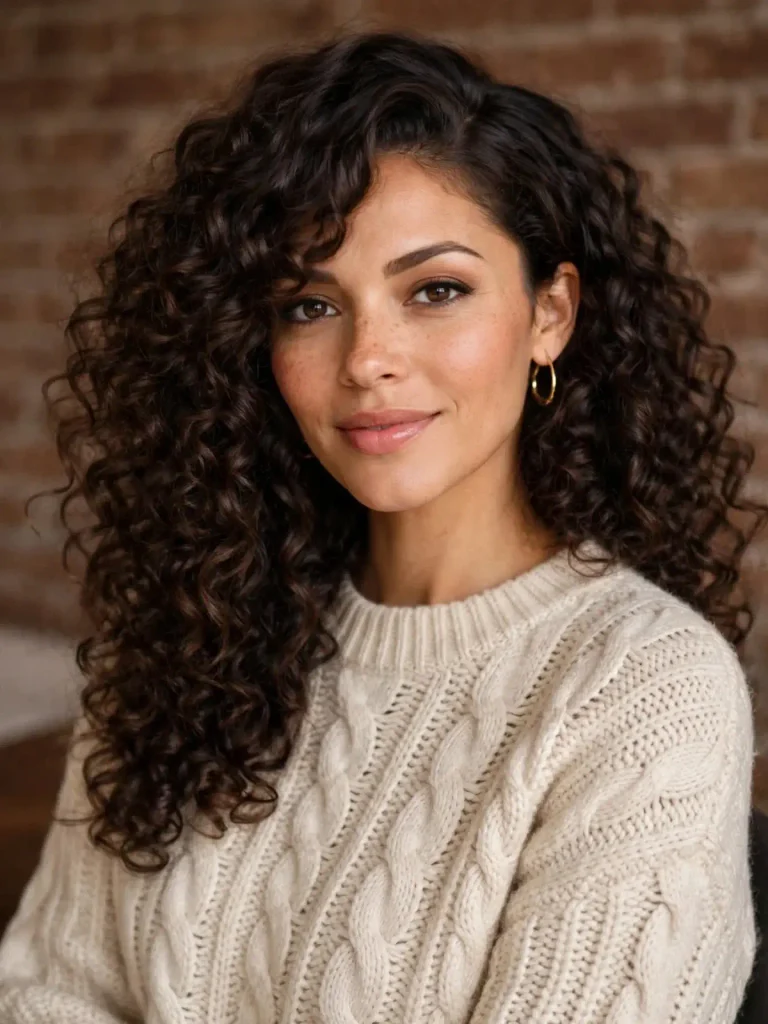
For curls and coils, part your hair while it’s wet and full of leave-in conditioner, then air-dry or diffuse. The part gives the curls a fuller, lopsided shape that feels dynamic instead of flat. Resist brushing once it’s dry.
Best for: Curly and wavy hair of every kind.
My tip: Rake the part line with your fingers rather than a comb, so you don’t break up the curl pattern.
9. The Side-Parted Bob

A bob with a side part is quietly chic. Use a round brush to blow-dry the ends slightly under or out, then set your part. A deeper part adds height on top, while a shallow one keeps it casual.
Best for: Short and chin-length cuts.
My tip: Switch the part side every month, or your bob may start to lean permanently.
10. The Side-Swept Pixie
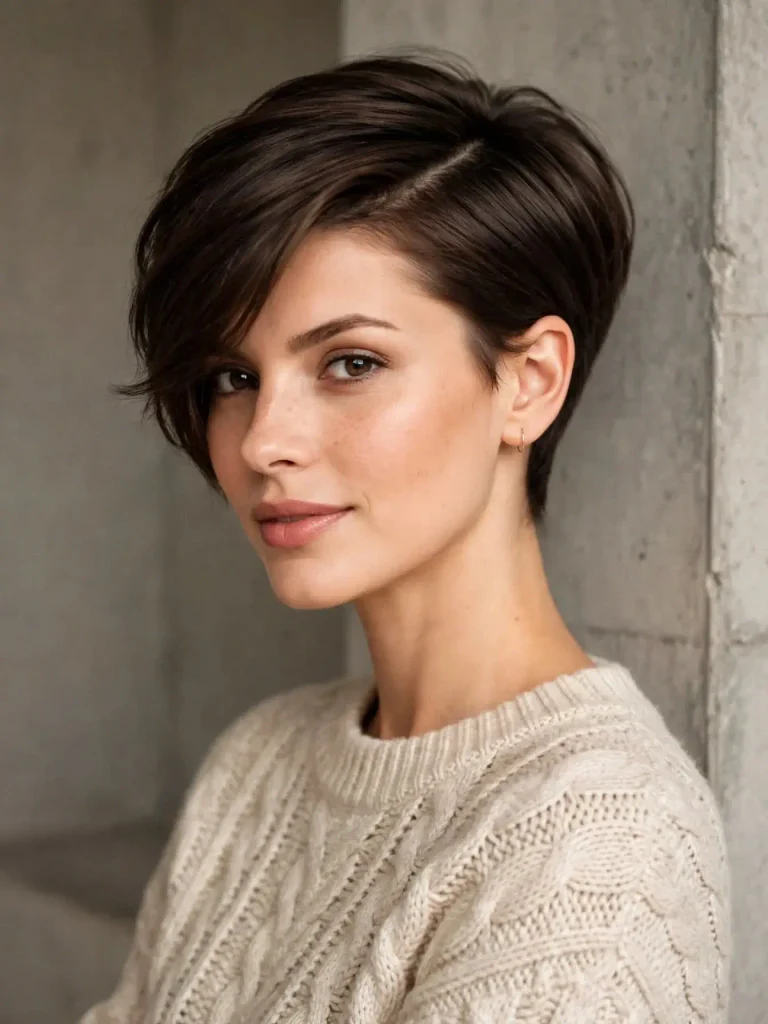
Comb the top of your pixie to one side and let the front sweep across the forehead. A pea-sized dot of styling cream holds it all day. It softens a short cut and adds a romantic, effortless edge.
Best for: Pixies and very short crops.
My tip: Use your fingertips, not a comb, to place the sweep, so it doesn’t look too neat.
The Saturday Project Club
For when you want to feel like a film star and have time to spare.
11. The Braided Crown Side Part
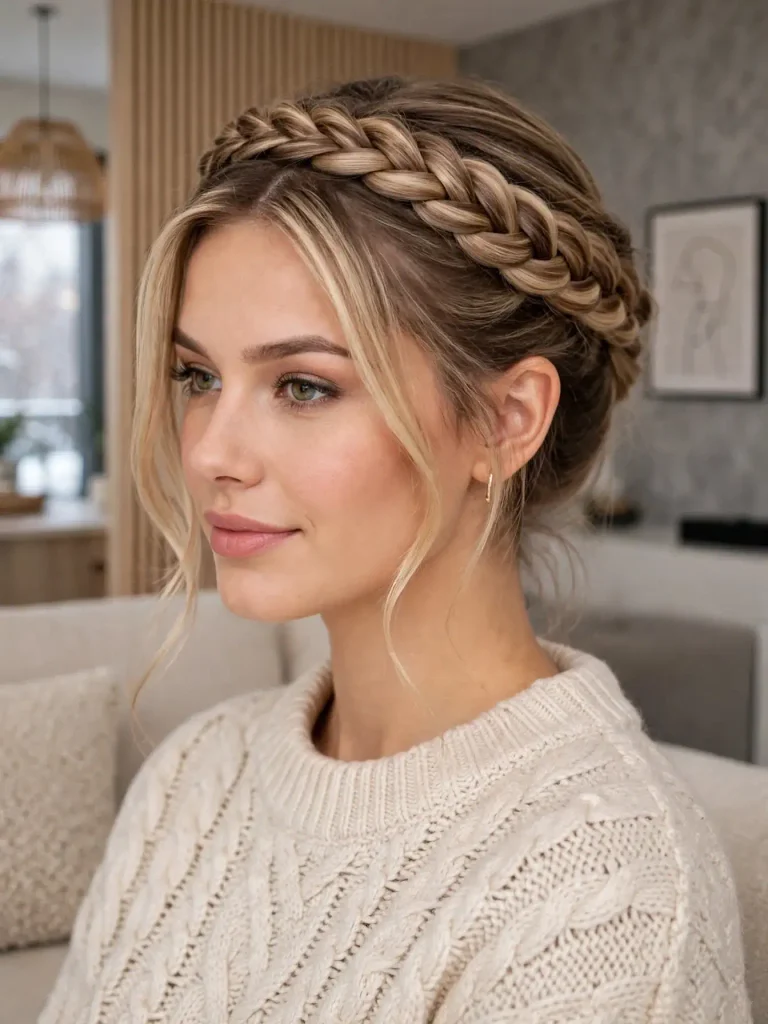
Part on the side, then braid the front section along your hairline and pin it behind your ear. Leave the rest in loose curls. It keeps hair off your face and has a soft, storybook quality.
Best for: Picnics, brunches, and daytime celebrations.
My tip: Pull gently at the edges of the braid to make it look fuller.
12. The Hollywood Wave
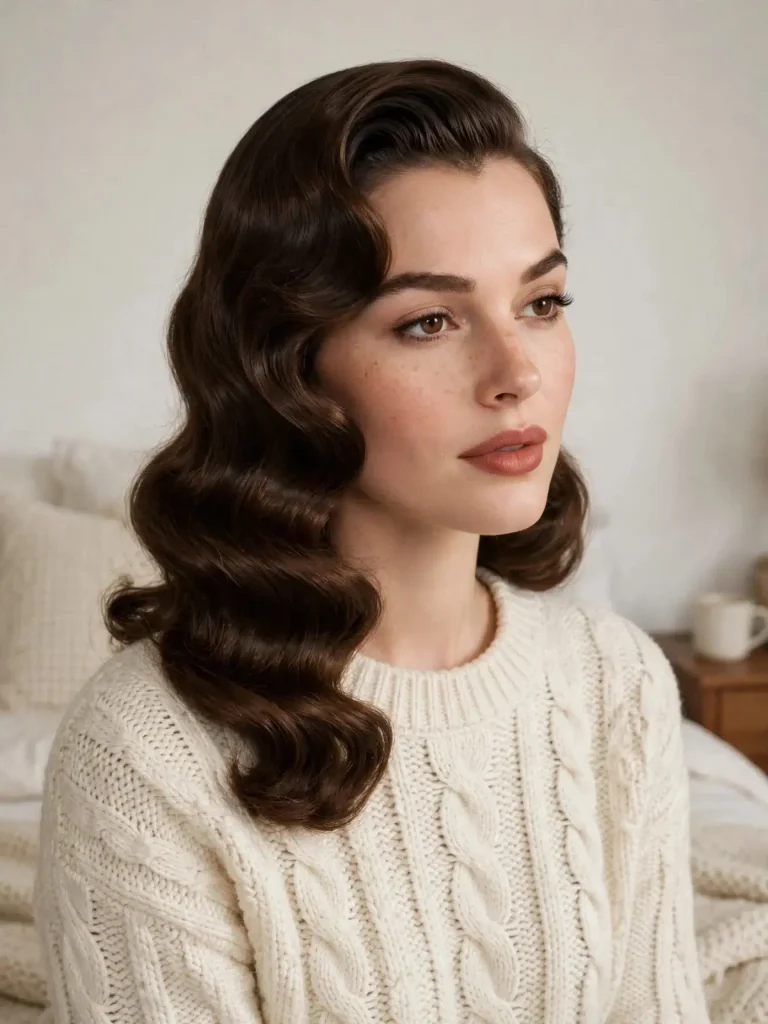
This is old-Hollywood glamour: a deep part and a single sweeping wave. Set large curls with rollers or a curling iron, brush them out gently into one smooth wave, and pin it in place while it cools. Finish with a light-hold spray. I wore this to a winter wedding and felt like the lead in a black-and-white movie.
Best for: Weddings, galas, and holiday parties.
My tip: Let the curls cool completely before you brush them. Heat is what sets the shape.
13. The Vintage Pin Curl Set
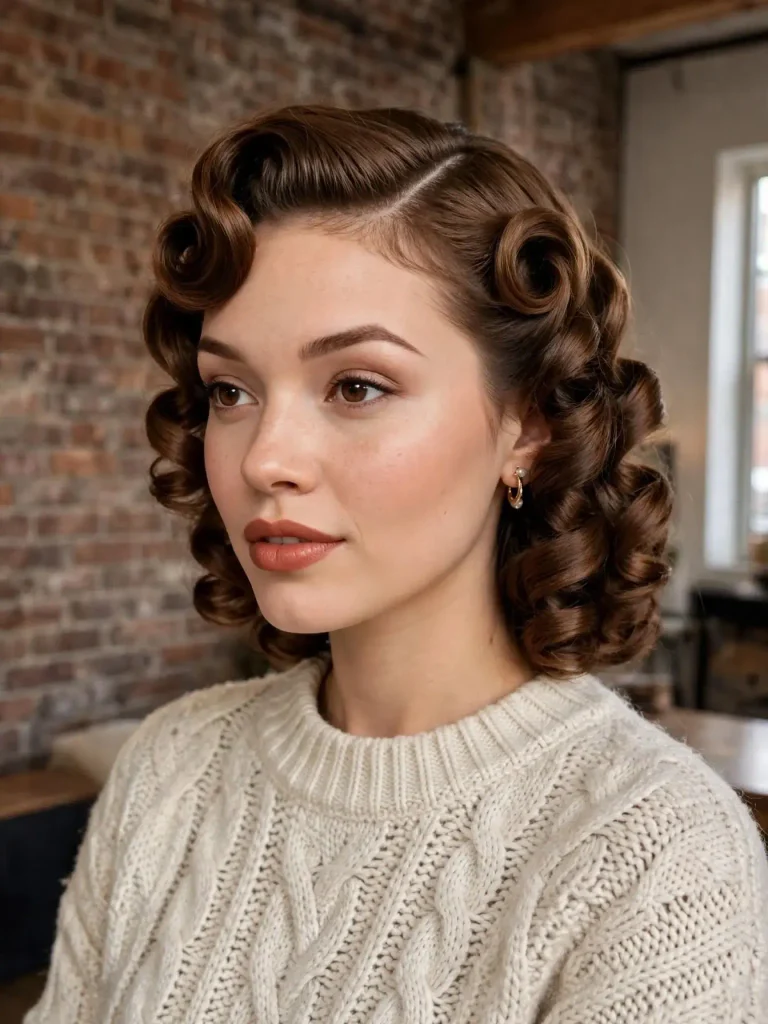
Roll damp sections into pin curls, let them dry, and brush them out into soft, rounded waves swept to one side. The result has a 1940s feel. Do the setting the night before and sleep in a silk scarf, and your morning will be quick.
Best for: Vintage lovers and special occasions.
My tip: Brush out with a soft bristle brush, not a comb, to keep the waves connected.
14. The Deep Side Part with a Sleek Low Bun

Create a dramatic deep part, smooth everything back, and coil it into a low bun. The asymmetry keeps the bun from looking stiff, and it shows off statement earrings beautifully. It’s a wedding-guest favorite.
Best for: Formal events and evenings out.
My tip: Use a bit of gel on the part line and a boar bristle brush on the rest for a mirror finish.
15. The Asymmetrical Lob with a Deep Part

A lob that’s slightly longer on one side looks modern and editorial. The deep part shows off the angle of the cut, while a little texture spray adds movement. It’s the haircut that makes your part look like a design choice.
Best for: Anyone ready for a small haircut change.
My tip: Ask your stylist to cut it with your part in place, so the length lands correctly.
Your Seven-Day Part Rotation
This is the second new thing I promised, and I use it more than I expected. Here’s a simple rotation so decision fatigue never touches your mornings.
- Monday: The Tuck-Behind-the-Ear. Gentle start, minimal effort.
- Tuesday: The Blowout-Bounce Part. Fresh volume for a busy day.
- Wednesday: The Side Part with a Low Ponytail. Midweek polish.
- Thursday: The Classic Medium Part with Loose Waves. Your reliable friend.
- Friday: The Finger-Flip Part. Casual, easy, weekend-ready.
- Saturday: Pick one from the Saturday Project Club and enjoy yourself.
- Sunday: No heat. Braid your hair damp, sleep in it, and wake up with waves for Monday.
Switching sides through the week also stops your roots from getting trained to one direction, which is the reason hair goes limp.
When Your Part Misbehaves
Even a ten-second style has bad days. Here’s what I do.
The part won’t stay. Dampen the line, comb it into place, and hit it with a hair dryer. A little hairspray on the comb before you part locks it in.
The line looks too wide. A straight, sharp part shows more scalp. Draw a slightly zigzag line with the tail of your comb, or dust the part with root powder or a matching eyeshadow.
Your hair falls flat by lunch. Add a dab of root-lifting spray in the morning, and carry a small bottle of dry shampoo in your bag for a midday refresh.
A cowlick is fighting you. Don’t force it. Move the part half an inch in either direction, or blow-dry the cowlick in the opposite direction while it’s damp.
Match Your Part to Your Face
A quick guide, because I get asked this every week. Confidence beats geometry, but a nudge helps.
- Round face: Try a deep part with crown volume. The diagonal lengthens your face.
- Square face: A shallow to medium part with soft waves around the jaw softens the angles.
- Oval face: You can wear any depth. Experiment freely.
- Heart-shaped face: A medium part with waves at the jaw balances a wider forehead.
- Long face: Choose a shallow to medium part with fullness at the sides. Use deep parts sparingly.
The Small Kit That Does the Job
You don’t need a shelf of products. Here’s what I actually use.
- A fine-tooth or tail comb for clean lines
- A lightweight root-lift spray
- A texture spray for lived-in styles
- A light shine serum for sleek looks
- A flexible-hold hairspray
- Dry shampoo, which I consider non-negotiable
Questions I Get Asked Most
Which side should I part on?
Start with the side your hair naturally falls. If you want more volume, switch to the other.
Will a side part work on thin hair?
Yes. It lifts the roots and hides the scalp. Stick with lightweight products, and avoid heavy creams near the roots.
Does it work with bangs?
Absolutely. Curtain bangs and side-swept fringes blend easily with a side part.
Can I wear a side part every day?
You can, but alternate sides now and then. It keeps your roots flexible and fluffy.
The Last Word
I still think about that group chat poll. Most of us aren’t lacking hair inspiration. We’re lacking minutes. The good news is that a side part is one of the few styles that respects that. It works in sixty seconds, and it works just as well when you have all afternoon.
So tomorrow, before you reach for the usual, flip your part and see who’s looking back at you. Then tell me which of the fifteen you tried first.