16 White Christmas Nails That Don’t Look Bridal
Wear plain white nails to a Christmas party and someone will probably ask if you’re getting married. White polish on its own looks bridal or blank, not festive. White Christmas nails work when the white base carries one clear holiday detail, like a bead tree, a red velvet tip or a tiny village skyline. This list is for anyone who wants white first and red or green second. The sixteen sets are grouped by effort: short and tidy, sparkle and texture, painted art, and gel sets for parties. Each one lists skill, time and polish type, so you can pick a set you can actually finish.
How to Choose a White That Won’t Wash You Out
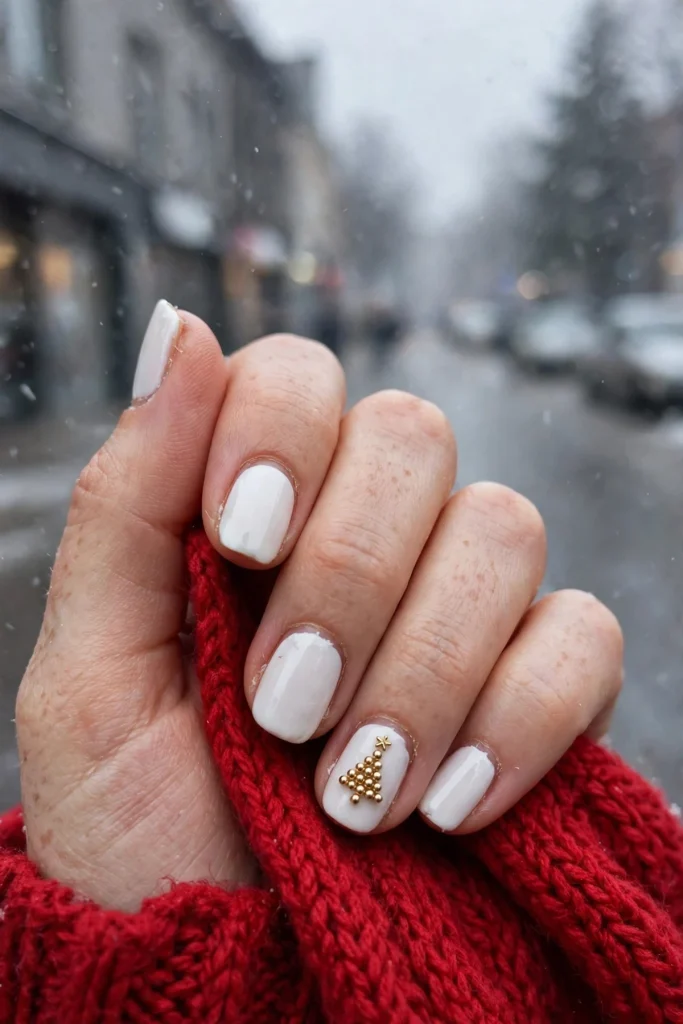
White is not one color. Blue-white looks crisp but can wash out warm skin, while ivory and coconut white can look dull against cool skin. Look at the veins on your wrist in daylight. Green-looking veins and a preference for gold jewelry usually mean a warm undertone, so start with ivory or cream. Blue or purple veins and a preference for silver usually mean cool, so start with blue-white or porcelain. Can’t tell? Milky white sits in the middle. Paint one nail and check it by a window before you commit to the full set.
Short and Tidy White Sets for Everyday Wear
These five sets are built for short nails and regular polish. Each uses one small detail, so they work at the office and at a family dinner.
Tone-on-Tone Matte and Gloss French
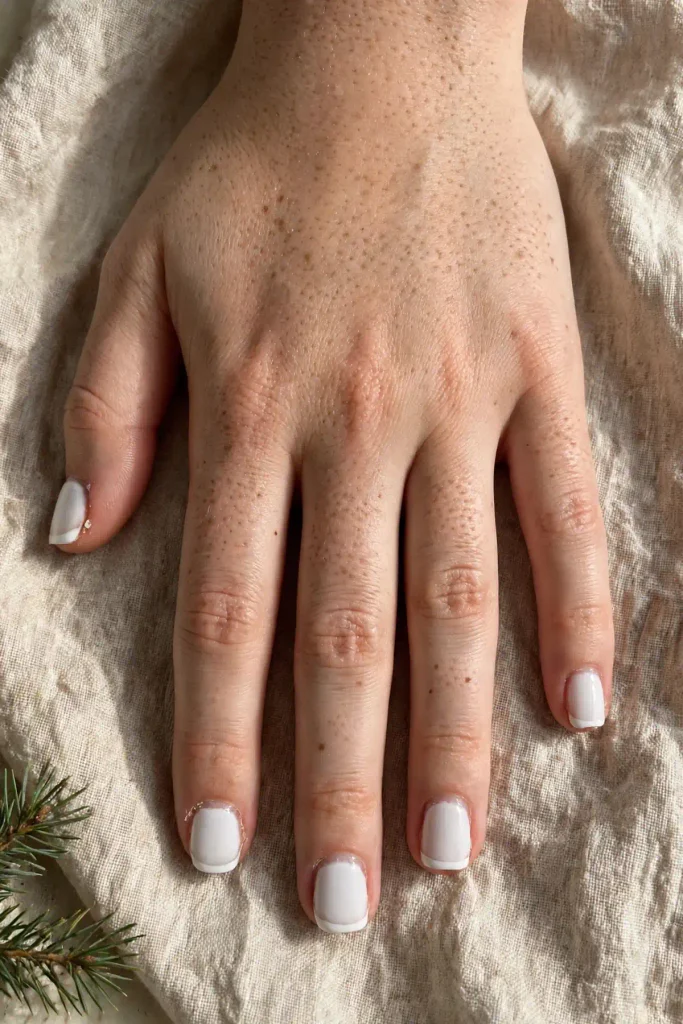
Start with the quietest idea on the list. Paint every nail white and cover them all with matte top coat. Let it dry completely. Then use a tip guide to paint the French line with glossy top coat on the tips only. There is no color contrast, so the line shows only when light hits it. Skip freehand here, because a wobbly line has nowhere to hide.
Skill: Easy. Time: 35 minutes. Polish: regular.
Sheer Milky White With Falling Snow Dots
Two thin coats of sheer milky white give a soft base that still shows a hint of the natural nail. For the snow, use the smallest end of a dotting tool and solid white polish. Sheer polish won’t make dots stand out, so keep the two separate. Place more dots near the tip and fewer toward the cuticle, in mixed sizes. Keep a few dots off the free edge, where they wear first.
Skill: Easy. Time: 30 minutes. Polish: regular.

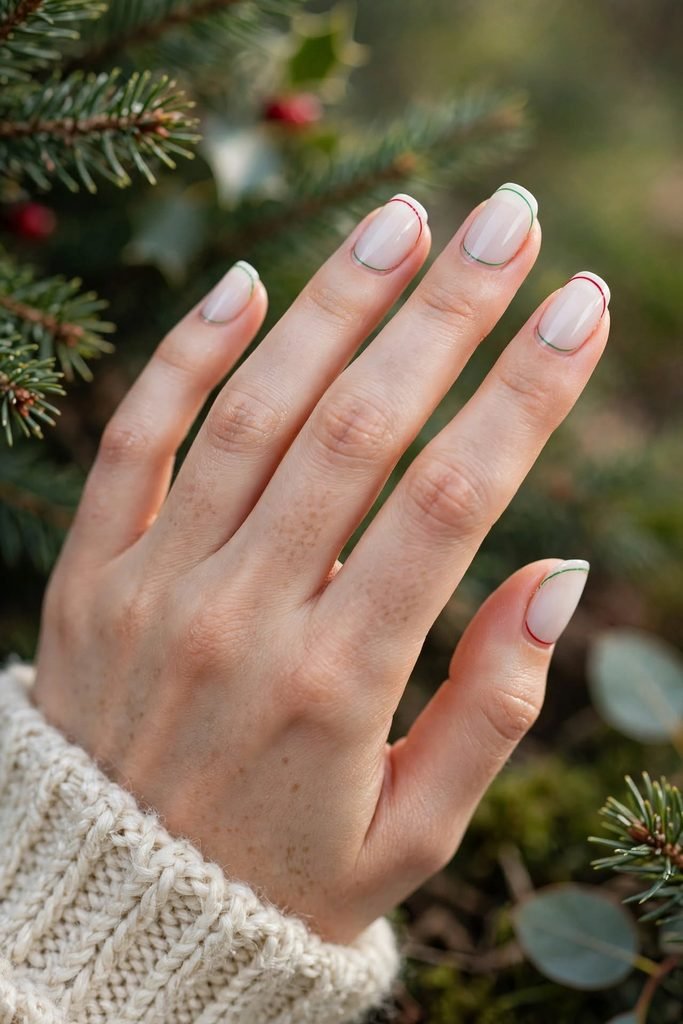
Micro Red and Green French Tips
Red on one nail, green on the next, with every tip thinner than two millimeters. Thin tips carry the Christmas colors without covering the white. Freehand lines this small wobble, so use a striping brush or ultra-thin tip guides. The white base must be fully opaque before you start, or the colored lines look patchy. Wide tips make the same idea look loud, so stay thin.
Skill: Medium. Time: 45 minutes. Polish: regular.
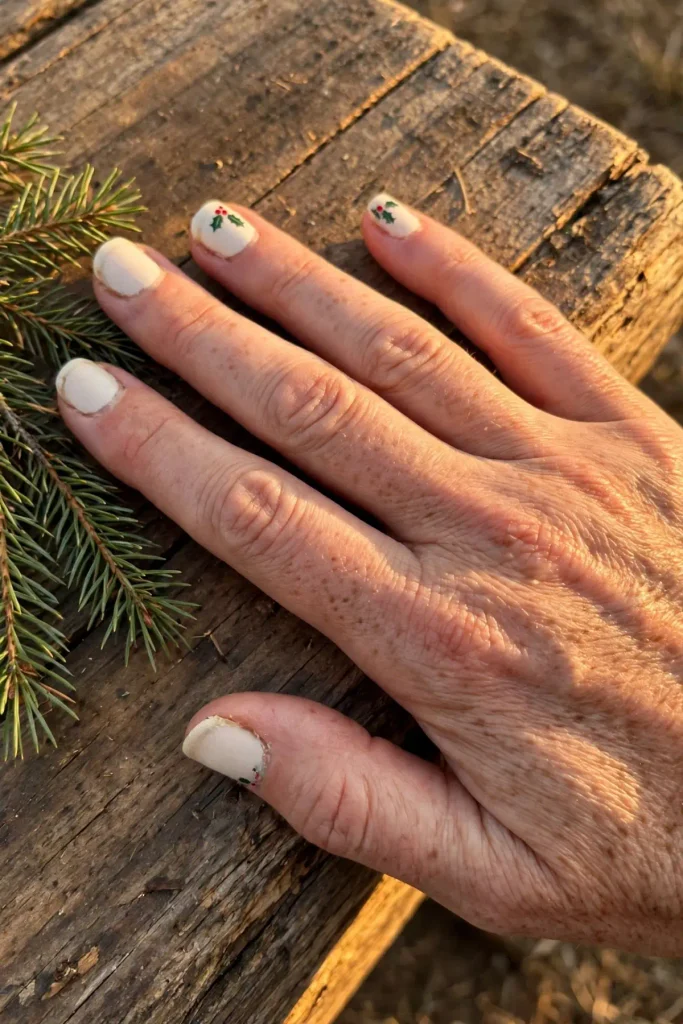
Cream White With a Holly Sprig Corner
Cream white is a good choice if your undertone is warm. Paint all nails cream, then add a holly sprig to the corner of just two nails: two small green leaves and three red dots. Corner placement keeps short nails from looking crowded, and the empty space around the sprig does half the work. Use a toothpick for the berries. A detail brush makes the dots oval.
Skill: Medium. Time: 40 minutes. Polish: regular.
Candy Cane Ring Finger on Plain White
Four plain glossy white nails and one candy cane accent is the easiest way to add color. On the ring finger, paint wide red diagonal stripes with clear white gaps between them. Wide stripes look like candy, while thin ones look like scratches. Wait until the red is dry before top coat, or the brush drags pink into the white gaps. Striping tape gives sharper edges if your hand shakes.
Skill: Easy. Time: 35 minutes. Polish: regular.

White Sparkle and Texture Sets
Glitter, foil and beads add Christmas shine without much drawing skill. The first three suit any length. The bead sets need a little more room.
Gold Glitter Snowfall Fade
Gold glitter works like snowfall when it fades out. Press fine gold glitter onto the last third of each nail with a makeup sponge. Then dab a lighter second pass toward the middle so there is no hard line. Over white, gold looks warm instead of icy. Fine glitter blends smoothly, while chunky pieces look scattered. A peel-off base coat saves time at removal.
Skill: Easy. Time: 25 minutes. Polish: regular.

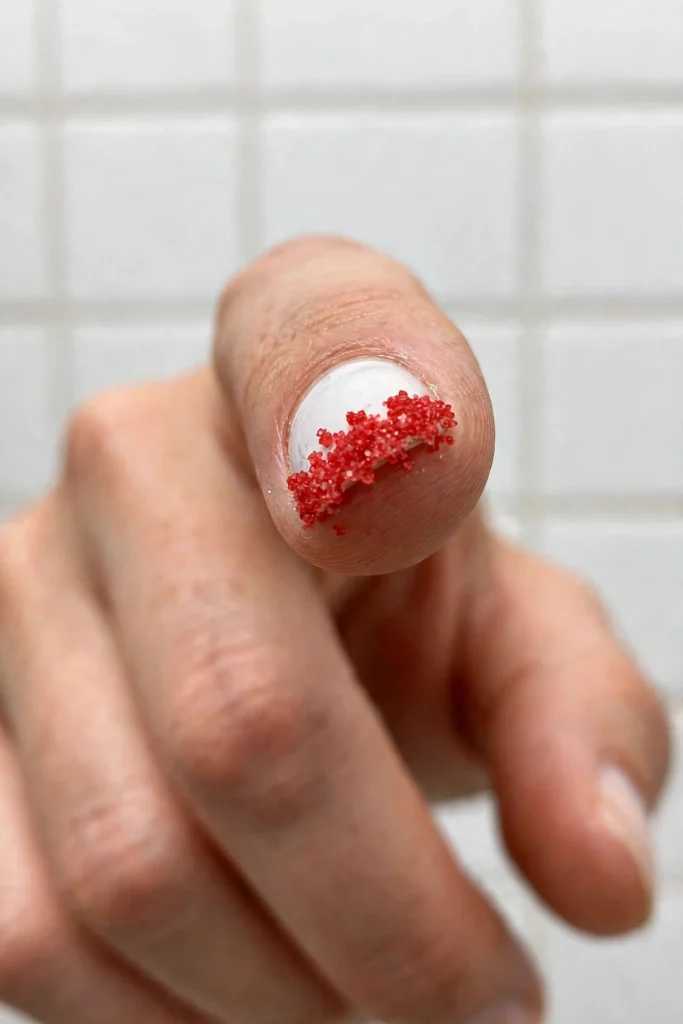
Red Sugar Glitter Tips
Sugar glitter gives the tips a rough, frosted texture. Paint the white base, then press fine red glitter onto the tip half of each nail while the last coat is still wet. Work one nail at a time, because the surface dries fast. Loose texture sheds and catches on knitwear, so brush on one thin layer of top coat. The sparkle softens a little, but the tips last longer.
Skill: Easy. Time: 30 minutes. Polish: regular.
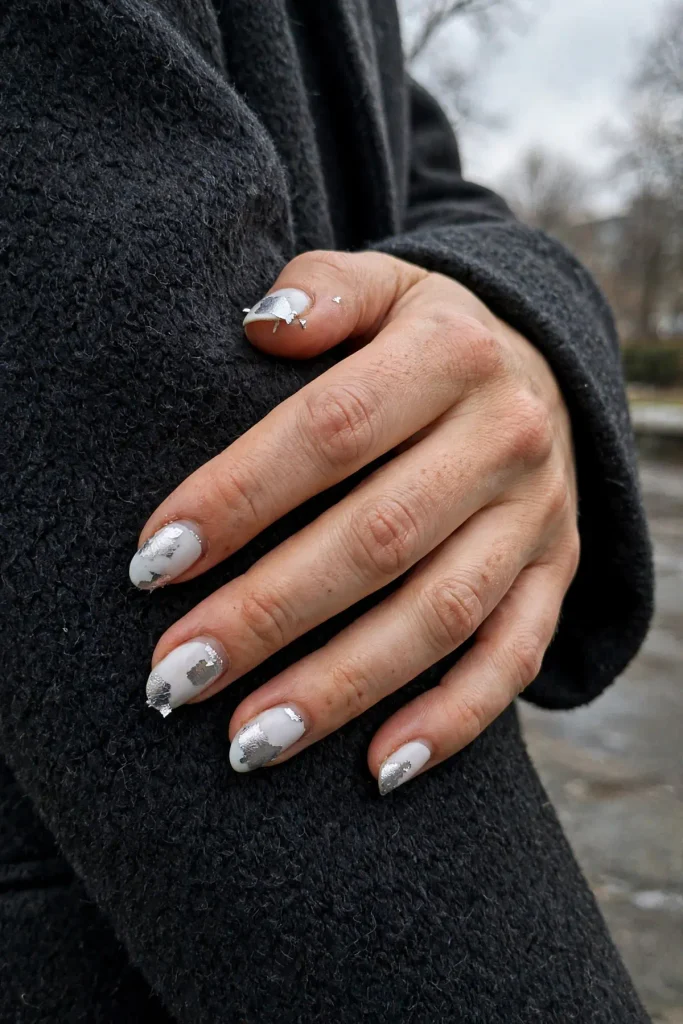
Silver Foil Snow Patches
Torn pieces of silver foil on white look like frost on a window. Brush foil glue on a few spots per nail, wait until it turns clear and tacky, then press the foil on and peel the sheet away. Keep patches small and spaced so the white shows between them. Regular top coat can wrinkle foil, so a gel top coat works best. If you only have regular polish, test one nail first.
Skill: Medium. Time: 45 minutes. Polish: regular base, gel top coat recommended.
Pearl Bead Snowflakes on Two Nails
Build the snowflakes instead of painting them. On two accent nails, set tiny pearl beads in a six-arm flake pattern in a thin layer of builder gel or rhinestone glue, using a wax pencil to place each one. Cure the gel, then add top coat around the beads, not over their tops, so they stay round and glossy. Leave the other nails plain white. Work over a tray, because micro pearls roll off tables.
Skill: Medium. Time: 55 minutes. Polish: gel.

Gold Bead Christmas Trees
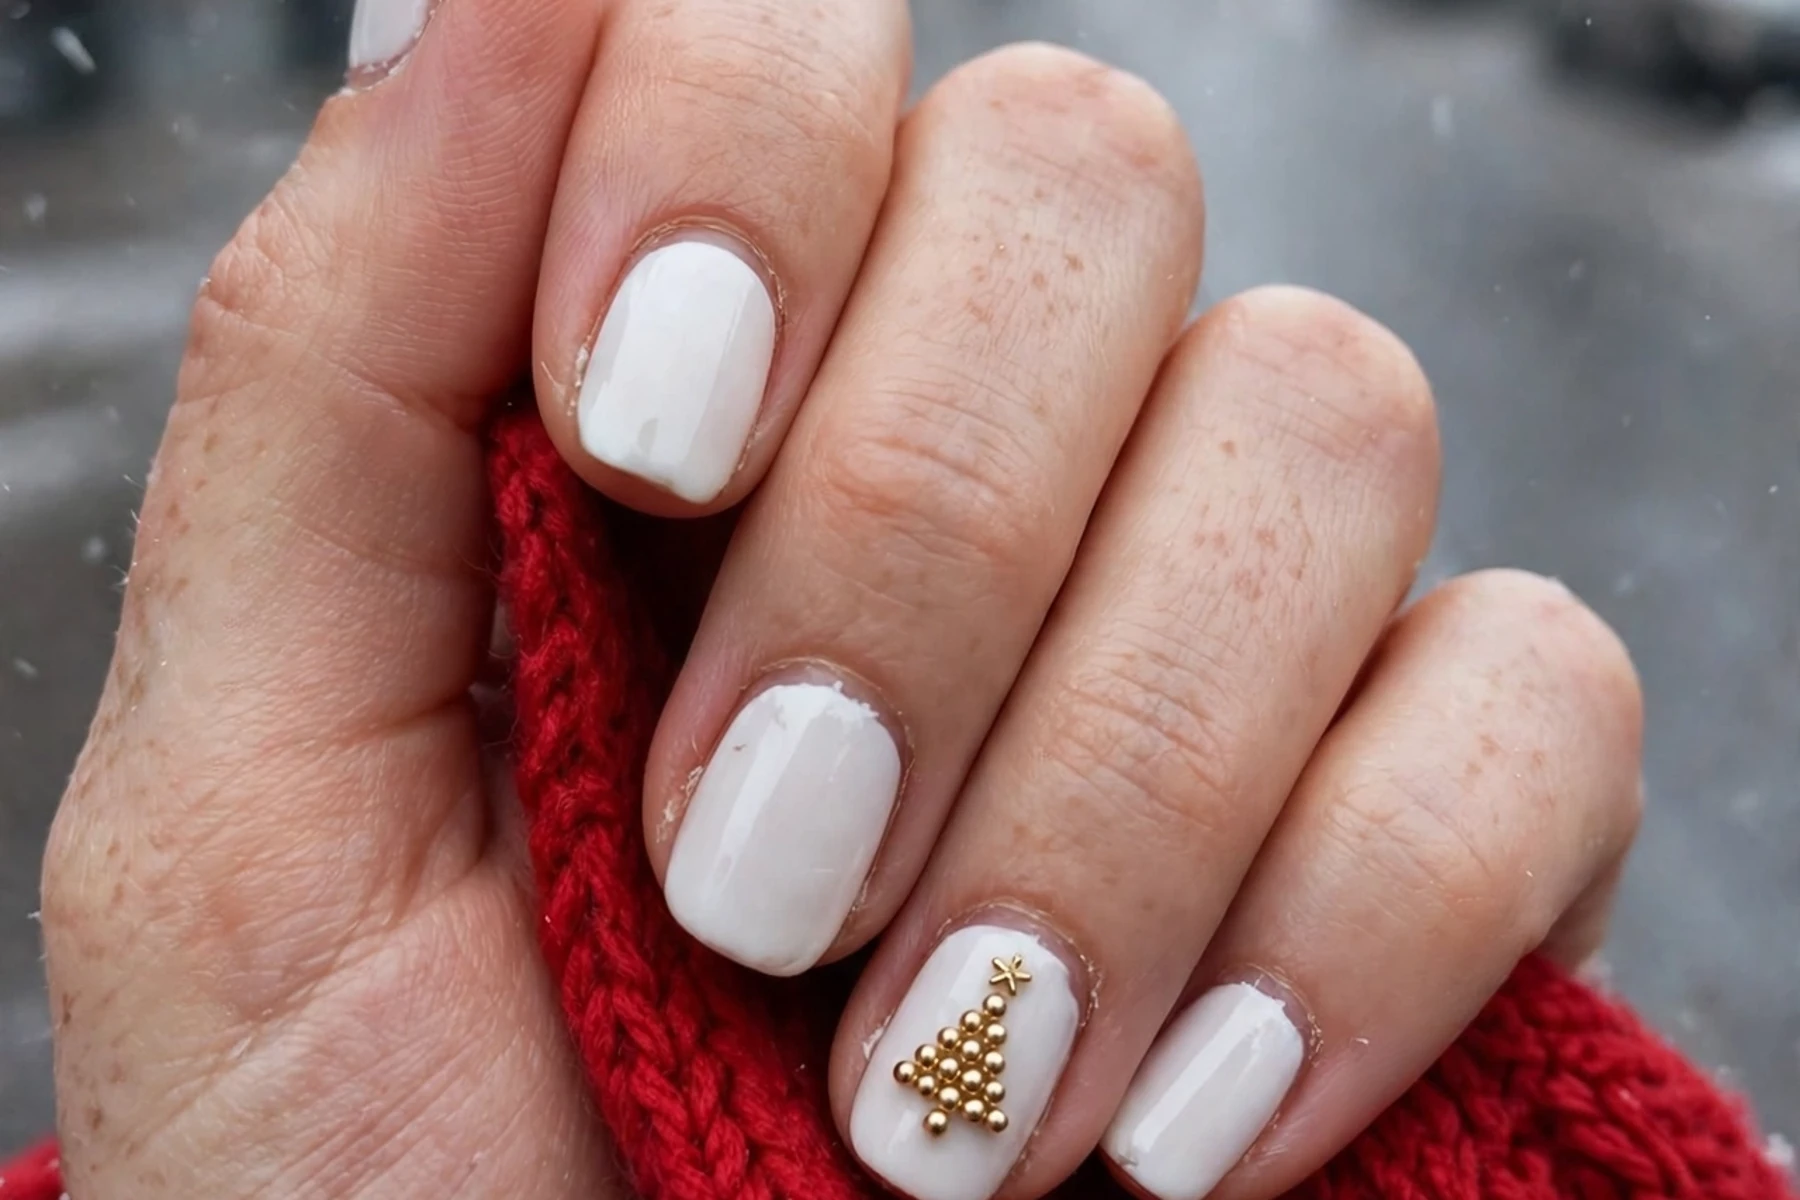
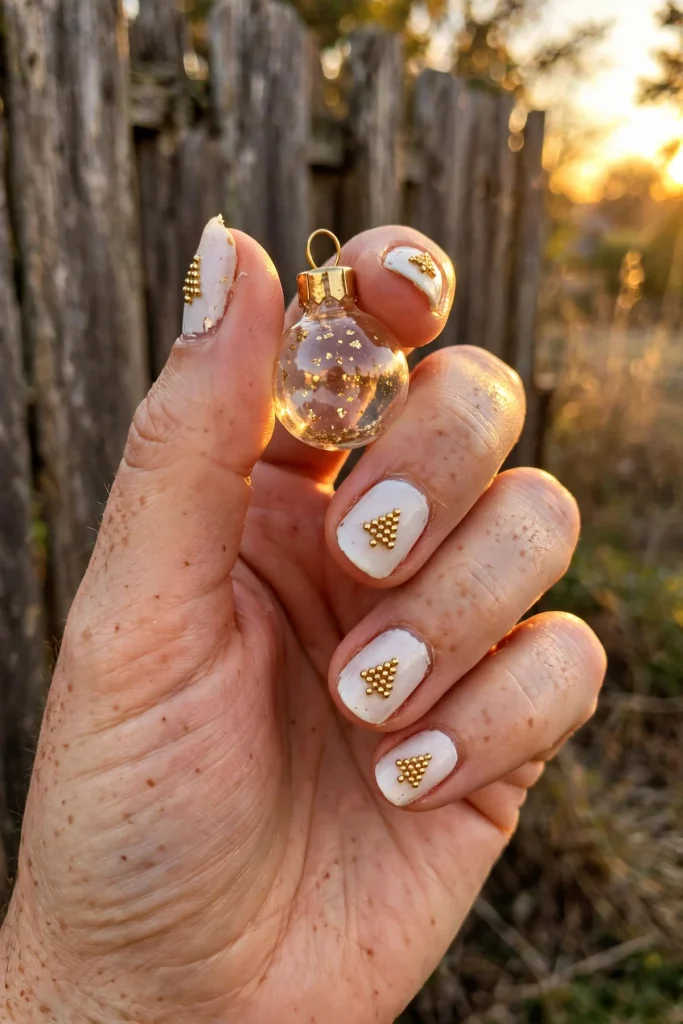
A triangle of gold micro beads makes a tree with no brushwork. Spread a thin layer of builder gel on the nail, then place beads in rows, widest at the base and narrowing to a single bead at the top. Add one tiny star stud above it, cure, and seal the edges only. On short nails, use three rows so the triangle keeps its shape. Two or three accent nails are enough.
Skill: Medium. Time: 60 minutes. Polish: gel.
Painted Christmas Art on White Nails
These three sets are hand-painted. They need a fine liner brush, dry layers and some patience. Practice the shape once on paper first.
Black Pine Tree Silhouettes
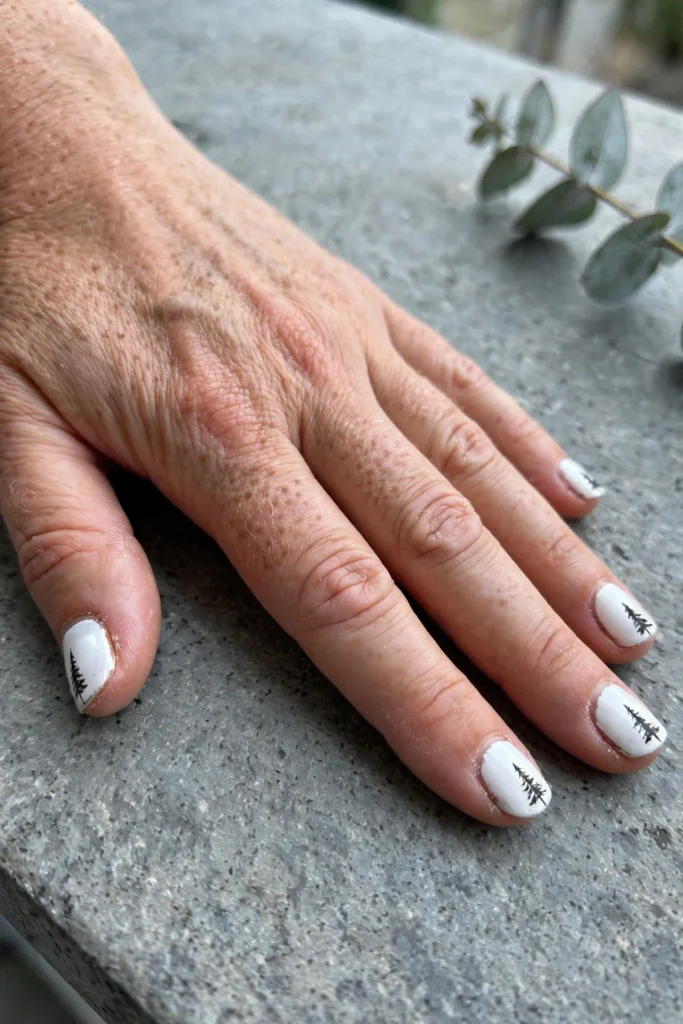
Black on white looks modern and graphic. On two or three glossy white nails, paint a single pine: one thin trunk line and three or four narrow layered triangles. Vary the height from nail to nail so the group looks like a little forest. Keep the branches slim, or the trees turn into dark blobs. Let each layer dry before adding the next. A liner brush gives sharper points than a regular brush.
Skill: Medium. Time: 50 minutes. Polish: regular.
Red Rooftop Village Skyline
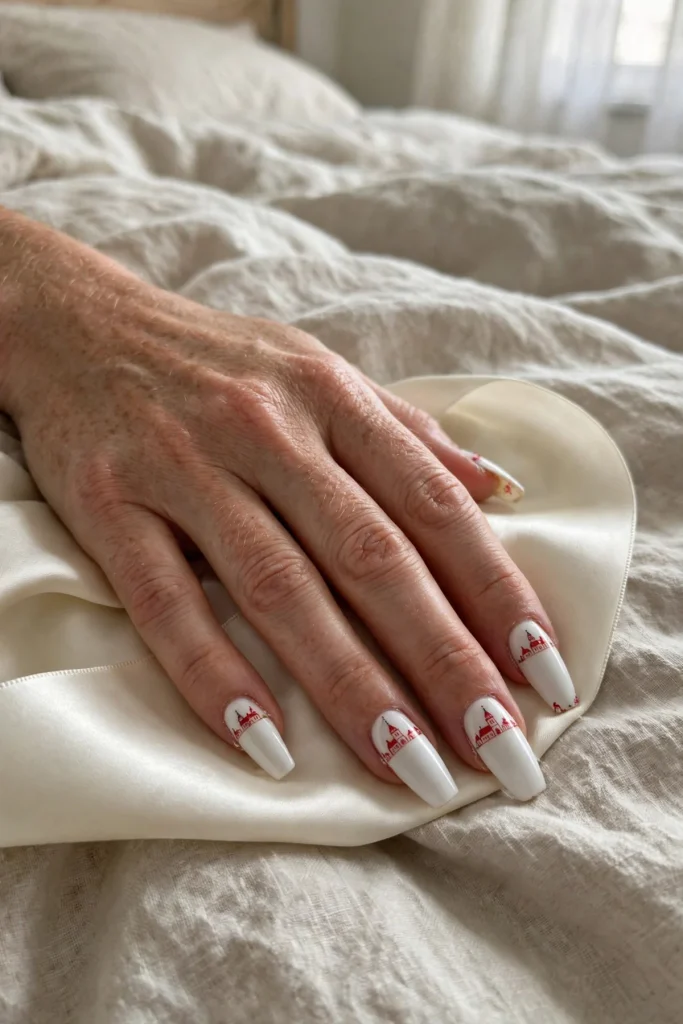
Put the village at the base of the nail, where white becomes the snowy field. Along the cuticle edge, paint a row of tiny red rooftops with one church spire. Use only rectangles and triangles. Skip windows and doors, because details at this size turn into smudges. This needs a long enough nail bed and a very fine brush. If it feels too hard, do it on the ring and middle fingers only.
Skill: Hard. Time: 75 minutes. Polish: regular.
Gold Outline Baubles
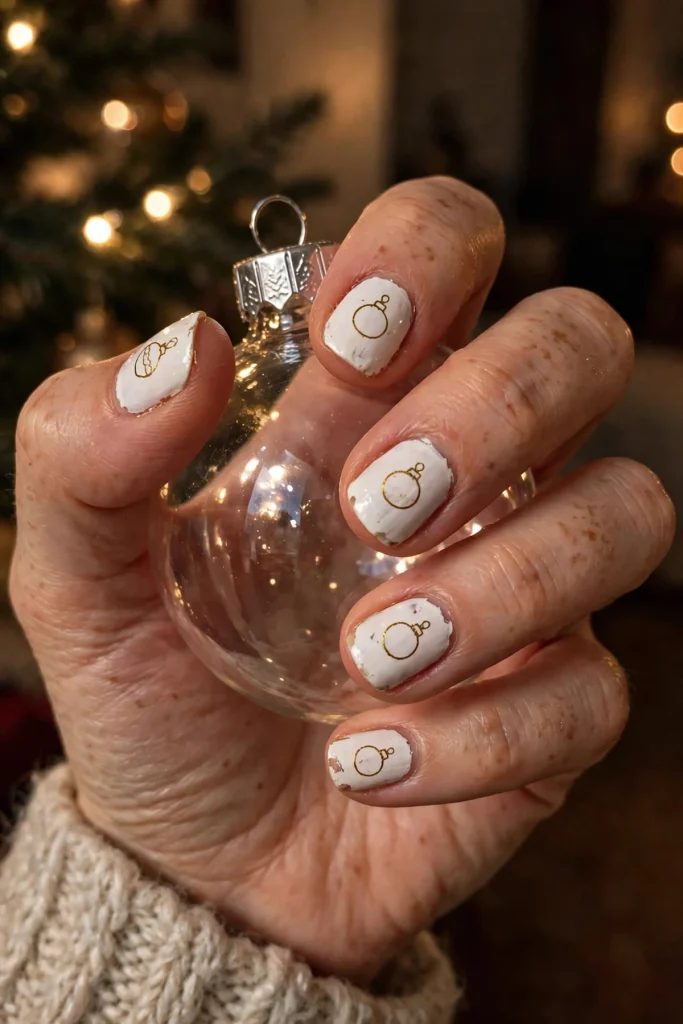
Draw the ornaments instead of filling them. On the white nails, outline two or three round baubles with gold liner polish or a metallic gel pen, each hanging from a thin line that runs toward the cuticle. The empty centers keep the set light. Work over fully dry white polish. Keep each outline a single stroke, because going over a wobbly line usually makes it worse.
Skill: Medium. Time: 45 minutes. Polish: regular (liner polish) or gel (gel pen).
Gel Sets for Parties and Special Nights
These three sets need gel polish and a lamp. They look best for a party or a few days of dressing up.
Safety note: Keep uncured gel off your skin, cure each layer fully and patch test new gel products on one nail first. Soak gel off instead of peeling it, because peeling pulls off layers of natural nail. If your skin reacts, stop using the product.
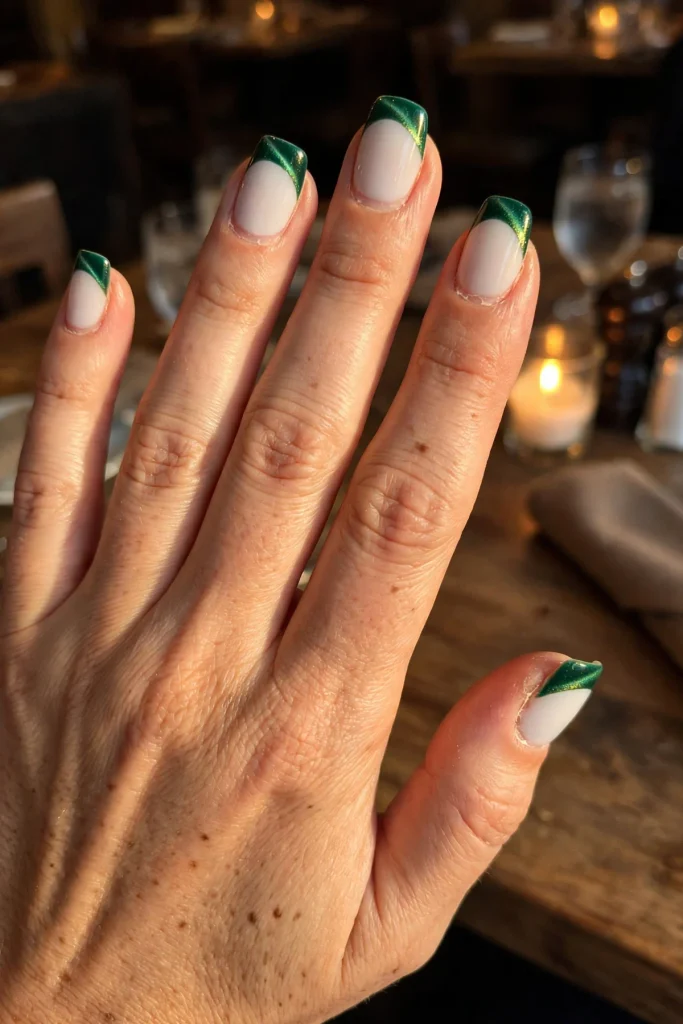
Emerald Velvet Cat-Eye Tips
Emerald tips add the green without filling the whole nail. Paint the white gel base and cure it. Then apply emerald magnetic gel to the tip third. Hold the magnet close for about ten seconds, then cure immediately before the shimmer drifts. Do one nail at a time. Curing before the magnet has done its work leaves a flat green with no glow.
Skill: Medium. Time: 60 minutes. Polish: gel and magnet.
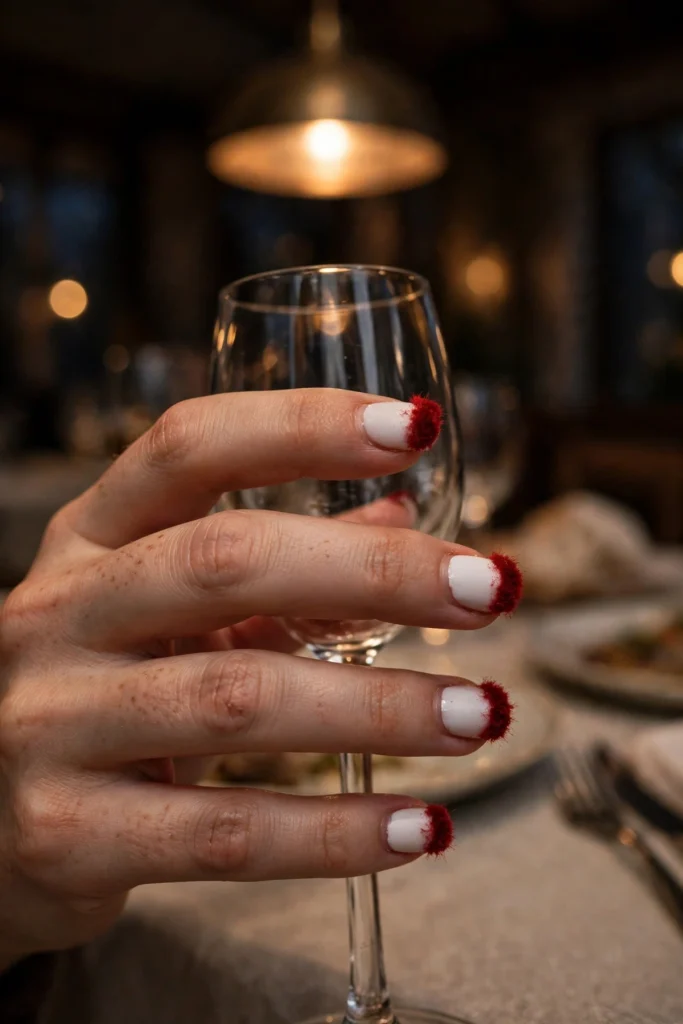
Red Velvet Flock Tips
Flocking powder gives the tips a soft, fuzzy velvet surface. Over a cured white base, paint a thin layer of red color gel on the tips and press red flocking powder into it before curing. Brush off the loose powder with a soft brush. Do not add top coat over the flock, since it flattens the fuzz. This look fades after several days of washing and friction, so save it for the week of the party.
Skill: Medium. Time: 55 minutes. Polish: gel.
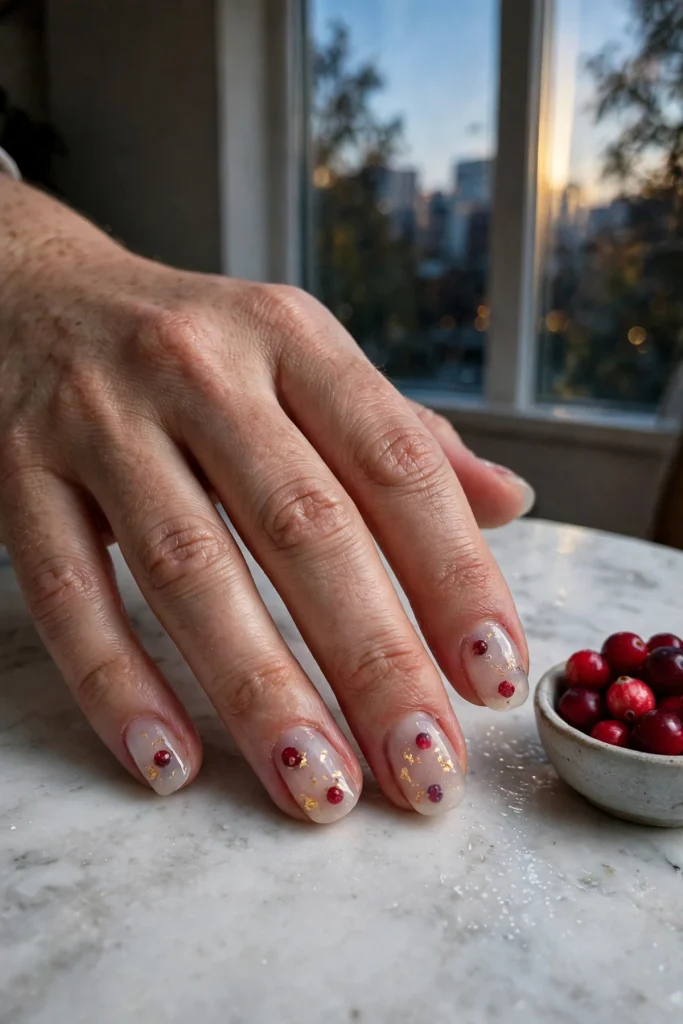
Milky Jelly With Gold Leaf and Berries
Jelly polish lets the decoration float inside the nail. Cure a thin layer of sheer milky gel, then place a few tiny red dots for berries and small flecks of gold leaf with a wax pencil or tweezers. Seal with a clear gel top layer. The sheer base also hides regrowth well. Too many pieces in one layer is the usual error, so keep it to a few per nail and let the milky base show.
Skill: Hard. Time: 70 minutes. Polish: gel.
What to Have Ready Before You Start
Most of these sets need a basic kit: white polish in two shades, a base coat, a glossy top coat, a matte top coat, a detail brush, a dotting tool and a makeup sponge. Add tip guides for French tips and foil glue for foil. For gel sets, you also need a lamp that matches your gel brand and a no-wipe top coat. Magnetic and flocking effects will not work properly with regular polish.
Why White Nails Chip, Stain or Yellow by Week Two
White shows problems sooner than dark colors. Thick coats wrinkle as they dry, so use two or three thin coats instead. Chips start at the free edge, so run each coat, including the white base, along the tip. Stains come from dark denim, hair dye and food color. A fresh top coat every three days acts as a barrier, and gloves help during cooking and coloring. Some top coats yellow with sun over time. If your white looks dull, a wipe with remover on a cotton pad often lifts surface stains.
White Christmas Nail Questions, Answered Plainly
Do white Christmas nails work on short nails?
Yes. The tone-on-tone French, snow dots, micro tips, holly corner, candy cane accent and both glitter sets all use small details or sit at the tip. Skip the village skyline and the bead trees on very short nails, since there isn’t enough space for the shapes to stay clear.
How do I stop white polish from looking streaky?
Use a ridge-filling base coat, then apply two or three thin coats of white and let each one dry before the next. Long, even strokes help. A glossy top coat levels small marks. Sheer milky white hides streaks better than chalky opaque white.
Will white nails pick up stains over the holidays?
Usually, yes. Dark denim, hair dye, berries and curry can tint white polish. Add a fresh top coat every few days and wear gloves when cooking or coloring hair. Light stains often wipe off with remover. A deep stain under a chipped top coat means it’s time to redo the set.
Can I do white Christmas nails with regular polish instead of gel?
Many of them, yes. The five short-nail sets, both glitter sets, the black pines, the village skyline and the gold baubles all work in regular polish. The foil set works best with a gel top coat. The pearl beads, gold bead trees, cat-eye tips, flock tips and jelly set need gel and a lamp.
Which white shade suits warm undertones best?
Ivory, cream and coconut white usually suit warm undertones, because the slight yellow base matches the skin. Blue-white can look grey by contrast. If gold jewelry flatters you more than silver, start with ivory. Test one nail in daylight before doing the full set.
Which White Set Should You Wear First?
For regular days, pick the tone-on-tone French, the snow dots or the micro tips. All three survive typing, dishes and office life. For one big night, go with the velvet flock or the cat-eye tips. Not sure? Start with the snow dots. They’re easy, forgiving and clearly Christmas.