14 Nail Art Ideas, Ranked From “I Can Do That Tonight” to “Call a Professional”
Nail art has a marketing problem: every tutorial makes it look either impossibly easy or impossibly hard, with nothing in between. The truth is that nail art is a skill ladder. Some designs genuinely take five minutes and a toothpick. Others take a trained hand and two hours. Knowing which is which saves you from both boredom and tears.
So these fourteen ideas are organized by difficulty — beginner, intermediate, advanced — like a curriculum. Start where you are, not where Pinterest thinks you are. Master a level, then climb.
And here’s the encouraging part: the beginner section alone contains enough ideas for months of manicures. Nobody is asking you to sculpt 3D flowers on day one — the ladder works because every rung is satisfying on its own.
Start Here: Beginner-Friendly Art
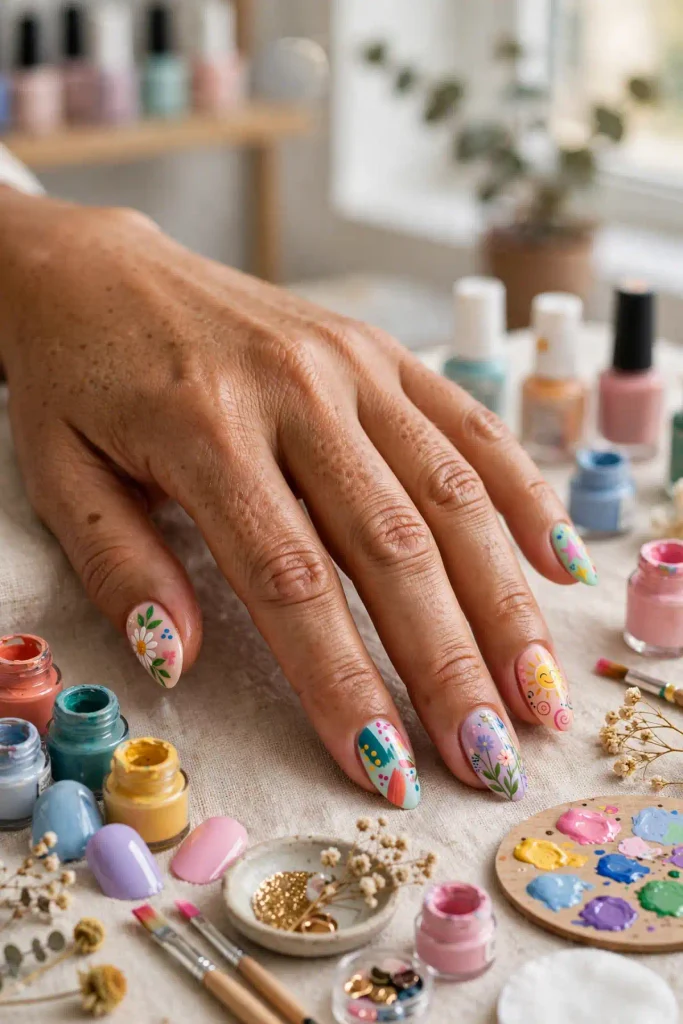
Zero experience required. If you can hold a brush and wait for polish to dry, you can do these tonight.
1. Polka Dot Party
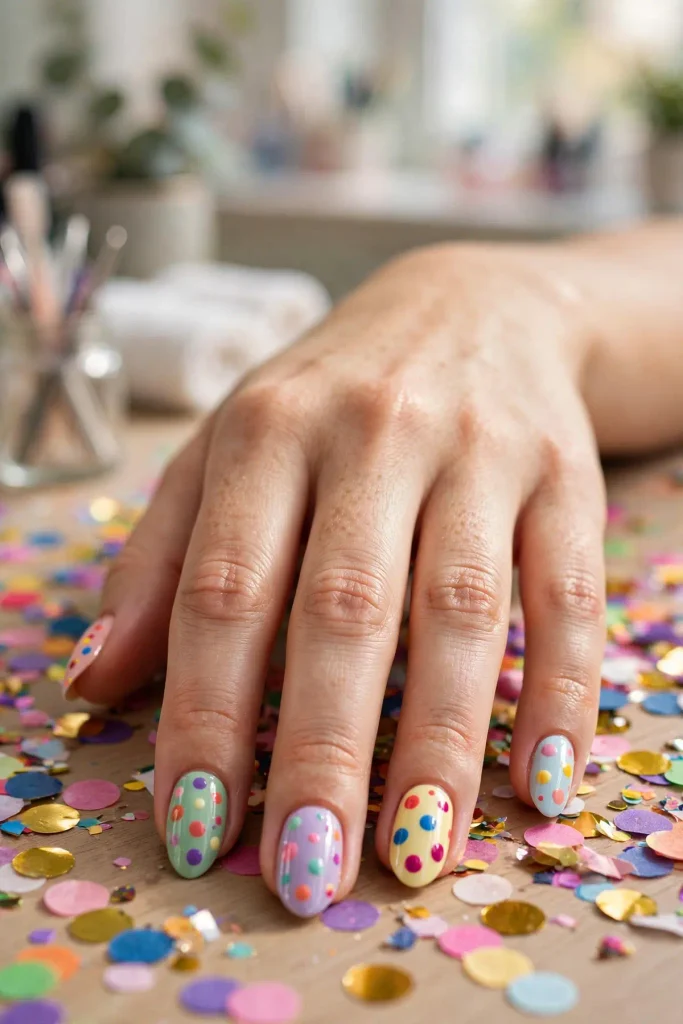
Classic dots in contrasting colors over any base — playful, retro, impossible to mess up. What it is: the gateway drug of nail art. You’ll need: a dotting tool (or a bobby pin, toothpick, or pen tip), two polish colors. Pro tip: vary the dot sizes and keep them slightly irregular — perfect grids look stiff, organic scatter looks chic.
2. Half-Moon Manicure
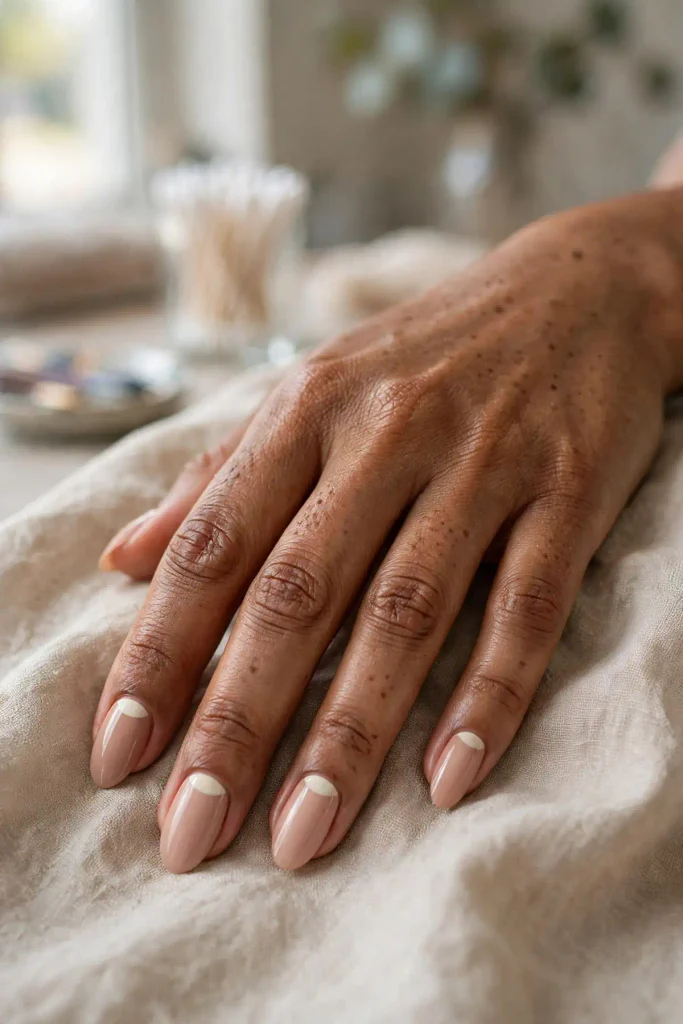
A clean half-moon of bare or contrasting color at the cuticle — vintage Hollywood glamour. What it is: the easiest “fancy” manicure in existence. You’ll need: hole-punch reinforcement stickers as guides, two colors or one color plus bare nail. Pro tip: apply the sticker, paint, and peel while the polish is still wet for the crispest edge.
3. The Single Stripe
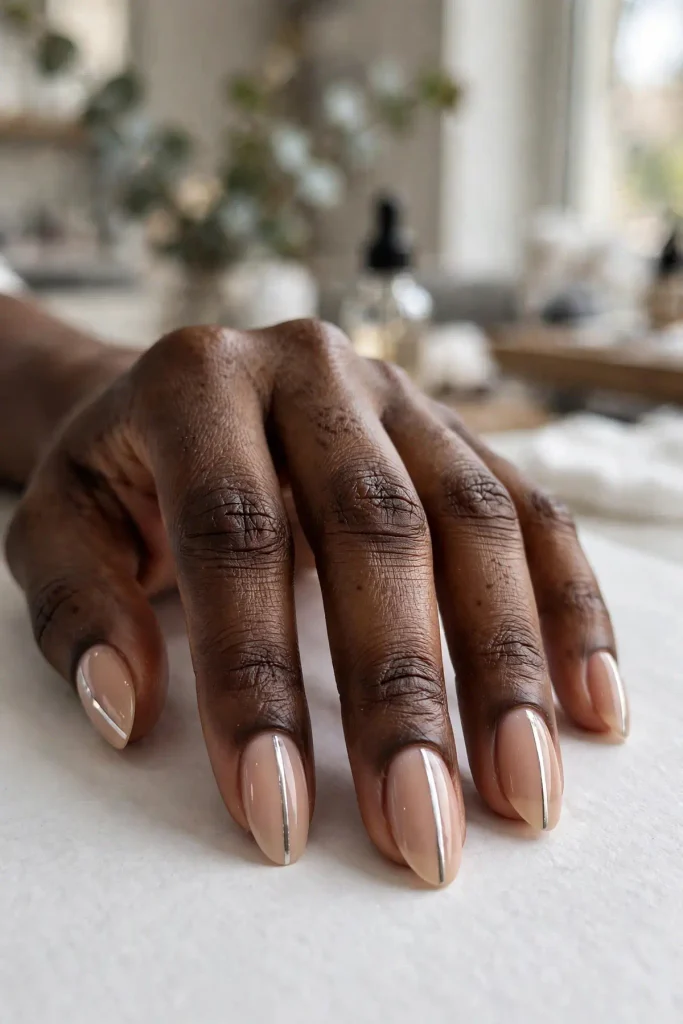
One bold stripe — vertical, diagonal, or horizontal — across an otherwise plain nail. What it is: minimalism with intent. You’ll need: striping tape or a steady hand, a contrasting color. Pro tip: metallic gold or black over nude is the most expensive-looking combination; place the stripe off-center for an editorial feel.
4. Splatter Paint
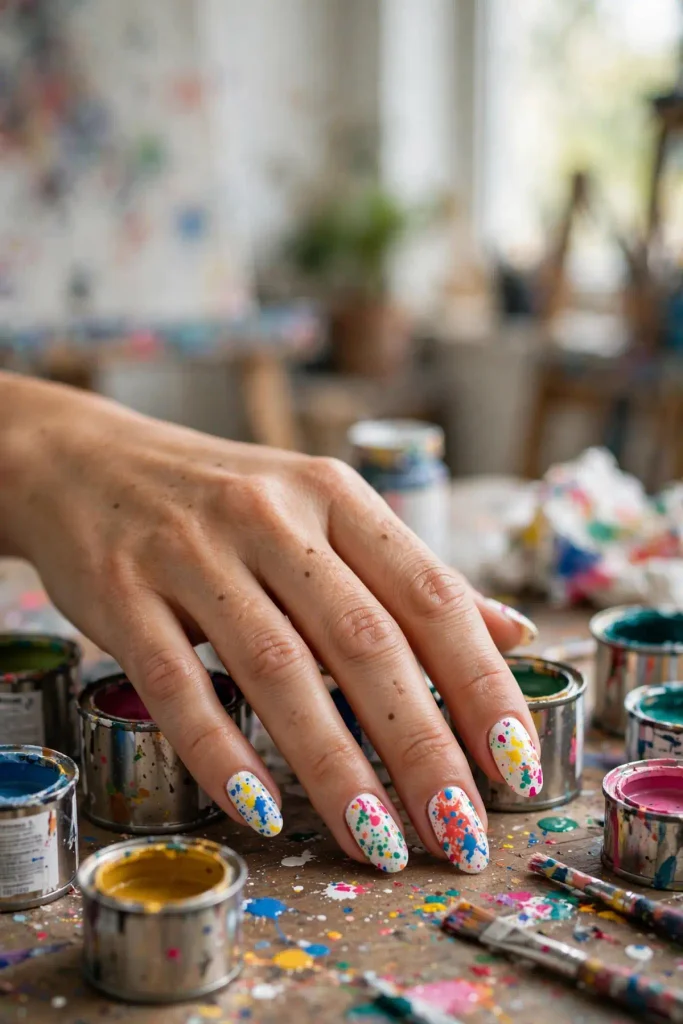
Flicked paint splatters Jackson-Pollock-style over a base color — controlled chaos. What it is: the most fun you’ll have with a toothbrush. You’ll need: an old toothbrush or stiff brush, two to three colors, and newspaper around your hands (trust me). Pro tip: thin the polish slightly so it flicks in fine droplets, not blobs; less is more until you see the pattern.
5. Sponge Ombré
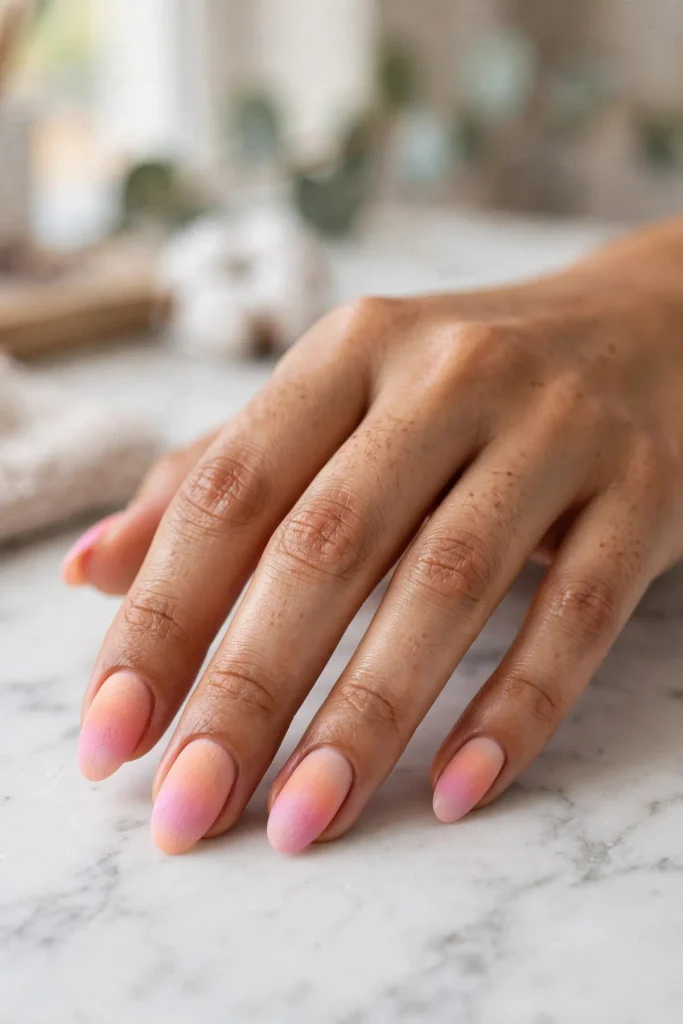
Two colors blended into a seamless gradient with a makeup sponge. What it is: the gradient that launched a thousand tutorials. You’ll need: a cosmetic sponge, two blendable colors, and patience for two to three dabbing rounds. Pro tip: apply a white base first — colors pop twice as bright over white, and the blend looks smoother.
Level Up: Intermediate Techniques
You’ve done dots and stripes. These five introduce real techniques — still very learnable, just with more steps.
6. Watercolor Blooms
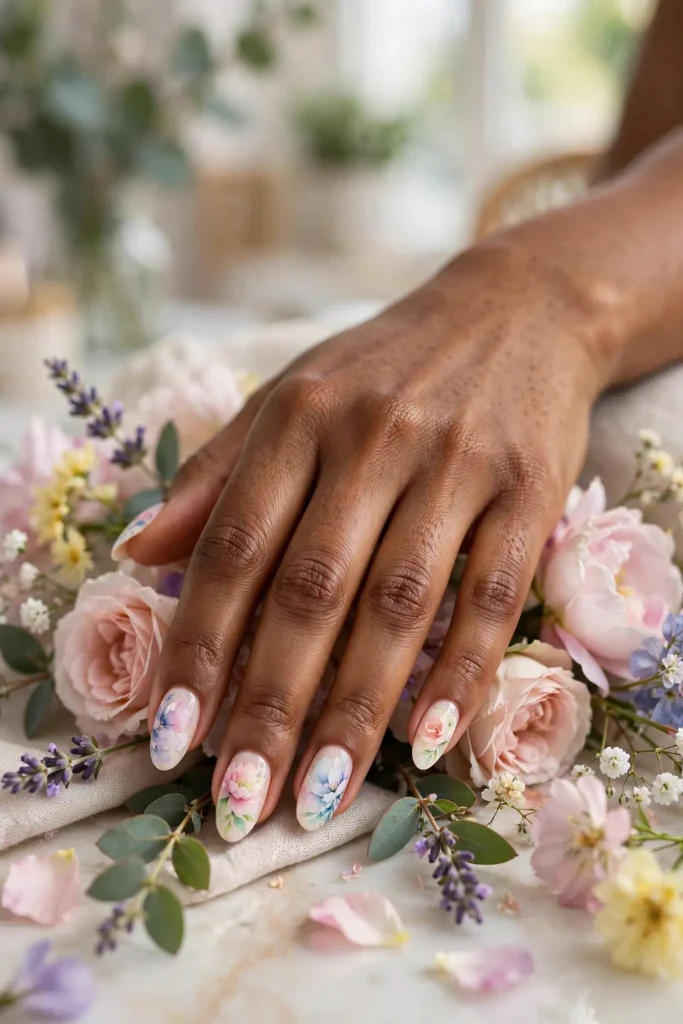
Soft, translucent washes of color blooming into each other like watercolor paint. What it is: dreamy, abstract, and different on every nail. You’ll need: sheer or jelly polishes (or regular polish thinned with top coat), a small brush, and a light touch. Pro tip: work while the base is slightly wet so colors bleed naturally; stop before you over-blend into mud.
7. Crisscross Plaid
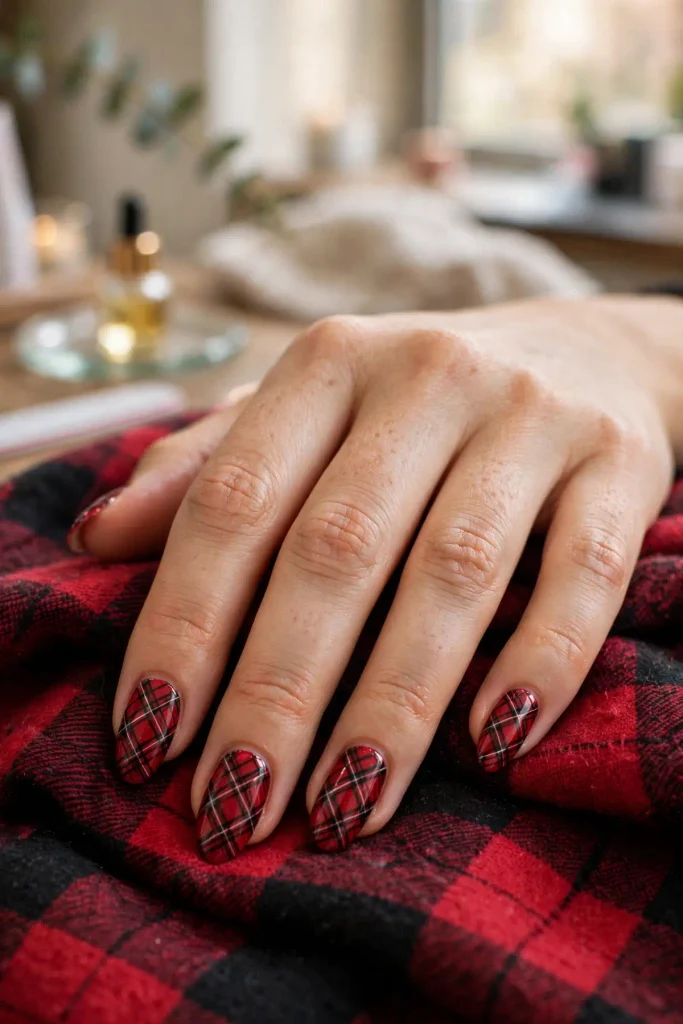
Fine intersecting lines forming a plaid or windowpane pattern. What it is: preppy, graphic, and weirdly satisfying. You’ll need: striping tape or a liner brush, two to three colors. Pro tip: map the grid mentally first — verticals, then horizontals, then one diagonal accent color; seal between layers so lines stay crisp.
8. Wavy Swirls
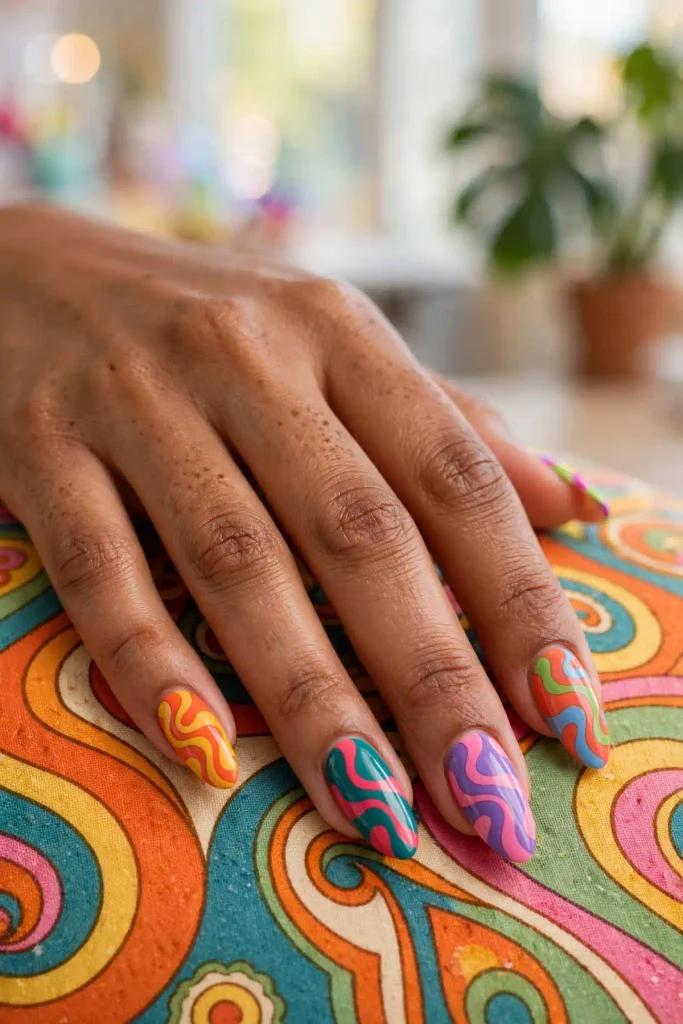
Retro wavy lines in two or three colors flowing across each nail. What it is: seventies joy in manicure form. You’ll need: a liner brush and contrasting colors; no guides, just flow. Pro tip: keep your wrist loose and move from the shoulder — stiff hands make stiff waves; practice the motion on paper first.
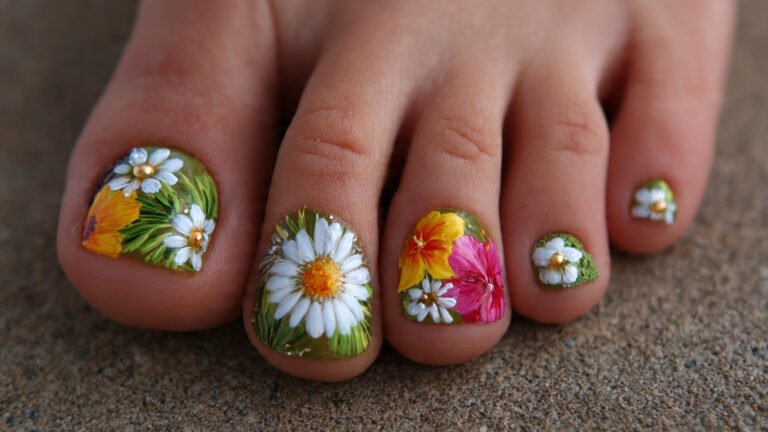
9. Simple Daisies
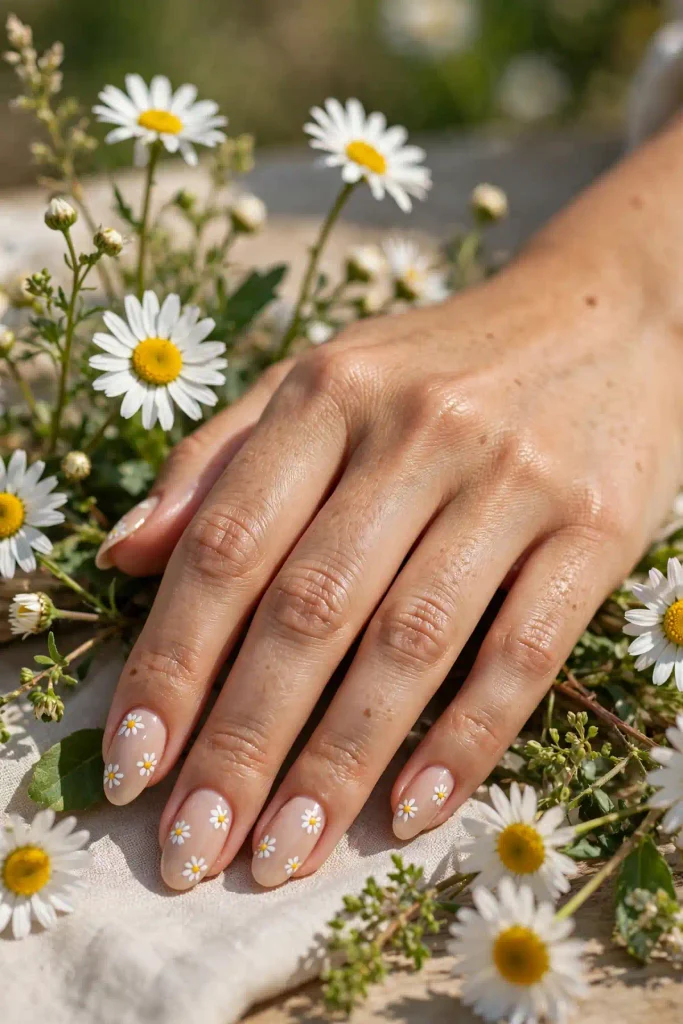
Five white petals around a yellow center — the friendliest flower in nail art. What it is: spring in a design. You’ll need: a dotting tool for petals and center, white and yellow polish. Pro tip: place daisies off-center and vary which nail gets one — a single daisy per hand looks modern, ten looks like a garden party.
10. Glitter Fade
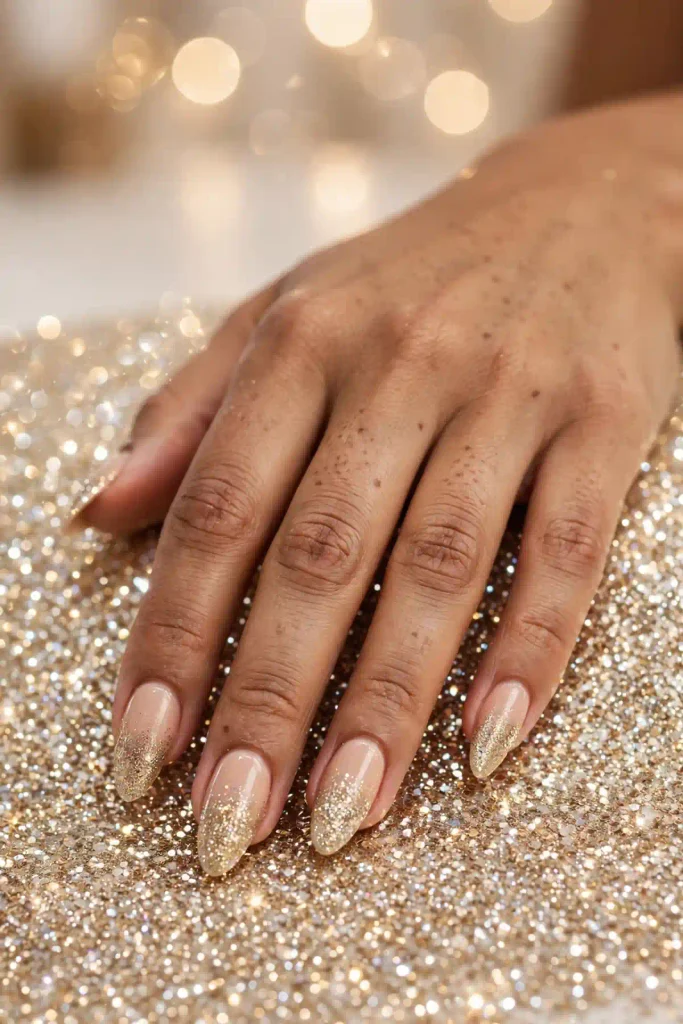
Glitter concentrated at the tip (or base) fading into solid color — sparkle with a gradient. What it is: party nails that still look grown-up. You’ll need: a glitter polish and a sponge or brush for fading. Pro tip: dab the glitter on in layers, heaviest at the tip, fading upward — then seal with two coats of top coat for glassy smoothness.
Show-Off Pieces: Advanced Art
These separate the hobbyists from the artists. Attempt with respect — and possibly a professional.
11. Tiny Landscape Scenes
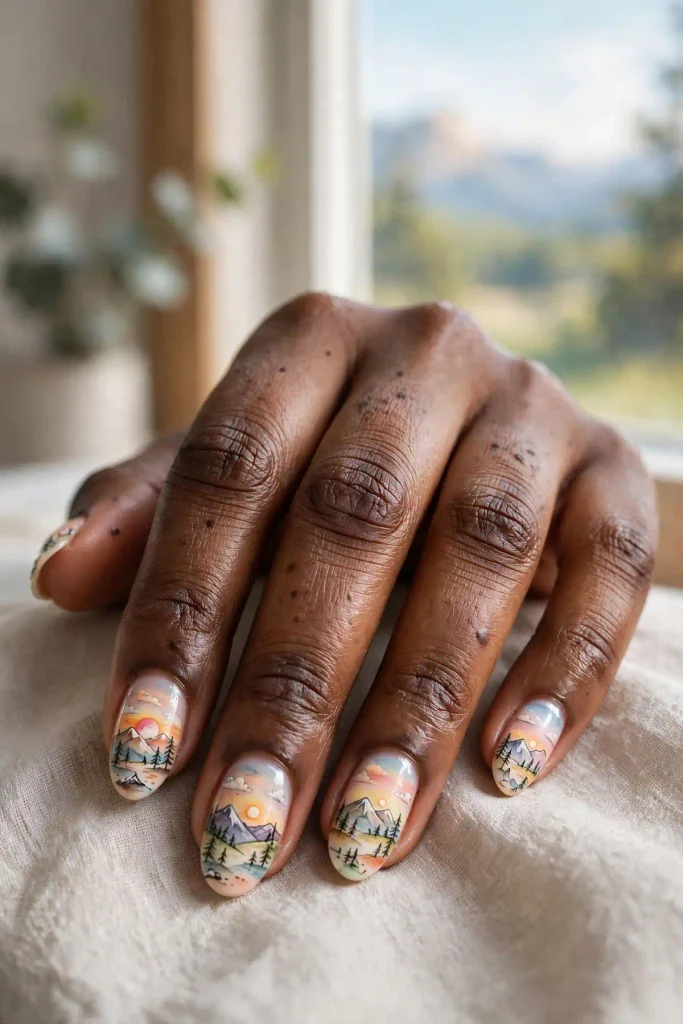
Miniature mountains, sunsets, or ocean horizons painted across the nails — each nail a tiny canvas. What it is: wearable fine art. You’ll need: fine liner brushes, multiple colors, and a very steady hand (or a very talented tech). Pro tip: plan the scene across all five nails like a panorama rather than cramming everything onto one — composition is what makes it art.
12. Sculpted 3D Flowers
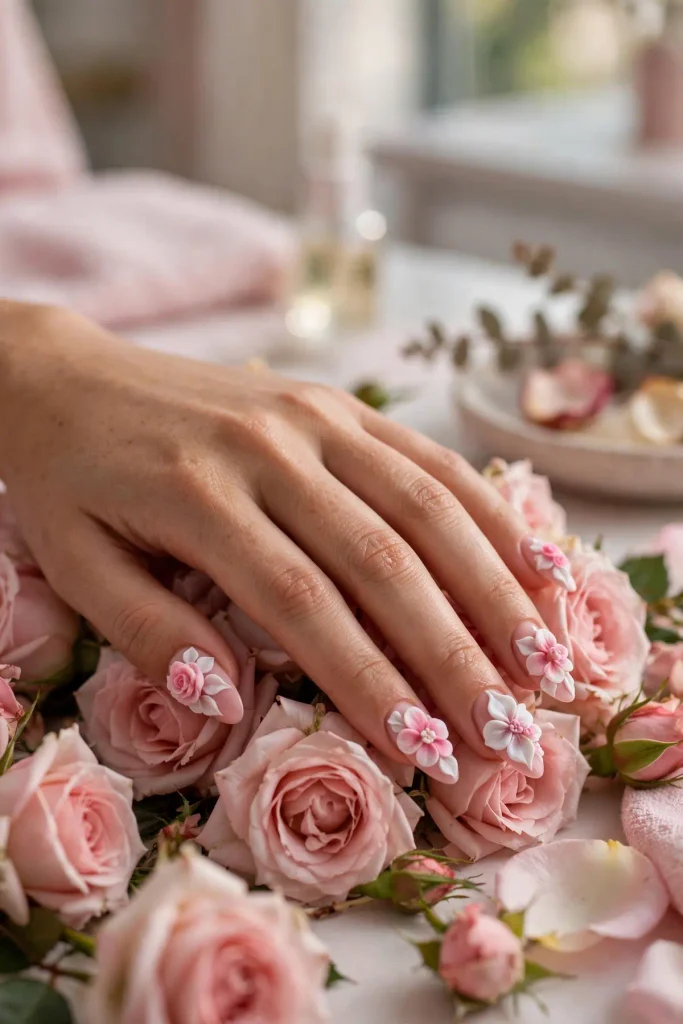
Flowers built up in acrylic or 3D gel, rising off the nail surface — dimension you can feel. What it is: the red-carpet showstopper. You’ll need: acrylic or 3D sculpting gel, a sculpting brush, and serious practice (or a salon appointment). Pro tip: keep 3D elements toward the center of the nail, never the tip — tips catch on everything and break first.
13. Chrome Shape Art
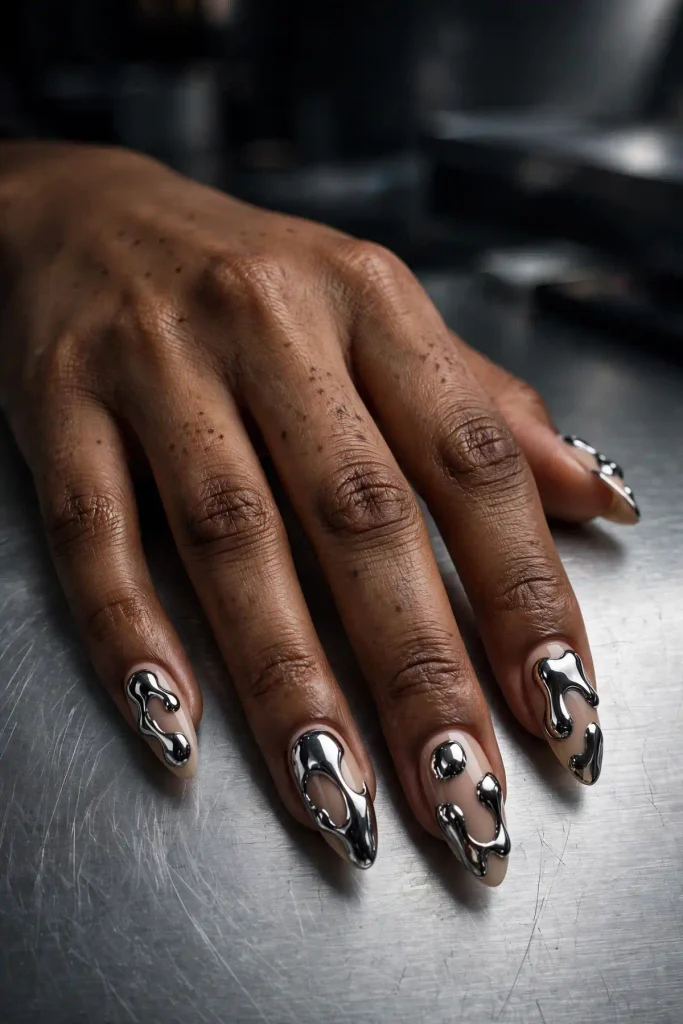
Chrome powder applied in isolated shapes — stars, moons, flames — over a matte base. What it is: precision metallics. You’ll need: chrome powder, matte top coat, and a way to mask shapes (tape, vinyls, or freehand gel). Pro tip: the matte base is what makes the chrome shapes pop — skip it and the effect washes out.
14. Hand-Painted Lace
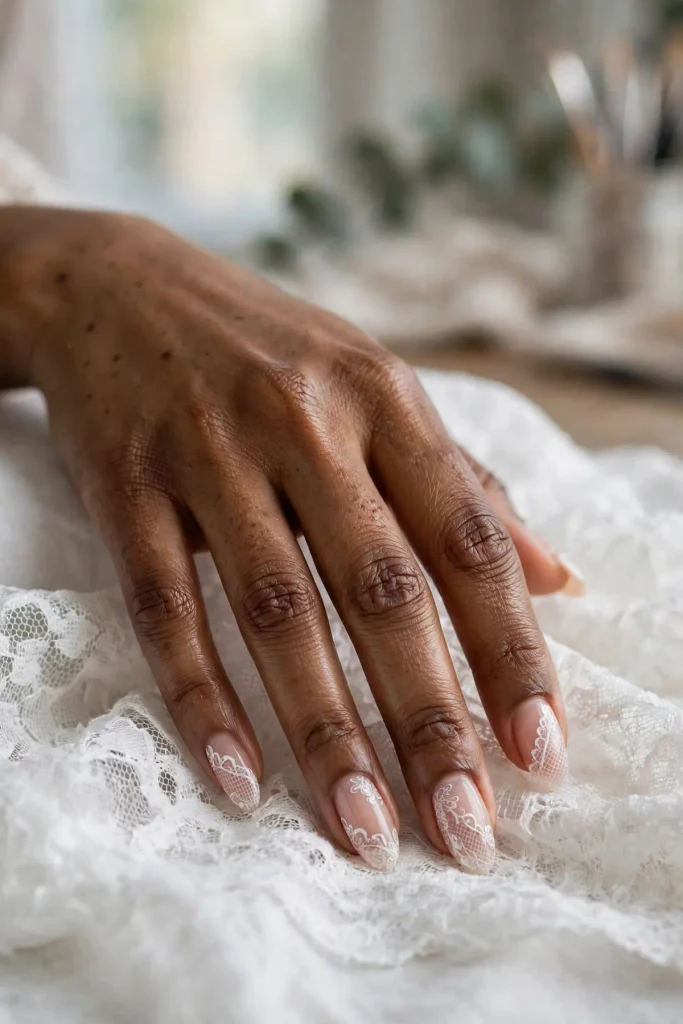
Delicate lace patterns painted in white or black over sheer bases — bridal-level intricacy. What it is: the final boss of nail art. You’ll need: an ultra-fine liner brush, endless patience, and ideally a professional. Pro tip: work in small sections and cure or dry between them; lace is built from tiny repeated motifs, not drawn in one go.
Your Nail Art Starter Kit
You don’t need a professional studio — but the right tools change everything. The essentials: a dotting tool set ($5–$8, the single highest-value purchase in nail art), a fine liner brush, striping tape, cosmetic sponges, and reinforcement stickers for guides. The upgrades: blooming gel for marbles and watercolors, a stamper kit for instant patterns, and chrome powders for metallic effects. The nice-to-haves: an LED lamp if you switch to gel (it makes art last weeks instead of days), and a cleanup brush for crisp edges. Total starter cost: under $25. Total upgrade cost: under $60. Skip the giant 200-piece kits — half the tools go unused; buy the five essentials and add as your skills grow. And honestly? A dotting tool and a liner brush will carry you through the entire beginner and intermediate sections of this list.
Mistakes Every Beginner Makes (and the Fix)
Too-thick coats. The number one beginner error — thick polish floods cuticles, takes forever to dry, and peels in sheets. Fix: wipe the brush on the bottle neck until it looks almost dry; two thin coats always beat one thick one. Working on wet layers. Adding detail over tacky polish drags and smears everything beneath. Fix: wait — actually wait — between steps; quick-dry drops help if you’re impatient. No cleanup. Skipping the acetone cleanup around cuticles is what separates amateur from polished. Fix: a small angled brush dipped in acetone, traced around each nail after painting. Too many ideas per nail. Beginners cram dots, stripes, and glitter onto one nail. Fix: one technique per nail, maximum — restraint reads as skill. Skipping top coat. Art without sealant chips in a day and looks dull. Fix: always, always seal — it’s the difference between craft project and manicure.
How to Practice Without Wasting Polish
Practice on paper first. Liner brush control, swirls, and lettering can all be drilled on paper before touching a nail — muscle memory is free. Use a nail wheel. Blank nail tips on a display wheel ($5) let you practice full designs, keep your favorites as reference, and show clients or friends. Paint your non-dominant hand last. Start with your dominant hand’s nails (painted by the non-dominant hand) — it’s harder, so do it while you’re fresh. One nail at a time. Practicing a single accent nail instead of all ten saves polish, time, and frustration. Photograph everything. Progress photos reveal improvement you can’t see day-to-day, and your early attempts become genuinely fun to look back on. Date them — future you will love the timeline.
Nail Art FAQs
What polish works best for nail art?
Regular polish is best for learning — it’s cheap, forgiving, and easy to remove when you mess up. Switch to gel once your designs are consistent; gel’s longer working time actually helps with art, and it lasts weeks.
How long does nail art take?
Beginner designs: 20–40 minutes for all ten nails. Intermediate: 45–90 minutes. Advanced: 1.5–3 hours. Add 30 minutes the first few times you try anything new — speed comes with repetition.
Why does my nail art look messy up close?
Usually one of three things: coats too thick, details added over wet polish, or no cleanup pass. The acetone cleanup brush around the cuticles fixes 80% of “messy” — it’s the step everyone skips and professionals never do.
Can I do nail art on short nails?
Absolutely — ideas 1, 2, 3, 5, 9, and 10 were practically designed for short nails. Scale the design down: smaller dots, thinner stripes, single accents. Short nails with clean art look sharper than long nails with sloppy art.
How do I remove nail art without damaging my nails?
Regular polish art: standard acetone remover, no problem. Glitter art: the foil soak method (acetone cotton, foil wrap, 10 minutes). Gel art: file the top coat, soak 10–15 minutes, gently push off — never peel.
When should I just go to a salon?
When the design needs tools you don’t own (airbrush, professional chrome, sculpting), when it’s for an event with photos, or when you’ve failed at it twice at home. There’s no shame in it — even professionals book other professionals.
My dominant hand looks terrible — how do I fix that?
Everyone’s does at first. Slow down, brace your painting hand’s pinky on the table for stability, and accept that it will always be slightly less perfect — that’s what the accent-nail strategy is for: put the detailed art on the easy hand.
How do I keep nail art from chipping so fast?
Cap the free edge with every layer (color and top coat), avoid hot water for the first few hours, and refresh the top coat on day three. Art on gel instead of regular polish roughly triples its lifespan.
Pick Up the Brush
Fourteen ideas, three skill levels, one clear path forward. The secret that nobody tells beginners: every nail artist you admire started with wobbly dots and flooded cuticles. The difference between them and everyone else isn’t talent — it’s that they did idea number one, then number two, then kept going.
So pick your level honestly, grab the dotting tool, and make something tonight. It won’t be perfect. It doesn’t need to be. It needs to be yours — and next month’s version will be better. Every expert was once a beginner who refused to put the brush down.
Which level are you starting at — tonight’s polka dots, next week’s watercolors, or the someday-lace? Save this list as your personal curriculum, and send it to the friend who says “I’m not artistic” — she just hasn’t met the dotting tool yet.