17 Halloween Drawings Idea, Filled In Like a 17-Day Sketchbook Challenge
In school, my art teacher once held up my drawing of a cat and said, “It’s very… enthusiastic.” I quietly stopped drawing for ten years. When I picked up a pencil again, I learned something that changed everything: nobody draws well by copying details. People draw well by starting with simple shapes and building from there.
Halloween is the best time to relearn this. Ghosts, pumpkins, bats, and cats are all made from circles, triangles, and wobbly curves. Even the “spooky” ones forgive mistakes, because a crooked line looks intentional on a haunted house.
So I laid this post out like a sketchbook challenge. There are seventeen pages, one prompt per day. Each page lists a time limit so you never feel trapped, a starter shape to begin with, a tool suggestion, and a make it yours twist that turns a basic drawing into your own. You do not need talent, only a pencil and about ten minutes. The extras that make drawing easier come after the pages.
The Sketchbook
Day 1: The Friendly Ghost.
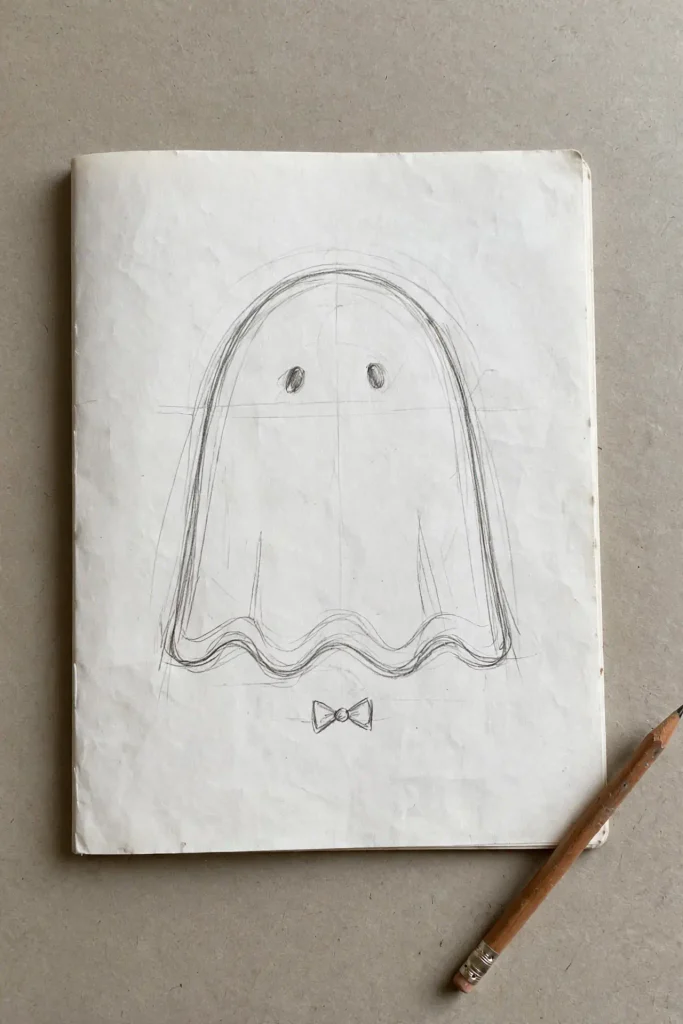
Time: 5 minutes.
Starter shape: an upside-down U with a wavy bottom.
Tool: pencil, then a black pen for eyes.
Twist: give your ghost a tiny accessory, like a bow tie, a scarf, or sunglasses. Personality beats perfection, so let the eyes look in different directions.
Day 2: The Classic Pumpkin.
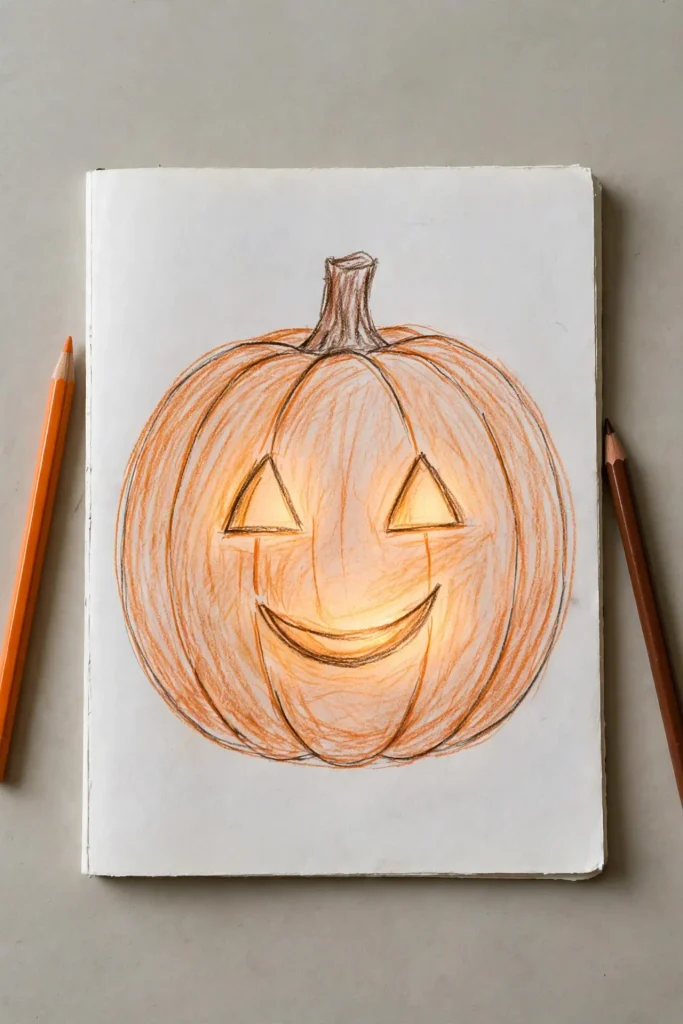
Time: 10 minutes.
Starter shape: a wide oval with curved lines running from top to bottom, like the segments of an orange.
Tool: orange colored pencil and a brown pencil for the stem.
Twist: carve a face with only two shapes, triangles for eyes and a crescent smile, then add a candle glow behind them.
Day 3: The Sleeping Black Cat.
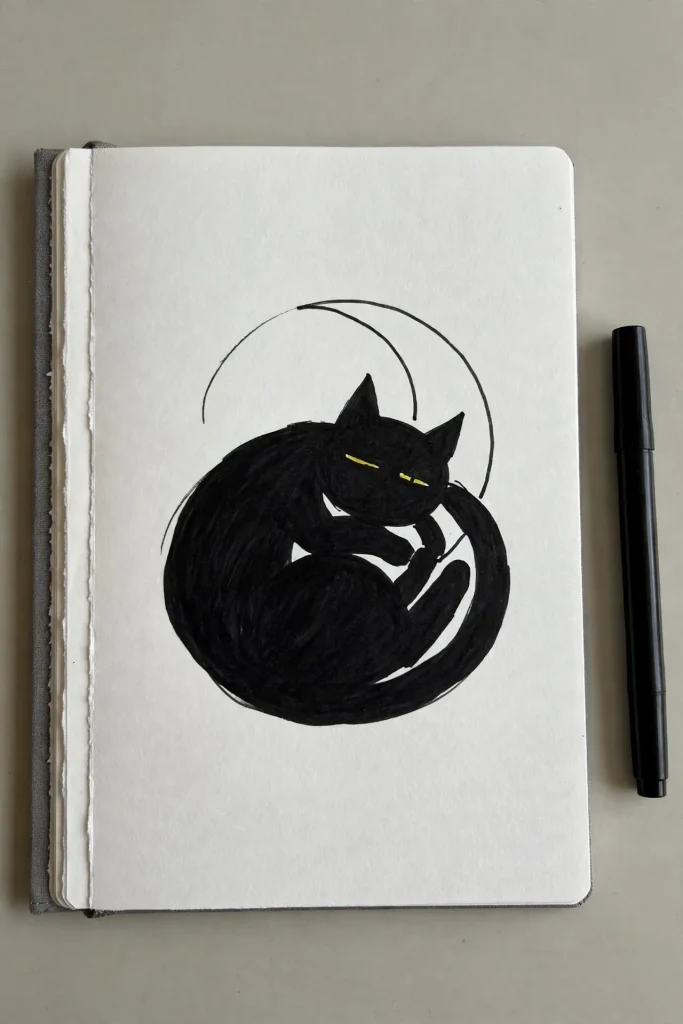
Time: 10 minutes.
Starter shape: a lumpy circle for the curled body, with a smaller circle for the head.
Tool: black ink pen or marker, filled in with a dark pencil.
Twist: draw a crescent moon behind the cat and leave two tiny slits of yellow for closed eyes.
Day 4: The Bat Silhouette.
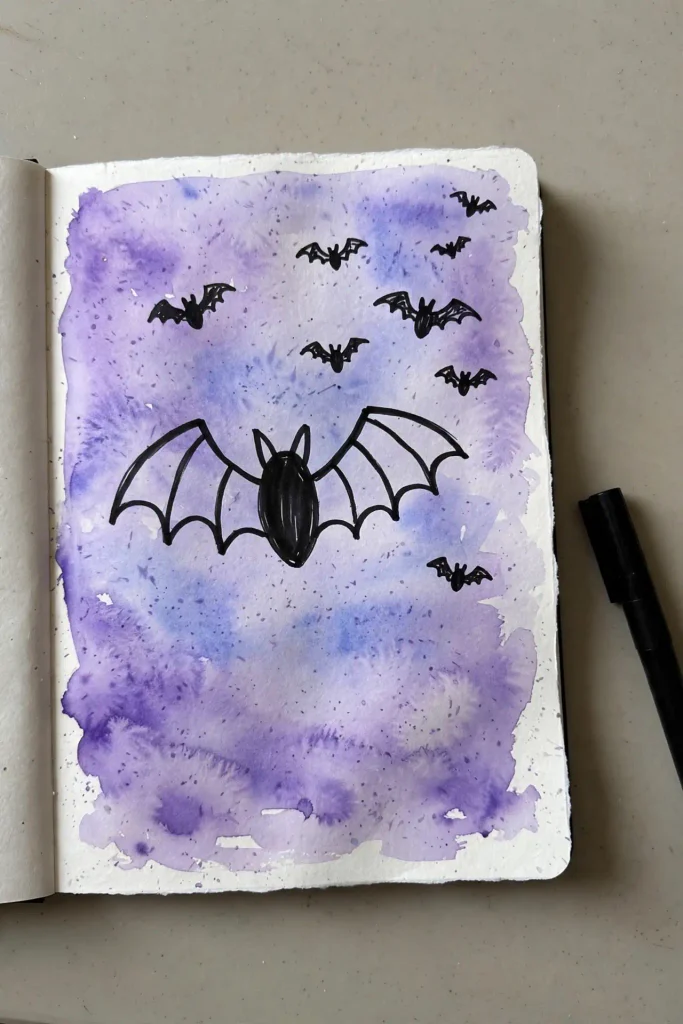
Time: 5 minutes.
Starter shape: a small oval body with two scalloped wings, like a fan.
Tool: a black marker over a purple watercolor wash.
Twist: draw a whole flock, each one a slightly different size, so the sky feels alive.
Day 5: The Crooked Haunted House.
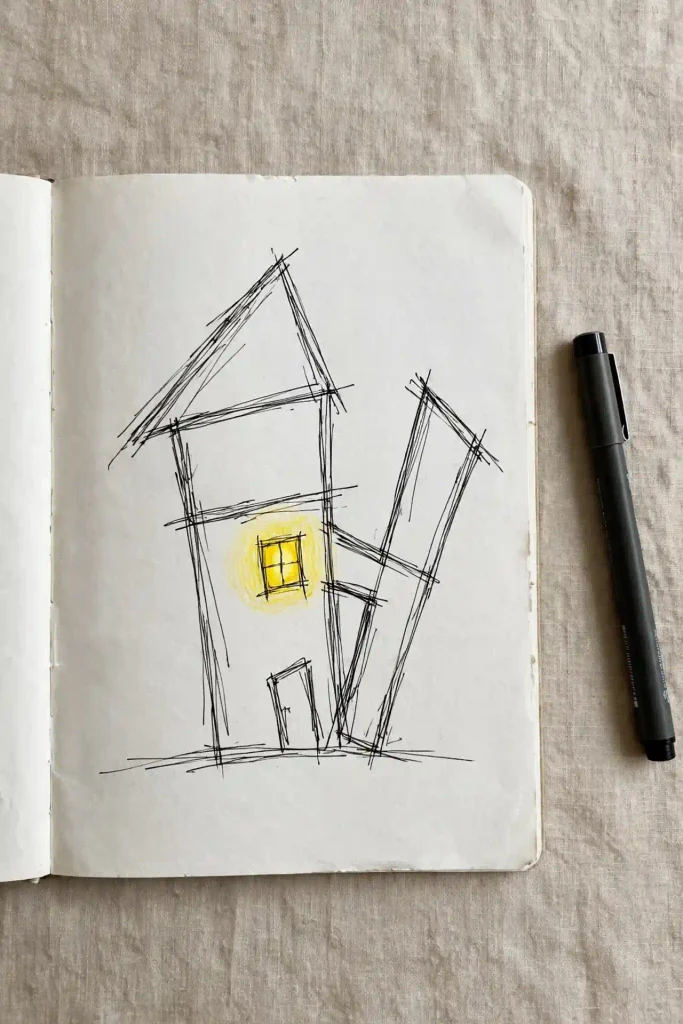
Time: 15 minutes.
Starter shape: a tall rectangle with a triangle roof.
Tool: fine-liner pen.
Twist: tilt every line slightly, add a tower that leans, and leave one window glowing yellow. Crooked houses look scarier than perfect ones.
Day 6: The Witch’s Hat.
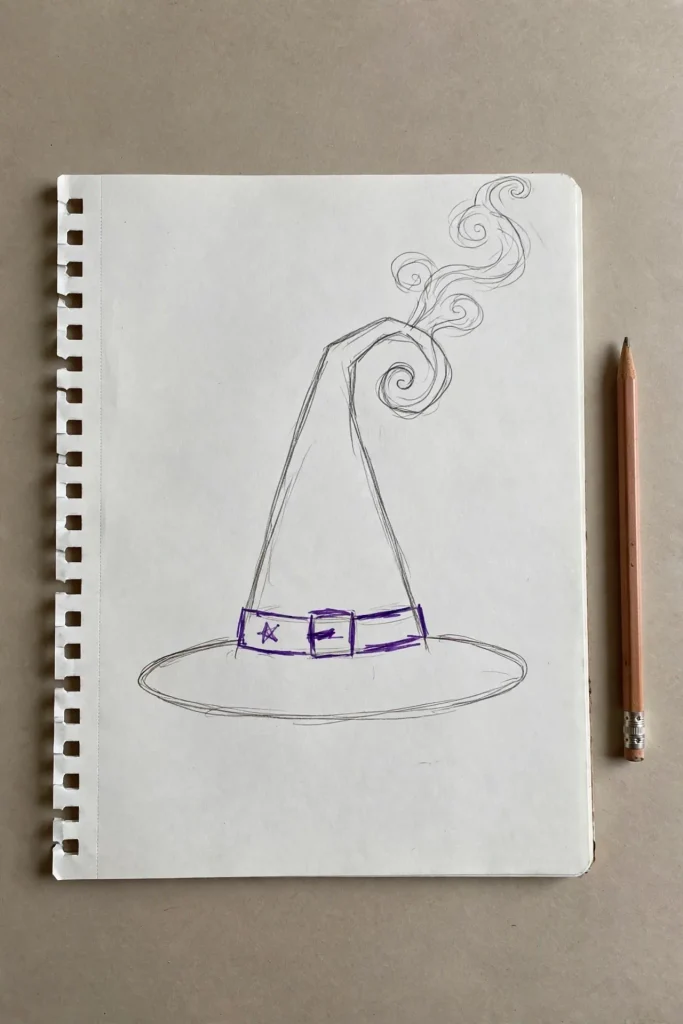
Time: 5 minutes.
Starter shape: a triangle sitting on a wide, flat oval brim.
Tool: pencil and a purple or black marker.
Twist: bend the tip of the hat and add a buckle, a small star, or a curl of smoke. Every witch has a signature hat.
Day 7: The Spider in Its Web.
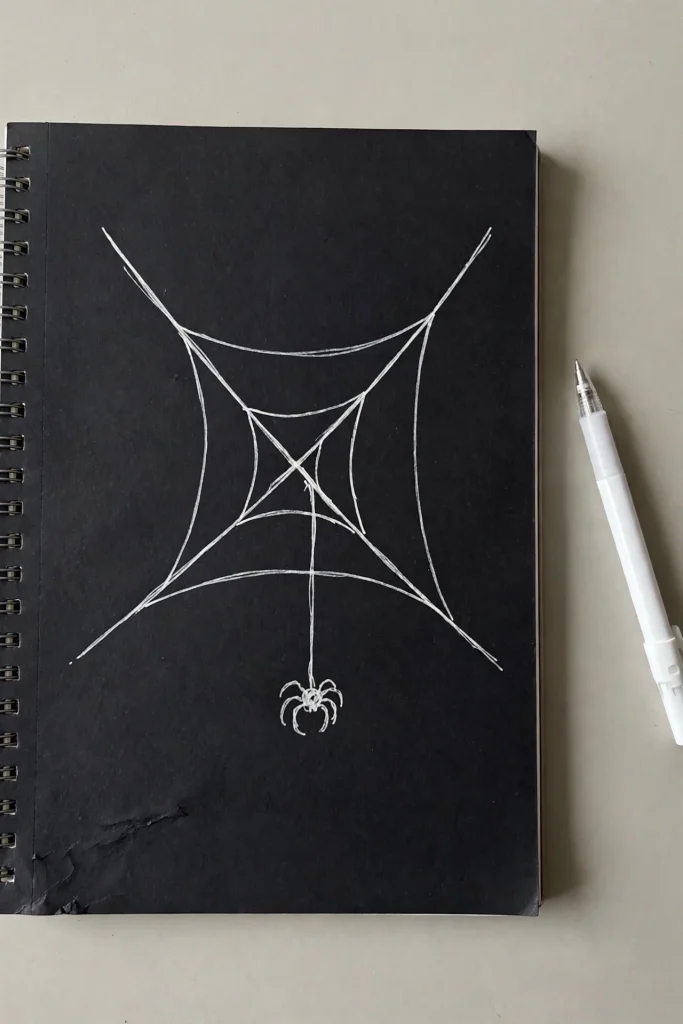
Time: 10 minutes.
Starter shape: a small circle body with eight curved legs.
Tool: fine-liner and a white gel pen on dark paper.
Twist: draw the web first with three crossing lines, then curved threads between them. Let the spider dangle from one silky line.
Day 8: The Skull.
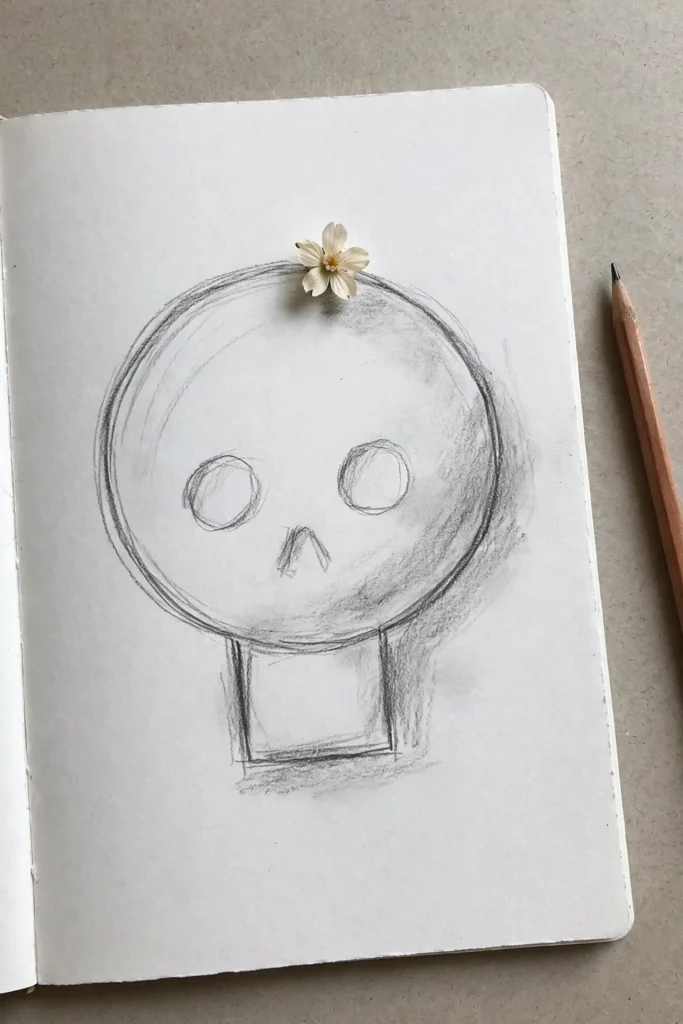
Time: 15 minutes.
Starter shape: a wide circle on top of a small square jaw.
Tool: pencil, then charcoal or a soft graphite for shading.
Twist: place a flower or a candle on the crown so it looks gentle instead of grim.
Day 9: The Potion Bottle.
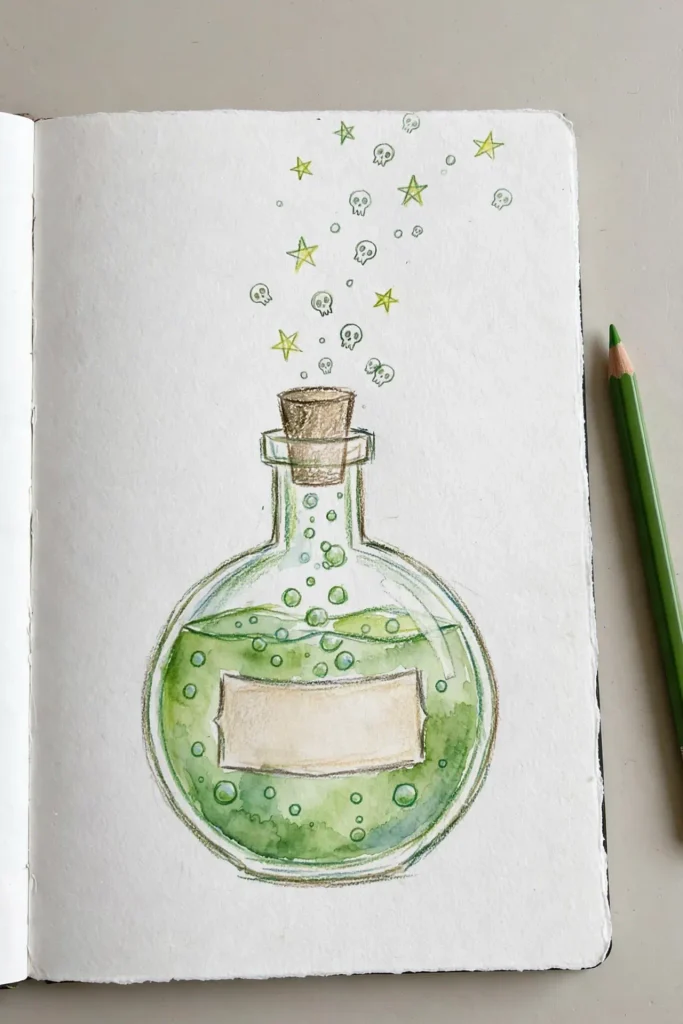
Time: 10 minutes.
Starter shape: a circle with a narrow rectangle neck and a small cork.
Tool: colored pencils or watercolor.
Twist: draw bubbles rising from the surface, and write a funny label like “Instant Nap.”
Day 10: The Moonlit Cemetery.
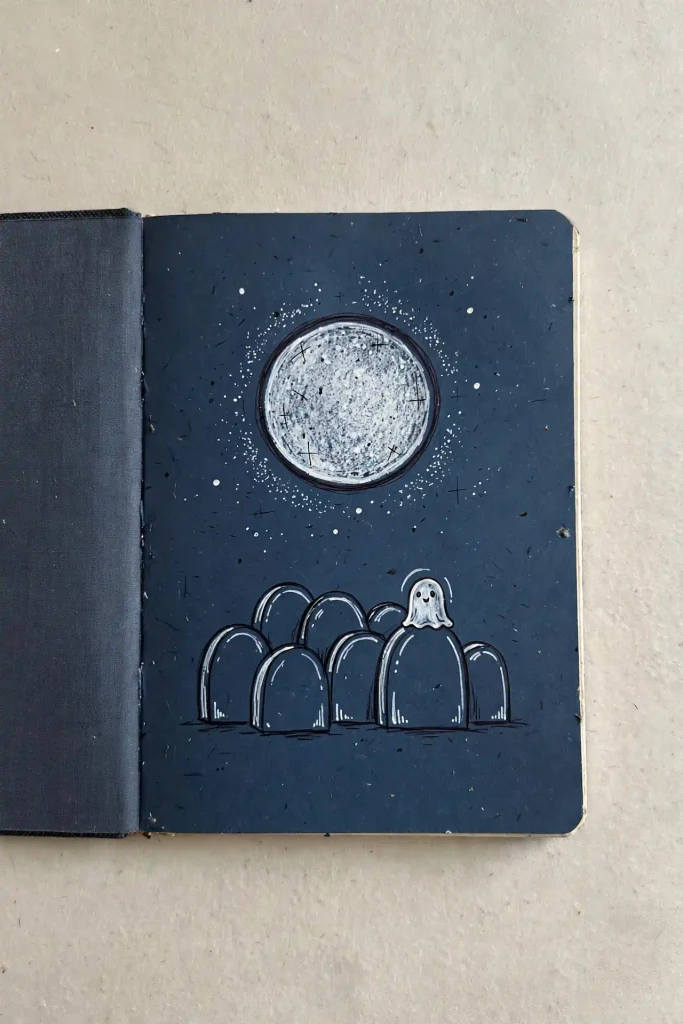
Time: 15 minutes.
Starter shape: a large circle for the moon, then rounded rectangles for gravestones.
Tool: black pen on blue paper, with white gel pen highlights.
Twist: add a tiny ghost sitting on one stone, so the scene feels cozy rather than sad.
Day 11: The Owl on a Branch.
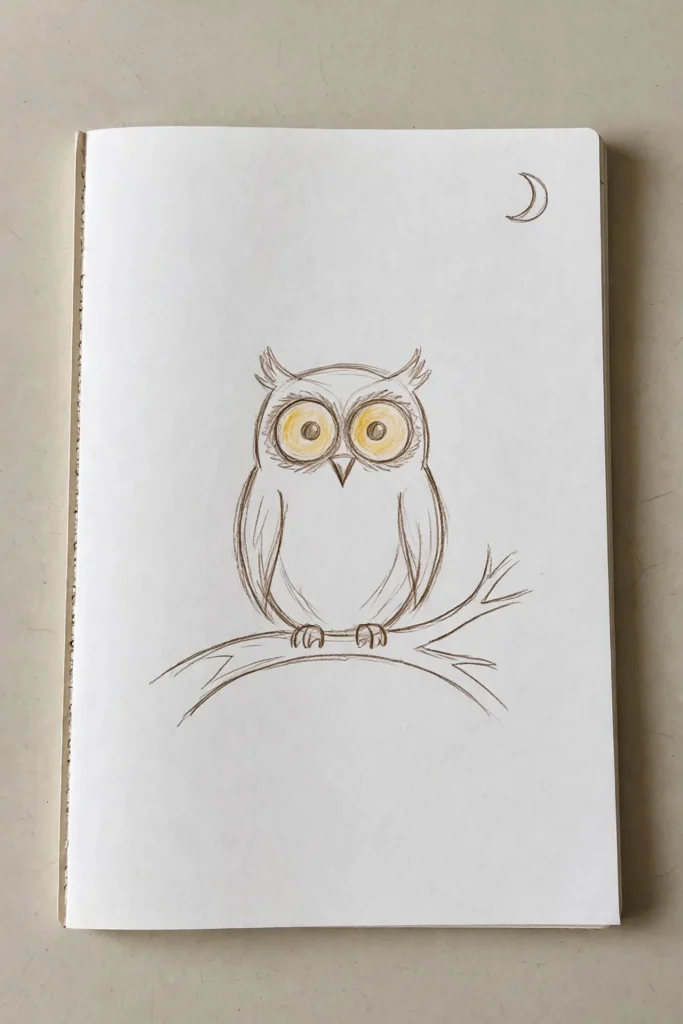
Time: 10 minutes.
Starter shape: two circles for eyes on a larger oval body.
Tool: brown pencil, then a warm yellow for the eyes.
Twist: give the owl a witch hat or reading glasses, then draw a crescent moon in its eyes.
Day 12: The Candy Corn Family.
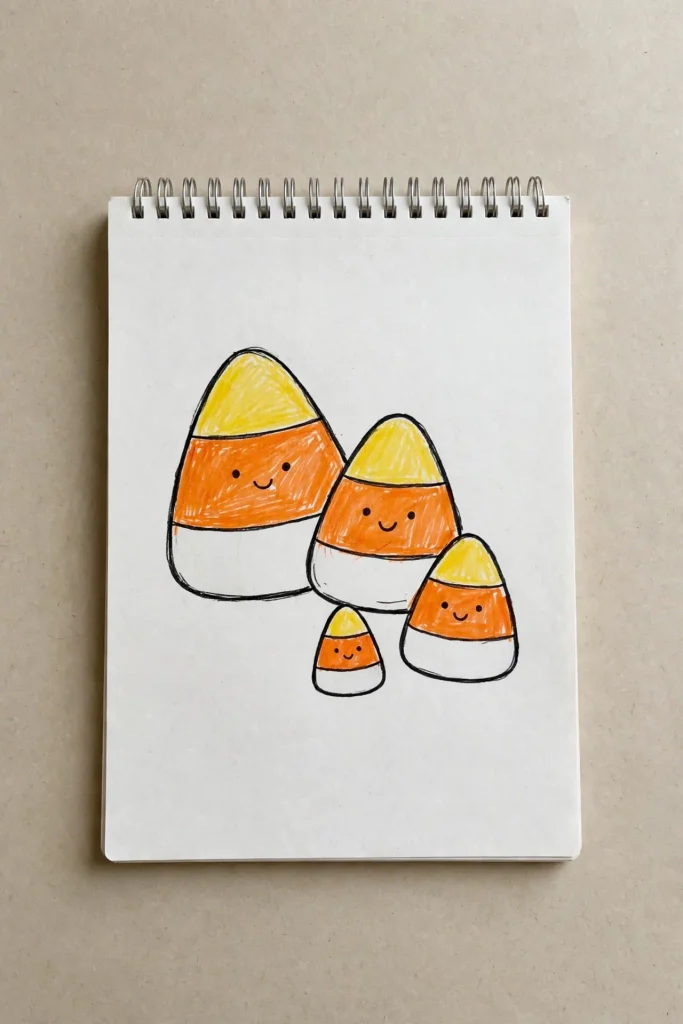
Time: 5 minutes.
Starter shape: a triangle with rounded corners, split into three bands.
Tool: yellow, orange, and white markers.
Twist: draw tiny faces on each one and turn them into a family, complete with a baby corn.
Day 13: The Witch’s Cauldron.
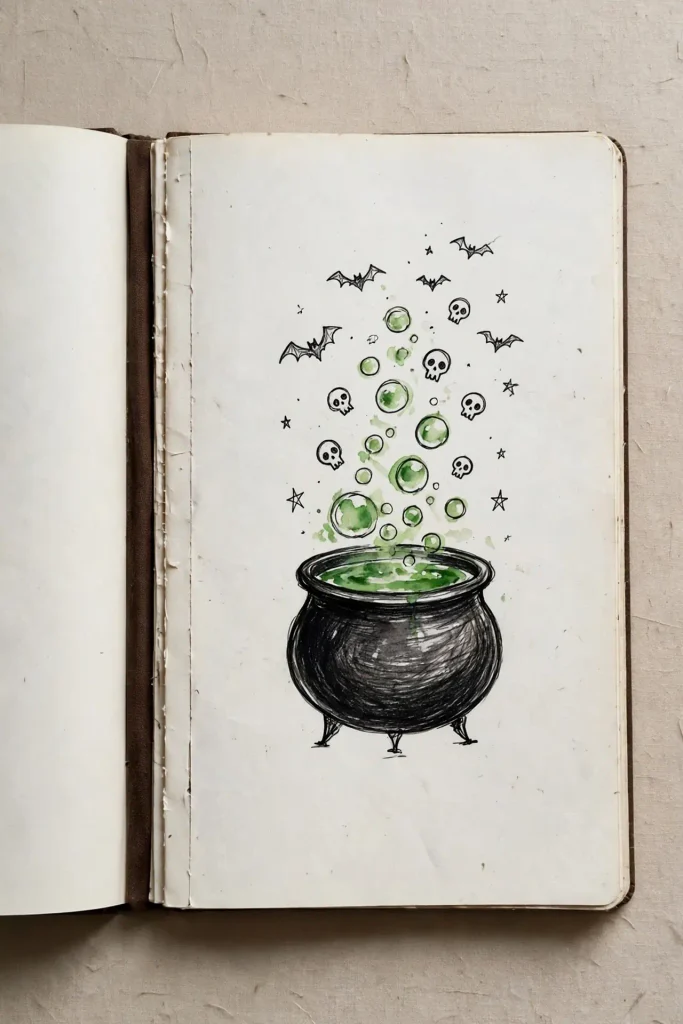
Time: 10 minutes.
Starter shape: a round pot on three tiny legs.
Tool: black pen and green watercolor for the brew.
Twist: let bubbles turn into small floating skulls, stars, or tiny bats.
Day 14: The Scarecrow.
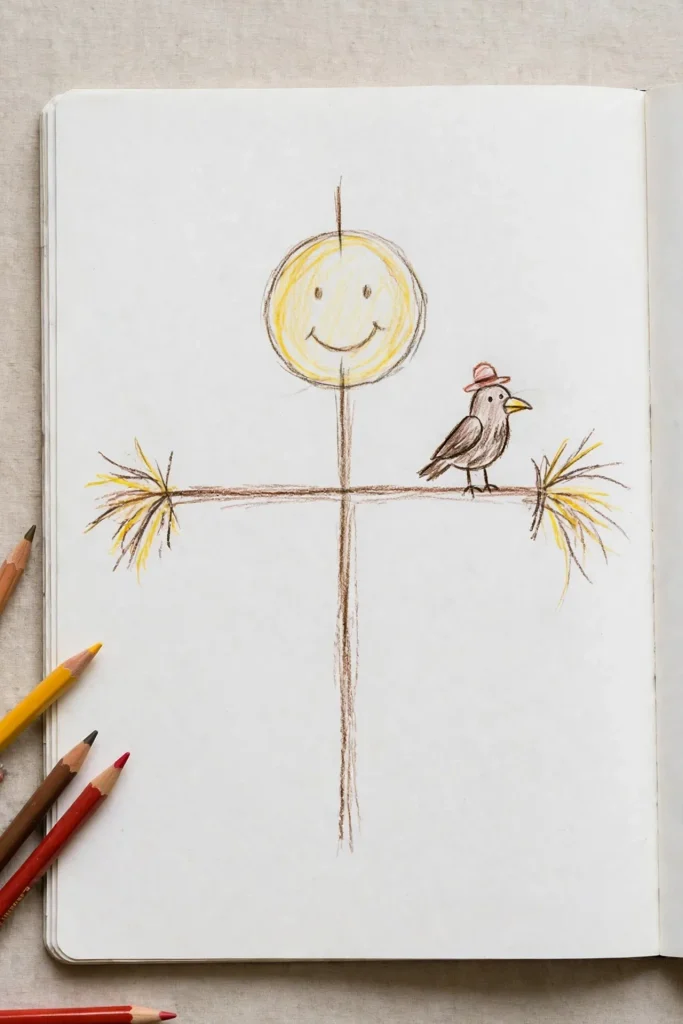
Time: 15 minutes.
Starter shape: a cross made from two lines, with a circle for the head.
Tool: pencil and yellow, brown, and red colored pencils.
Twist: draw a crow sitting on his shoulder, wearing a tiny hat of its own.
Day 15: The Jack-o’-Lantern Row.
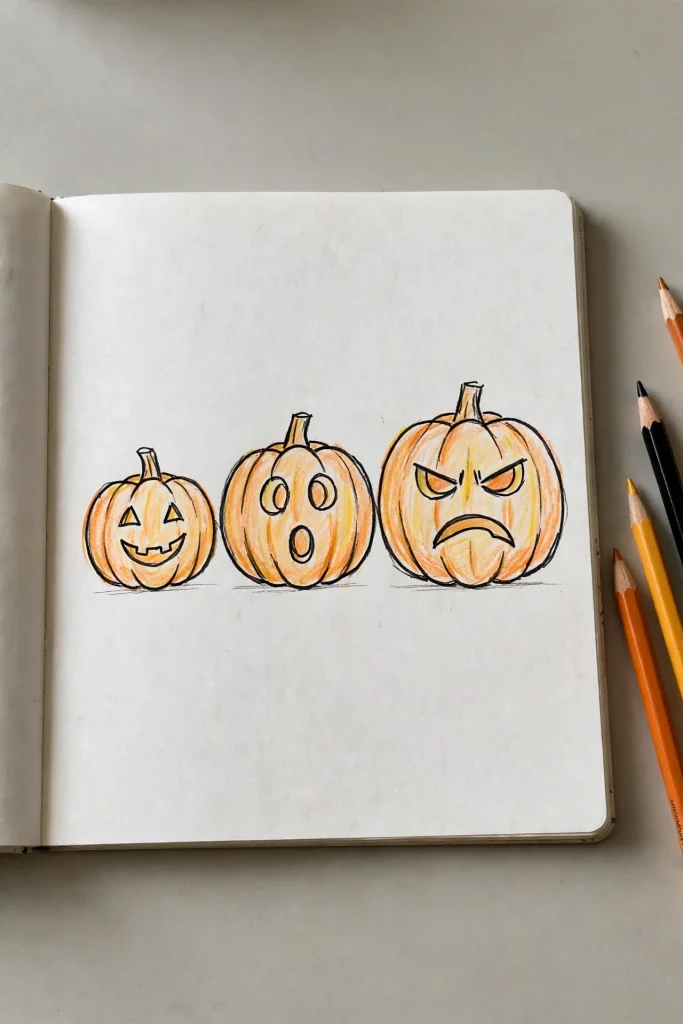
Time: 10 minutes.
Starter shape: three ovals of different sizes.
Tool: orange and yellow pencils, black marker for faces.
Twist: give each pumpkin a different expression, happy, surprised, and grumpy.
Day 16: The Witch on a Broom.
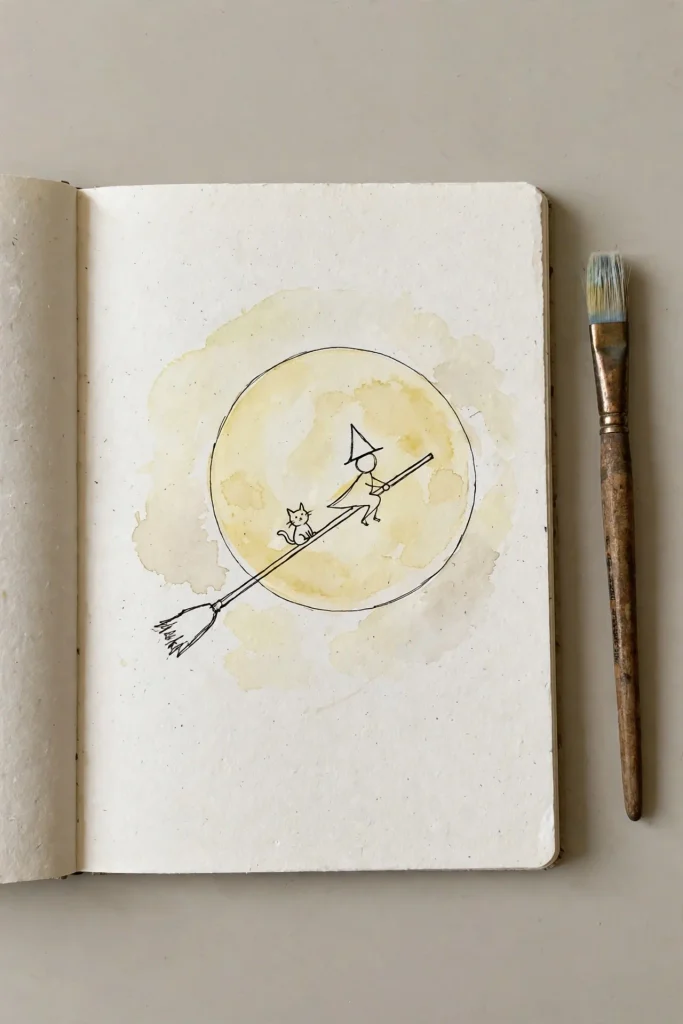
Time: 15 minutes.
Starter shape: a diagonal line for the broom, with a small circle for the head and a triangle for the hat.
Tool: ink and watercolor.
Twist: draw the witch flying past the moon, with her cat as a tiny passenger.
Day 17: The Halloween Night Scene.
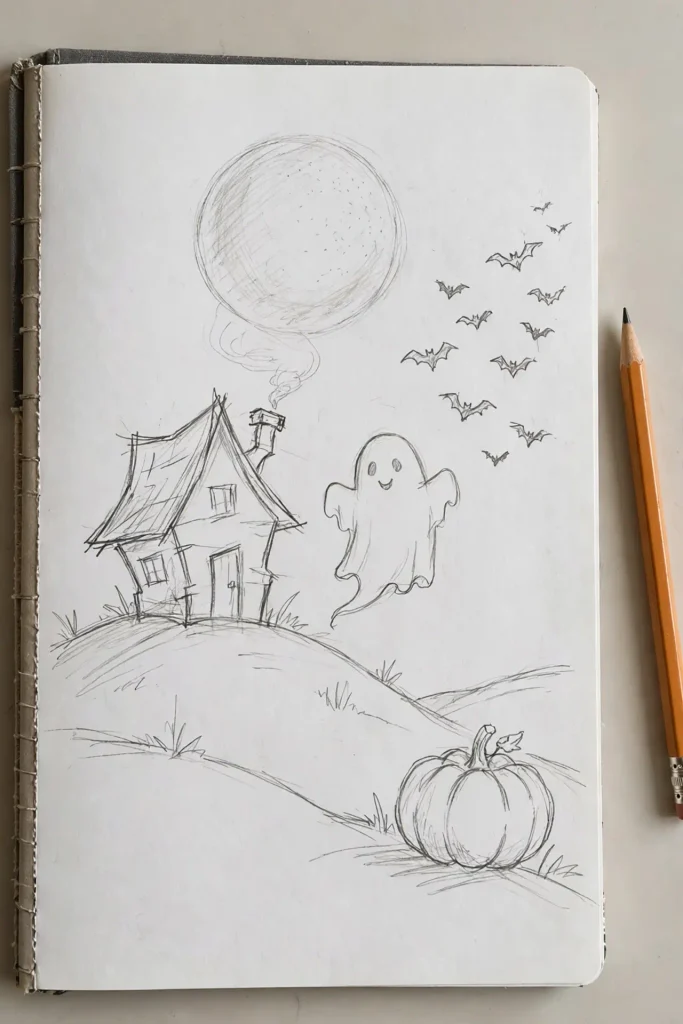
Time: 20 minutes.
Starter shape: a big moon, a hill, and a house.
Tool: any tool you enjoyed most.
Twist: combine three earlier drawings, such as a ghost, a bat flock, and a pumpkin, into one final scene. This is your graduation page.
Something New: The Shape Alphabet
Most spooky drawings come from just five shapes. Learn them once and you can draw almost anything.
- The circle builds pumpkins, moons, heads, and eyes. The triangle builds hats, ears, roofs, and candy corn. The upside-down U builds ghosts, gravestones, and doorways. The oval builds bodies, cats, and cauldrons. The wavy line builds smoke, hair, webs, and ghost bottoms.
Before you draw anything, ask, “Which of my five shapes could this be?” That single question makes drawing feel less scary.
Shading in Three Steps
Shading is what makes a flat drawing feel real, and you can learn it in three easy steps.
- Pick a light source. Decide which side the light comes from, such as the moon in the upper right.
- Shade the opposite side. Add light pencil strokes on the side away from the light, like the left side of a pumpkin.
- Add a cast shadow. Draw a soft, dark oval on the ground beneath the object, opposite the light.
Blend the shading with your finger or a tissue. Keep the darkest area right under the object, and lighten it as it moves away.
The Mistake-Into-Monster Trick
Every artist ruins a drawing sometimes. The fix is to turn the mistake into a feature.
- A smudge becomes a cloud of smoke. A wobbly circle becomes a lumpy pumpkin. A line that went too far becomes a spiderweb thread. A blotch of ink becomes a black cat’s shadow. An uneven eye becomes a cyclops. Never erase a mistake until you have asked what it wants to become.
The Color-Limit Rule
Beginners often use too many colors. Try limiting each drawing to three colors plus black.
A classic Halloween set is orange, purple, and black. A cozy set is orange, brown, and cream. A witchy set is green, purple, and gold. A moody set is blue, gray, and white. Three colors look planned, and it also makes coloring faster.
Tool Guide for Beginners
Pencil is best for sketching and shading, and it forgives errors. Fine-liner pen is best for clean outlines and detailed webs. Colored pencils are best for soft color and gentle blending. Markers are best for bold, flat color and silhouettes. Watercolor is best for glowing skies and potions. White gel pen is best for highlights on dark paper.
You do not need all of them. A pencil, a black pen, and one color set are plenty.
A Ten-Minute Warm-Up
Before you begin any page, draw for two minutes without lifting your pencil. Draw a line, spiral, or scribble ghosts across the paper. This loosens your hand and quiets the inner critic. Then draw five small circles, five triangles, and five upside-down U shapes. You will be surprised how much steadier your lines feel afterward.
Sketchbook to Gift Plan
Your seventeen pages can become something useful.
- Cards: Cut your favorite drawings into small squares and glue them onto folded paper to make Halloween cards.
- Garland: Trace the ghosts, bats, and pumpkins onto cardstock, cut them out, and string them across a window.
- Framed art: Choose your best three drawings, mount them on black paper, and hang them together.
- Stickers: Scan or photograph your drawings and have them printed as small stickers, or make them from sticker paper at home.
- Treat bags: Draw a simple ghost or pumpkin on brown paper bags and fill them with candy.
Common Drawing Mistakes
Trying to draw the perfect version on the first try creates stress. Pressing too hard with a pencil makes erasing difficult. Starting with details instead of shapes leads to wobbly results. Comparing your page to a professional’s causes needless discouragement. Skipping a light source makes shading look flat. Stopping after one bad drawing means missing the good ones that follow.
Quick Answers
What is the easiest Halloween drawing for beginners?
The Friendly Ghost (Day 1), the Witch’s Hat (Day 6), and the Bat Silhouette (Day 4), since all three come from very simple shapes.
What should I use if I have only one pen?
A black fine-liner. Silhouettes and outlines look great without color.
How do I draw faces on pumpkins and ghosts?
Use two simple shapes for eyes and one curve for the mouth. Keep them small and slightly low on the shape for extra charm.
How long should each drawing take?
Between five and fifteen minutes. Shorter sessions build the habit better than one long session.
Can I do this challenge with kids?
Yes. Start with Days 1, 2, and 12, and let them add their own faces and colors.
One Last Thing
Drawing is not a talent you are born with. It is a habit you build one small shape at a time, and Halloween is the friendliest season to start. Ghosts, pumpkins, and bats do not need to be perfect to be loved.
Grab a pencil, set a timer for ten minutes, and begin with Day 1 tonight. By Day 17, you will have a sketchbook that looks like yours and a hand that feels a lot more confident.
Which day are you starting with: the friendly ghost, the crooked haunted house, or the full Halloween night scene? Save this post for your next quiet evening, and send it to a friend who says she can only draw stick figures.