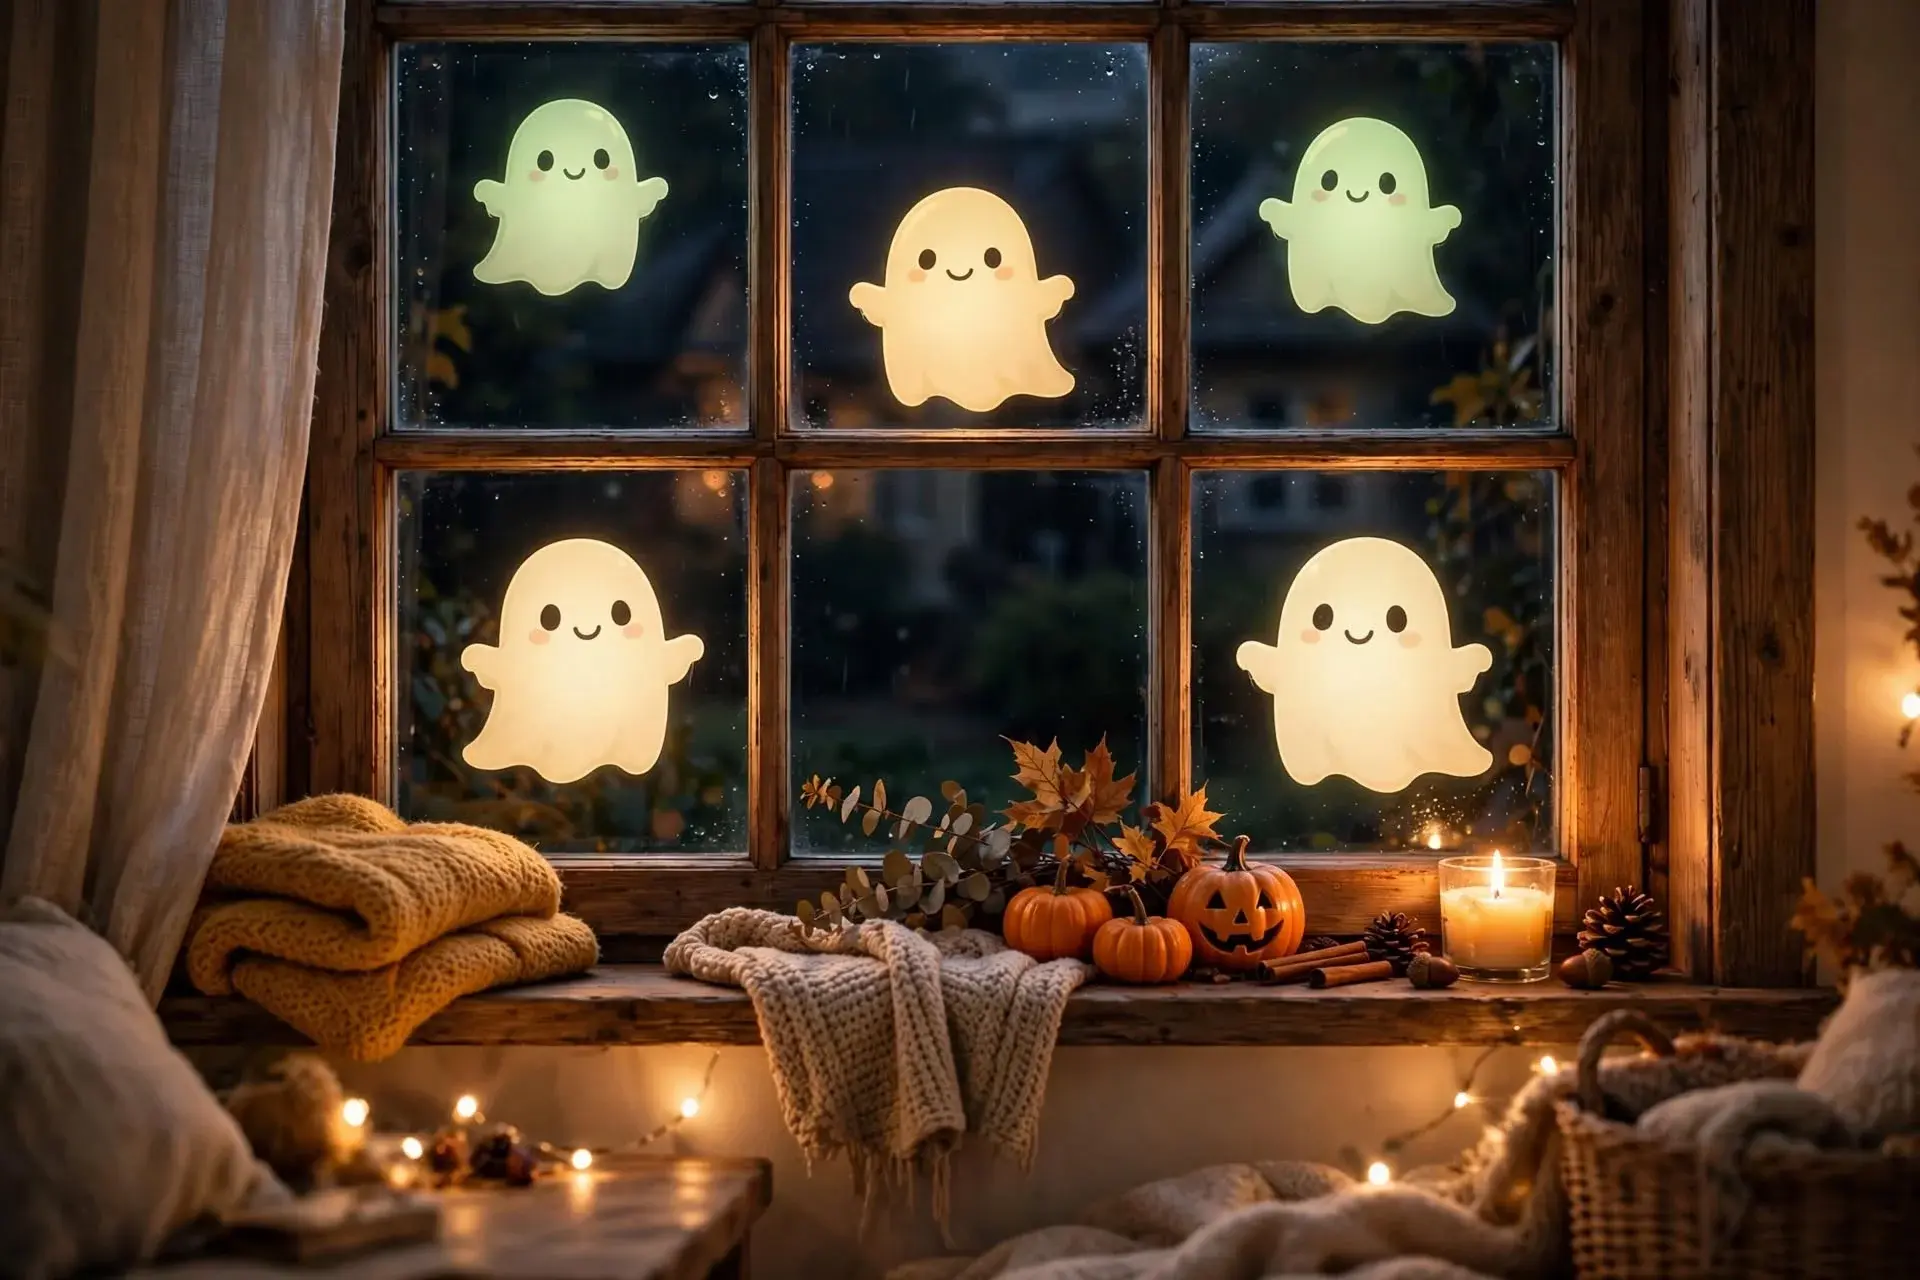
16 Halloween Window Decorations So Spooky Your Neighbors Will Slow Down to Stare
I used to think one carved pumpkin was enough Halloween decorating. Then my neighbor filled her front windows with glowing ghosts, crawling spiders, and a witch who looked ready to fly through the glass. Cars actually slowed down. My lonely pumpkin suddenly looked like it had forgotten the assignment.
That started my friendly little window-decorating competition. The good news is that a great display does not need a huge porch, a giant budget, or permanent holes. A window is already a frame, so even a simple shape can look like finished home decor from the street.
To make choosing easier, I gave every idea a Spook-O-Meter rating from 1 to 10. Level 1 is sweet enough for toddlers. Level 10 may make the delivery driver question your life choices. Each idea includes a rough cost, an easy DIY option, and a way to make it work in a rental or small apartment.
Cute & Kid-Friendly (Spook Level 1-3)
1. Black Cat Silhouette Clings
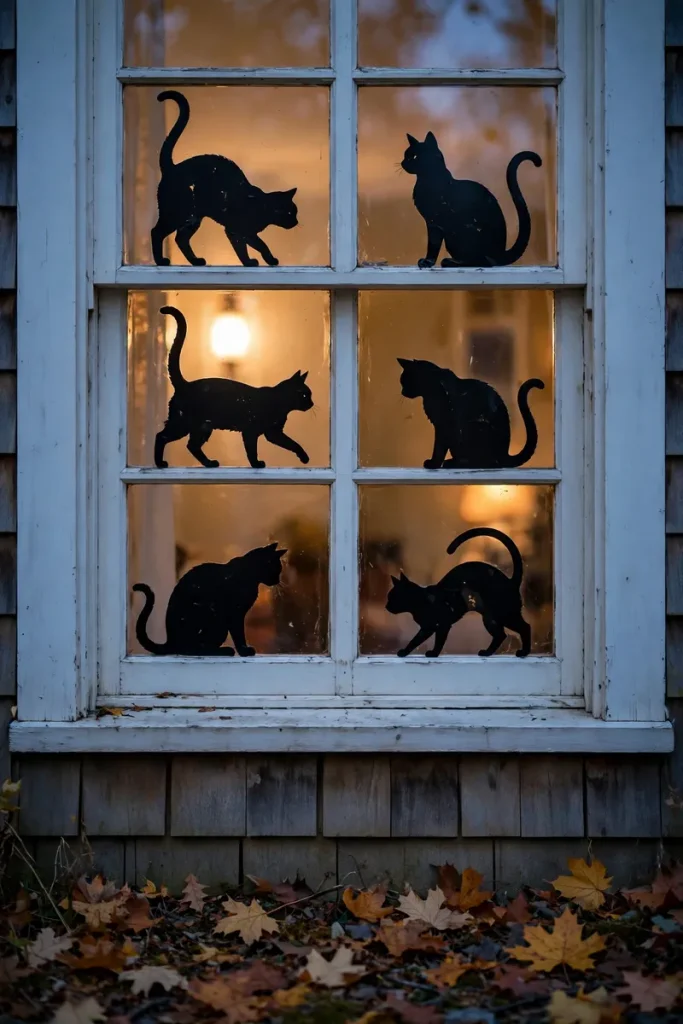
Spook-O-Meter: 1/10. Black cat clings give a window instant Halloween charm without scaring little trick-or-treaters. A set usually costs $6 to $15. Place one cat on the sill, another halfway up the glass, and a tiny kitten near the corner so the scene feels playful instead of flat.
For a DIY version, cut cats from black removable contact paper. Test a corner first, especially on old glass. Small apartment window? Use one large cat rather than many tiny shapes. Peel the clings off after Halloween, wash them with mild soap, dry flat, and store them between sheets of wax paper.
2. Friendly Ghost Window Lights
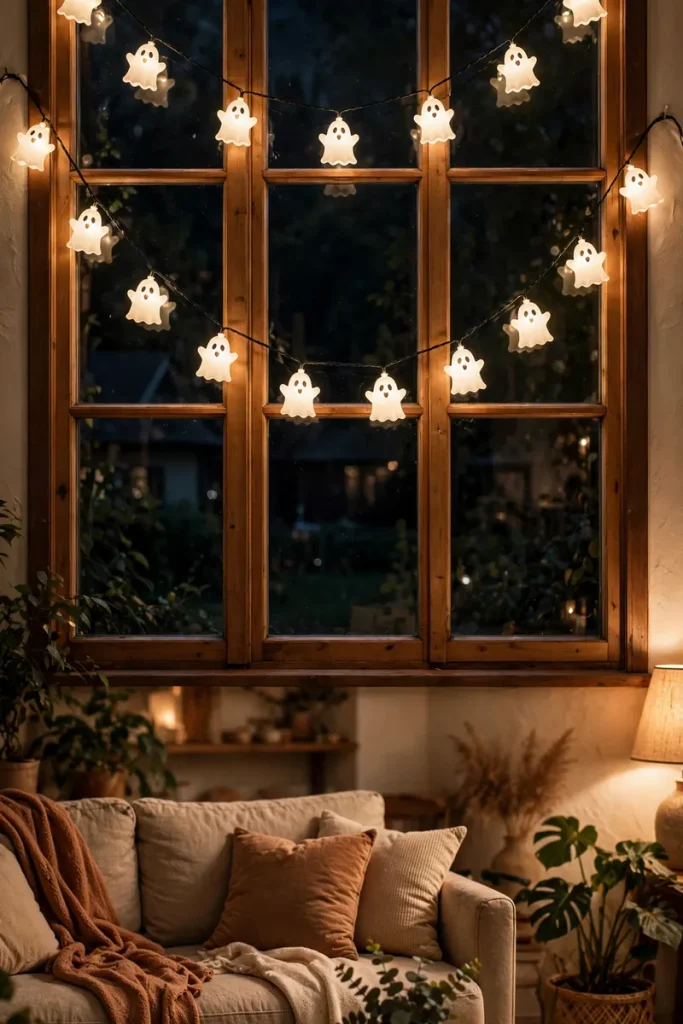
Spook-O-Meter: 2/10. Soft white ghost lights look cheerful from indoors and magical from the sidewalk. Expect to spend about $12 to $30 for a battery or plug-in strand. Hang them in a loose wave across the upper half of the window, where curtains will not hide their smiling faces.
I prefer battery lights in rentals because no cord has to snake across the room like an actual trip hazard. Use clear removable hooks on the frame, not the glass. For a tiny window, hang three lighted ghosts vertically. Remove the batteries before storage so a leak does not turn next October into a sad little science experiment.
3. Witch Legs Dangling Out the Window
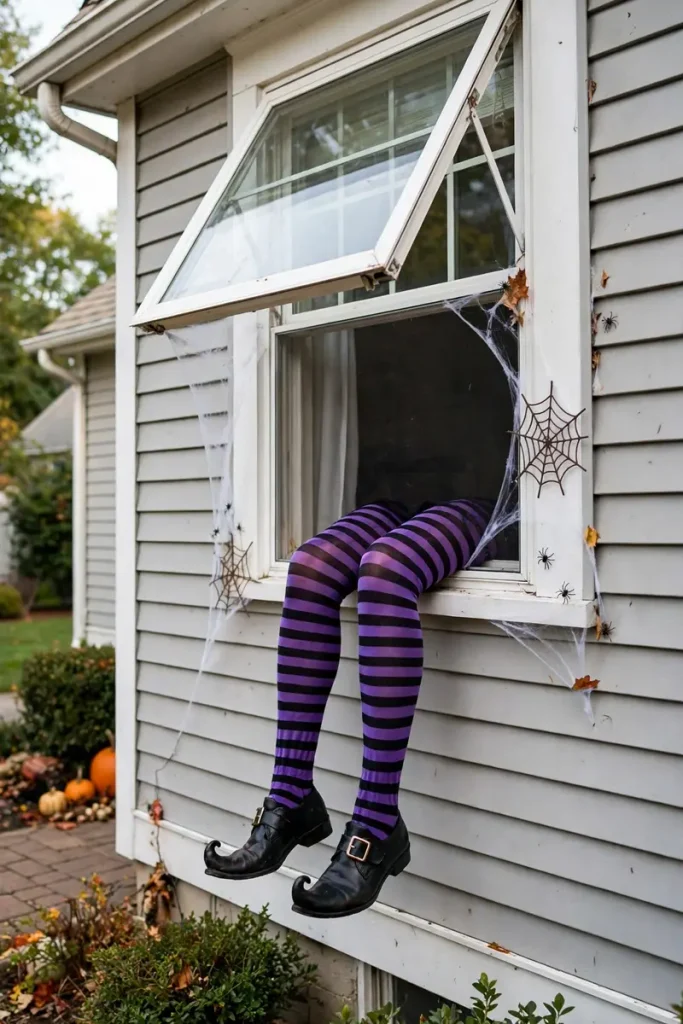
Spook-O-Meter: 3/10. Striped witch legs dangling inside the glass make it look as if a witch landed badly. Ready-made fabric legs cost around $15 to $35. Stuff them lightly with old towels, then tuck the tops behind a closed curtain rod or secure them with removable hooks above the window.
You can DIY the look with striped tights and thrift-store shoes for about $8 to $18. Keep everything indoors so rain and window screens are not a problem. In a small apartment, use short child-size tights. Wash fabric pieces before storing, and do not press dark cloth against damp glass because dye can transfer.
4. Pumpkin Face Garland Across the Top
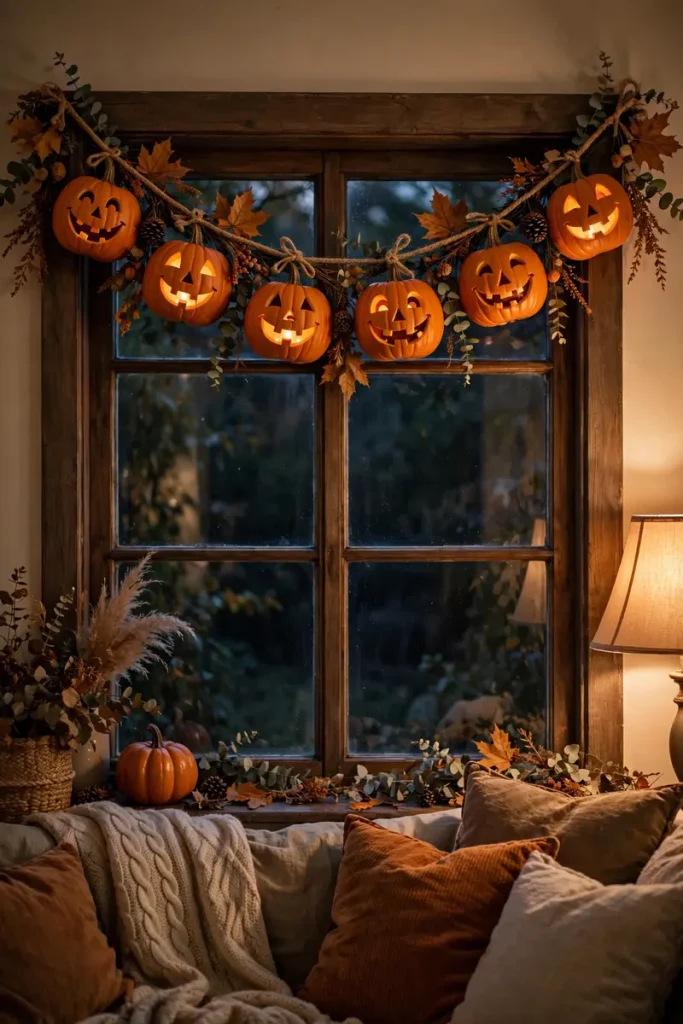
Spook-O-Meter: 2/10. A pumpkin face garland adds warm orange color without blocking the view. Paper or felt versions cost about $7 to $20. Hang it across the top third of the window and leave a gentle dip in the center. The faces read clearly from outside, while daylight still comes in.
Cut your own pumpkins from orange cardstock and draw a different expression on each one. Kids love giving one pumpkin giant eyebrows; adults pretend they did not help. Renters can use removable mini hooks or low-tack painter’s tape on the frame. Store the garland flat in a folder so the stems do not bend.
Classic Spooky (Spook Level 4-6)
5. Moon & Bats Sticker Scene
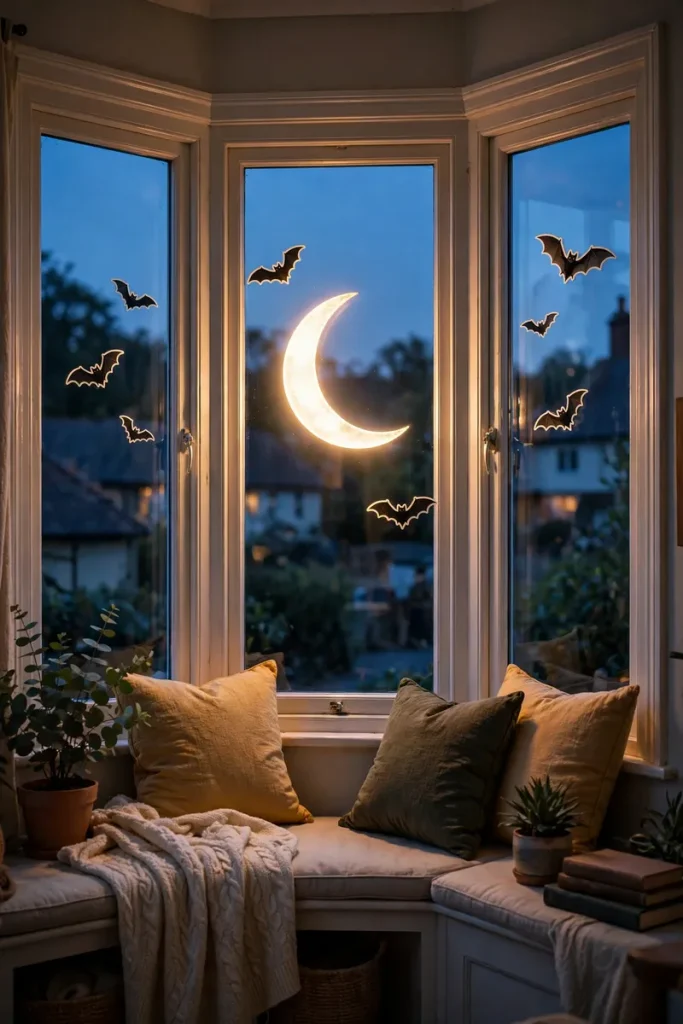
Spook-O-Meter: 4/10. A pale moon surrounded by flying bats creates a full scene with very little work. Reusable window stickers cost roughly $8 to $22. Put the moon slightly off-center, then angle the bats upward so they seem to be escaping into the night rather than standing in a neat school-photo row.
For a cheap DIY, cut bats from black removable vinyl and use a circle of frosted window film as the moon. One moon and five bats are enough for a narrow window. Smooth out bubbles with an old gift card. After Halloween, wipe the glass, then save reusable pieces on their original backing sheet.
6. The Haunted House Shadow Silhouette
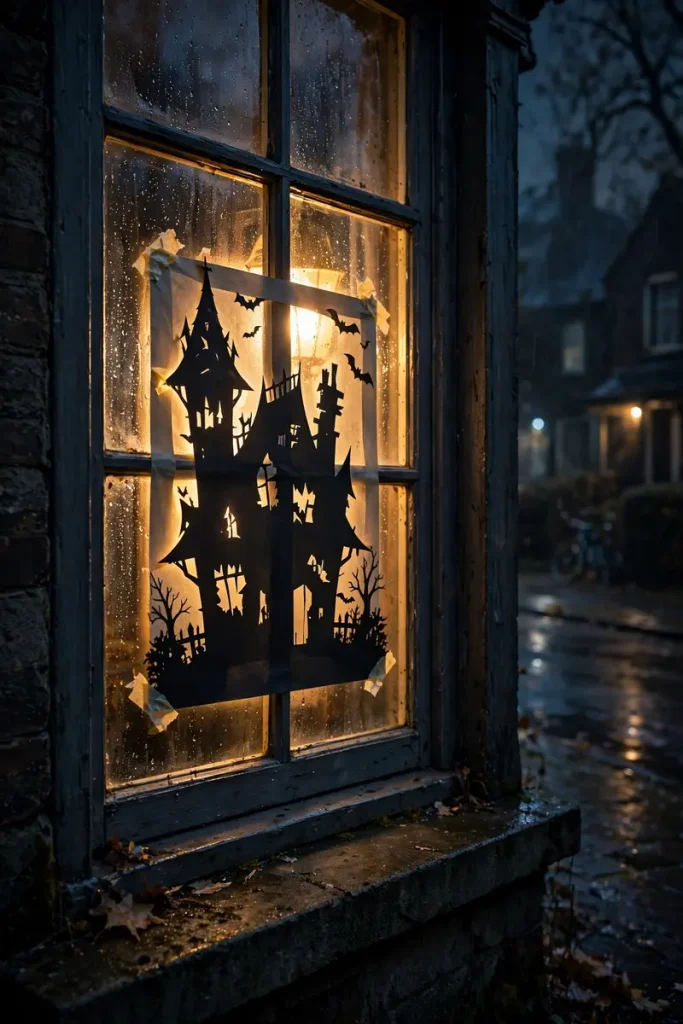
Spook-O-Meter: 5/10. A black haunted house silhouette looks expensive when warm light glows behind it. Store-bought panels run about $15 to $45, while black poster board costs only $3 to $8. Cut crooked towers, tiny windows, and a leaning chimney; perfect lines would honestly ruin the fun.
Tape the silhouette to the inside lower half of the window with low-tack tape, then place an LED lamp several feet behind it. Never let hot bulbs touch paper. For a small apartment window, make one tall tower instead of a wide mansion. Dust the panel gently and store it flat between two cardboard sheets.
7. Spider Web Corners With a Giant Spider
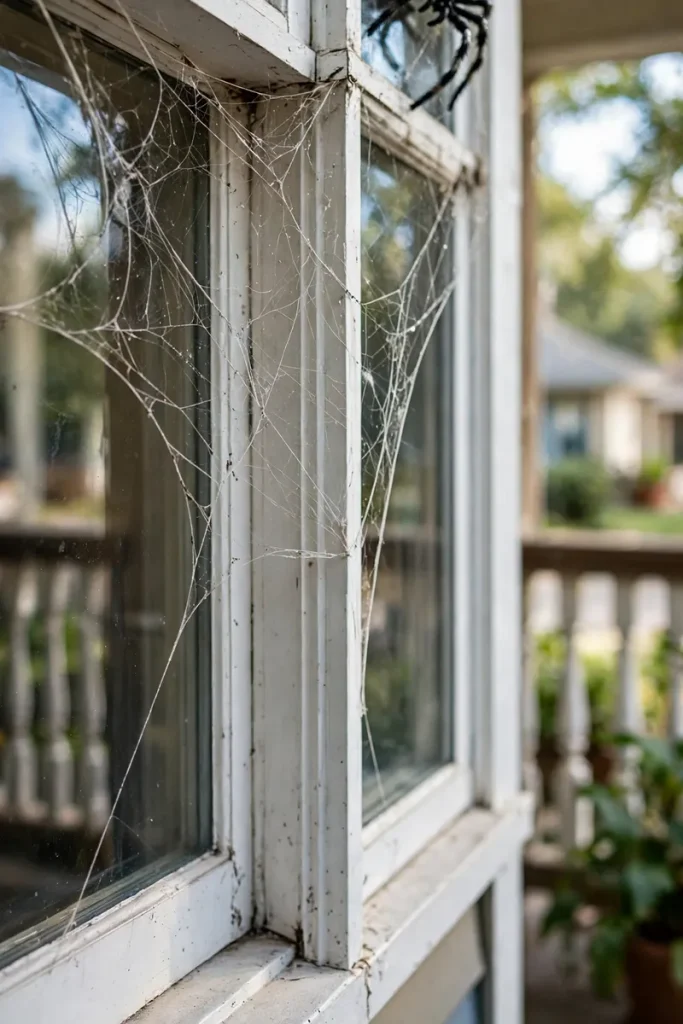
Spook-O-Meter: 6/10. Stretchy web tucked into the window corners makes a dramatic frame, and one oversized spider becomes the star. Budget $10 to $28 for webbing, a spider, and removable hooks. Use less web than you think; thin strands look more real, while thick cotton blobs look like your window caught a cold.
Keep webbing indoors or behind a screened window so birds cannot become tangled. Renters can anchor it to clear hooks on the frame. On a little kitchen window, web just one upper corner and use a palm-size spider. Pull every strand down after the holiday and seal it in a bag before storage.
8. Sugar Skull Window Art
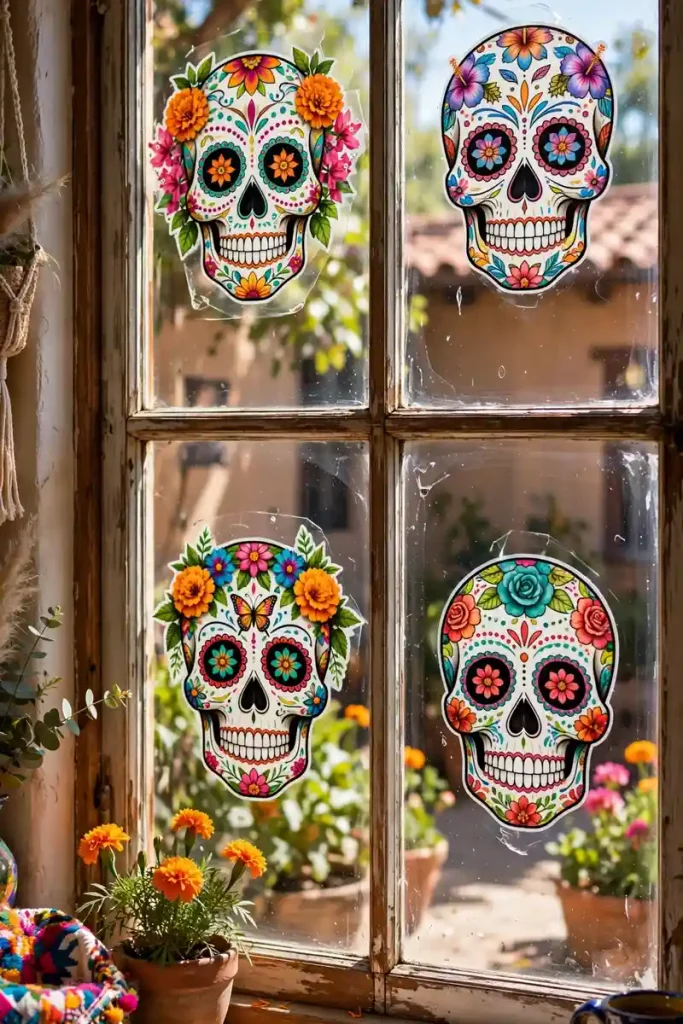
Spook-O-Meter: 4/10. Colorful sugar skull art brings pattern and personality to a Halloween window. Reusable clings or stained-glass-style decals cost around $10 to $30. Choose two or three strong colors that repeat elsewhere in the room, such as purple flowers, orange candles, or turquoise pillows, so the window still feels connected to your decor.
Washable window markers offer a DIY option for about $6 to $15. Draw on the inside of the glass and follow the marker directions. A single centered skull suits a narrow window. Before decorating the whole pane, test cleaning in a hidden corner; then wipe it away with the recommended cleaner and a soft cloth.
Go Big or Go Home (Spook Level 7-8)
9. Vampire Drapes With an Orange Glow
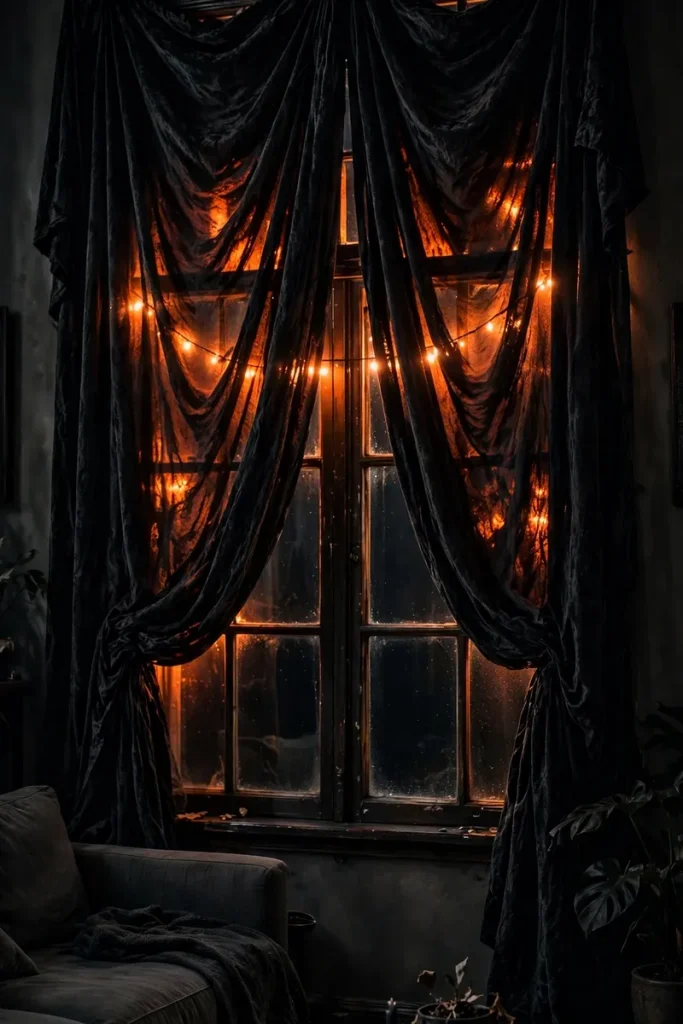
Spook-O-Meter: 7/10. Deep red or black drapes pulled into sharp points can turn a plain window into a vampire’s parlor. Add an orange LED bulb behind them for a fiery glow. Thrifted curtains, tiebacks, and lighting usually cost $20 to $55, depending on what you already own.
Clip lightweight fabric over your existing curtain with removable curtain clips, so there are no new holes. Keep fabric well away from bulbs and use cool LED lighting only. For a studio apartment, dress one side of the window and leave the other open. Shake out dust, wash if needed, and fold the drapes with tissue paper.
10. Bloody Handprint Clings
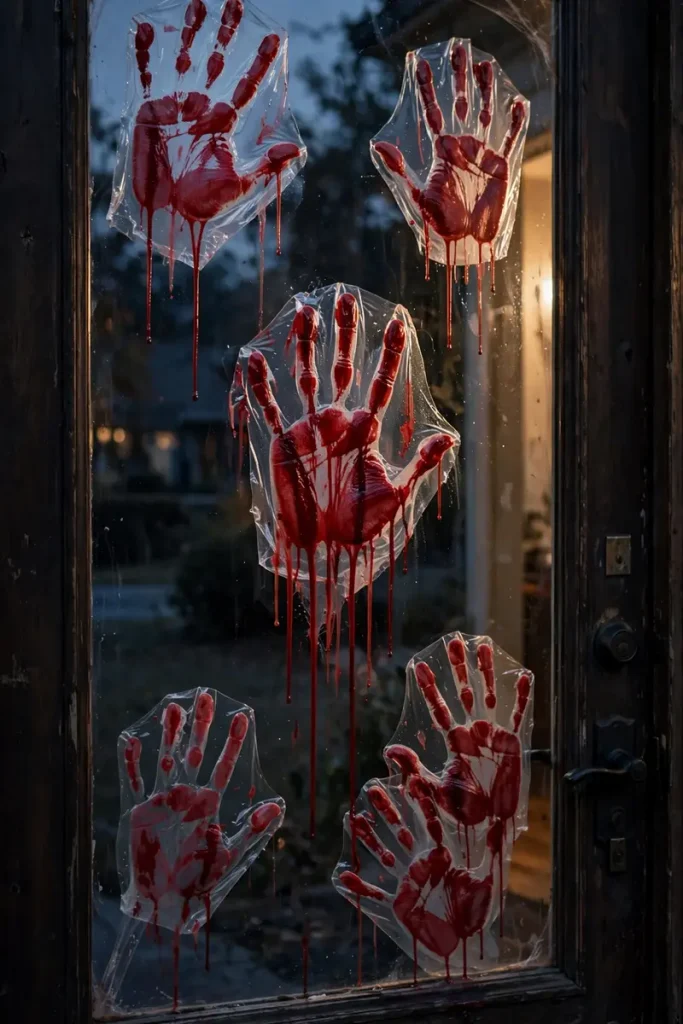
Spook-O-Meter: 8/10. Red handprint clings are simple, cheap, and wonderfully dramatic. A pack costs about $6 to $18. Place the prints low and slightly uneven, as if someone slid down the glass. I once lined them up too perfectly and created what looked like a very alarming kindergarten craft project.
Use commercial static clings rather than red paint, lipstick, or mystery DIY mixtures that may stain seals and painted frames. A renter can remove them in seconds. On a small window, two handprints and one streak are plenty. Clean the glass first, then return the dry clings to their backing for next year.
11. Monster Eyes Peeking Through the Blinds
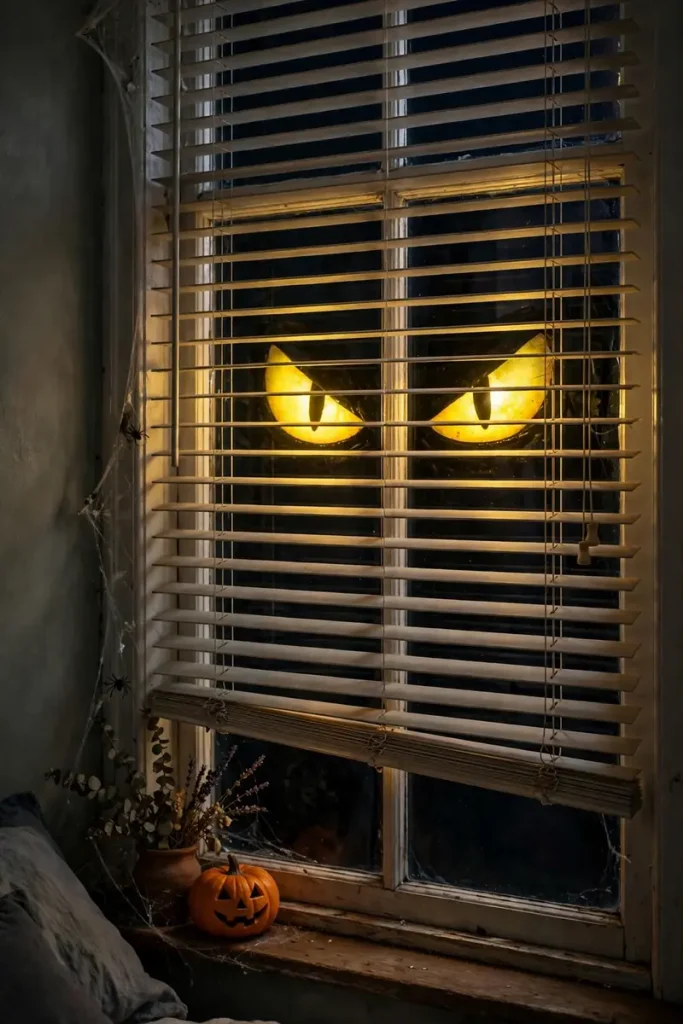
Spook-O-Meter: 7/10. Oversized glowing eyes behind half-closed blinds make it seem as if something enormous lives inside. Foam-board eyes with LED puck lights cost around $15 to $35. Mount the eyes to a lightweight board behind the blinds, not onto the slats, which can bend or crack.
Cut simple eye shapes from white poster board and use battery tea lights for a $7 to $15 DIY. Make sure no light creates heat. If your apartment has one narrow window, use a single cyclops eye for an even funnier scare. Turn the lights off before bed and remove batteries before storing.
12. Zombie Hands Pressed on the Glass
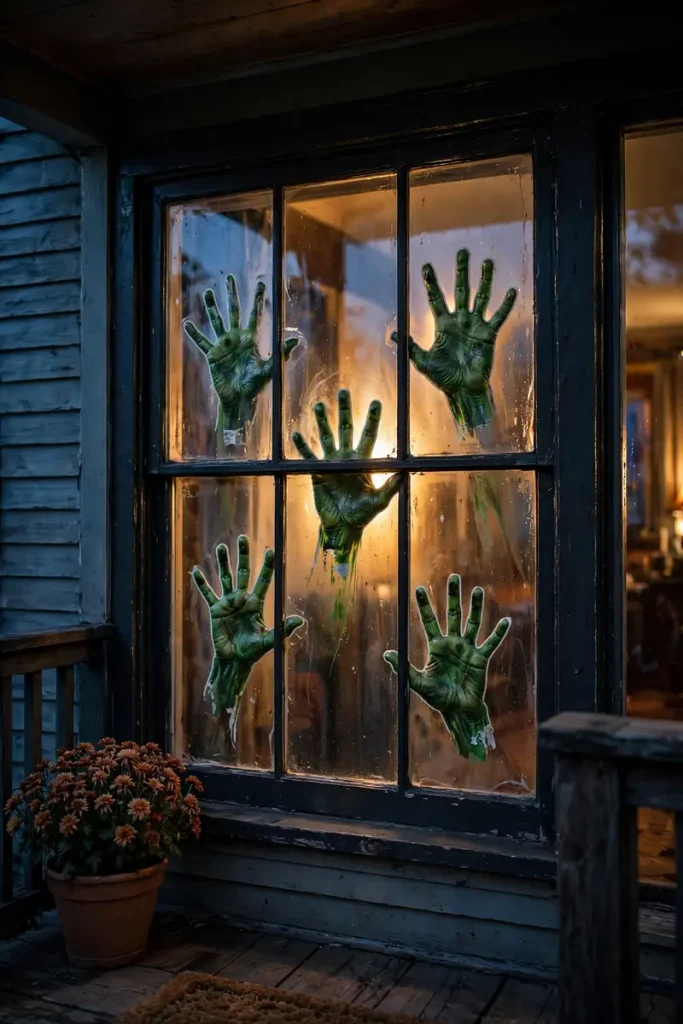
Spook-O-Meter: 8/10. Rubber zombie hands pressed against the inside of a window look surprisingly real after dark. Two prop hands usually cost $18 to $45. Attach them to a lightweight black board positioned just behind the glass, then hide the wrists with torn gray fabric or the edge of a curtain.
Do not glue props directly to the window. Removable suction cups and clear line can also work if the hands are light. For a small rental window, use one hand reaching from the bottom corner. Wipe rubber props with a damp cloth, dry fully, and store them without heavy items on top so the fingers keep their shape.
Full Showstopper (Spook Level 9-10)
13. Flickering Candle Graveyard on the Sill
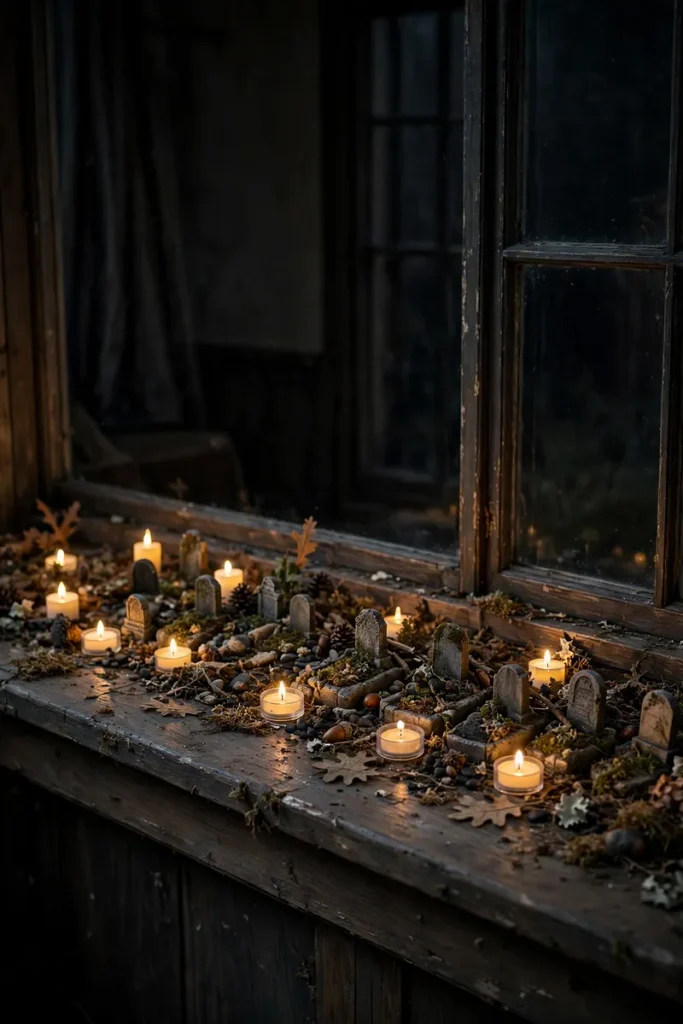
Spook-O-Meter: 9/10. A row of flickering candles behind tiny tombstones makes your sill look like a miniature graveyard. Battery candles and foam markers cost about $20 to $50. Vary the candle heights, overlap a few tombstones, and add a little black cloth beneath them for depth.
Use flameless candles only. Real flames near curtains, paper, or dry decor are never worth the scare. No sill? Place everything on a narrow folding table behind the window. A renter can build foam-board tombstones for a few dollars and reuse them. Dust before packing, remove batteries, and wrap delicate foam edges in tissue.
14. Tabletop Fog Machine Window Effect
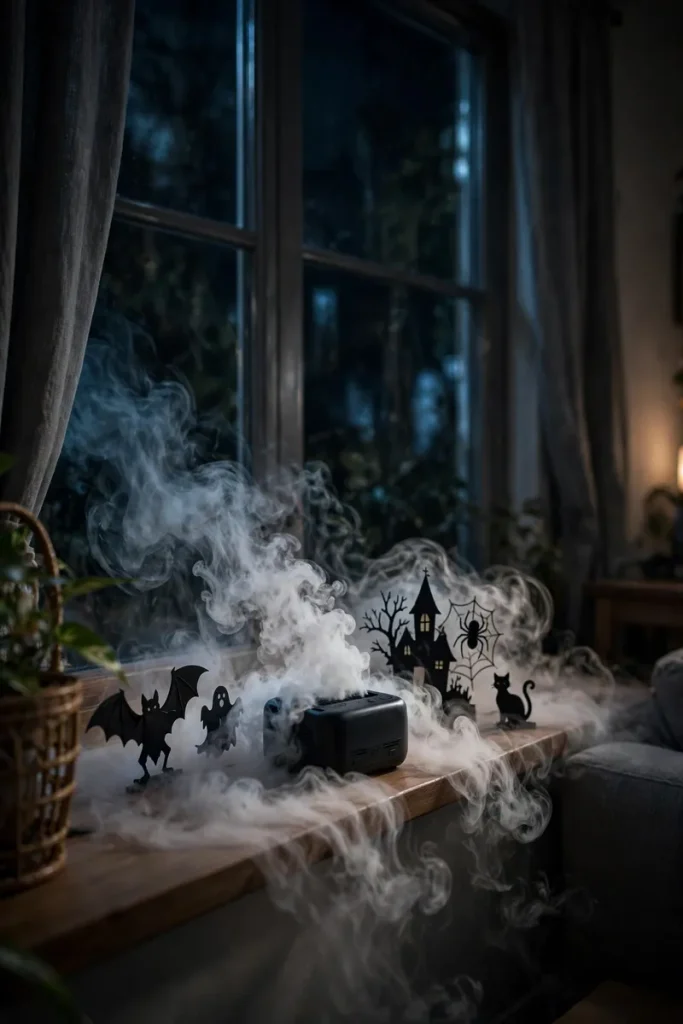
Spook-O-Meter: 10/10. A small fog machine can make your window scene look like a movie set. Compact units often cost $35 to $80, plus about $8 to $15 for fog fluid. Set the machine on a stable waterproof tray several feet from the glass, then aim the fog behind props rather than directly at curtains.
Always follow the product directions, ventilate the room, and check building or smoke-alarm rules first. Fog can bother pets or sensitive guests, so skip it when needed. Apartment version: use wispy sheer fabric with a hidden fan for about $12. Empty and clean the machine as directed before long-term storage.
15. Glowing Pumpkin Faces Seen From the Street
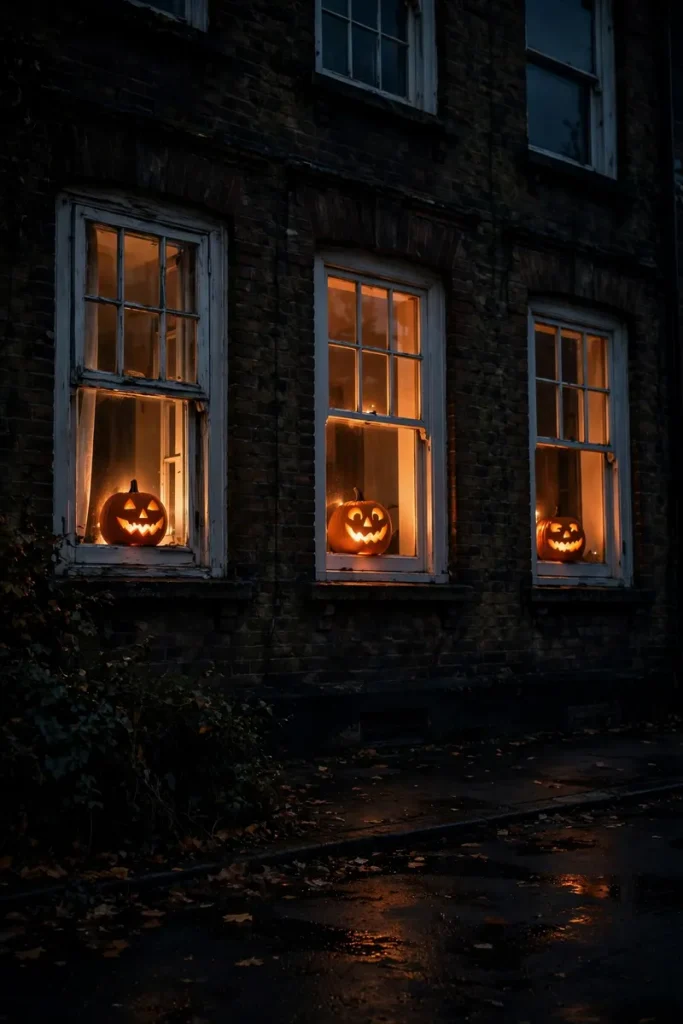
Spook-O-Meter: 9/10. A wall of glowing pumpkin faces is bold, warm, and easy to see from across the street. Lightweight faux pumpkins with LED lights cost about $30 to $90 for a group. Mix smiling, surprised, and grumpy faces, then arrange them at different heights behind the glass.
Real pumpkins can create moisture and stains indoors, so faux ones are cleaner for windowsills. Make a budget version with orange paper lanterns and black paper faces for $15 to $30. In a tiny apartment, stack three on a small shelf. Wipe faux pumpkins dry and nest small pieces carefully for storage.
16. Projected Haunted Mansion Scene
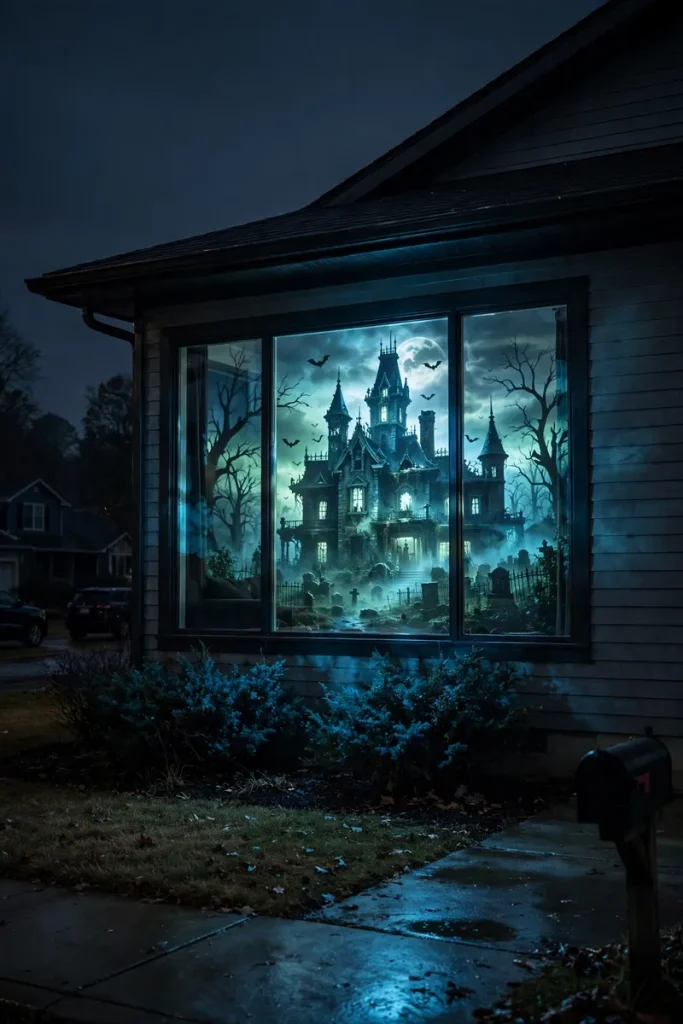
Spook-O-Meter: 10/10. A moving haunted mansion projection is the final boss of Halloween windows. A basic window projector kit costs about $45 to $120. Stretch the included screen or a thin white curtain flat inside the frame, darken the room, and position the projector straight-on for a sharp image.
Keep the projector indoors, give it airflow, and follow quiet hours if the scene includes sound. Renters get maximum drama with no paint or holes; a tension rod can hold the screen. For a small window, crop the scene or move the projector closer according to its guide. Let the unit cool before packing it in a dry box.
Renter Rules: Nothing Permanent
My worst renter-friendly moment happened when I used bargain tape on a painted window frame. The decoration came down. So did a small piece of paint. I spent the next morning matching white paint samples instead of enjoying leftover candy. Since then, I test every adhesive in a hidden spot and wait a full day before hanging anything bigger.
Choose static clings for glass, clear removable hooks for smooth frames, suction cups for very light pieces, and tension rods for curtains or projection screens. Never use nails, staples, permanent vinyl, hot glue, or strong tape unless your lease and surface instructions clearly allow it. Weight limits matter, too. A hook rated for half a pound should not be asked to hold a giant spider with ambitions.
Keep decorations inside whenever possible. They last longer, stay dry, and are less likely to blow away. Avoid blocking window locks, exits, handles, or fire escapes. If a window must open for safety, decorate only the fixed section or place the display on a separate table nearby. In an apartment building, check rules about flashing lights, sound, fog, and displays visible from shared halls.
Before you start, clean the glass with a product suited to your window and let it dry. After Halloween, peel slowly instead of yanking. Wash clings, dust props, remove batteries, and label clear storage bags by window. Next year, you will feel wonderfully organized for at least seven minutes.
For a polished home decor look, choose one main color story and repeat it. Black, orange, and warm white feel classic. Purple, green, and black look playful. Red, black, and amber turn the room into a dramatic vampire lounge. You do not need to use every idea at once; one strong scene is better than sixteen decorations fighting for the same piece of glass.
Your Window Is Ready for Its Close-Up
The best Halloween window is not always the biggest or most expensive. It is the one that makes people pause, smile, and look twice. Start with your window size, pick a comfortable Spook-O-Meter level, and build outward from one main feature.
I still compete with my neighbor, of course. Last year, her ghosts won over the toddlers, but my monster eyes made three teenagers jump. I am calling that a tie. Whether you spend $8 on paper bats or go all-in on a haunted projection, keep it safe, removable, and fun. Then turn on the lights, step outside, and enjoy the show your window is putting on.