18 Straight Hairstyles for Women, Sorted by How Much Time You Actually Have
I’ve been behind a styling chair for eleven years, and if there’s one lie the beauty industry keeps telling women, it’s that a “good hair day” requires forty-five minutes you don’t have. Most of my clients aren’t asking me for the most elaborate straight style I know. They’re asking, “What can I actually do with the time I have before I have to leave the house?”
So that’s how I’m organizing this list. Not by occasion, not by hair length, but by the one variable that actually determines what you’ll do on a real Tuesday morning: your clock. Eighteen straight hairstyles, sorted into four time blocks, from the five-minute styles that save a bad hair day to the styles worth setting an alarm early for. And because I get asked this in the chair more than almost anything else, I’ve added something I’ve never seen packaged this way in a hair post: a texture-to-technique guide, so you know which of these styles will actually behave on your specific hair, not just on the model in the photo.
First, a Quick Truth About “Straight”
Before we start, one thing I tell every client: straight doesn’t mean flat, and it doesn’t mean one texture fits one method. Fine hair needs less heat and more root lift. Thick hair needs more sections and more patience. Wavy-to-straight hair needs a different flat iron pass than naturally curly-to-straight hair. Keep your own hair type in mind as we go, because I’ll flag adjustments where they matter.
Under 5 Minutes: The Styles That Save You
These are for the mornings where the alarm didn’t go off, or you just don’t want to think about your hair today. All of them work on hair that’s already straight from a previous blowout or wash, or on naturally straight hair that just needs shaping.
1. The Low Sleek Ponytail.

Brush straight back, secure low at the nape, smooth with a drop of serum on your palms. This is the fastest style that still looks finished, and it works on every hair length past the collarbone.
2. The Center-Part Down.
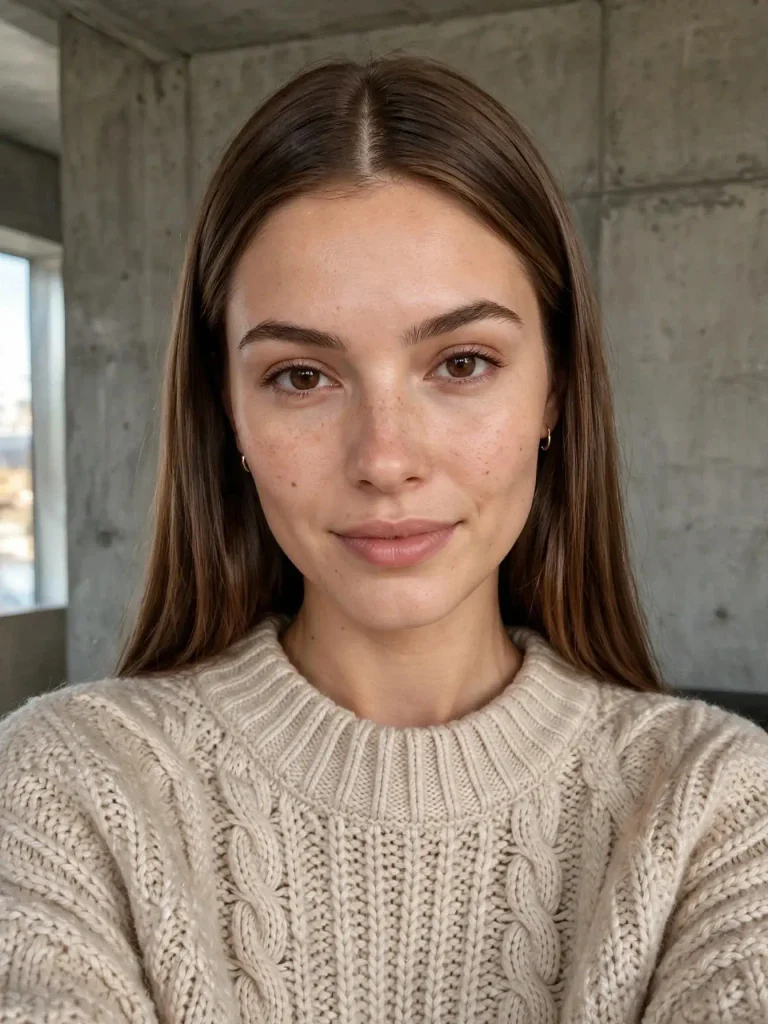
Just a clean center part, brushed through, no additional styling. Straight hair with a sharp, deliberate part looks intentional even when you did nothing else — the part is doing all the work.
3. The Half-Up Twist.
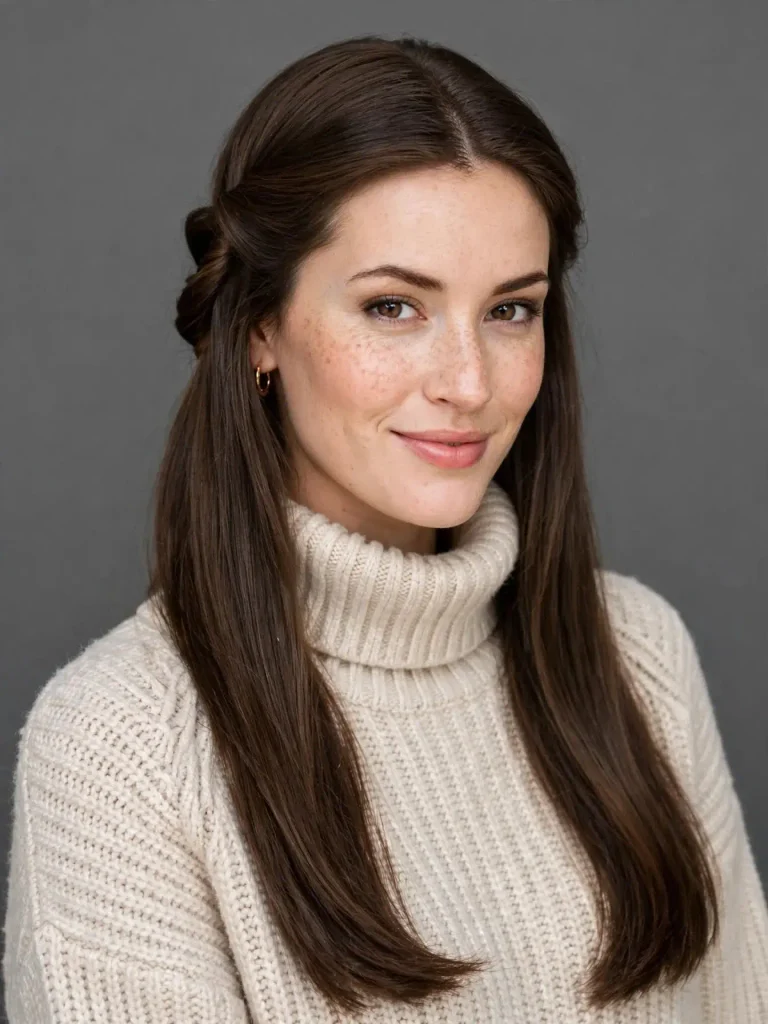
Take the top section, twist it once, and pin. Leave the rest down and straight. It takes hair out of your face in under a minute and reads far more finished than “I just pinned this back.”
4. The Low Bun, Undone on Purpose.

Gather hair into a low bun, but don’t smooth every strand — let a few pieces fall loose around your face. This is the style I recommend when a perfectly sleek bun would take longer than you have, because “intentionally undone” forgives flyaways a sleek version never would.
5. The Ear Tuck.

Straight hair down, both sides tucked behind the ears, nothing else. It’s almost embarrassingly simple, and it’s also the style my clients text me photos of most often, because sometimes the best hairstyle is just getting hair out of your eyes.
10 to 15 Minutes: The Styles Worth a Coffee Break
This is the block most people live in on a weekday — enough time for a little heat or a little structure, not enough for anything elaborate.
6. The Straight Blowout Refresh.
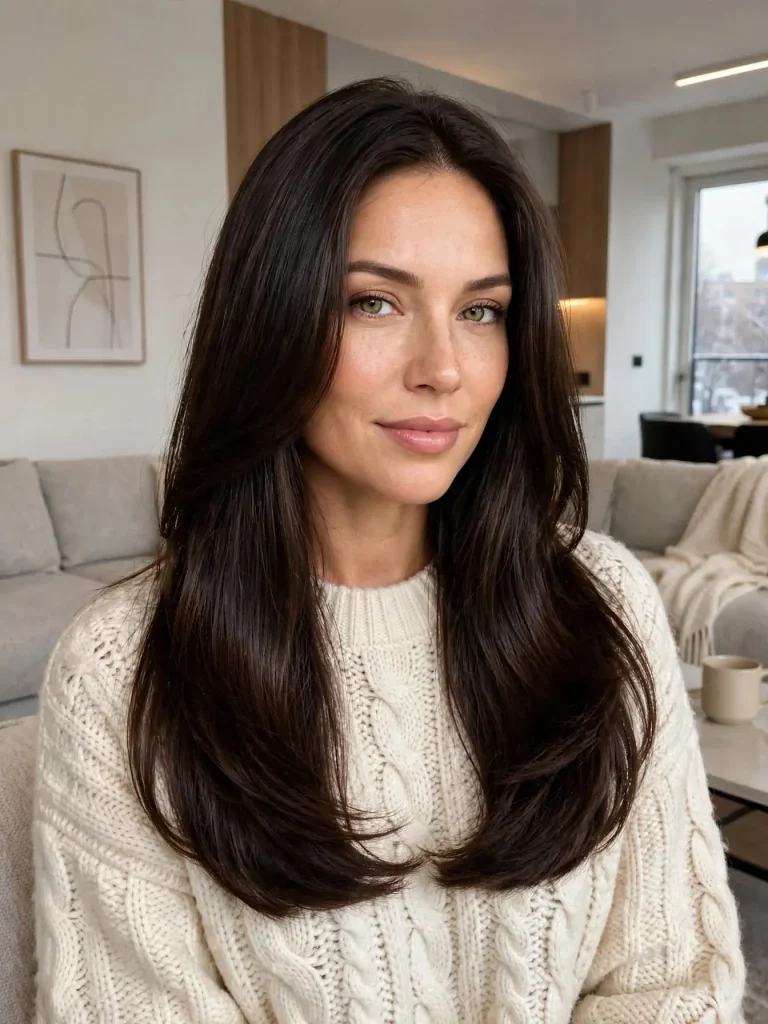
If you already have a blowout from a day or two ago, a flat iron pass on just the front pieces and a spritz of dry shampoo at the root brings the whole style back to life. This is a trick, not a full style, and it’s the one that saves the most time across a week.
7. The Sleek High Ponytail.
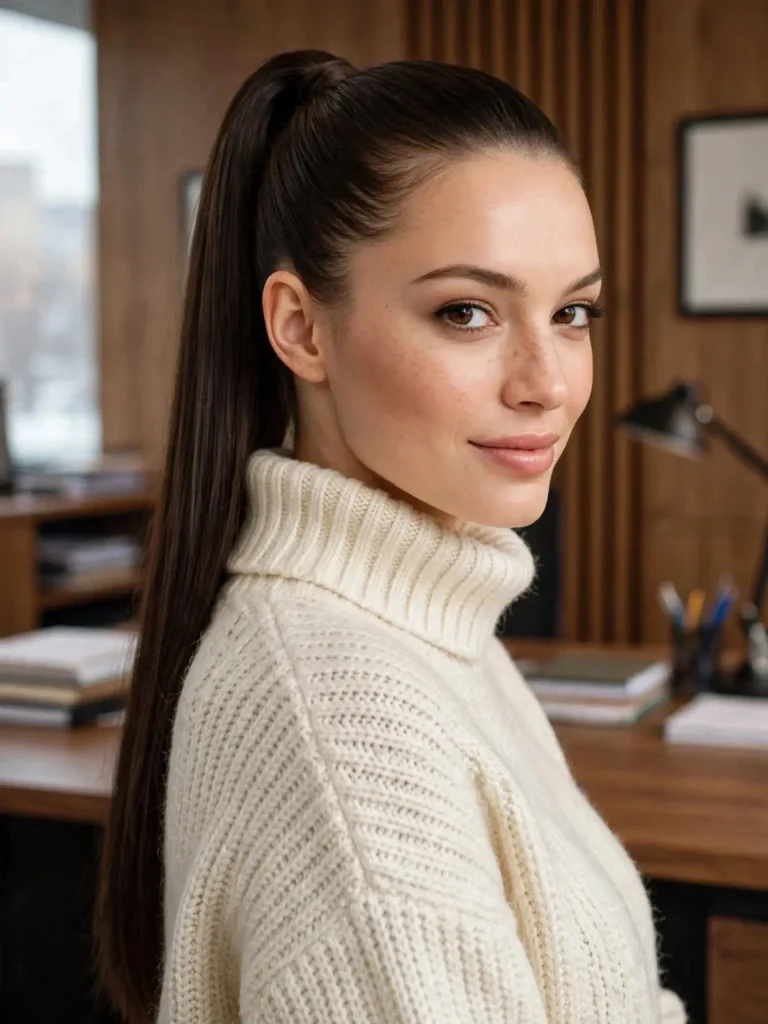
Flip your head forward, brush hair up and through your hands into a high point, secure, then smooth the crown with a fine-tooth comb and a touch of gel. The high ponytail reads dressier than the low one purely because of placement — same effort, different impression.
8. The Side-Swept Straight.
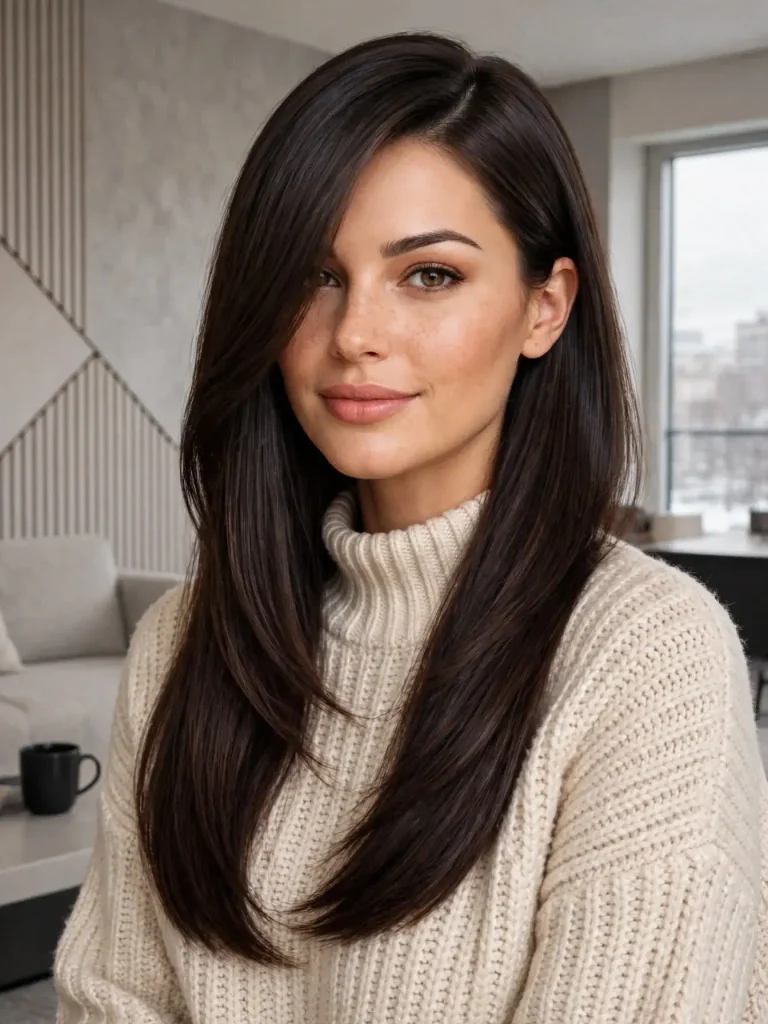
A deep side part with all the hair swept to one shoulder, held with one small pin behind the ear on the heavier side. This softens a face shape that a center part can sometimes make look severe.
9. The Straight Lob Tuck.

For anyone with a lob (a longer bob), tuck one side behind the ear while leaving the other side down. It’s an asymmetry that takes zero technical skill and photographs beautifully from either angle.
10. The Slick-Back with Face-Framing Pieces.
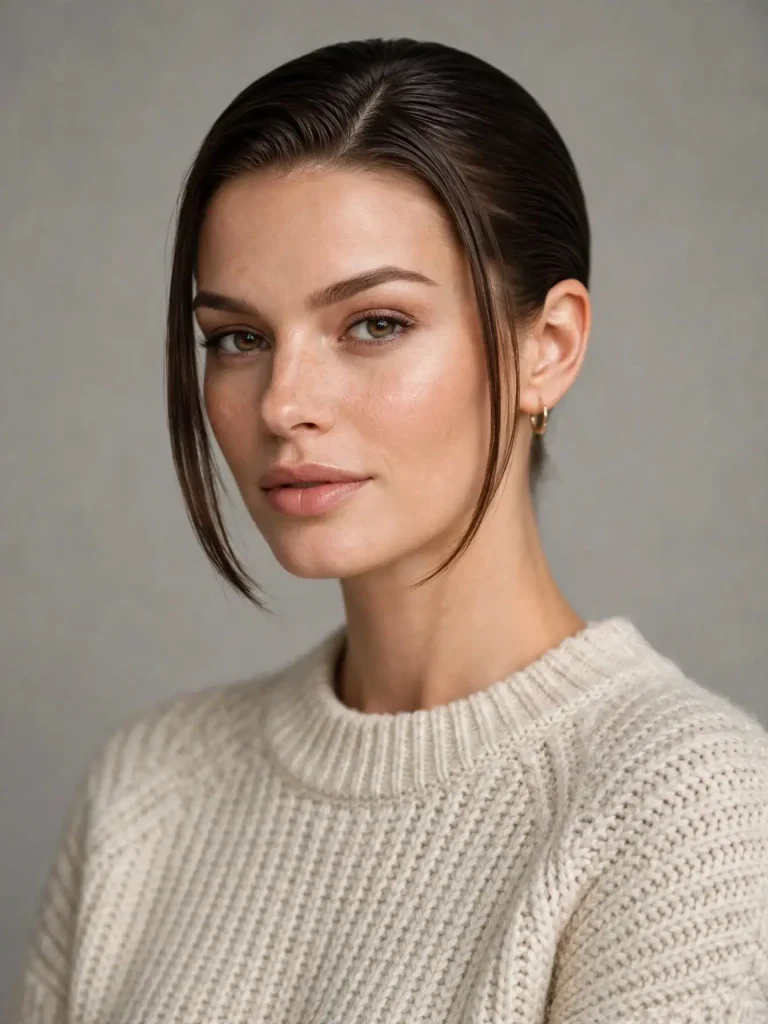
Pull most of the hair back sleek and low, but pull out two thin pieces at the front to frame the face, straightened separately. This is the style I use most on clients before a video call — it looks considered without needing a full styling session.
20 to 30 Minutes: The Full Straight Styles
Now we’re into actual flat-iron territory. These are worth a proper section-by-section approach, and I’ll tell you exactly how I break down the sections in my chair.
11. The Glass Hair Blowout.
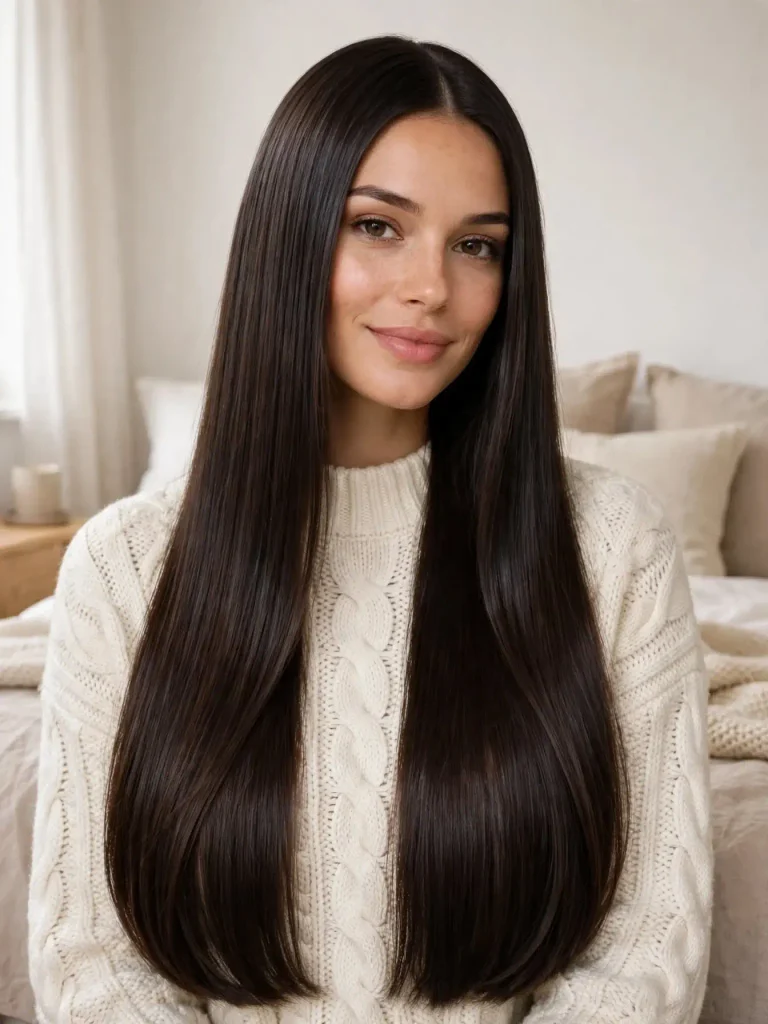
Full sections, ironed slow and smooth with a flat iron set to your hair’s specific heat tolerance (more on that below), finished with a shine serum. This is the style people mean when they say “glass hair” — it’s less about the tool and more about ironing slowly enough that each section gets a single, clean pass instead of three rushed ones.
12. The Straight with Curled Ends.
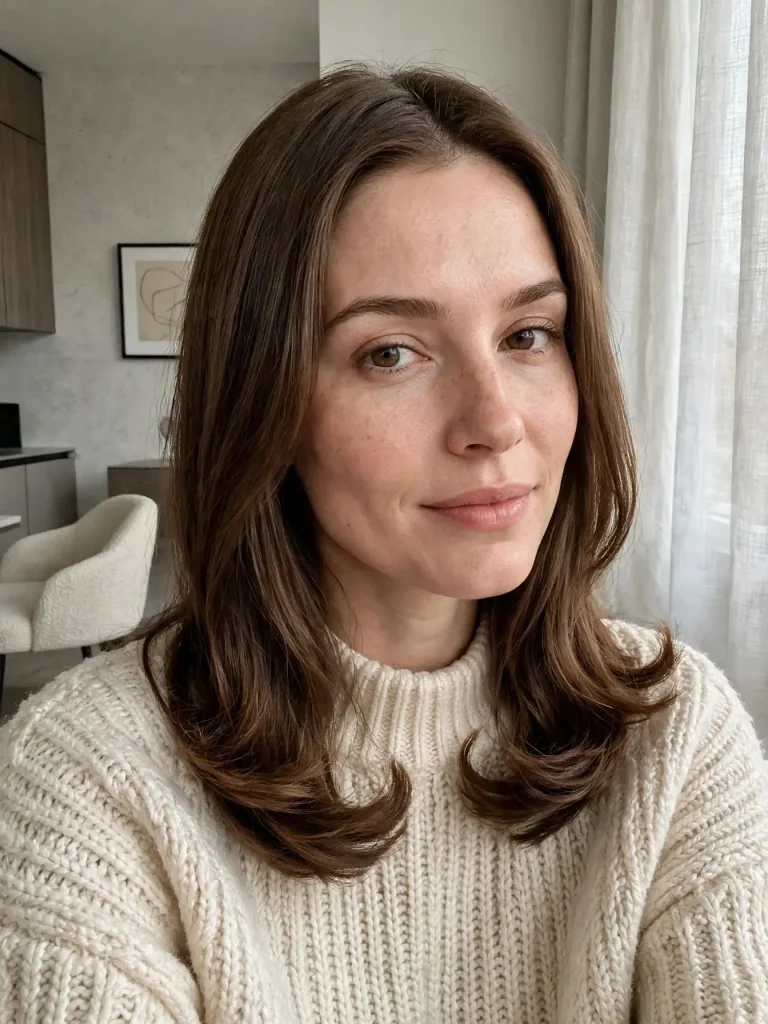
Iron the mid-lengths completely straight, then flick the very ends out or under with the flat iron in the last two inches. This tiny detail changes a plain straight style into something with movement, and it’s a technique, not extra time.
13. The Middle-Part Curtain Bangs, Straightened.

For anyone with curtain bangs, straighten them separately, curving them slightly away from the face rather than pin-straight down. Pin-straight curtain bangs can look flat against the forehead; a slight curve keeps the “curtain” shape doing its job.
14. The Face-Framing Layers, Emphasized.
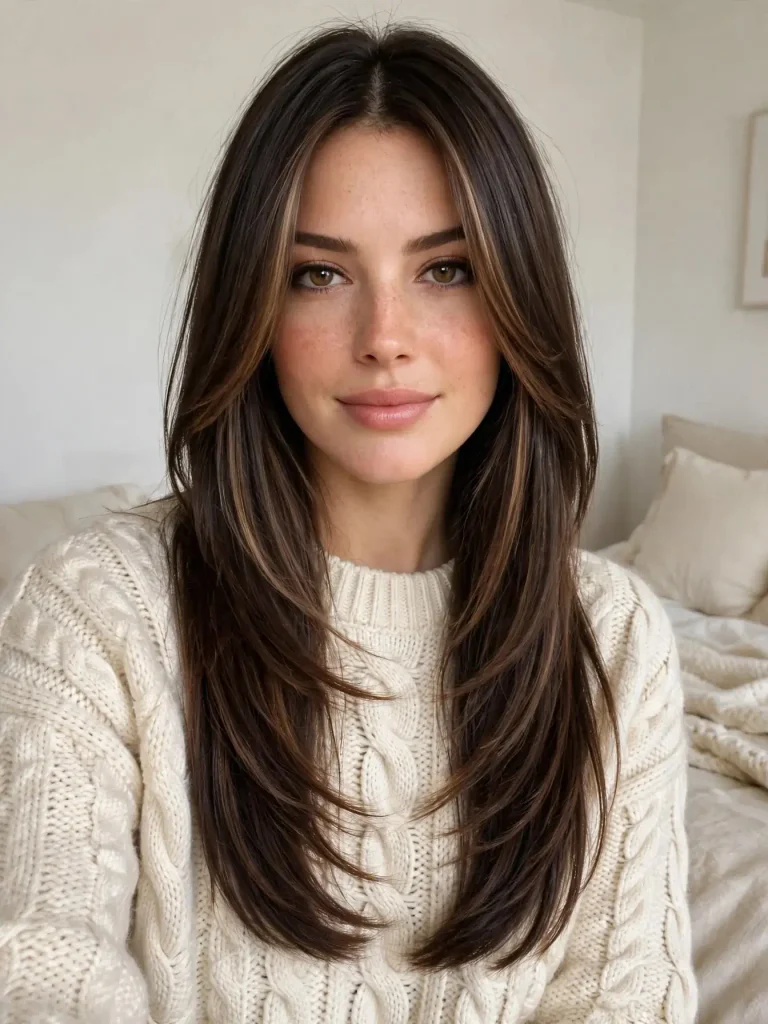
If your cut has face-framing layers, straighten those pieces first and separately, curving the very ends inward toward your jaw. This is the single technique that makes a layered straight style look styled instead of just “flat ironed.”
15. The Low, Deep Side Part with Volume at the Root.
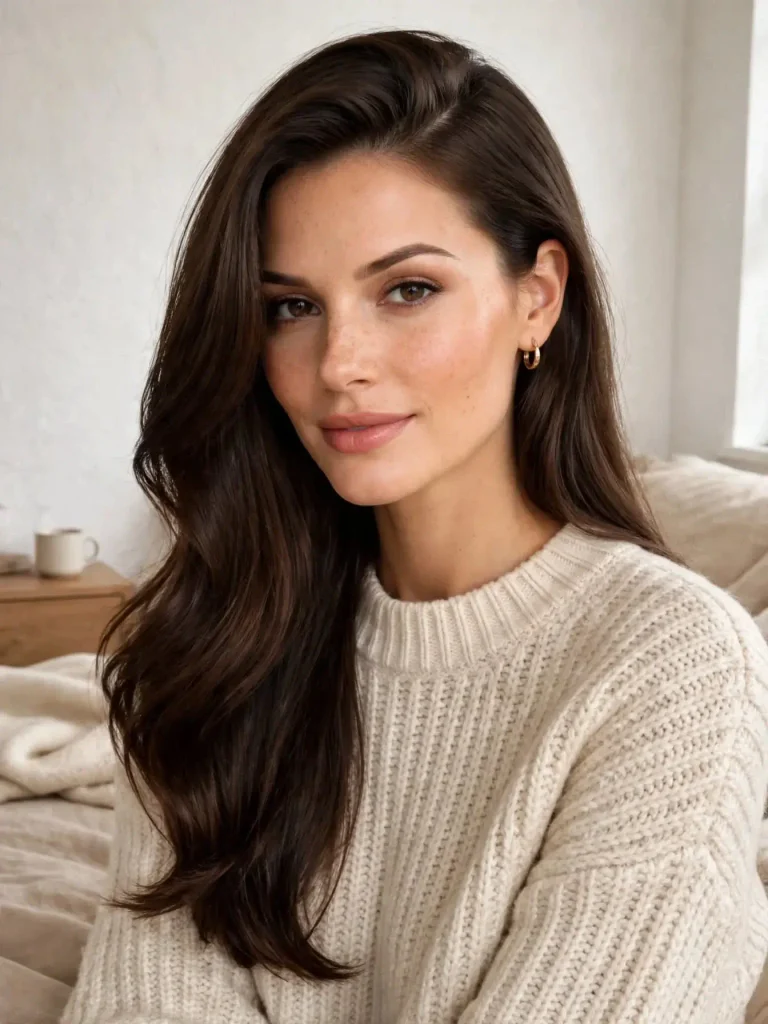
Blow-dry the roots with a round brush for lift before straightening the lengths. Straight hair with flat roots can look limp regardless of how smooth the ends are — the root lift is what gives the whole style structure.
30+ Minutes: The Styles Worth Setting an Alarm For
These are the ones I do for clients before events, or that I do on myself on a Sunday when I actually want to enjoy the process instead of racing it.
16. The Full Sleek Low Bun with Wrapped Section.
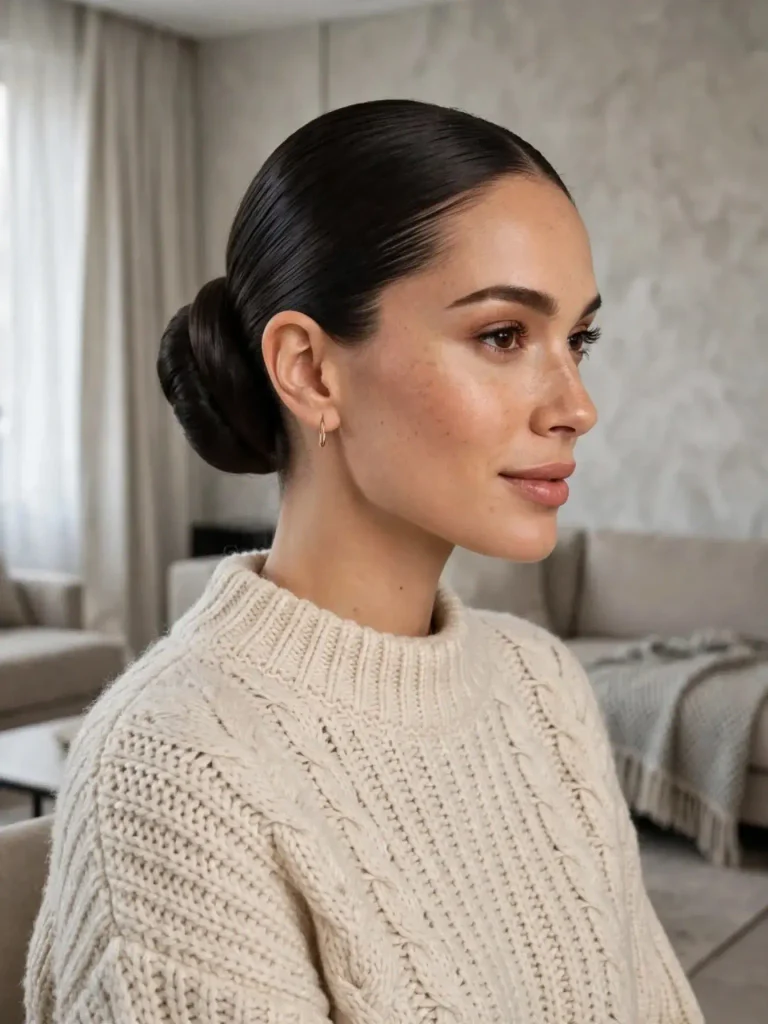
Straighten the entire head first, gather into a low bun, then wrap one clean section around the base to hide the elastic entirely. This is the polished, red-carpet version of style number 4, and the difference between them is entirely in the prep.
17. The Straight High Ponytail with a Wrapped Base and Face-Framing Pieces.

Everything from style 7, but with a fully straightened head first, a wrapped section hiding the elastic, and two curved face-framing pieces left out. This is the style I book the most before weddings and formal events, because it photographs from every angle without a single stray flyaway.
18. The Editorial Straight-Down with Deep Side Part and Extreme Shine.
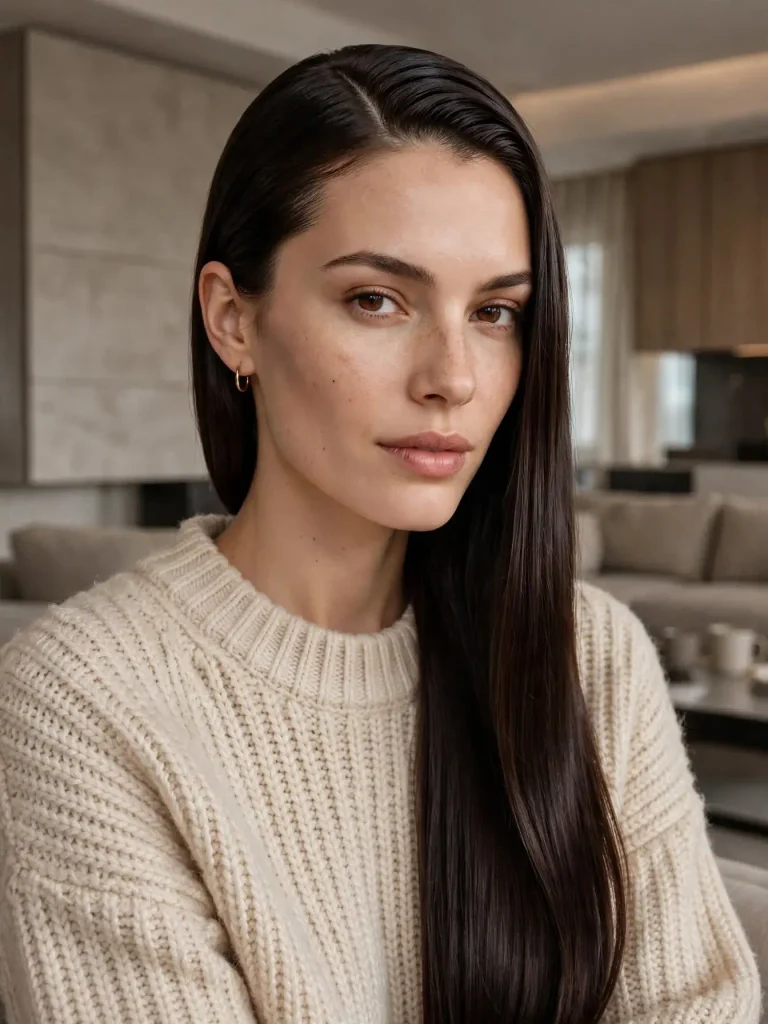
Full head straightened in small, patient sections (thinner sections than any other style on this list), finished with a glossing serum and, if you have one, a final pass under cool air from the blow dryer to seal the cuticle. This is the style that takes the longest and shows it — genuinely mirror-like shine, the kind you see in hair commercials, and it’s earned through sectioning patience more than any product.
Something New: The Texture-to-Technique Guide
This is the part I wish existed before I became a stylist myself, because most hair guides assume one universal hair type. Here’s what actually changes based on yours.
| Your Natural Texture | Heat Setting | Section Size | Extra Step |
|---|---|---|---|
| Fine, straight-ish already | 250–300°F (120–150°C) | Larger sections | Skip heat protectant on ends, they’re fragile from over-processing |
| Fine, wavy | 300–330°F (150–165°C) | Medium sections | Root lift with a round brush before ironing |
| Medium, wavy | 330–370°F (165–185°C) | Medium sections | One full pass, then a second pass only on stubborn pieces near the ears |
| Thick, wavy | 370–400°F (185–205°C) | Small sections | Blow-dry roughly straight first, then flat iron — ironing wet-to-curly thick hair takes twice the passes and twice the damage |
| Coily or tightly curled | 400–410°F (205–210°C), max once per week | Very small sections | A proper thermal protectant is non-negotiable, and a pre-straightening cream or lotion, not just spray, holds the style longer |
The rule underneath this table: the coarser and curlier your natural texture, the smaller your sections need to be and the more prep work happens before the iron ever touches your hair. Skipping the round-brush blowout step on wavy or curly hair and going straight to the flat iron is the single most common mistake I see — it just means more passes, more heat, and more damage to get the same result.
The Overnight Prep That Saves You Ten Minutes Tomorrow
Here’s a habit I picked up from doing hair backstage at shows, where nobody has time in the morning. The night before, apply a small amount of leave-in cream to damp hair and loosely braid it into two or three sections, then sleep on it. In the morning, you’re not starting from a fully wild texture — you’re starting from soft, loosely-set waves that need far fewer flat iron passes to go fully straight. It won’t replace a full style, but it cuts almost any technique on this list down by several minutes.
The Damage Check I Do on My Own Hair Every Sunday
I run my fingers down a few random strands, checking for rough patches or spots where the hair catches instead of gliding smoothly — that’s the early sign of heat damage before it shows up visually. If I notice it, that’s my cue to skip heat entirely for a few days and let the overnight braid method above do the work instead. Straight styling is sustainable long-term only if you’re honestly checking in with your hair’s condition instead of just chasing the result every single day.
Mistakes I Correct in the Chair Constantly
Using the same heat setting on every hair type that walks through my door — one universal temperature is the fastest way to either underperform on thick hair or fry fine hair.
Rushing the sections on longer or thicker hair, which forces multiple passes over the same piece and does more damage than one slow, patient pass ever would.
Skipping root volume entirely and wondering why a perfectly straight style still looks flat and lifeless by midday — the roots need their own moment before the lengths get any heat at all.
Forgetting that “straight” still needs a finishing step. A dry, straightened strand without a drop of serum or a cool-air seal at the end just doesn’t hold the same shine or last nearly as long.
One Last Thing
Straight hair isn’t one style. It’s a whole spectrum from a two-minute ponytail to a thirty-minute editorial blowout, and the real skill isn’t knowing every technique — it’s knowing which one actually matches the morning you’re having.
Next time you’re getting ready, be honest about your clock before you touch a single tool. Let the time you actually have choose the style, not the other way around.
Which time block do you live in most mornings — the five-minute rescue, or the full thirty-minute glass-hair session? Save this one, and try the overnight braid trick tonight before your next straightening session.