15 Orange and Black Halloween Nails, Sorted by How Much of Each Color You Want
Every October, someone asks me why orange and black look so good together. The honest answer is that they are opposites in mood. Orange is loud, warm, and playful. Black is quiet, sharp, and a little mysterious. When they meet on a nail, one keeps the other honest.
The trouble is the balance. Too much orange and you look like a traffic cone. Too much black and the orange feels like an afterthought. I spent years getting this wrong, then figured out that the fix is not a better design. It is a better ratio.
So this post works like a dial. Turn it left and the nails are mostly orange with a hint of black. Turn it right and they are mostly black with a spark of orange. Find your setting, pick a design from that section, and you will know the balance is right before you pick up a brush.
The Ratio Dial at a Glance
There are five settings, with three designs each.
Setting 1, Mostly Orange (90/10): Bright and cheerful, the friendliest end of Halloween.
Setting 2, Orange Leaning (70/30): Warm, with black used for definition.
Setting 3, Even Split (50/50): Bold and graphic, the classic Halloween look.
Setting 4, Black Leaning (30/70): Moody, with orange as the accent.
Setting 5, Mostly Black (10/90): Sleek and dramatic, with a tiny flash of color.
Setting 1: Mostly Orange (90/10)
1. Pumpkin Cream with a Tiny Bat.
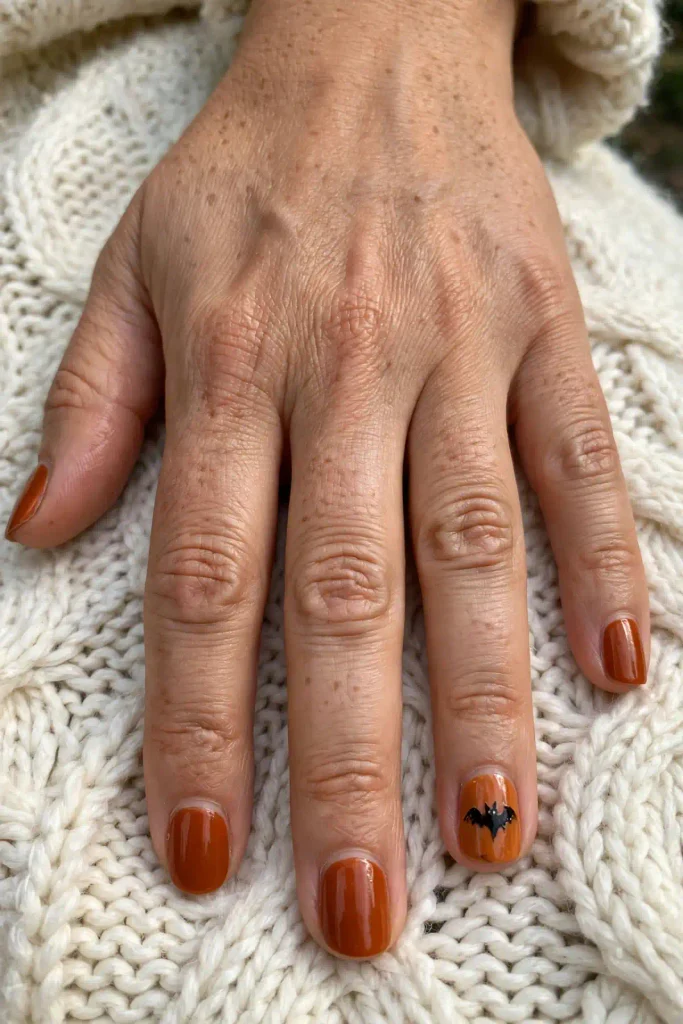
Paint every nail in a glossy burnt orange, then use a toothpick to pull one small black bat across the ring finger. Keep the bat small and slightly wonky. It is the easiest way to look festive without committing to a big design, and it works with a cream sweater or a denim jacket.
2. Orange Ombré with Black Tips.
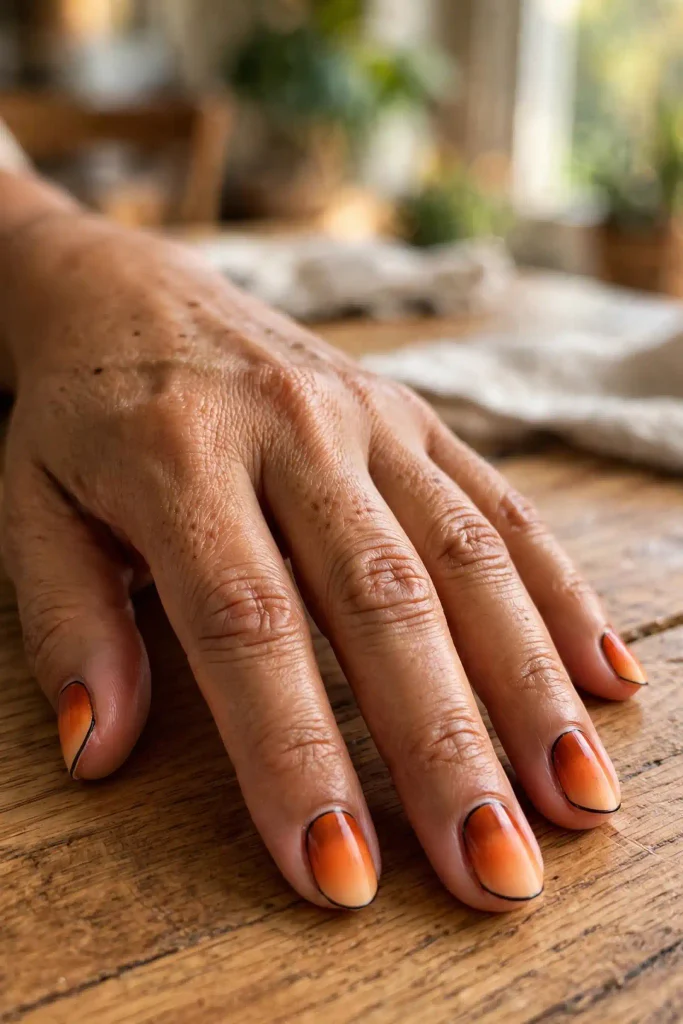
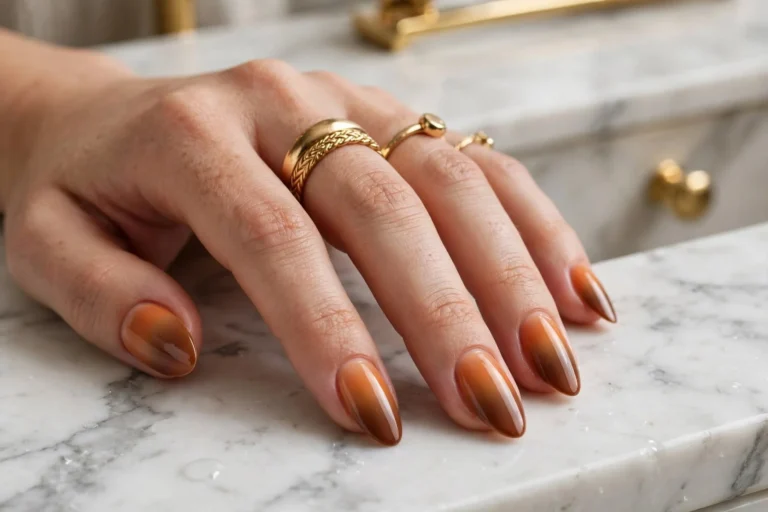
Sponge two shades of orange together, deeper at the cuticle and lighter at the tip, then add a very thin black line along the free edge. It looks like a sunset with a shadow. Dab the sponge instead of dragging so the blend stays smooth.
3. Jack-o’-Lantern Accent.
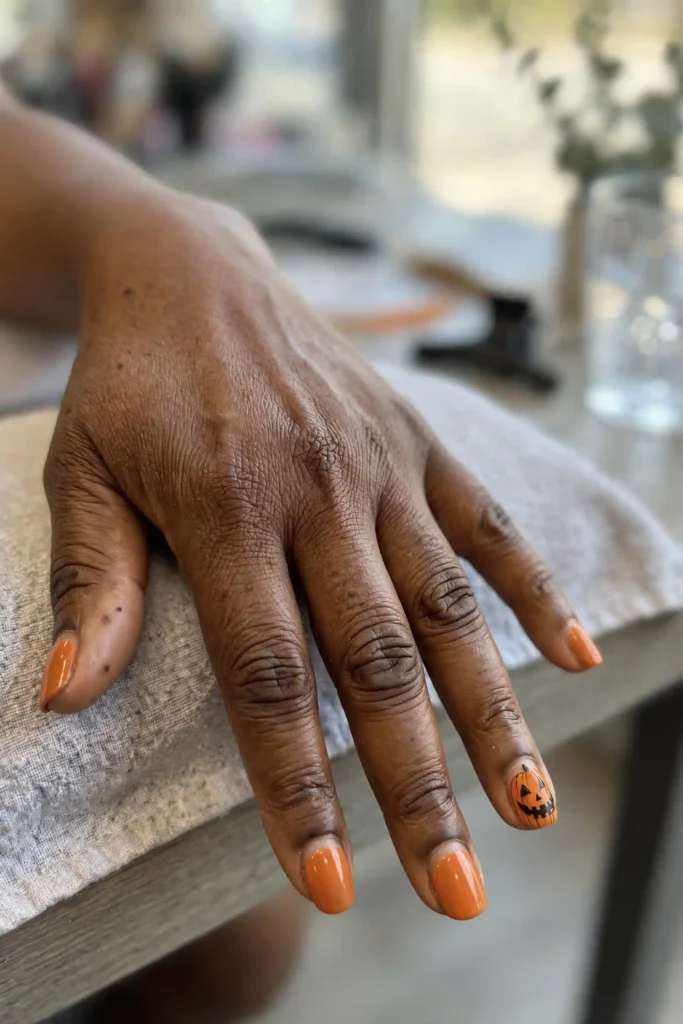
Every nail is orange, and one nail gets a tiny carved face: two triangle eyes and a curved mouth in black. One face is charming. Ten faces look like a costume shop. Choose the ring finger and leave the rest plain.
Setting 2: Orange Leaning (70/30)
4. Orange with Black Half-Moons.
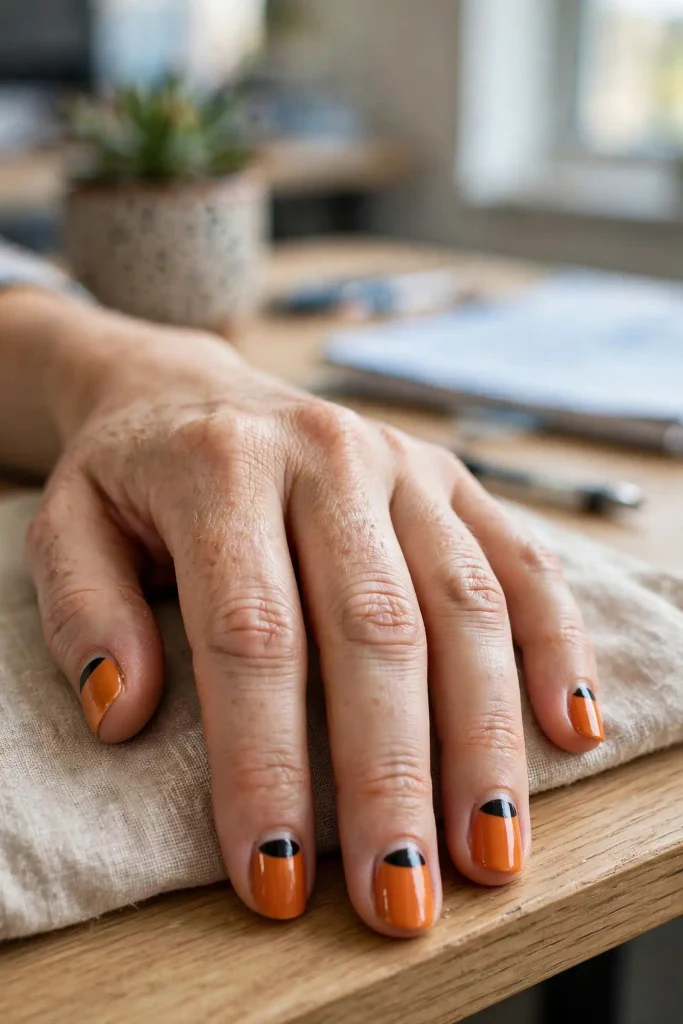
Paint the nails orange, then add a thin black crescent at each cuticle. Round reinforcement stickers make the curve clean. It looks polished, and it is subtle enough for a Halloween week at the office.
5. Candy Corn with a Black Twist.
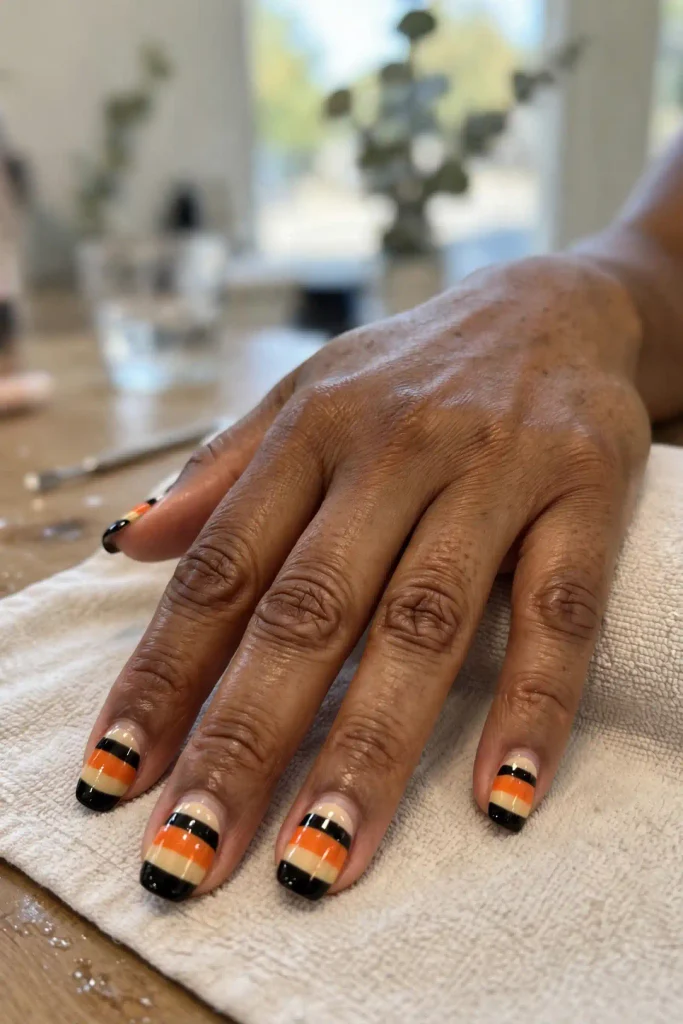
The usual candy corn bands are yellow, orange, and cream. Replace the yellow with black, and the tip reads as a modern take on the classic. Use thin tape for each band and peel it while the polish is still slightly wet.
6. Orange Polka Dots on Black Tips.
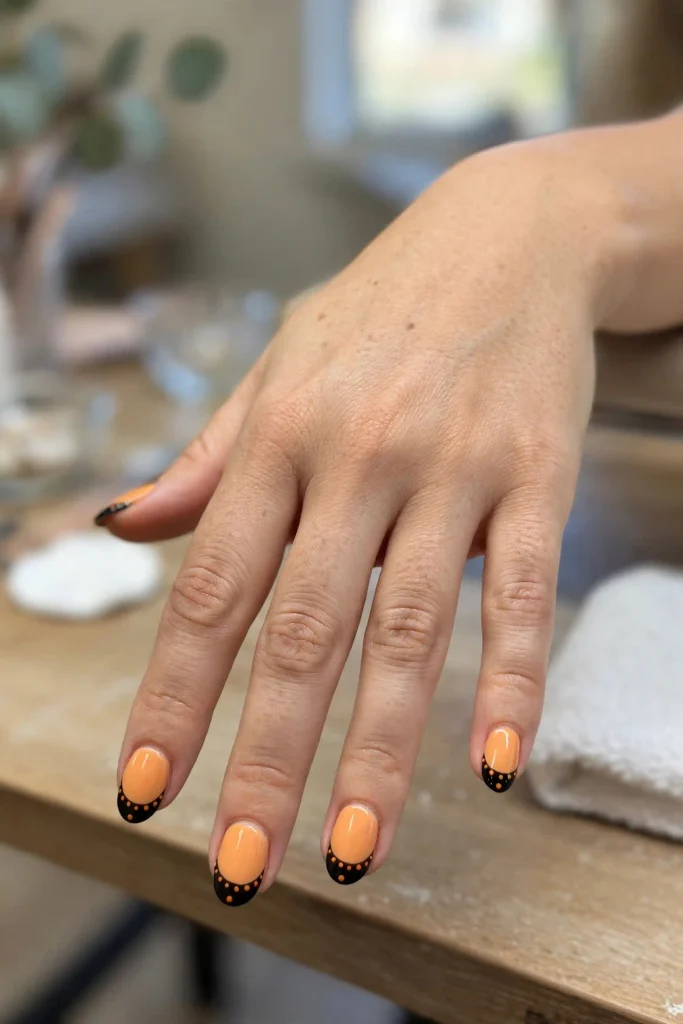
A creamy orange base with black tips, and tiny orange dots pressed into the black using a bobby pin. It is playful, forgiving, and hides small mistakes well, since uneven dots look natural.
Setting 3: Even Split (50/50)
7. Alternating Nails.
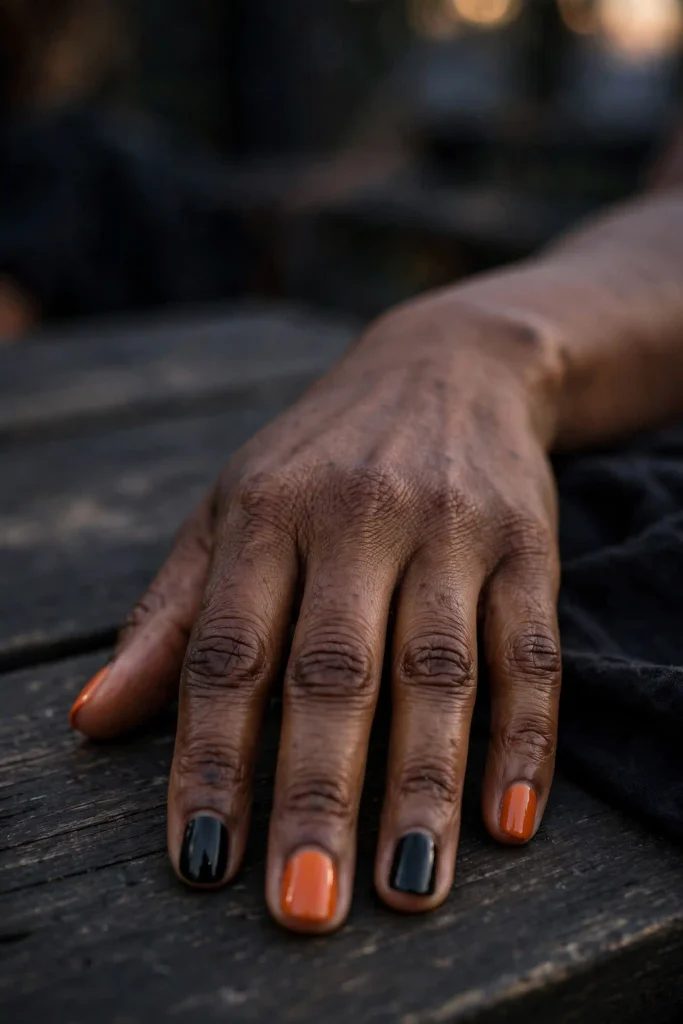
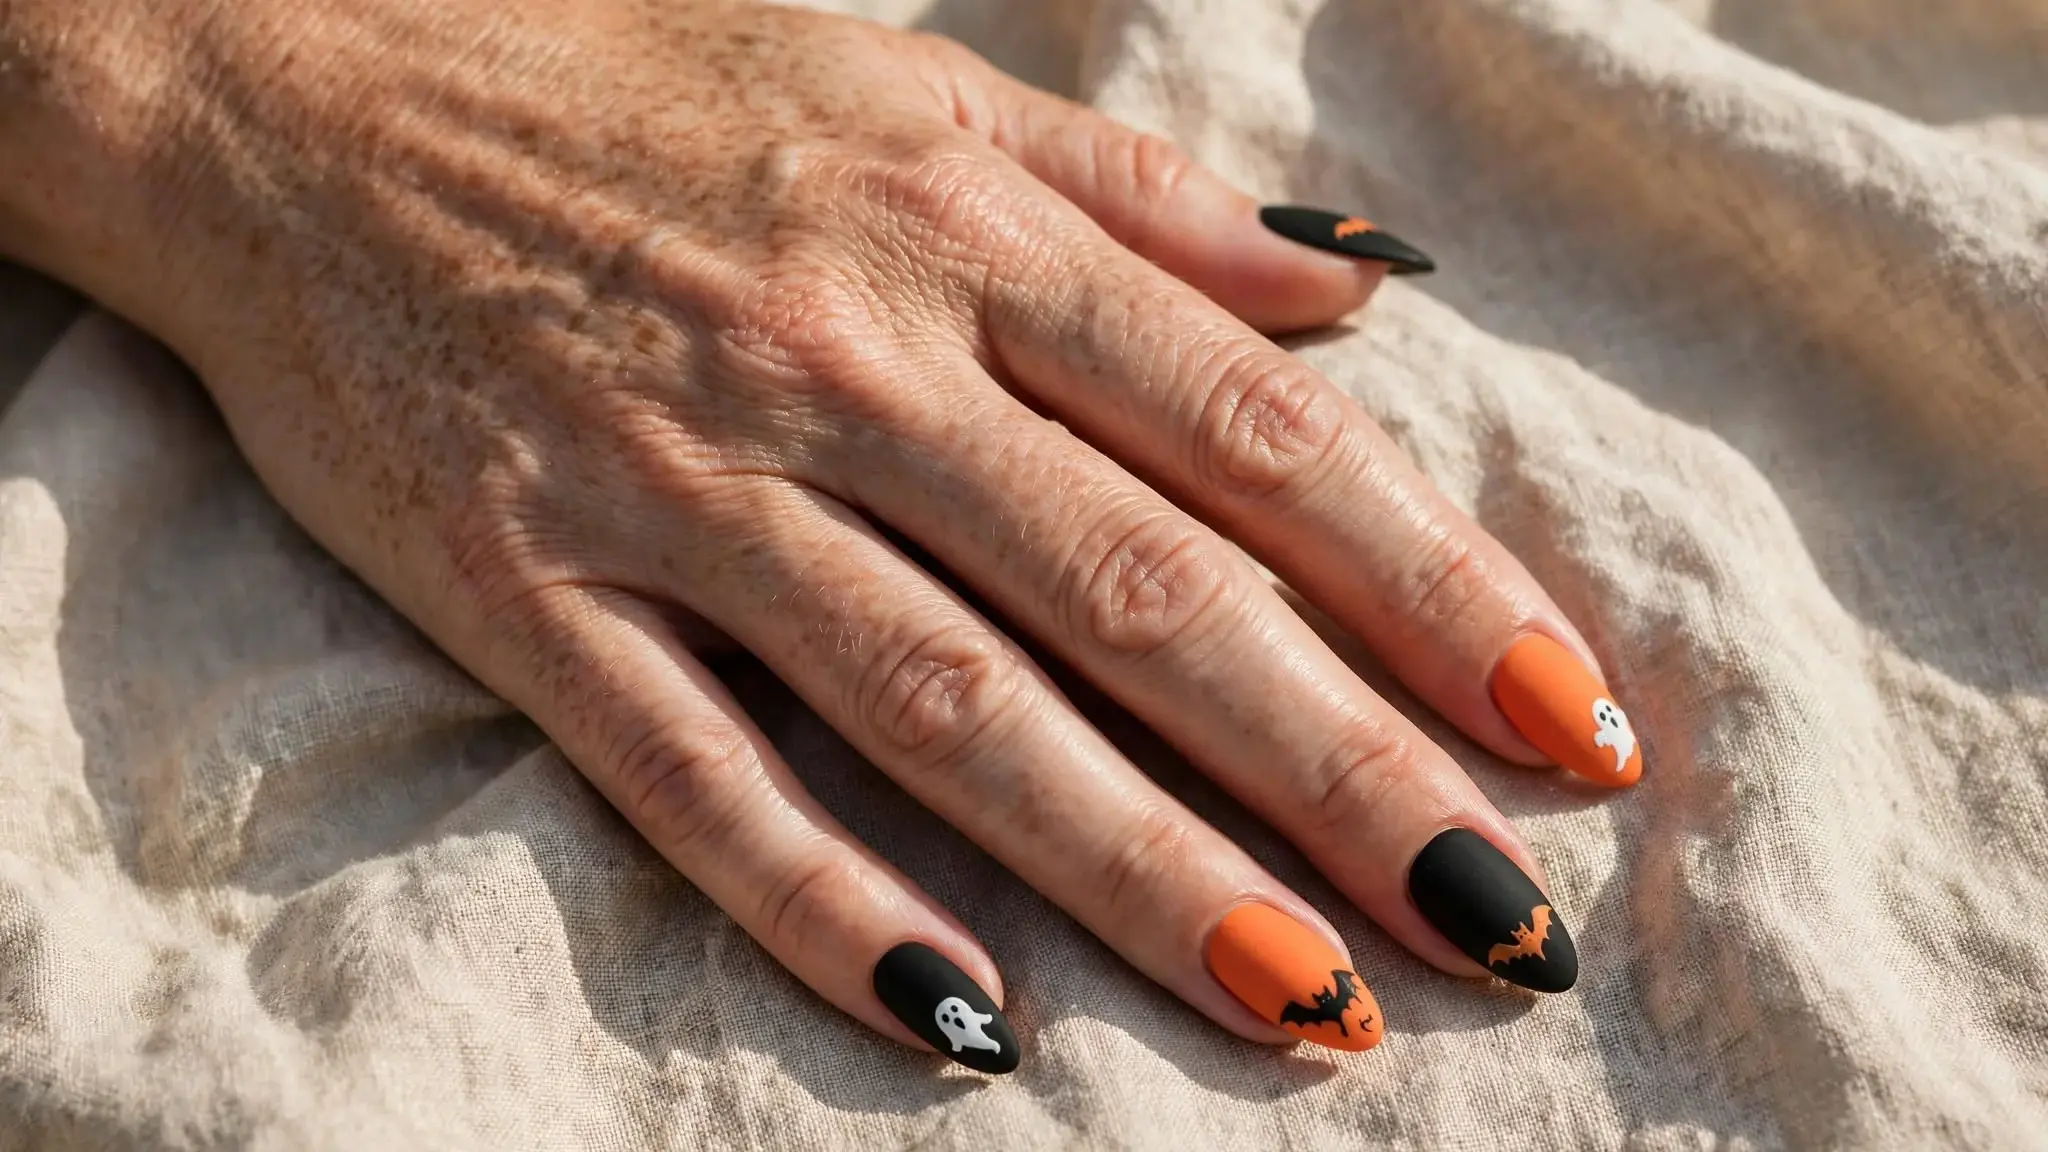
Paint your nails in a repeating pattern: orange, black, orange, black, orange. There is no drawing at all, and it looks deliberate. This is the set to choose when you have ten minutes and a party tonight.
8. Split Nails.
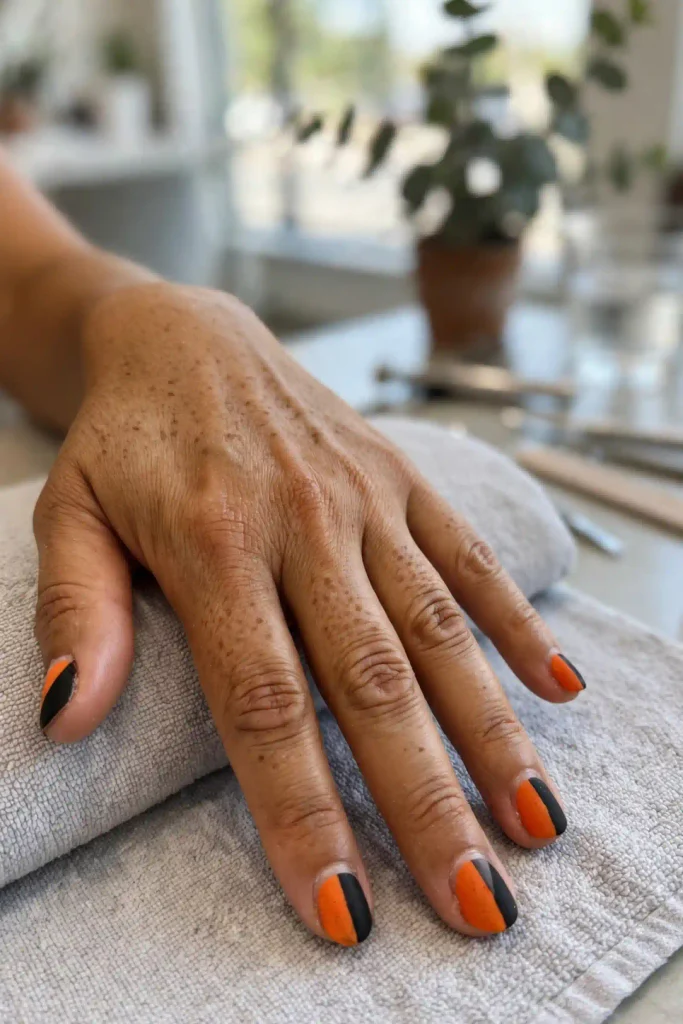
Divide each nail down the middle, with orange on one side and black on the other. Tape gives the cleanest line. Try slightly diagonal splits for a more graphic look. It is bold, and it looks best with a plain outfit.
9. Orange and Black Checkerboard.
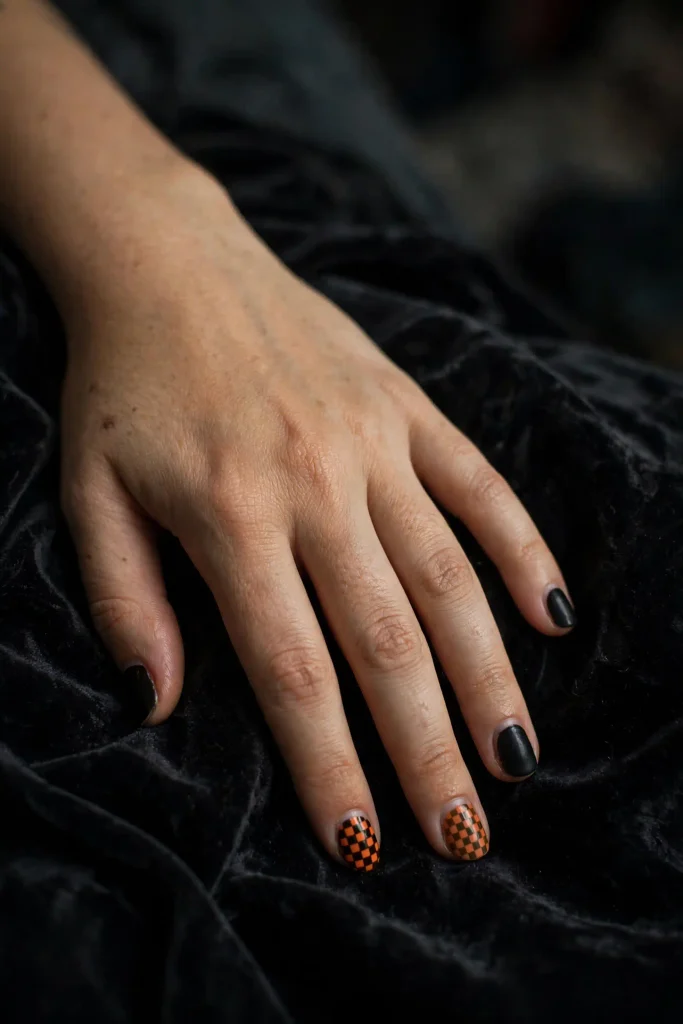
Small squares in orange and black on two nails, with the rest in solid black. Stickers make this easy. It looks retro, a little punk, and surprisingly wearable.
Setting 4: Black Leaning (30/70)
10. Black Base with Orange Web Corner.
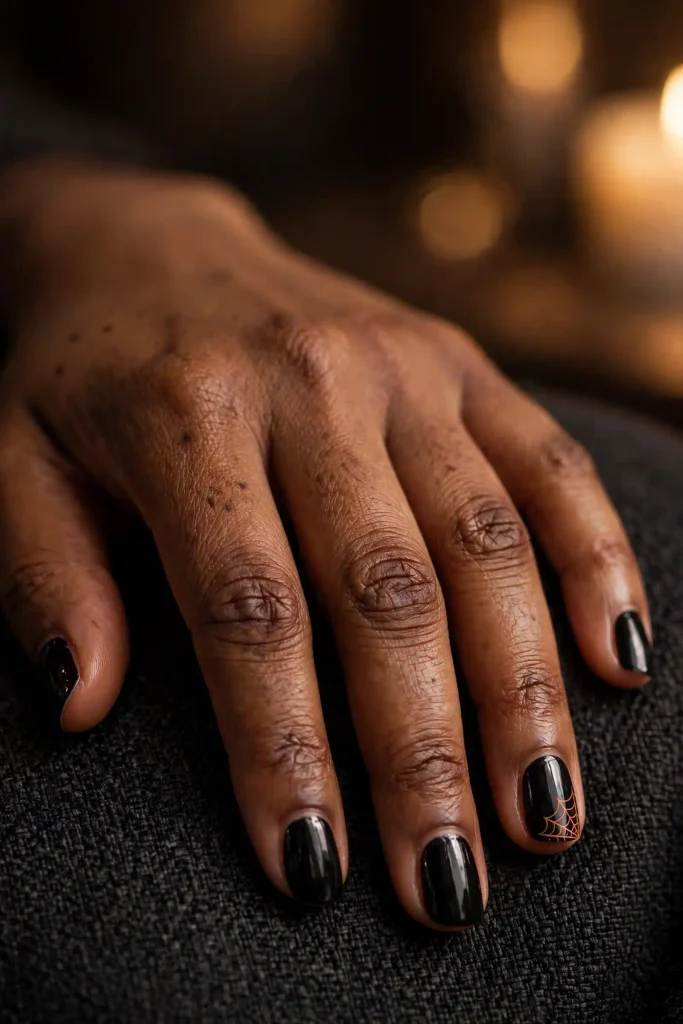
Glossy black nails, with a fine orange spiderweb in the corner of one nail. Orange on black looks like embers, so the web glows a little. Keep it to one nail, and it feels elegant.
11. Black Nails with Pumpkin Drip Tips.
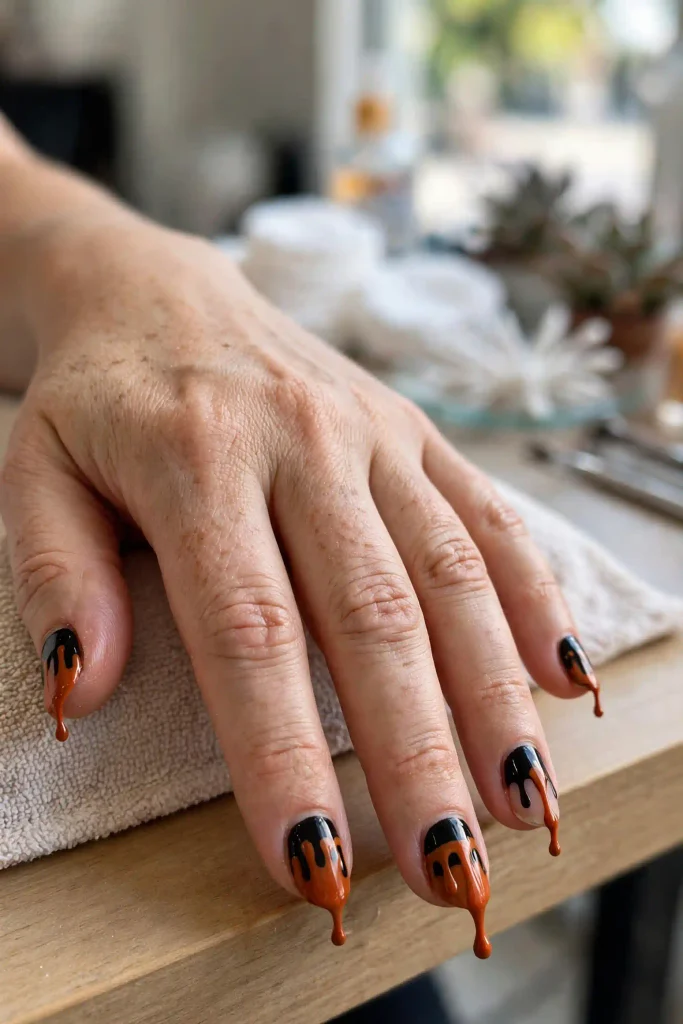
Black at the cuticle and burnt orange drips falling from the tip, like pumpkin paint running down a jar. Make each drip a different length. It is dramatic and clean.
12. Black and Orange Cat-Eye.
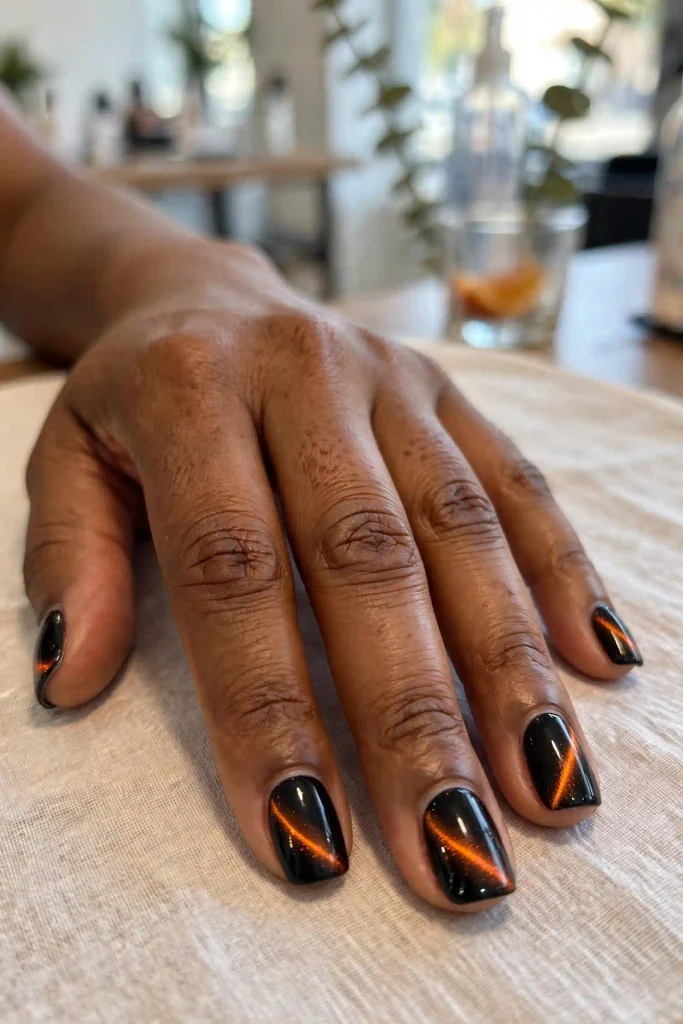
A black magnetic polish with an orange shimmer band that shifts as your hand moves. Hold the magnet about a centimeter above the wet polish for ten seconds. It looks like a flame under a dark surface.
Setting 5: Mostly Black (10/90)
13. Matte Black with an Orange Stripe.
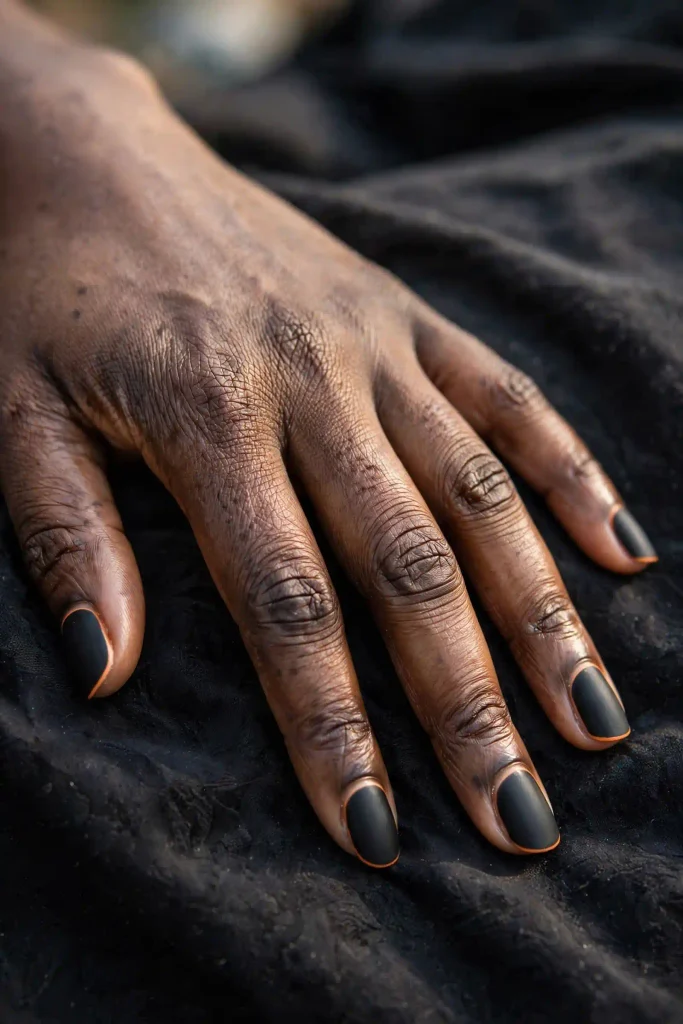
A matte black base with one thin orange line along the side of each nail. It looks modern and expensive, and it is one of the best sets for people who say they do not like Halloween nails.
14. Black Chrome with Orange Flash.
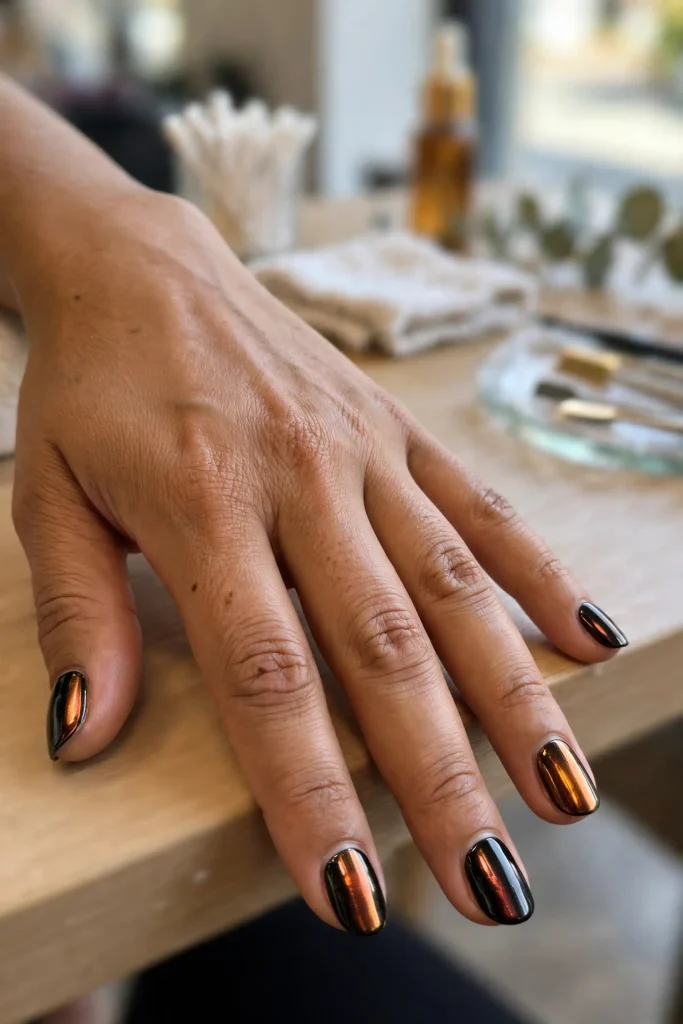
A black base with a chrome powder that flashes orange and copper in the light. Chrome needs a gel lamp, so this is a salon set. It looks like something glowing inside a dark stone.
15. Black Nails with One Tiny Pumpkin.
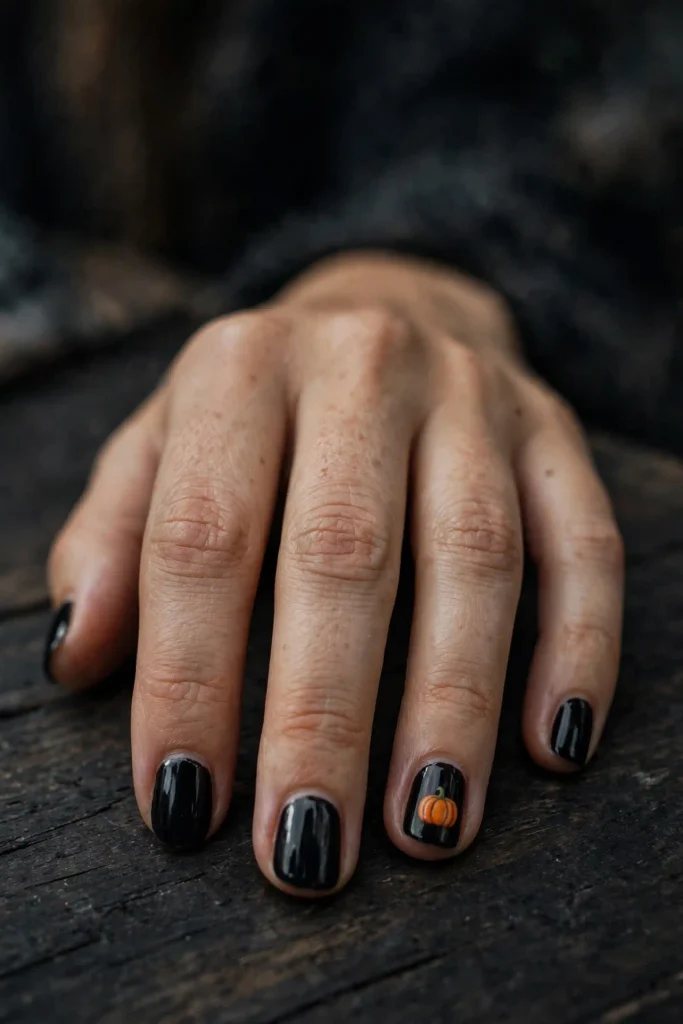
Every nail is glossy black, and one nail has a very small orange pumpkin with a green stem. It is the smallest possible Halloween joke, and it still gets noticed.
Something New: The Ratio Swatch Card
This is the trick I wish someone had told me years ago. Before you paint your nails, make a swatch card, and you will know exactly how much of each color feels right.
Take a piece of white paper or an old nail tip sheet. Draw five small rectangles in a row. Paint the first rectangle almost entirely orange with a thin black edge. Make the second mostly orange with more black, the third half and half, the fourth mostly black with a bit of orange, and the fifth nearly all black with a thin orange line. Let them dry, then hold the card beside your outfit and your face.
You will see immediately which setting feels like you. Some people find they love the middle. Others realize they are secretly a Setting 5 person. It takes five minutes and prevents a manicure you regret by day three.
The Orange Decoder
Not every orange works with black, and not every orange works with your skin. Here is how I choose.
Burnt orange is deeper, with a hint of brown. It is the safest choice and looks the most grown-up against black. Pumpkin orange is bright and classic, best on warm skin tones and small accents. Terracotta is muted and clay-like, and it makes black look softer. Neon orange is loud and playful, best used in tiny doses. Copper or bronze adds shimmer and glows next to black.
A quick test: paint one nail and hold your hand beside your face in daylight. If your skin looks bright and even, keep it. If your hand looks yellow or dull, choose a deeper or browner orange. If neon orange feels harsh, try terracotta instead.
The Black Balance Rule
Black is not one color either. A jet black cream looks sharp and glossy, and it suits webs and ghosts. A soft black or charcoal looks gentler in daylight and suits the office. A black with micro shimmer works well for parties.
Whatever you choose, keep your orange and black in the same finish family. If your black is matte, a glossy orange can look disconnected. If both are glossy, the set looks unified. The exception is the mix of matte black and glossy orange details, which looks modern when done on purpose.
What to Wear With Each Setting
Mostly orange nails look best against neutrals: cream, camel, denim, and gray. An even split works with plain black or cream so the nails become the statement. Black-leaning nails work with almost anything, since black is a neutral, and orange accents echo a scarf or a bag. For mostly black sets, add gold or copper jewelry so the orange feels intentional.
If you are wearing a costume, keep the nails one ratio step quieter than the costume. A loud costume calls for a Setting 4 or 5 set, and a simple outfit can carry Setting 1 or 2.
Keeping It Fresh: Care Tips
Dark colors show chips, and orange can stain. Use a base coat every time, since black and orange both leave a tint on bare nails. Apply two thin coats of each color rather than one thick coat. Let each color dry fully before adding tape, dots, or art. Cap the free edge of each nail, and add a thick glossy top coat. Reapply top coat every two or three days, and moisturize your cuticles daily.
If you chip a black nail, dab a small amount of polish on the spot with a tiny brush, tap it in gently, and add a top coat. If you chip an orange nail, it is often easier to cover the chip with a tiny gold dot or a small sticker.
The Halloween Night Plan
Here is the schedule I follow for a party.
Two days before: Paint your base colors and let them dry fully.
The night before: Add your details, such as webs, dots, or stripes, and seal everything with a thick top coat.
The day of: Wipe your nails with a soft cloth, add cuticle oil, and file any rough spot.
In your bag: A mini bottle of black polish, a small file, and a tiny top coat for touch-ups.
Quick Answers
What is the easiest set for beginners? Alternating Nails (#7) and Pumpkin Cream with a Tiny Bat (#1).
Can I wear orange and black nails to work? Yes. Try Orange with Black Half-Moons (#4) or Matte Black with an Orange Stripe (#13).
Do these work on short nails? Yes. Half-moons, dots, and stripes suit short nails especially well.
How long will they last? Five to seven days with regular polish and two to three weeks with gel.
One Last Thing
Orange and black is the most famous color pair in Halloween, which means it is easy to make it look ordinary. The ratio dial fixes that. Choosing how much of each color to wear turns a familiar combination into something that looks planned.
Start with the swatch card, choose your setting, and give yourself one small detail that surprises people when they look closely. That is what separates a set people glance at from one they ask about.
Which setting are you turning the dial to first? Save this post for your next nail night, and send it to a friend who thinks orange and black is too predictable.