18 Square Christmas Nails With Corners That Steal the Show
A square nail is a ruler you wear. That straight free edge is exactly why Christmas designs like checkerboards, windowpane grids and hard glitter lines belong on this shape: they need an edge that does not curve away from them. Round and almond nails soften straight art; square nails frame it. These 18 square Christmas nails all work that way. Each design covers every nail, keeps fine detail in the protected middle of the nail, and treats the two corners as what they are: the strongest-looking and weakest-wearing parts of the whole set. Read the shape notes first; they explain why the designs below are placed the way they are.
Shape First: Filing a Square That Holds Polish
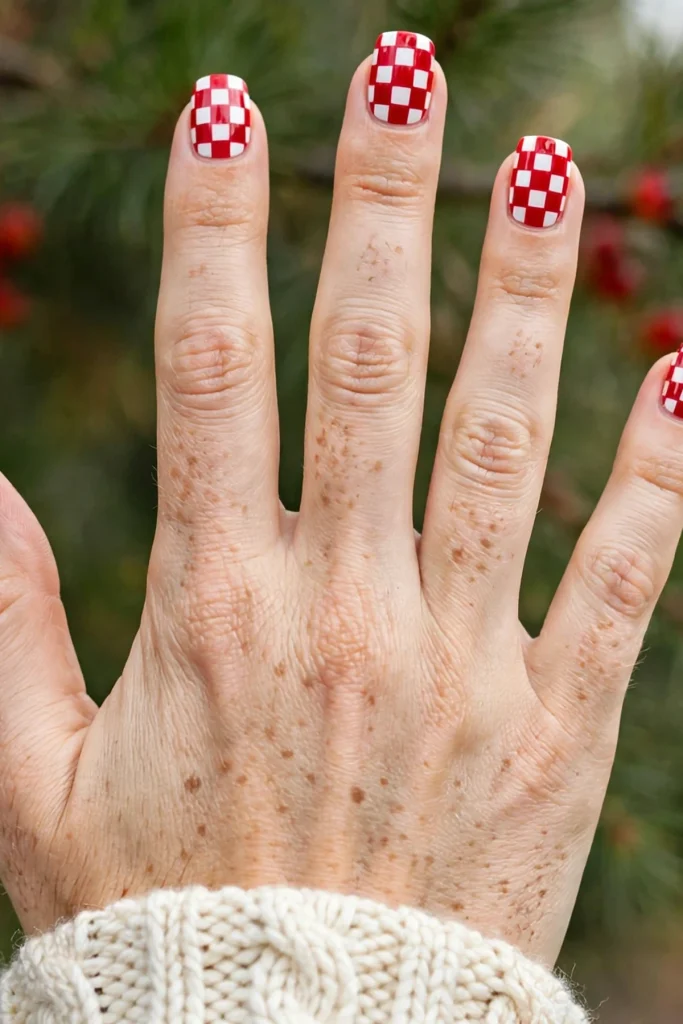
File the free edge straight across in one direction, on dry nails, then soften each corner with a single light pass of a fine file. That one pass is the difference between a square that catches on every sleeve and a square that survives December. Keep the length honest: short to medium squares keep their corners, while long squares lever against door handles and snap at the stress point. Match all ten nails within a millimeter, because uneven lengths show more on squares than on any other shape. Shade-wise, true red and forest green flatter warm undertones, icy silver finishes and magenta lean cool, and burgundy, navy and teal sit comfortably on almost everyone.
Lines That Need a Straight Edge
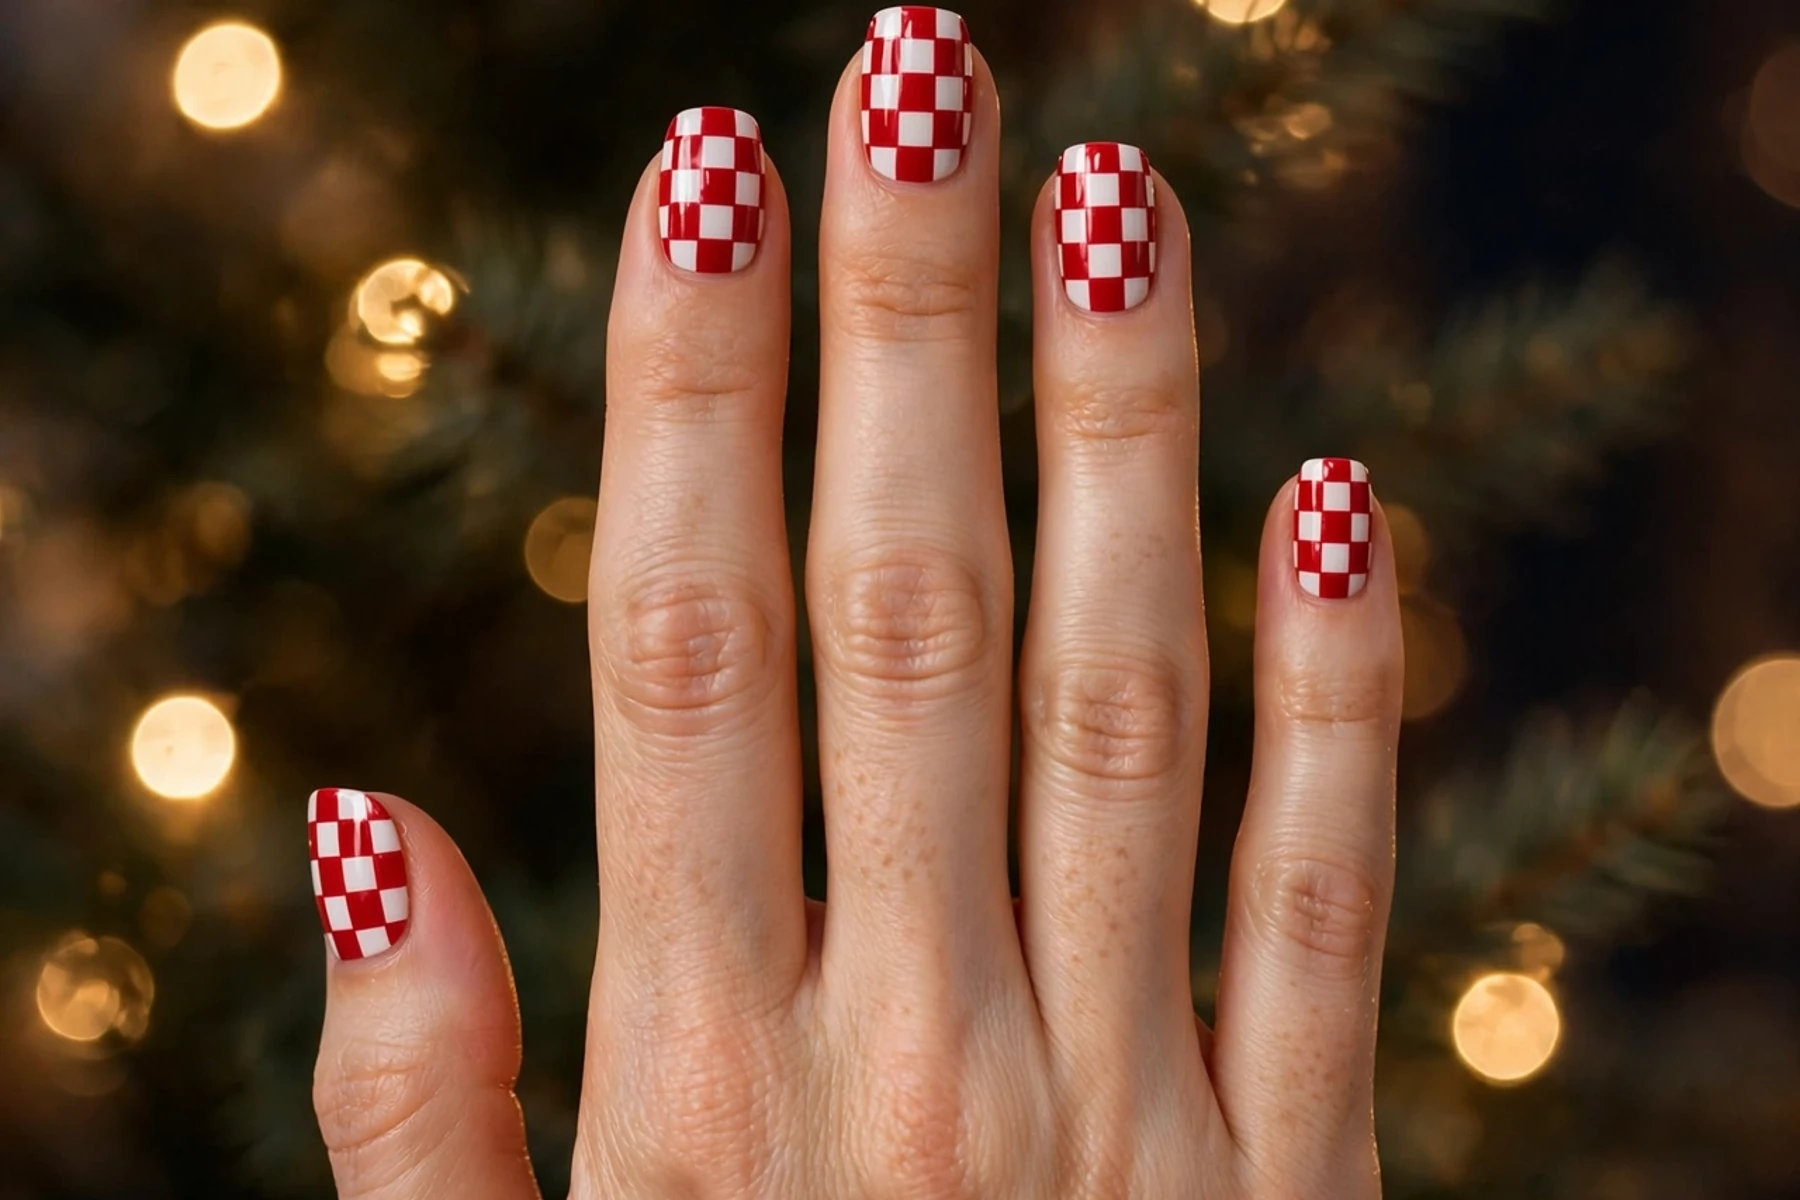
Red and White Checkerboard on Every Nail
Nothing on this list uses the square shape harder than the checkerboard. Paint the nail white and let it dry fully, then lay striping tape in a grid and fill alternate squares with red, working one direction at a time and peeling the tape while the final coat is still wet. Small, even checks read like woven fabric; big checks read like a racing flag. This set rewards patience more than skill, and it hides regrowth well because the pattern keeps the eye busy. If one nail’s grid slips, strip it and redo it. A patched check always sits slightly proud of its neighbors.
White Windowpane Grid With Thin Red Lines
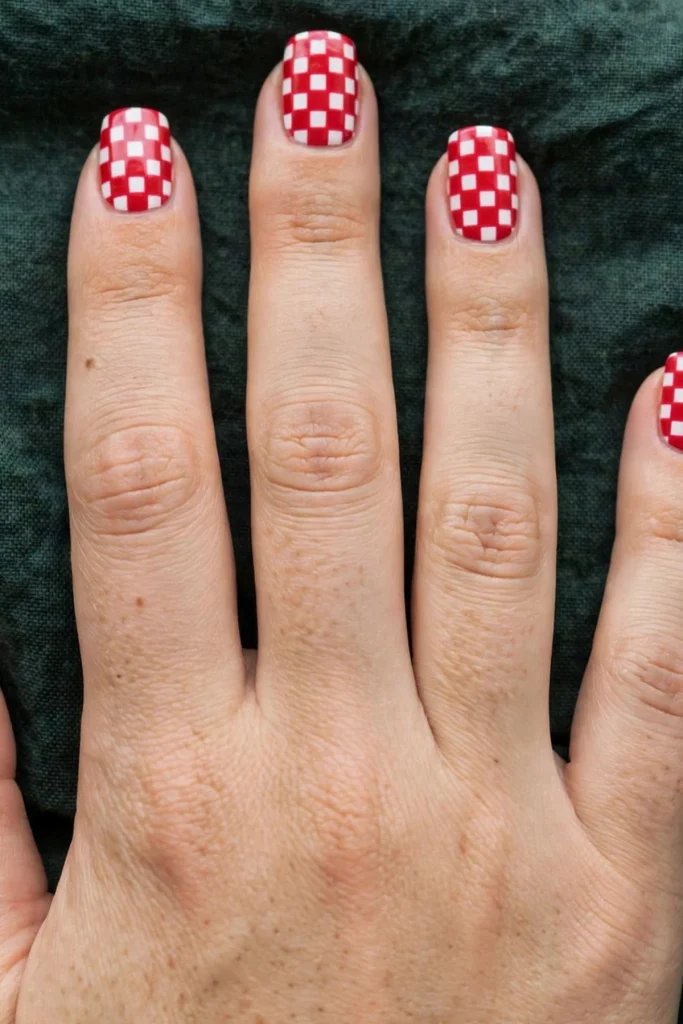
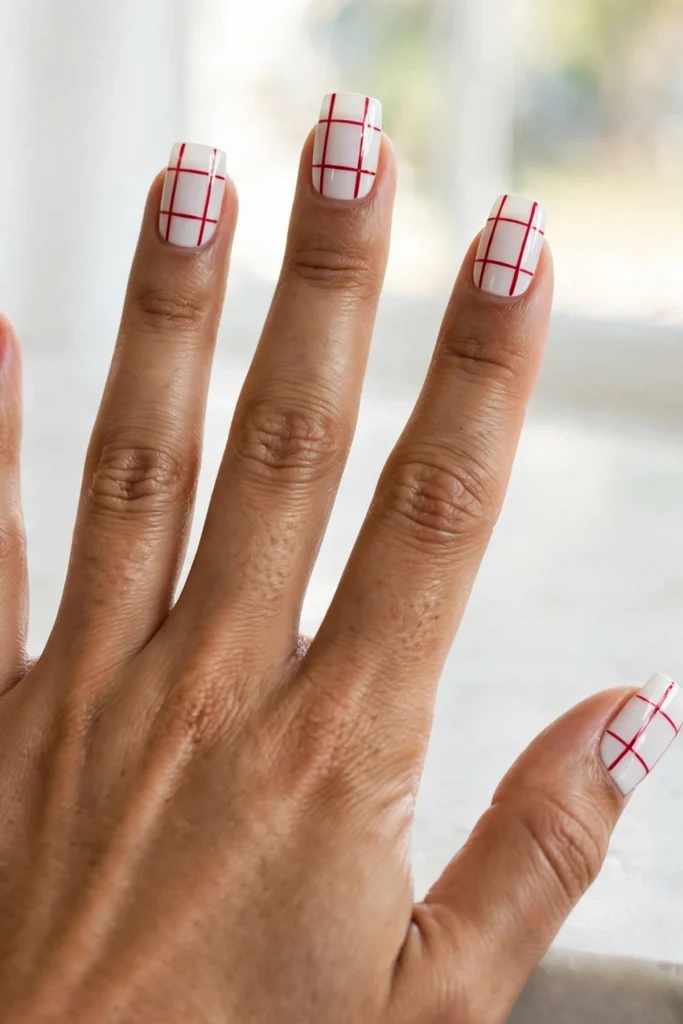
Windowpane is the checkerboard turned down: white nails crossed by two vertical and two horizontal red lines, drawn hair-thin with a long striping brush. The wide spacing leaves the white in charge, so the set works in offices and at family lunches alike. Because the lines run from edge to edge, they advertise the square outline better than any curved design could. Draw each line in one pull, and reload the brush between nails rather than mid-line. A line fixed halfway always dries with a visible seam.
Burgundy Square French With a Gold Pinstripe
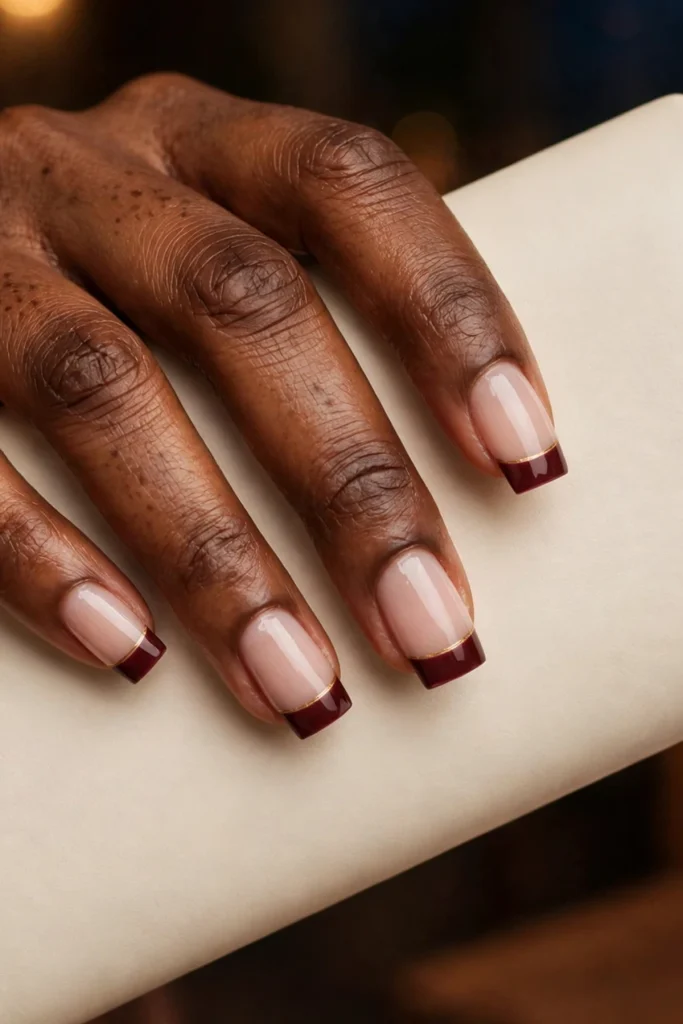
On square nails a French tip follows the straight edge exactly, and burgundy shifts it from bridal to evening. Start with a milky nude base, add burgundy tips using guides so the line stays level, then draw one gold pinstripe directly beneath the burgundy on every nail. The stripe should be a single brush-width; wider turns it into a band. This is the set for dinners where bright red feels like too much and bare nails feel like too little. Work the pinstripe last, over fully dry color, so the gold stays clean.
Gold Square Frame Lines on White
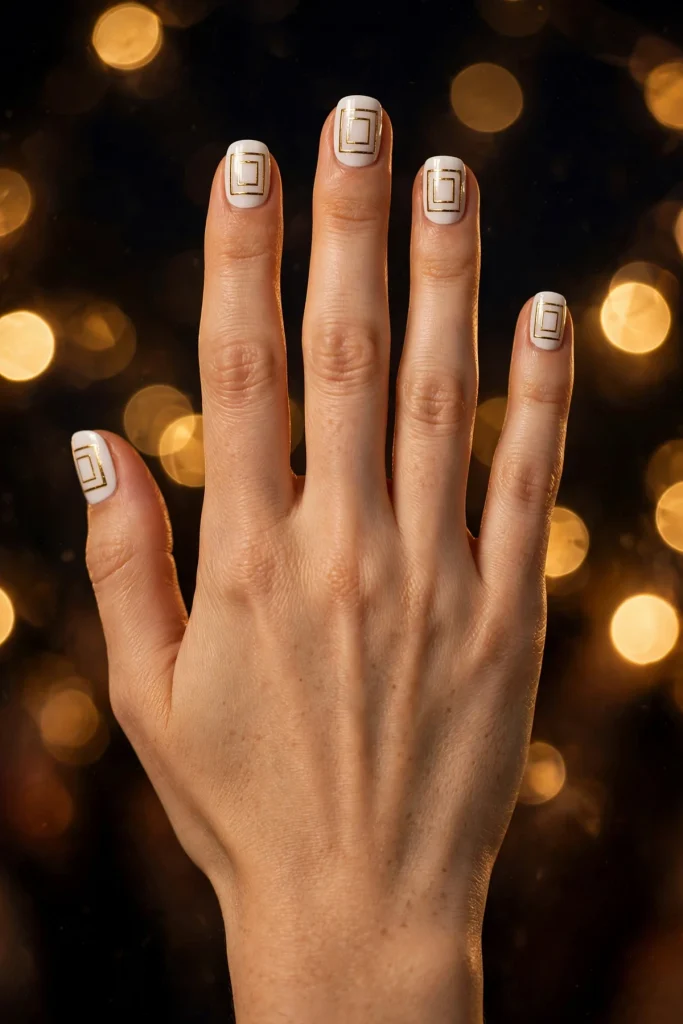
Rather than filling the nail, frame it. Over dry white polish, draw a thin gold square inside each nail that follows the nail’s own outline, then a second, smaller square inside that one. The double frame reads like a tiny picture mount, and it only makes sense because the nail itself is square. Metallic liner polish gives the cleanest edges. Round the frame’s inner corners a fraction; sharp inner corners collect polish and blob. Of all the line designs here, this one forgives a shaky hand best, since the eye judges the overall frame, not each side.
Pine-Needle French Tips on a White Base
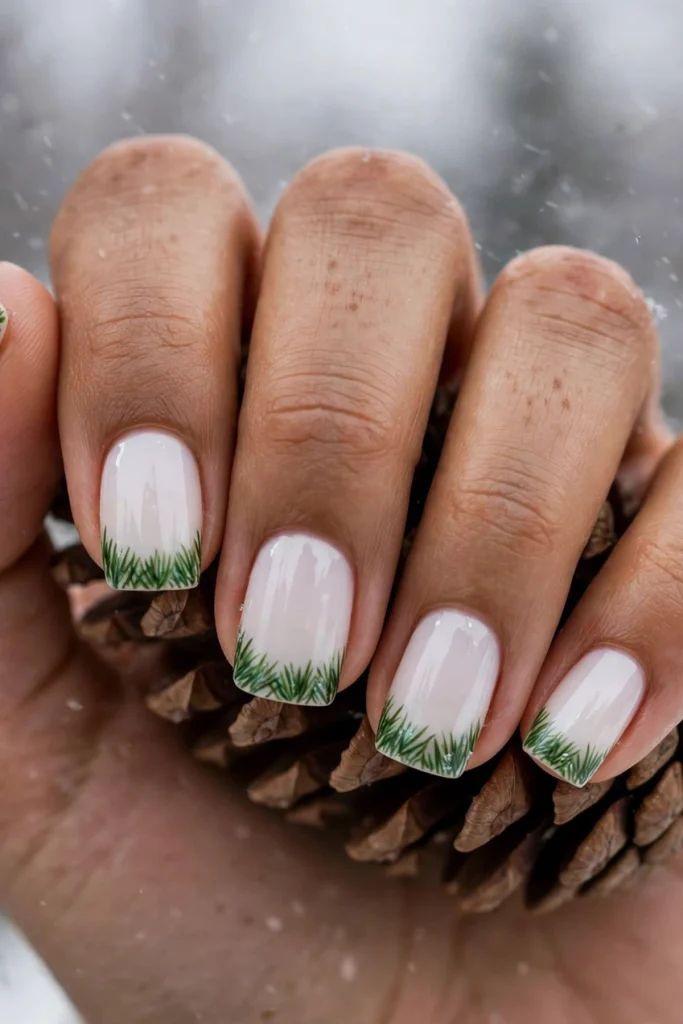
Instead of a solid tip band, build the French line from strokes. On white square nails, pack short diagonal strokes in two shades of green along the straight tip edge, overlapping them like pine needles on a branch. The broken texture hides the small unevenness that a solid band would announce, which makes this the friendliest line design for a first attempt. Let stroke lengths vary so the edge looks grown rather than stamped. Keep the strokes inside the tip third of the nail, or the balance tips over and the nail reads green, not white.
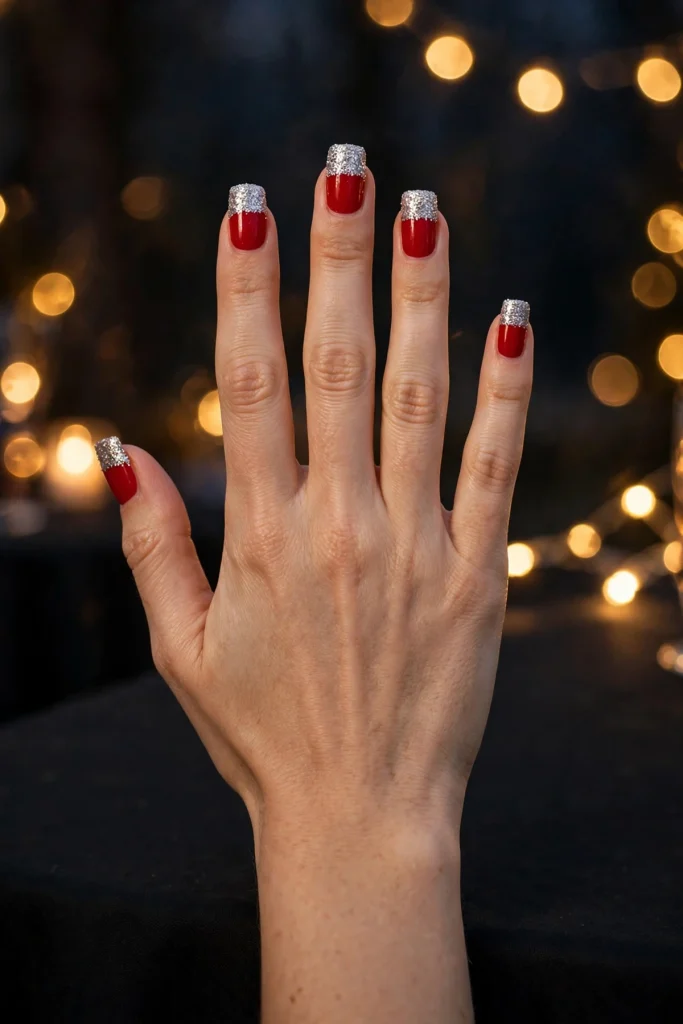
Straight-Edge Silver Glitter Blocks on Red
Glitter tips usually fade out; these stop dead. Paint every nail a true Christmas red, mask the top third with straight tape, and press in dense silver glitter polish. Lift the tape while the glitter is wet and the dividing line stays knife-clean, a line only a square tip can hold this well. The block also sits exactly where chips begin, so this set disguises wear longer than plain red does. A peel-off base coat underneath turns removal from a chore into a minute’s work, which matters with dense glitter.
Quiet Finishes for Busy Weeks
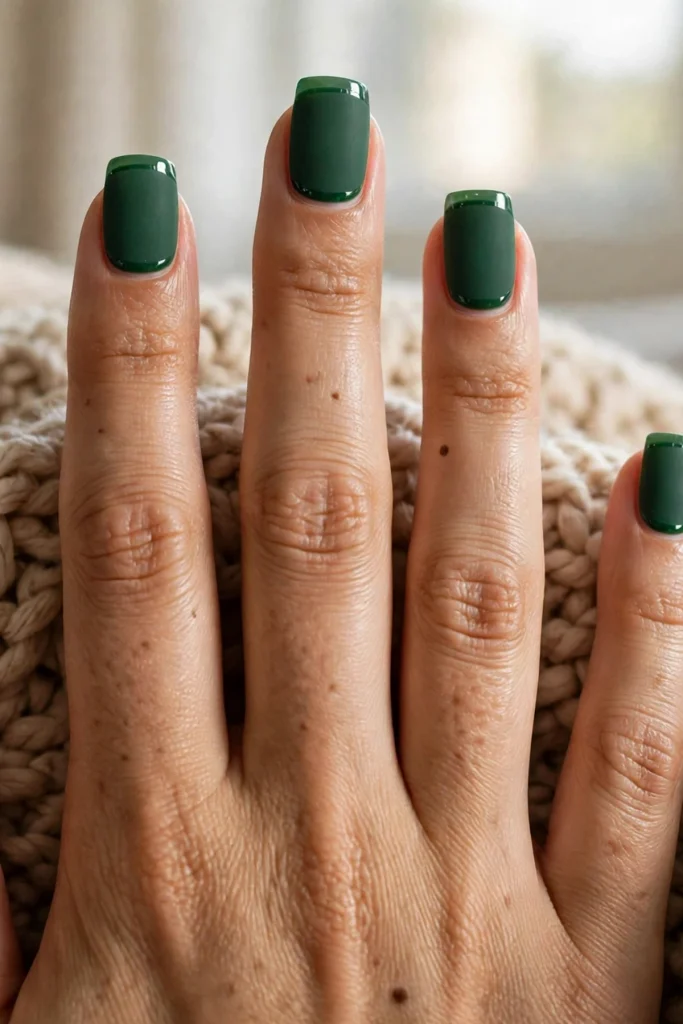
Matte Forest Green With Glossy Tips
One color, two finishes, no pictures. Every nail goes forest green, then matte top coat, then a glossy band repainted across the straight tip. The gloss edge appears when your hands move and vanishes when they rest, which is the right volume for people who like Christmas color without Christmas imagery. Matte exposes ridges, so begin with a ridge-filling base. The glossy band dulls after about three days, while the matte field still looks fresh, so plan on refreshing just the tips twice a week.
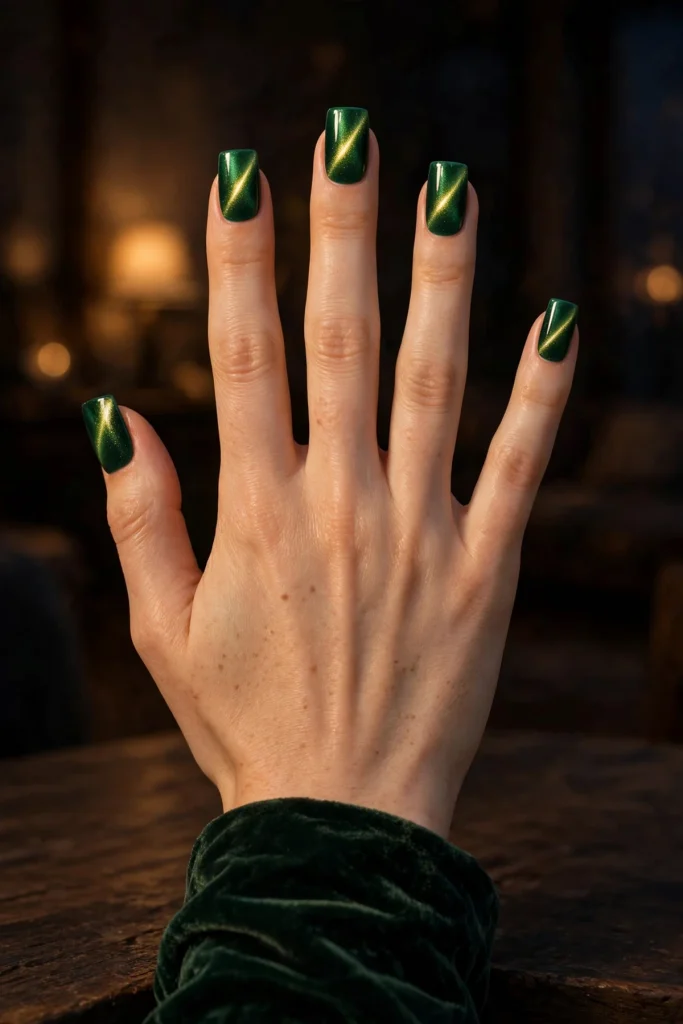
Emerald Velvet Cat-Eye on Square
Magnetic gel behaves differently on a flat nail: the light band lands with straight sides, like a ribbon of light laid across velvet. Brush on emerald cat-eye gel, hold the magnet so the band runs diagonally, then cure before the shimmer settles. One nail at a time, start to finish; rushing this finish flattens it. The diagonal softens the square outline slightly, which flatters wider nail beds. The gel sets in this article share one safety note: keep uncured gel off the skin, cure every layer for the full time, patch test new products on a single nail first, and soak gel off instead of peeling it.
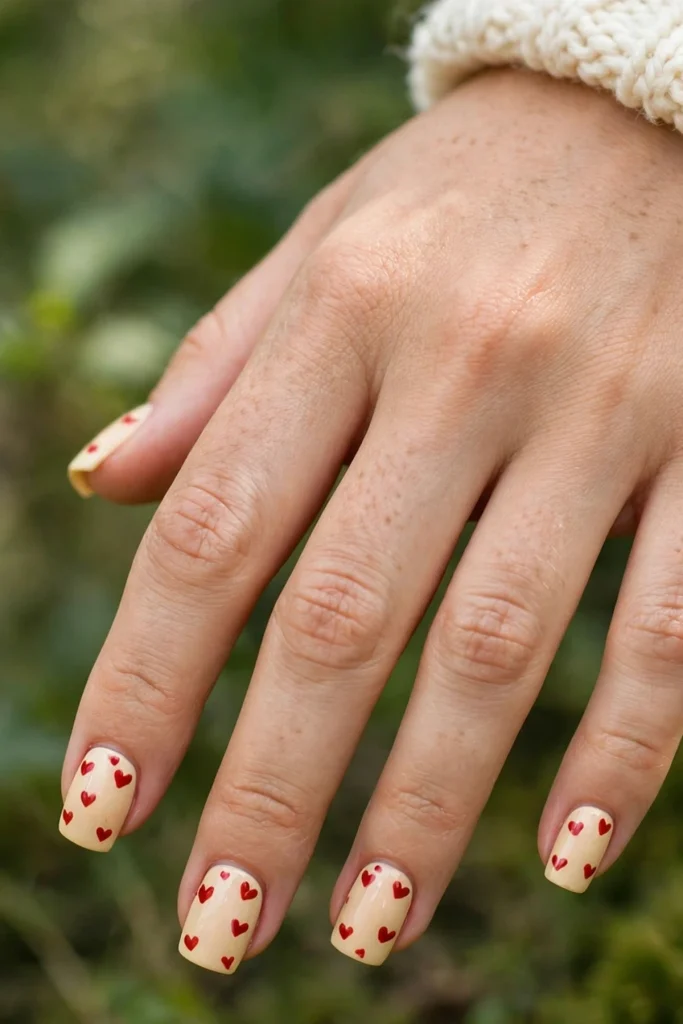
Cream With Scattered Red Micro Hearts
Scattering is a placement decision. Tiny red hearts sit over a warm cream base, clustered near the cuticle and thinning toward the tip, always clear of the corners. Build each heart from two dots dragged together with a toothpick point; three to five per nail is the range where it reads as hearts and not as spots. Cream softens red in a way white never does, and the pairing flatters warm undertones most. Since every heart lives in the nail’s protected center, this is quietly one of the longest-wearing painted sets here.
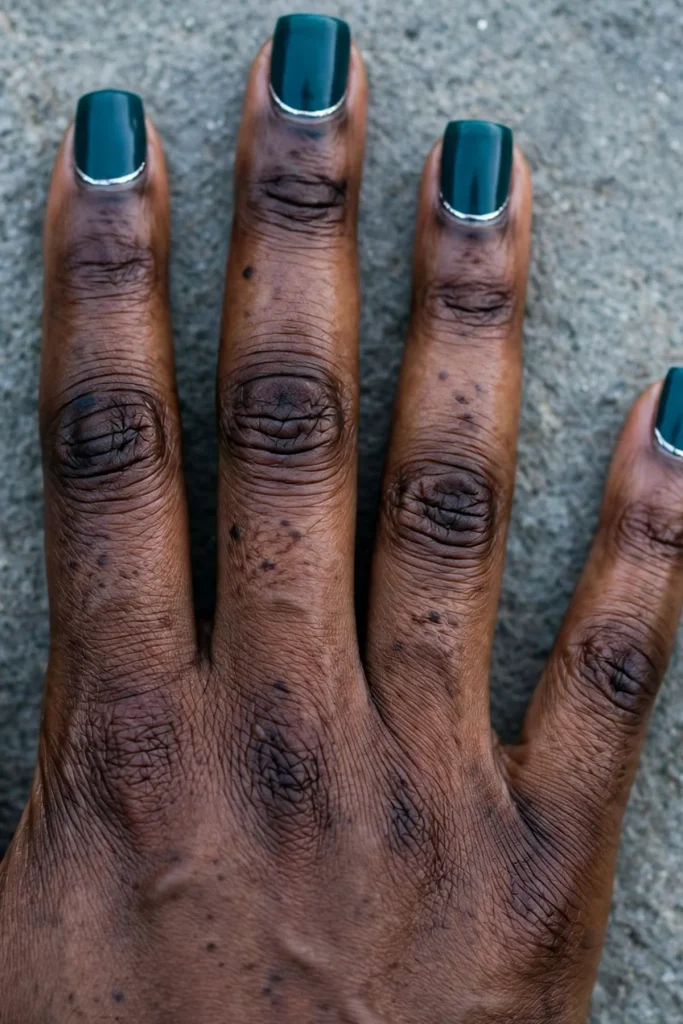
Teal With a Silver Cuticle Arc
Move the detail to the end nobody expects. Deep teal covers every nail, and a slim silver arc traces the cuticle line at the base, like a half-moon of metal. The tips and corners carry nothing but plain teal, so there is nothing fragile where wear arrives first. Reach for silver liner polish rather than glitter polish; the arc needs a solid stroke, not sparkle. This is the set to book before the busiest week of the season, when a manicure has to survive wrapping, cooking and travel without a touch-up.
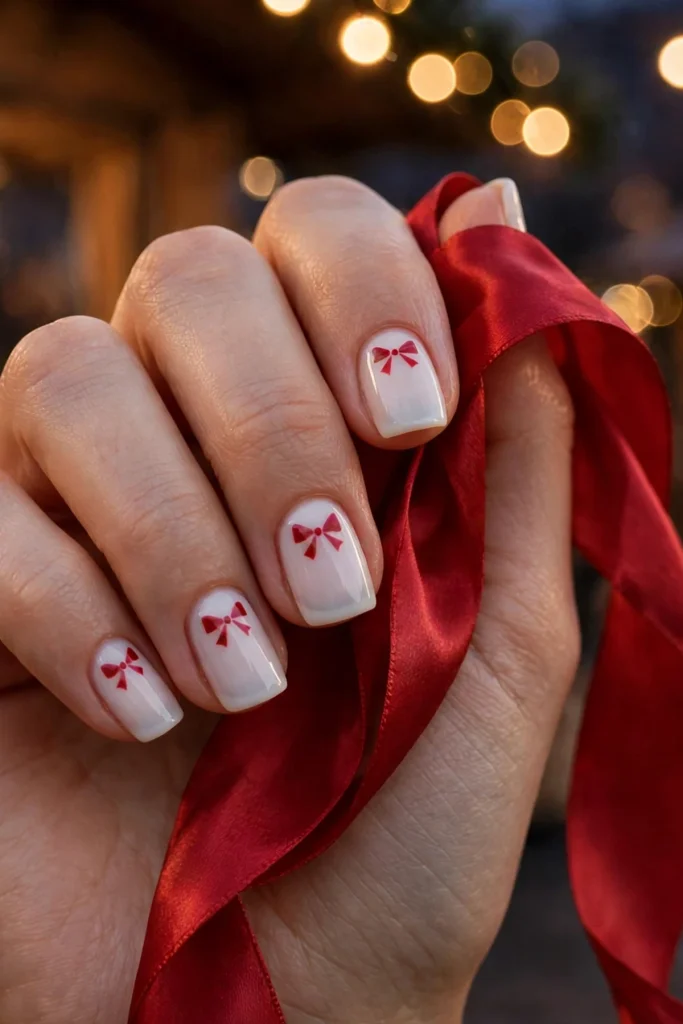
Milky White With a Red Bow at the Base
A bow small enough to sit at the cuticle is just two triangles and a center dot, and on a milky white square that is all the decoration the nail needs. Paint the bow in red at the base of every nail, centered, with space on both sides so it never crowds the corners. The rest of the nail stays clean, which lets the square outline do the visual work. Short squares wear this design best, since the proportions stay sweet rather than stretched. A detail brush, not a dotting tool, gives the triangles their points.
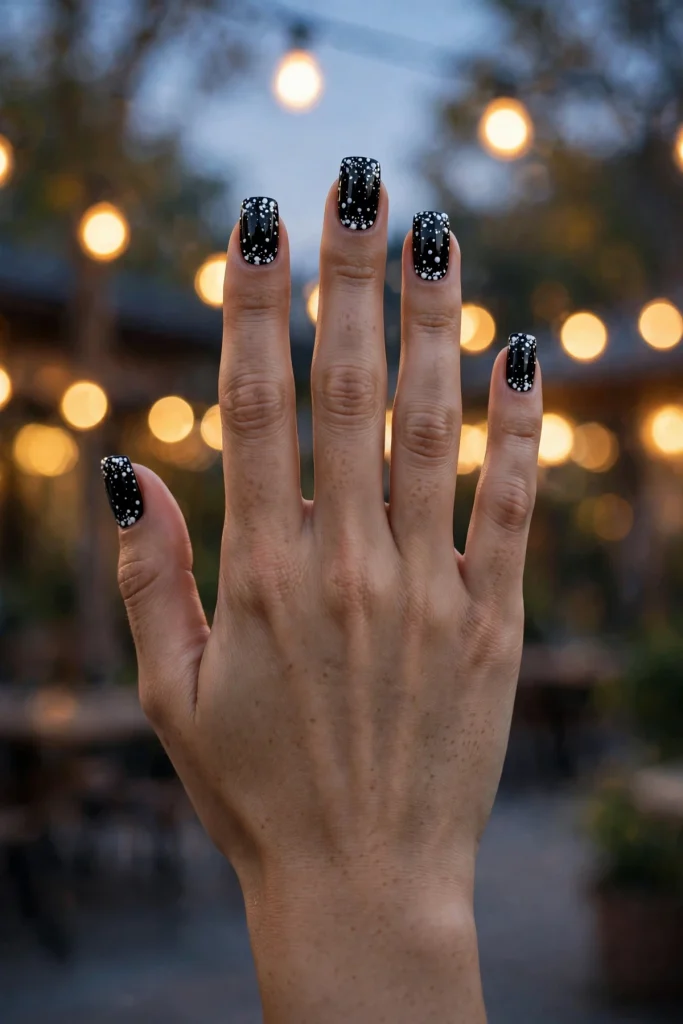
Black Square With White Snowfall Dots
On black, white dots stop being polka dots and start being weather. Dot white polish in mixed sizes across the middle of every black nail, gathering more toward the tip and keeping the corners clear. Ten minutes of dotting buys a set that hides the small chips black polish usually shows off, because the dots break up the surface. Gloss keeps it crisp; a matte top coat makes it moodier and even better at hiding wear. If dots spread into blobs, the base was not dry or the polish ran thin. Wait, and dot again.
After-Dark Squares
Gold Chrome With a Red Corner Heart
Chrome does the showing off; the heart just signs it. Rub gold chrome powder over a cured no-wipe top coat until every nail turns to mirror, then paint one small red heart in the same lower corner of each nail and seal it. Chrome magnifies anything placed on it, so paint the heart smaller than you think it needs to be. This finish needs gel; chrome powder will not take over regular polish. Placing every heart in the matching corner gives the set a rhythm that reads deliberate in photos, which is where this set will spend its life.

Burgundy With Gold Foil Flakes
Burgundy is the deepest red that still reads red, and gold foil treats it kindly. Lay two coats of burgundy, then press torn foil flakes onto the tacky surface across the center of each nail, keeping them away from the free edge where foil lifts first. Float the top coat on rather than brushing it, so the flakes stay flat and bright. No two nails will match, which is the charm of this set and a relief for anyone who finds symmetry stressful. A gel top coat holds foil longest; a generous regular one manages a party week.

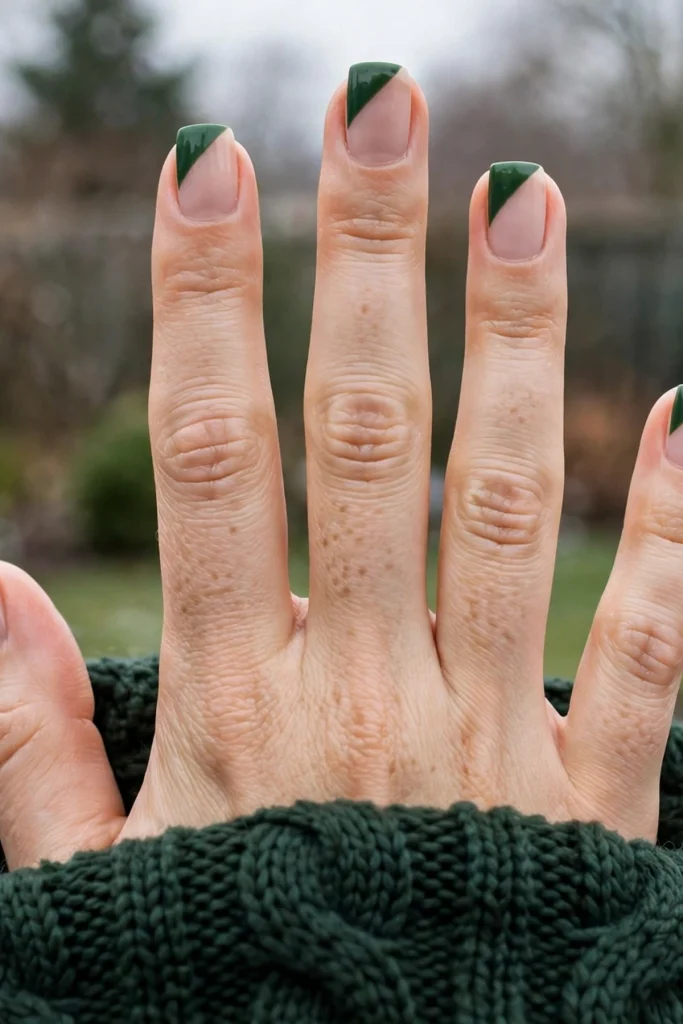
Diagonal Corner Tips in Forest Green
Every French tip so far runs straight; this one cuts the corner. On a nude base, paint a forest green triangle across one corner of each nail, mirrored between the two hands. The design anchors itself on the very feature that makes square nails vulnerable, and turns it into the focal point. Angled tip guides make the edge fast; freehand works with a cleanup brush dipped in remover. Medium squares carry the triangle best. If you alternate corners instead of mirroring them, the set turns playful, but mirrored pairs photograph as the more deliberate choice.
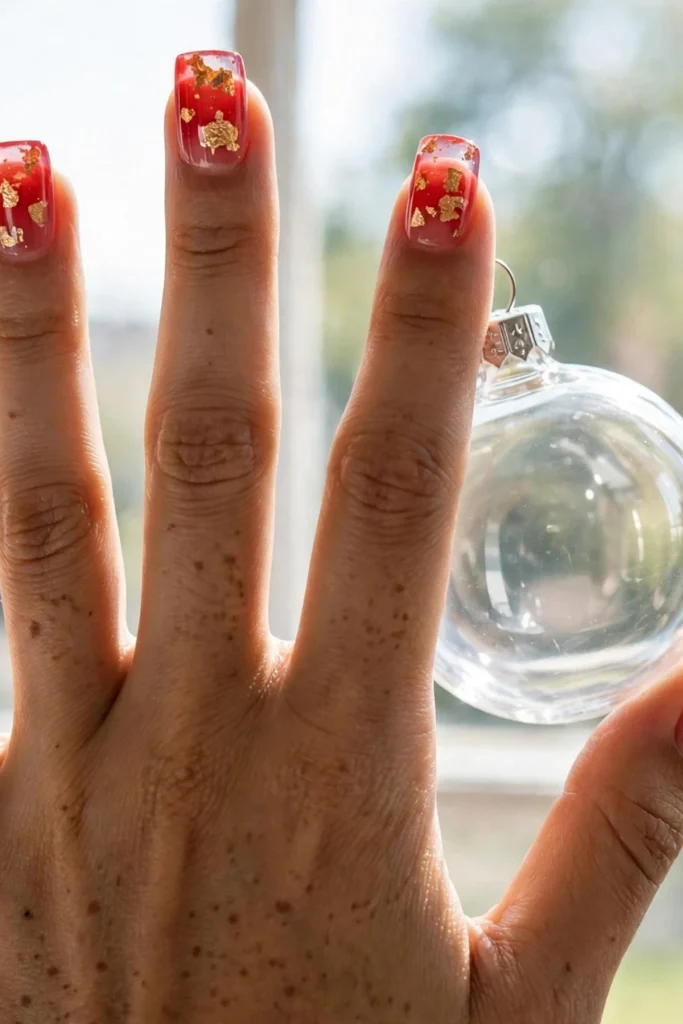
Red Jelly With Gold Leaf Inside
Jelly polish builds a window instead of a surface. Cure a thin layer of sheer red gel, place a few gold leaf flecks inside with tweezers, then float another jelly layer over them and finish with a clear top coat. The flecks hang at different depths, an effect flat nail art cannot copy. Three or four flecks per nail is the ceiling; beyond that the red clouds and the depth disappears. A side benefit: sheer color at the cuticle disguises regrowth, buying this set a few extra presentable days. It needs gel and a lamp, and patience more than drawing skill.
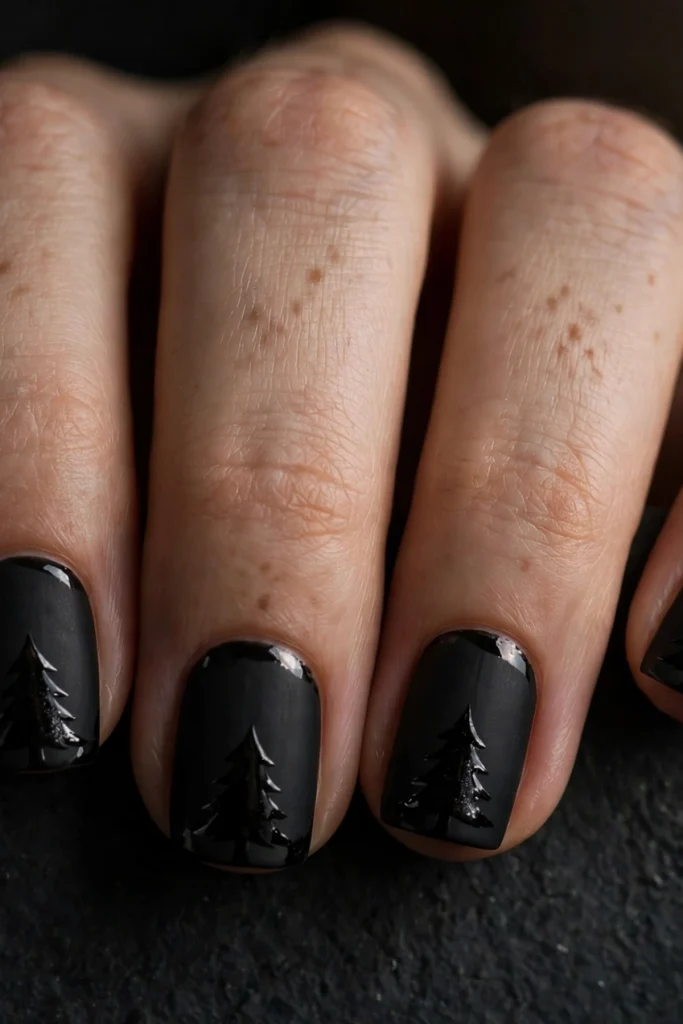
Matte Black With Glossy Black Trees
For anyone who wears black through December and regrets nothing. Paint every nail black, seal with matte top coat, then draw small pine silhouettes in glossy black along the lower half of each nail: a trunk and three stacked triangles. The trees surface only when light crosses the nail, so the set reads plain black across a room and decorated up close. Work tree by tree over fully dry matte, and wipe mistakes away with a dry brush before they set; matte forgives corrections that color would not. This is the quietest party set on the list.
Magenta With Silver Glitter Square Tips
Red and green can share the season with one loud guest. Magenta nails carry a straight block of silver glitter across the top half, masked with tape the same way as the red glitter set earlier, but with the block drawn deeper for more shine. The square tip is what keeps the block’s edge crisp against the pink. This pairing flatters cool undertones and deeper skin tones particularly well, and it separates itself in a feed crowded with red. Glitter blocks drink top coat, so give it two layers and let the first dry properly.

Keeping Corners Intact All Season
Cap every coat, including the base, over the free edge; the corner points are where the seal fails first, and capping is what holds it. If a corner chips, file the tip level again instead of dabbing polish onto a jagged edge, because patches peel within a day. Keep a glass file where you actually are, bag or desk drawer, since most breaks begin as a snag that could have been filed in ten seconds. Daily cuticle oil matters more on squares than on rounds: flexible nails bend at the corner instead of snapping. Gel sets want their structure thickest just behind the nail’s center, never at the corners, or the corners lever and lift.
Square Nail Doubts, Answered Straight
Will square nails work on short nail beds?
Yes, with the length kept modest. A short square whose tip just clears the fingertip keeps the shape’s clean lines without overwhelming a small bed. Long squares on short beds look top-heavy and snag constantly. Scale the art down with the nail: finer grids, smaller checks, thinner stripes. The designs above all shrink gracefully except the checkerboard, which needs at least a medium nail to fit its grid.
Why do my square corners always break first?
Because corners meet the world before the rest of the nail does: keyboards, zips, car doors, can lids. Two habits fix most of it. Soften each corner with one pass of a fine file so it stops catching, and cap every coat over the free edge so the seal wraps the corner. If corners still go, the length is the problem. Drop a millimeter or two and the breaks usually stop.
Which of these need gel, and which work with regular polish?
The cat-eye, the gold chrome and the red jelly need gel, plus a lamp; chrome and cat-eye also need a no-wipe top coat or a magnet. Everything else here, the grids, French sets, dots, hearts, foil and both matte-and-gloss finishes, works in regular polish. Foil is the borderline case: regular polish holds it for days with a floated top coat, gel holds it for weeks.
What is the longest-wearing design on the list?
The ones that keep their art in the center of the nail: the teal cuticle arc, the scattered hearts and the snowfall dots. Tip blocks and grids wear at the edges first but hide the wear well. Honestly, top coat discipline beats design choice: a fresh layer every three days, capped over the edge, adds more life than switching designs ever will.
Should I file before or after painting?
Before, always, and to the final length you intend to wear. Painting first and filing later cracks the seal at the edge, which is where square nails can least afford it. If one nail breaks mid-season, file the remaining nine down to meet it. Short and even reads far better than long and uneven, and on squares the difference is impossible to hide.
One Last Look at the Corners
Soften the corners, cap the edges, and pick the set that suits your December: dots or matte green for busy weeks, checkerboard or chrome for the nights that get photographed. The shape will handle the rest.