18 Halloween Square Nails, Placed Where a Square Nail Looks Best
My first square nails were a mistake. I asked for a Halloween set and got tiny spiders scattered across the whole nail. On a square shape, that looked like a bag of pebbles.
Then I learned that square nails are like a small framed canvas. They have four corners, one flat edge, and a wide, even surface. Designs that use those features look planned. Designs that ignore them look crowded.
So I sorted the 18 designs by placement. Find the spot you like, pick a design, and the extras follow.
Part One: Corner Designs
The corners are the signature feature of a square nail. Use one and the nail looks designed.
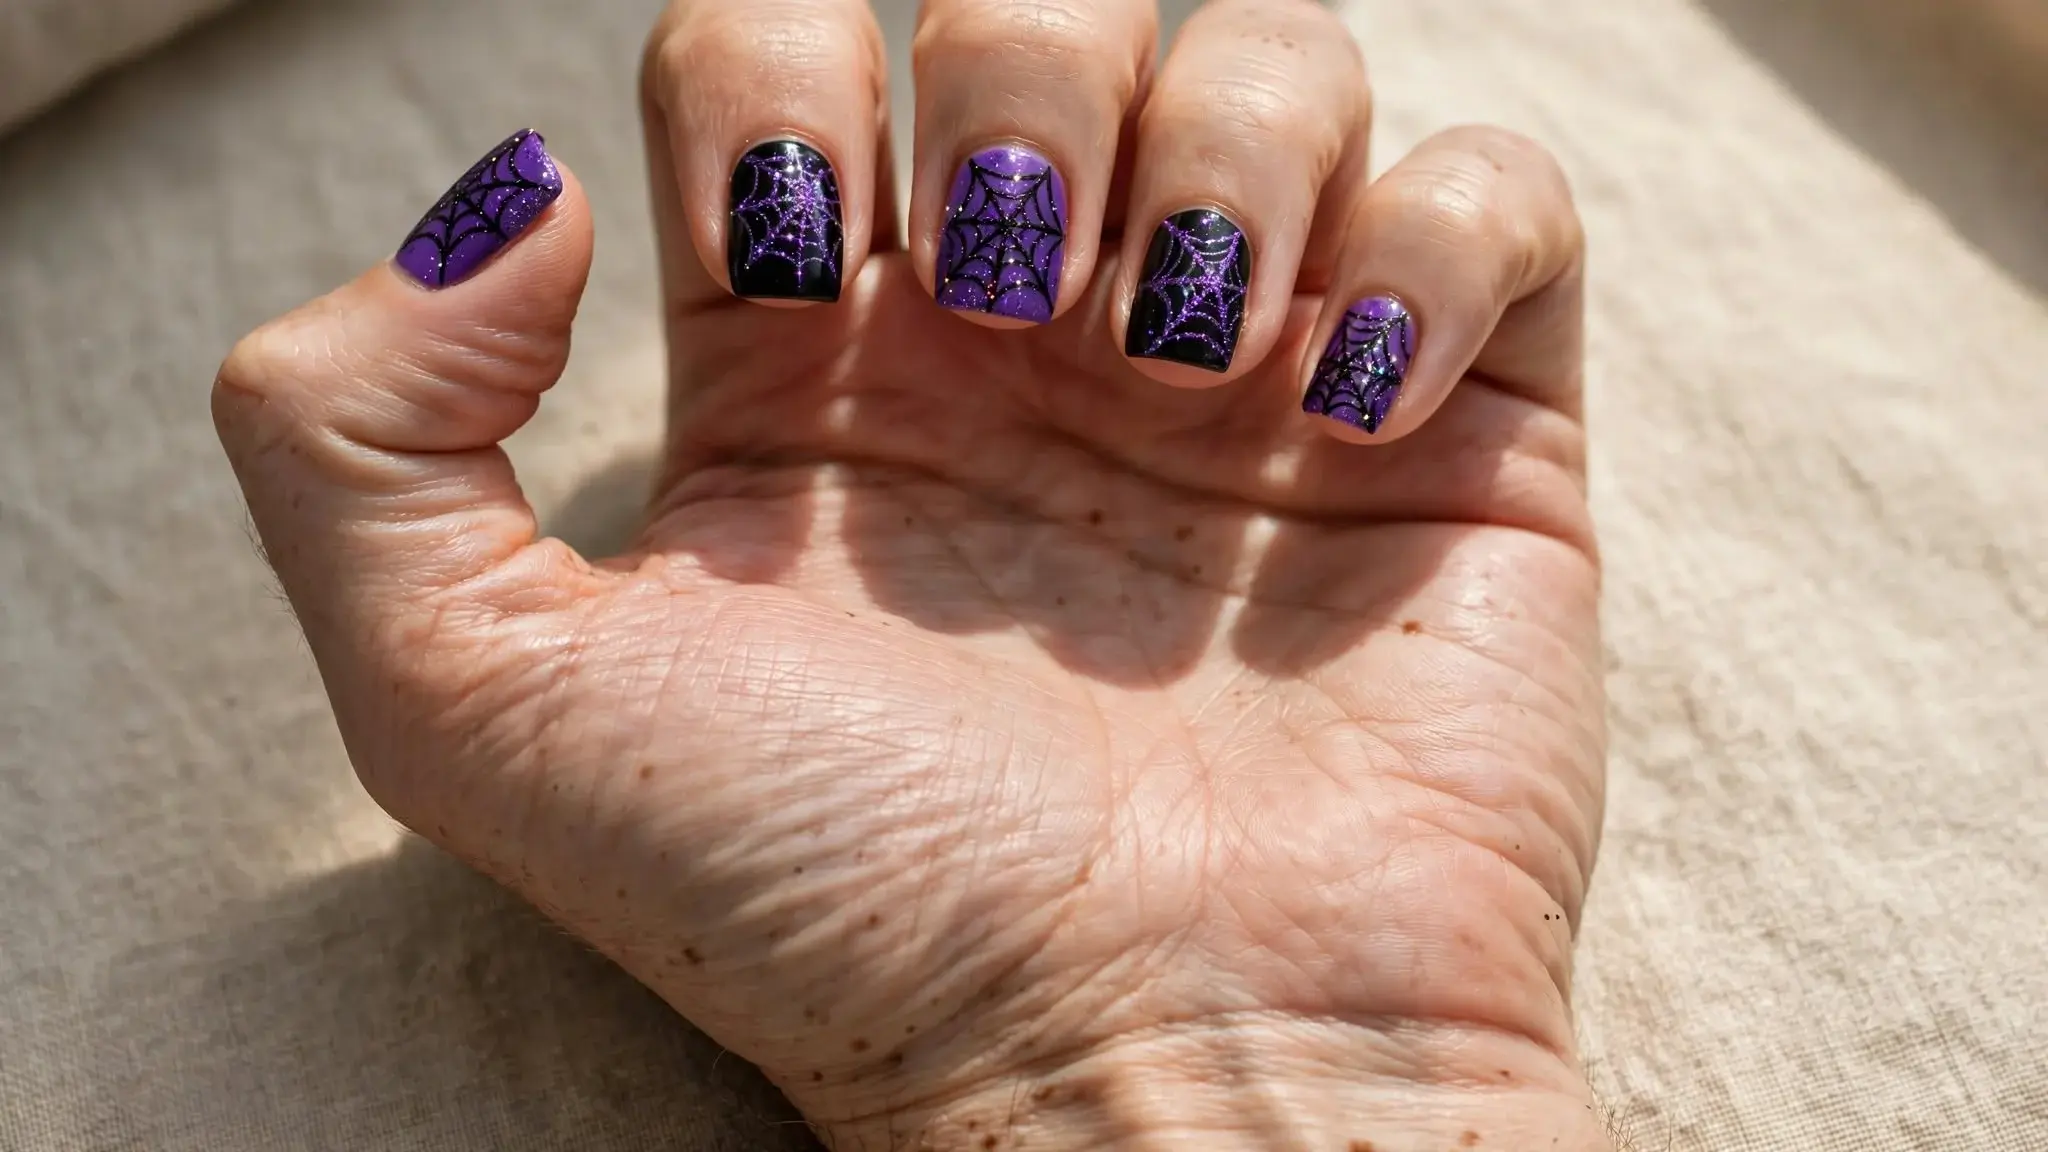
1. Gold Web Corner.
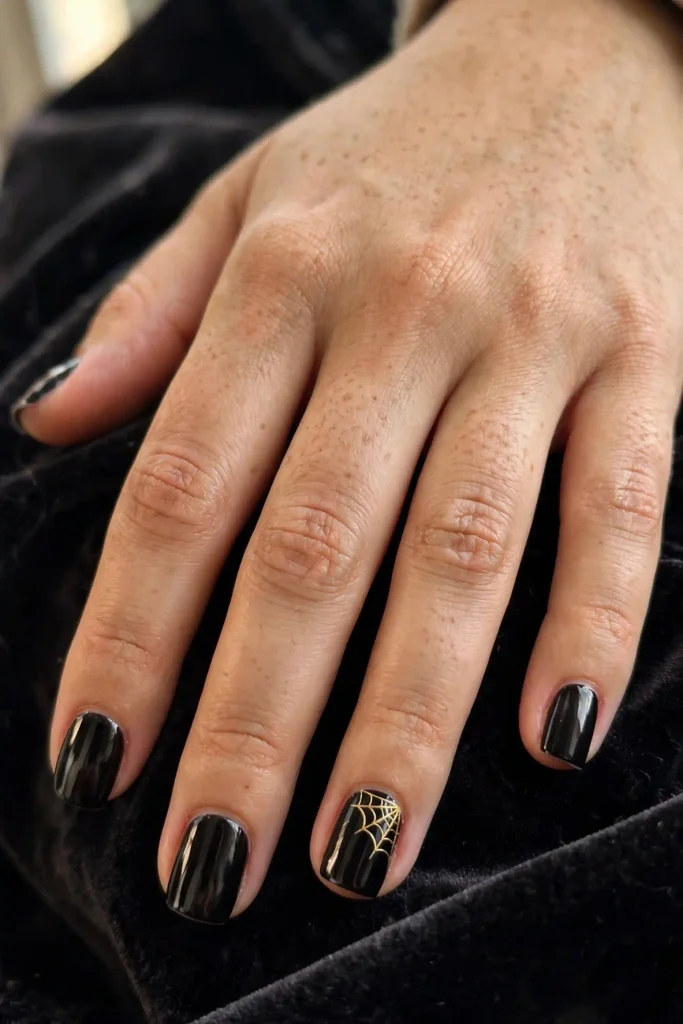
A black cherry or black base with a thin gold spiderweb in one top corner. Three lines from the corner, then two curved lines across them. Keep it to one nail per hand. Try it if you want elegant spooky with velvet and gold hoops.
2. Ghost Peeking Corner.
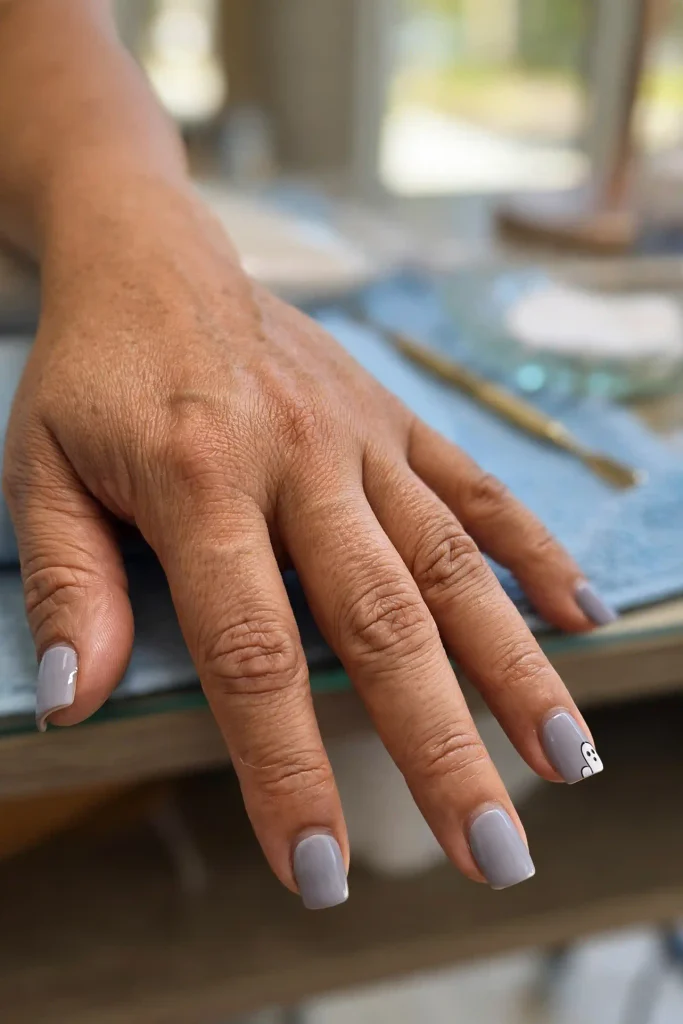
A gray or lavender base with a small white ghost tucked into one bottom corner, as if it is peeking around the edge. Two dot eyes are enough. Try it if you want cute without a big design.
3. Bat in the Corner.
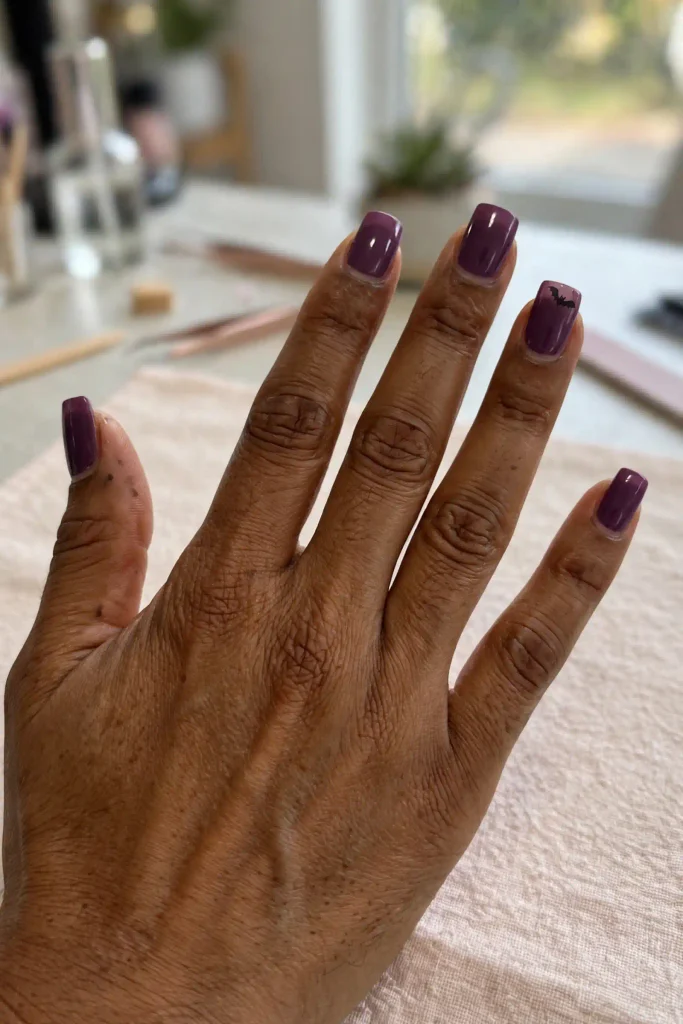
A plum base with one tiny black bat in the upper corner, wings spread. Small is the whole point. Try it if you like subtle nails that reward a second look.
4. Pumpkin Vine Corner.
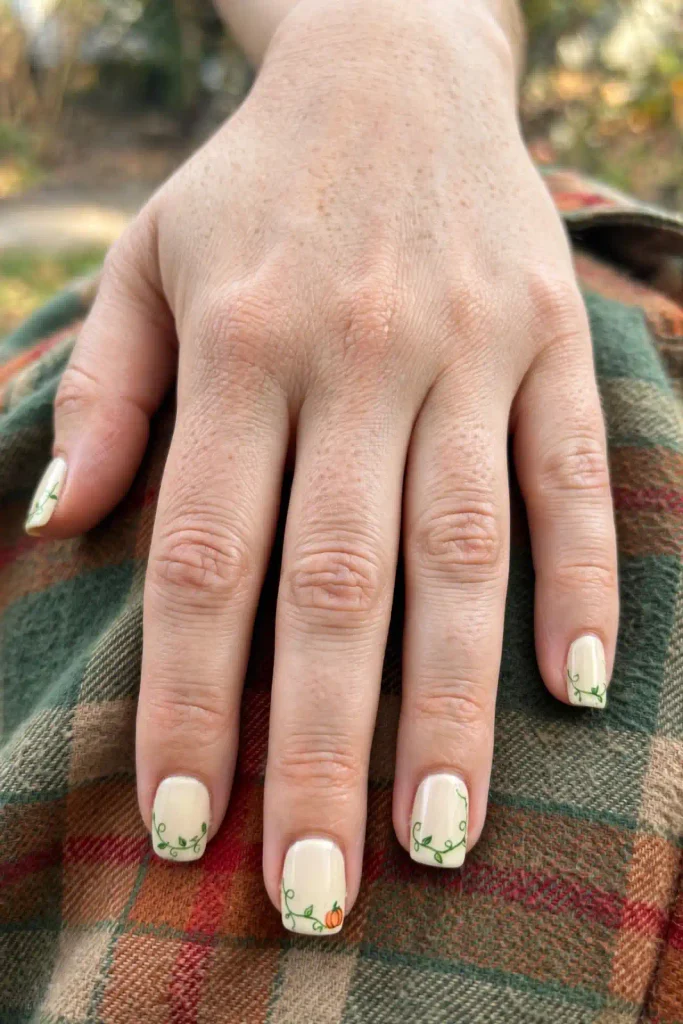
A cream base with a thin green vine curling out of one corner and a tiny orange pumpkin at the end. It feels soft and storybook-like, and it works with plaid and flannel.
Part Two: Edge Designs
The flat tip is a natural line. These designs use it.
5. Candy Corn French.
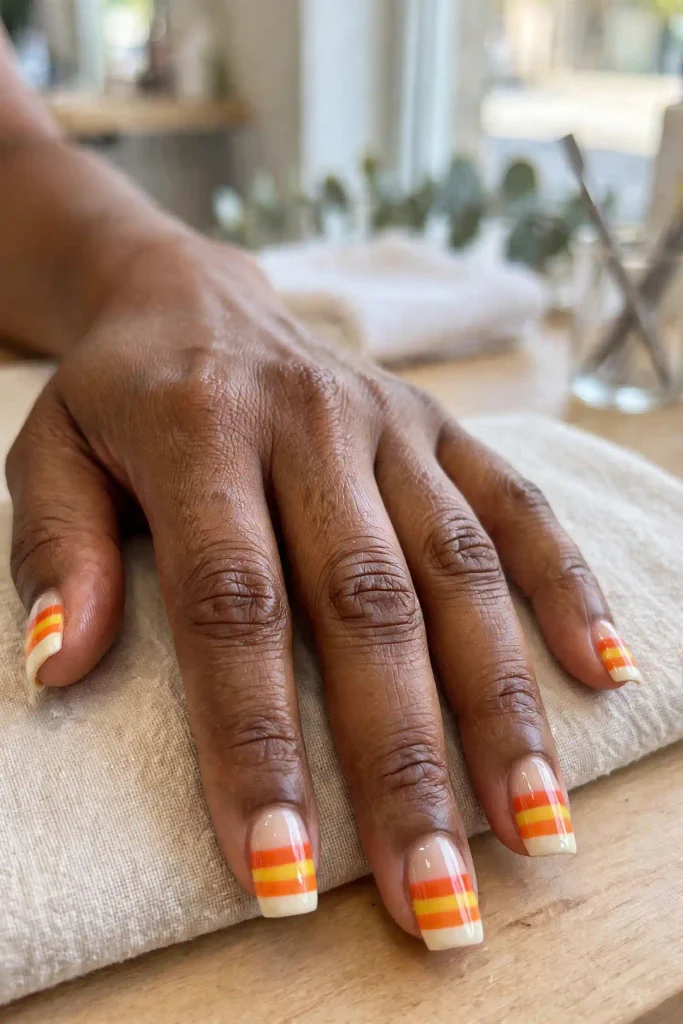
Three straight bands of yellow, orange, and cream across the tip. Square nails make the straightest, cleanest version of this classic. Use thin tape and peel it while the polish is still slightly wet.
6. Dripping Blood Tips.
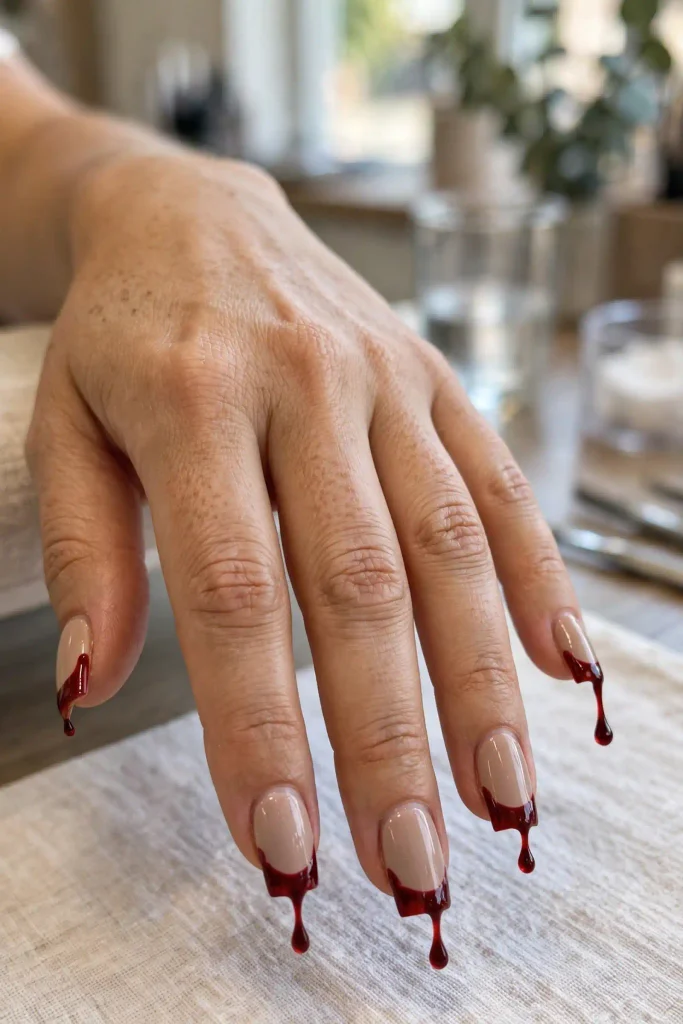
A nude base with deep red drips falling from the flat tip. Make each drip a different length and add a glossy dot at the end of one. It is dramatic but not messy.
7. Black Tip with a Gold Line.
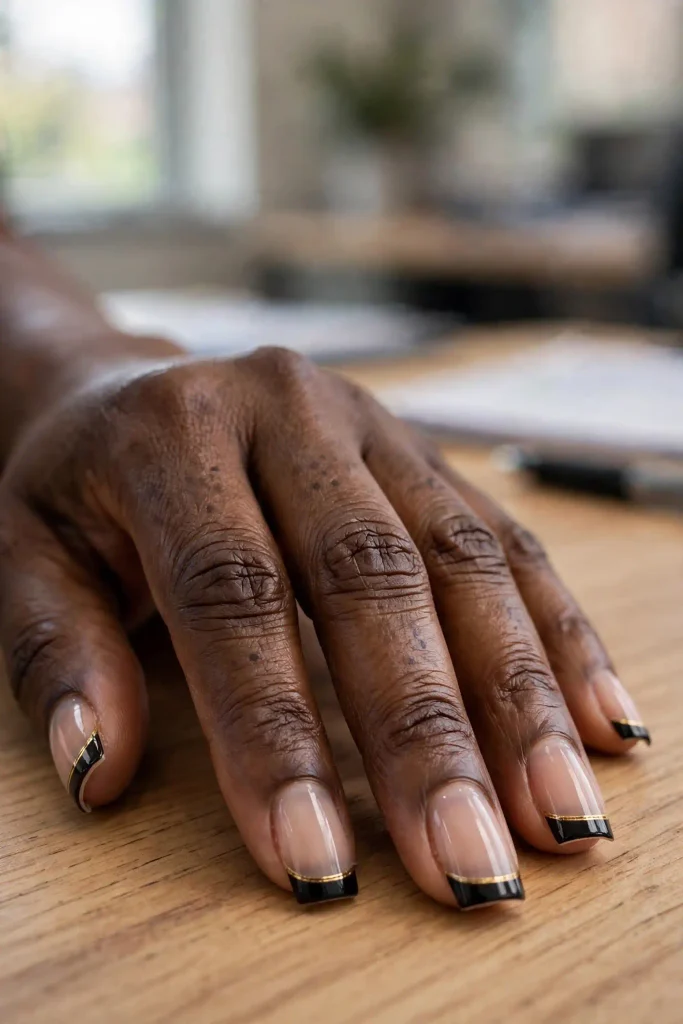
A sheer nude base, a black tip, and a hair-thin gold line just above it. It looks like jewelry, and it suits the office better than you would expect.
8. Purple Fog Tips.
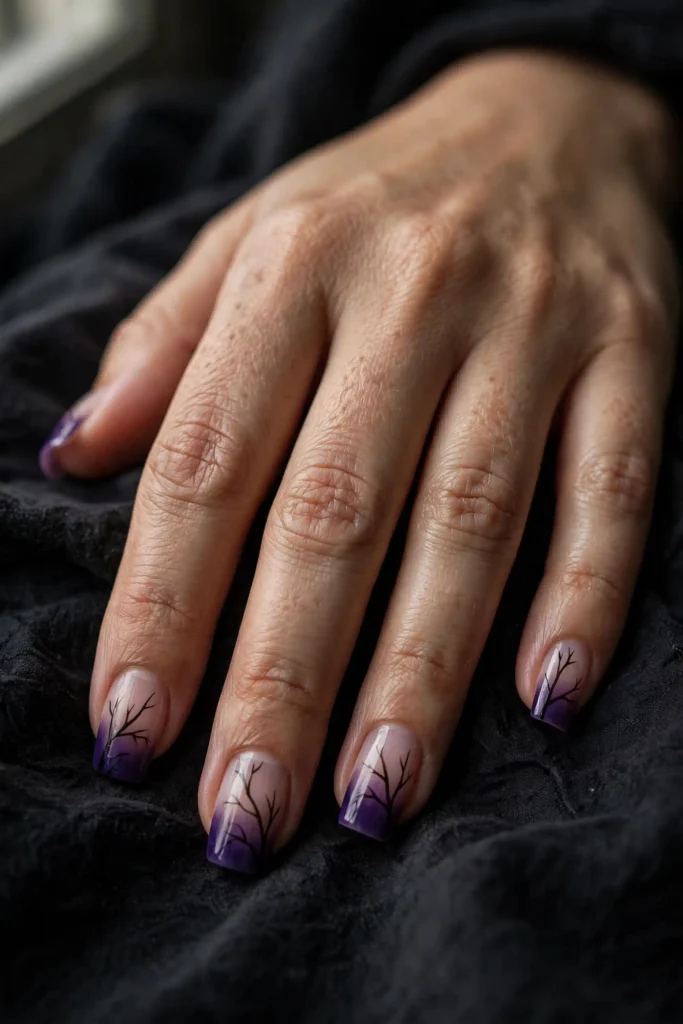
Deep purple fading upward from the tip into a sheer base, with a few thin black branch lines. Sponge the color on and dab instead of dragging.
9. Skeleton Finger Tips.
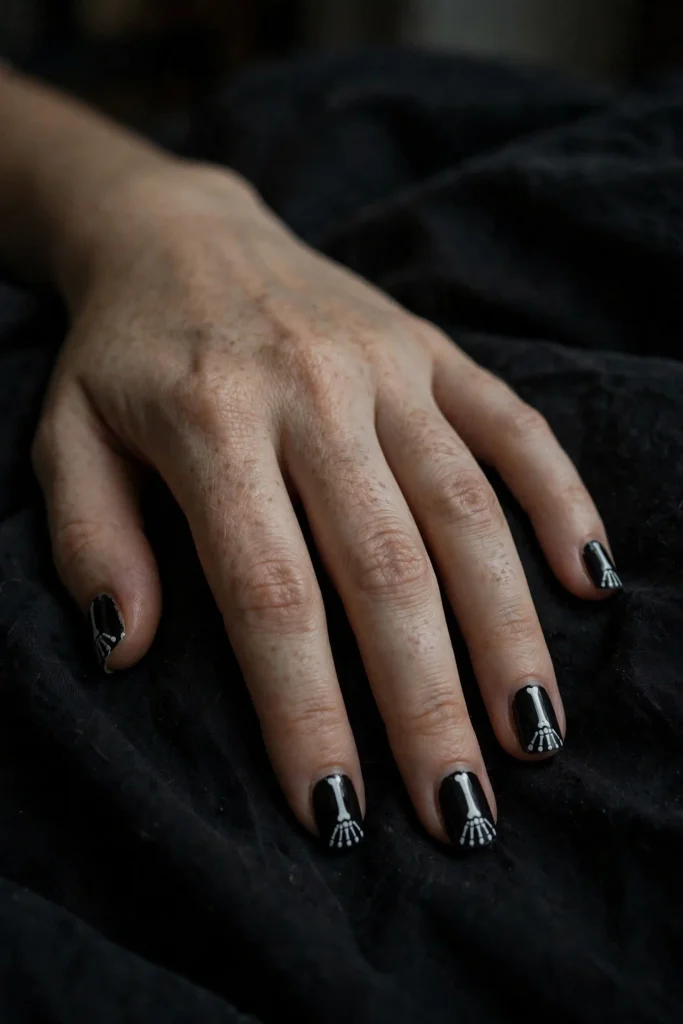
A black base with small white bone shapes only at the tips, like fingertips peeking through. It reads as skeleton hands without covering the whole nail.
Part Three: Center Stage Designs
The flat surface is wide enough for one clear focal point.
10. Big Friendly Ghost.
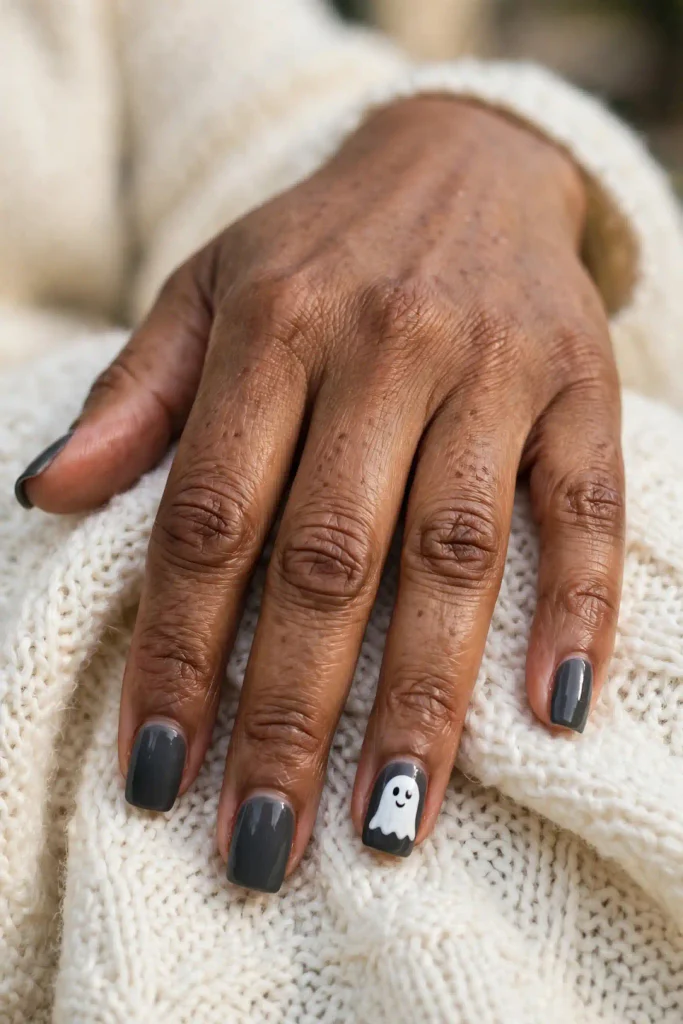
A soft charcoal base with one large white ghost in the center of the ring finger. Give it a wavy bottom, two dot eyes, and a small smile. The rest of the nails stay plain charcoal.
11. The Black Cat Sit.
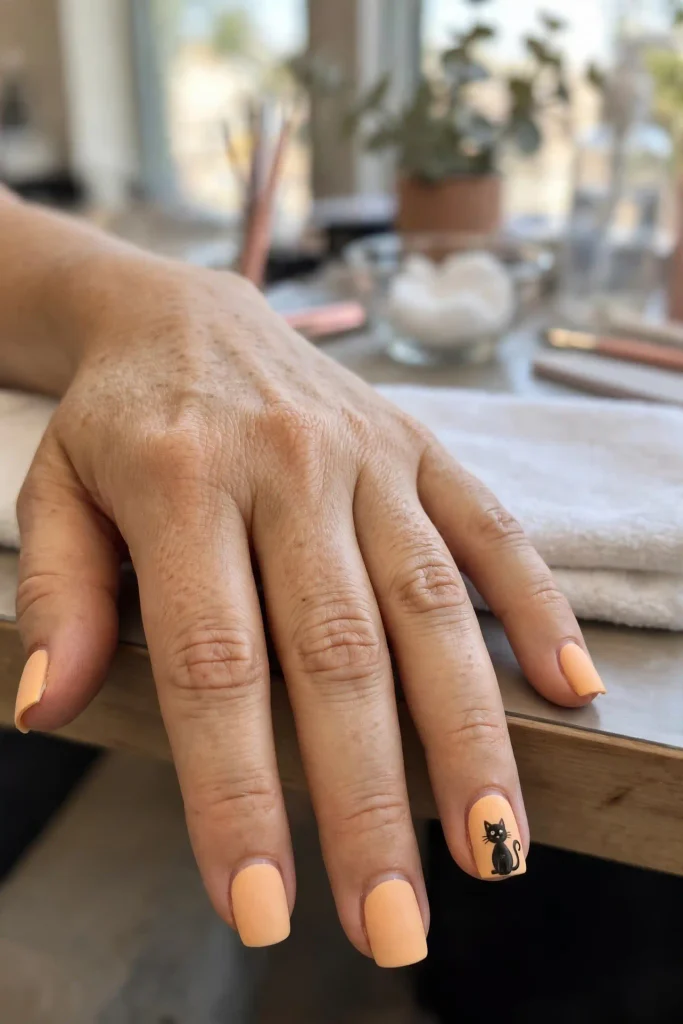
A pale orange base with a small black cat sitting in the center-bottom of one nail. Use an oval body, a circle head, two triangle ears, and a curved tail.
12. Center Pumpkin Face.
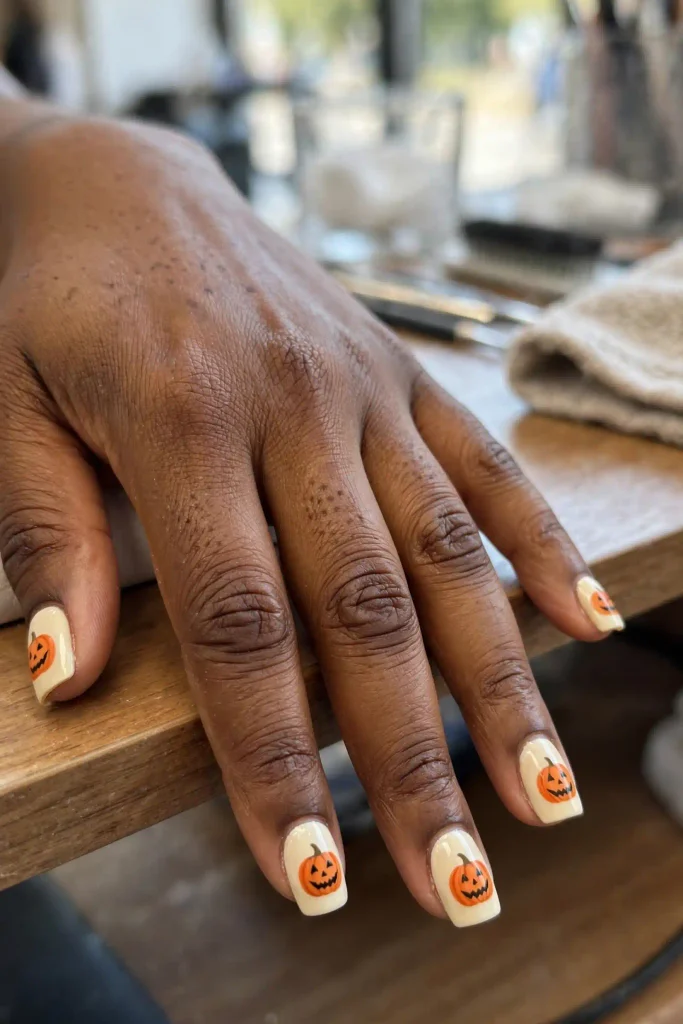
A cream base with a round orange pumpkin and a tiny carved face. Two triangle eyes and a curved mouth are all it needs. It is the cutest option on the list.
13. Moon and Stars.
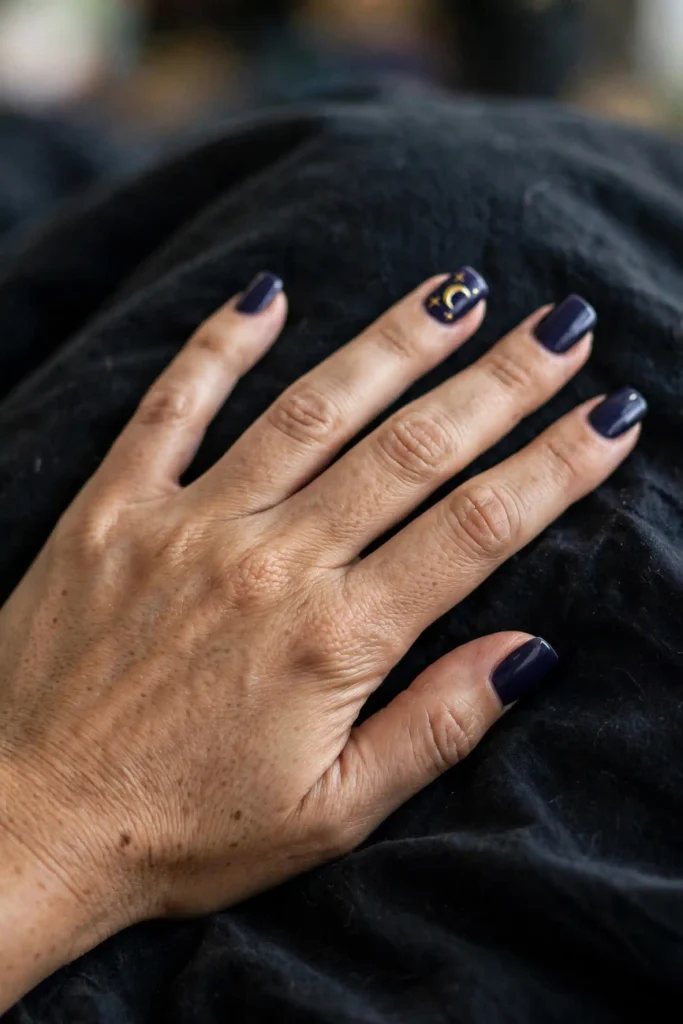
A deep navy or purple base with a single gold crescent moon in the center and two tiny stars nearby. It goes with any costume.
14. Potion Bottle.
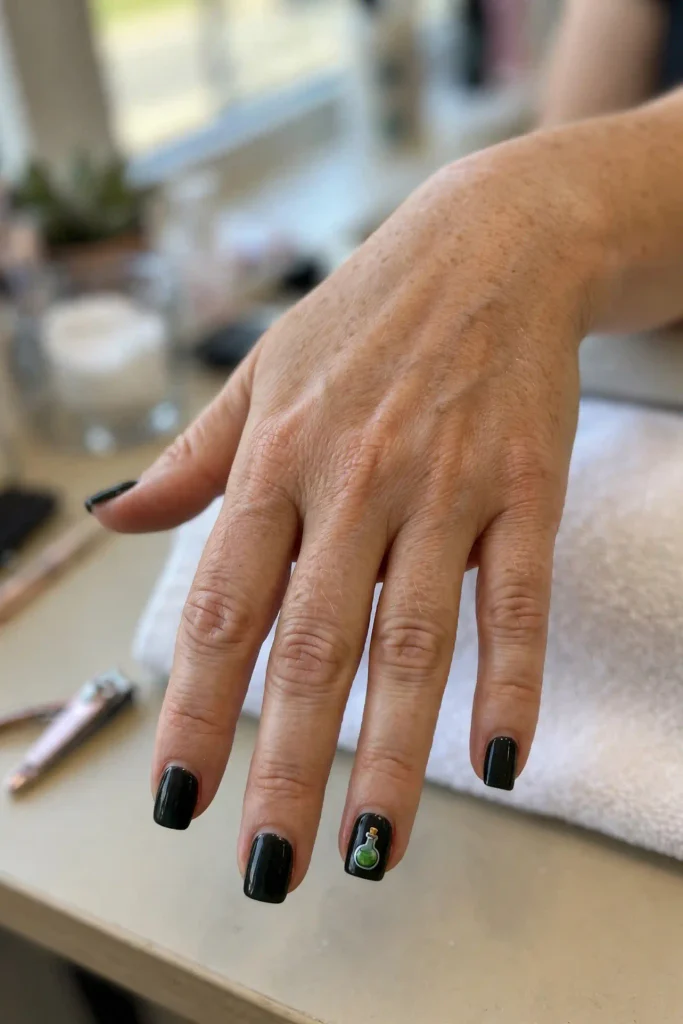
A dark base with a small green bottle shape and a tiny gold cork in the middle of one nail. It is quirky, and it gets compliments from people who look closely.
Part Four: Full Canvas Designs
Square nails also look excellent with the whole nail covered. Use these when you want the manicure to make the statement.
15. Matte Black with Glossy Bats.
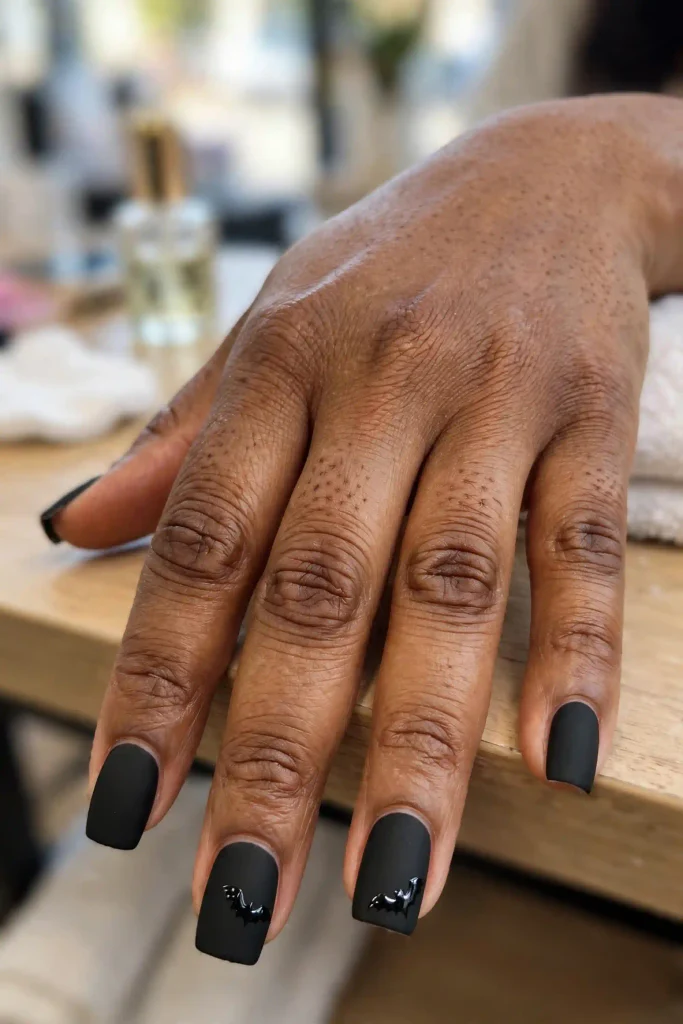
Matte black on every nail, with small glossy black bat shapes painted on two. The bats only appear when light hits them.
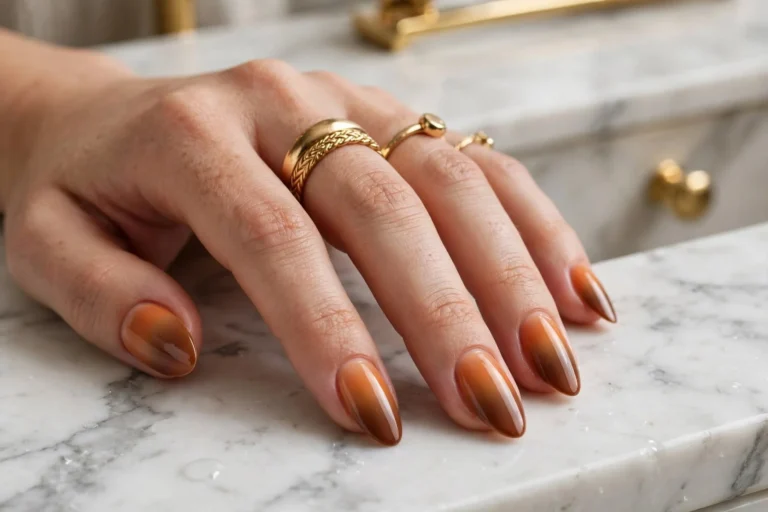
16. Pumpkin Ember Gradient.
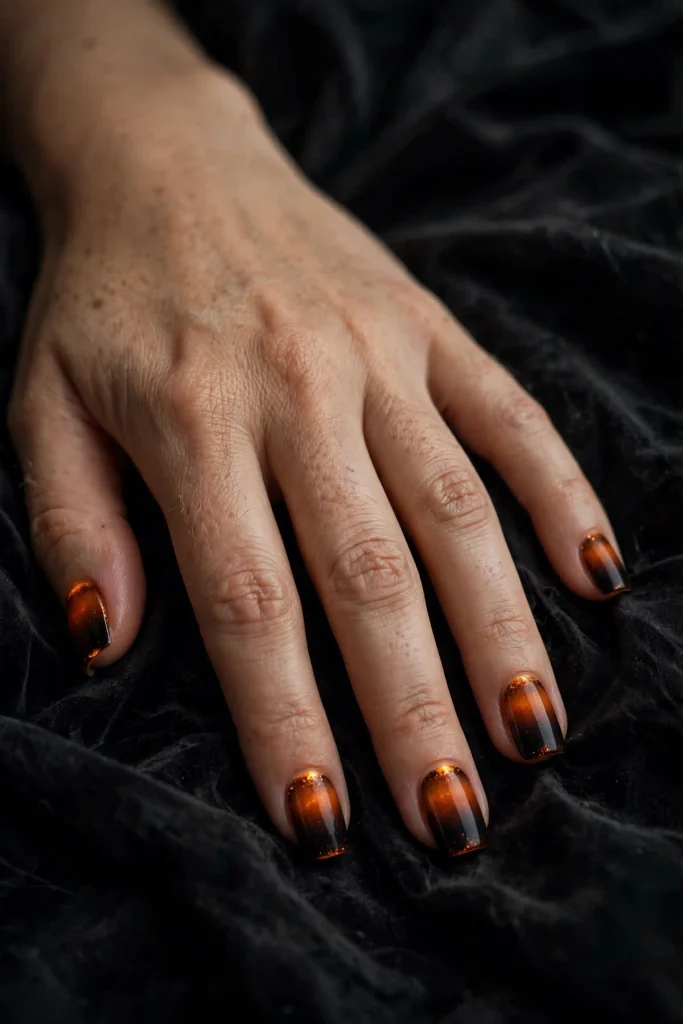
Burnt orange at the cuticle fading into black at the tip across all ten nails. It looks like a glowing pumpkin in a dark room.
17. Black and Orange Checkerboard.
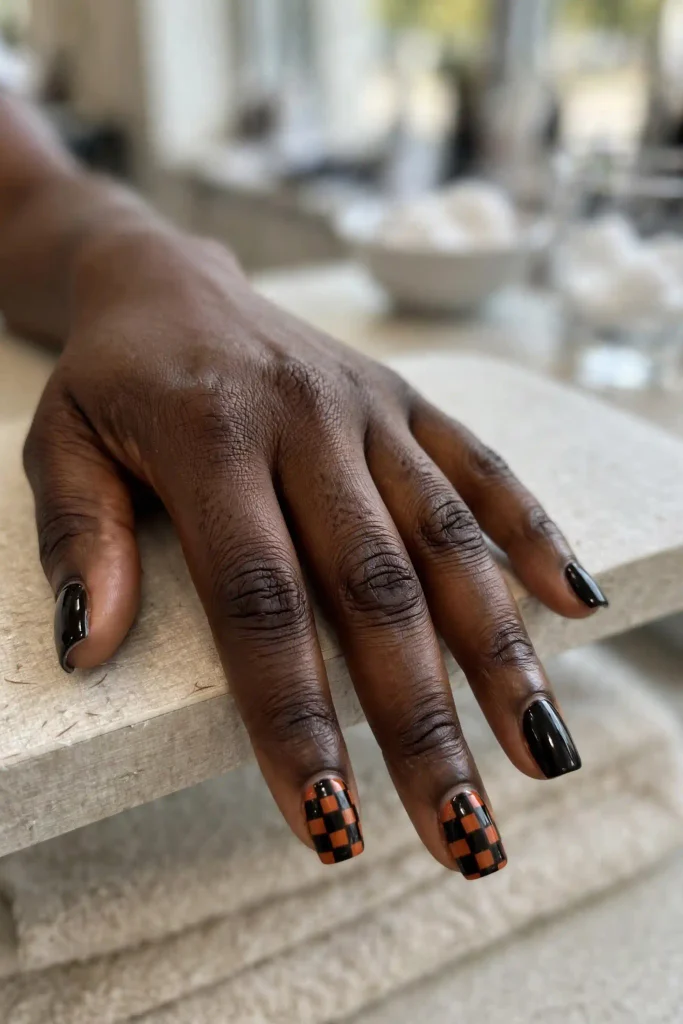
Black and burnt orange squares on two nails, with the rest plain black. Stickers make this much easier than painting it by hand.
18. Velvet Witch Potion.
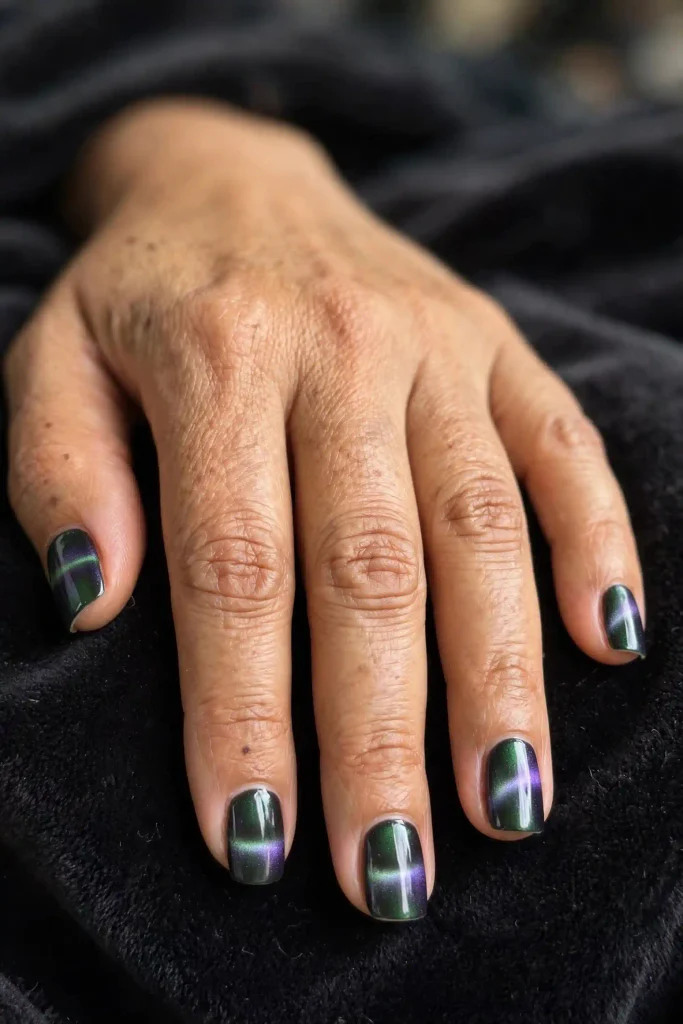
Green or purple magnetic polish across all ten nails, with the shimmer band running straight across the flat nail. Hold the magnet about a centimeter above the wet polish for ten seconds.
Something New: The Square Nail Blueprint
Think of each square nail as a small map with five zones.
- Top corners: Best for tiny details like webs, bats, and vines.
- Bottom corners: Best for peeking ghosts and small stars.
- Flat tip: Best for French lines, drips, and gradients.
- Center: Best for one large focal design.
- Cuticle edge: Best for half-moons and thin gold lines.
Use one or two zones per nail, and leave the rest plain. If you use all five, the nail looks crowded.
The Corner Snag Fix
Sharp corners snag sweaters, tights, and hair. Try these fixes.
- Ask for softened corners, which is a light file at each corner.
- Seal the corner with top coat, since chips often begin there.
- Keep a mini file in your bag for rough spots.
- If snags keep happening, choose squoval, a square with rounded corners.
Length Test for Square Nails
Hold your hand palm-down at eye level. If you can see the flat tip clearly past your fingertip, you are at medium or long length. Very short square nails suit tiny accents and dots. Medium square nails suit almost every design here. Long square nails need extra structure, so ask your tech for a strong build if you are having acrylics or gel done.
Which Placement Suits You?
If you type all day, choose corner or edge designs, since they stay small and are easier to touch up. If you want people to notice your hands, choose center stage or full canvas. If you are nervous about painting details, choose edge designs with tape or full-canvas colors. If you work in an office, choose corner designs on one nail per hand.
The Party Night Countdown
One week before: Choose your design and buy stickers or tape.
Two days before: Paint your nails, and let the base dry fully before adding art.
The night before: Add your top coat and cap the free edge on each nail.
The day of: File any rough corner, add cuticle oil, and pack a mini file and top coat.
At the party: If a corner chips, dab a little top coat on it and smooth it with your fingertip.
Rate Your Set
Give your finished manicure one point for each yes.
- Is there only one focal point per nail?
- Are the corners smooth and sealed?
- Are the colors limited to three plus one metallic?
- Are the cuticles neat?
- Does it match your outfit?
Four or five points means you are ready for the party. Two or three means one small fix is all you need.
Three Quick Answers
Can I wear these to work?
Yes. Try the Gold Web Corner (#1), Black Tip with a Gold Line (#7), or Bat in the Corner (#3).
What is the easiest design for beginners?
Big Friendly Ghost (#10) and Candy Corn French (#5) with tape.
How long will they last?
Five to seven days with regular polish and two to three weeks with gel.
Which part of the square nail are you decorating first: the corners, the edge, the center, or the whole canvas?
Save this post for your next nail night, and send it to a friend who says square nails are too plain for Halloween.