15 Halloween Decorations Classroom Ideas So Cute Your Students Will Squeal (And the Principal Will Approve)
The October My Classroom Accidentally Terrified a Kindergartner
My first year teaching, I decorated my classroom for Halloween the way I would decorate my own apartment: dramatic, dark, and — I thought — cool. Black streamers hung from the ceiling like a haunted cave. A life-size witch with a green face loomed over the reading corner. The door had a skull on it. I stood back, proud, arms crossed, thinking this was Pinterest gold.
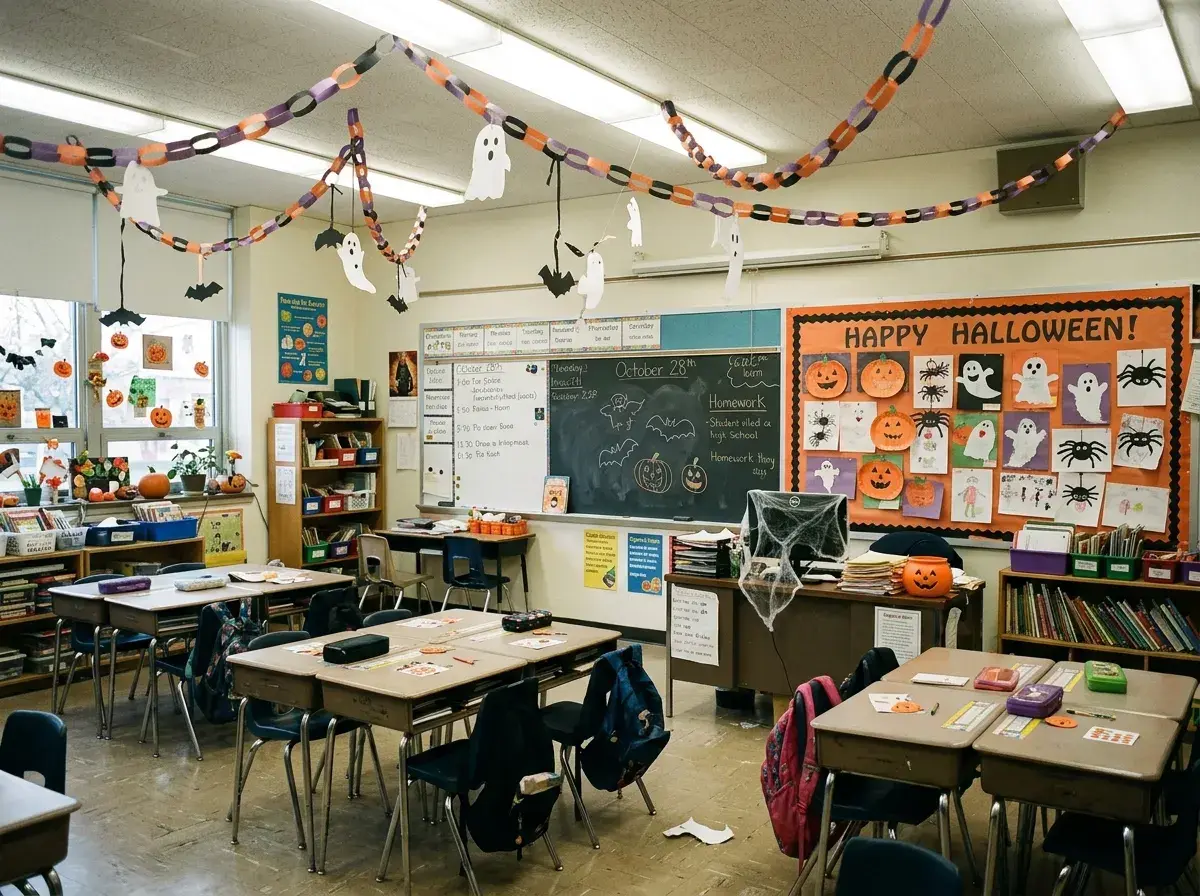
Then little Emma walked in, took one look at the witch, and burst into tears so loud the teacher next door came to check on us. That was Monday. By Wednesday, my principal had “stopped by” — which is principal code for “someone’s mom called” — and asked, with the gentlest possible voice, if maybe we could make things “a little more… welcoming.” I spent that weekend redoing the entire room with smiling ghosts, orange pumpkins, and a bat garland that swung cheerfully from the ceiling. The kids loved it. Emma hugged the paper pumpkin on my door and said it was her friend.
That is the whole philosophy of this list: classroom Halloween decor should be cute, not creepy. Fun, not frightening. And — because we are teachers with teacher salaries — cheap, quick, and easy to store in one plastic bin until next October. Here is my exact Monday-to-Friday decorating plan, perfected over years of trial, error, and one very memorable parent-teacher conference.
Monday: The Door & Entrance
Your classroom door is the first thing kids see, and it sets the tone for everything inside. Spend your Monday here — it is the highest-impact real estate in the entire room, and it takes under an hour. Pro tip from years of doing this: decorate the door after the kids leave, so they walk into the surprise Tuesday morning. The gasps are worth it. Trust me.
1. The Friendly Monster Door
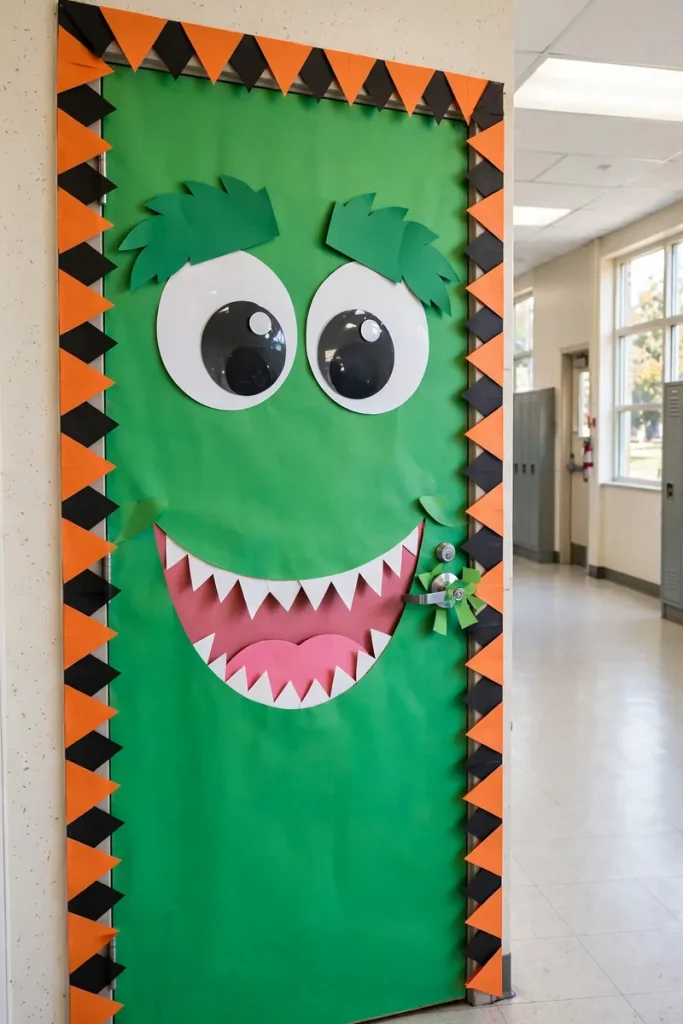
Turn your door into a giant, goofy green monster with a huge paper grin and googly eyes the size of dinner plates. Use green butcher paper for the door itself, white paper teeth, and the biggest googly eyes you can find — craft stores sell them the size of your palm, and bigger is funnier. The whole thing costs about eight dollars and takes thirty minutes. The best part? Kids cannot resist touching the teeth as they walk in, which is honestly a great attendance motivator. I call mine Marvin. He has been with me six years. The eyes are starting to peel, which only makes him look more lovable.
2. The Mummy-Wrapped Door
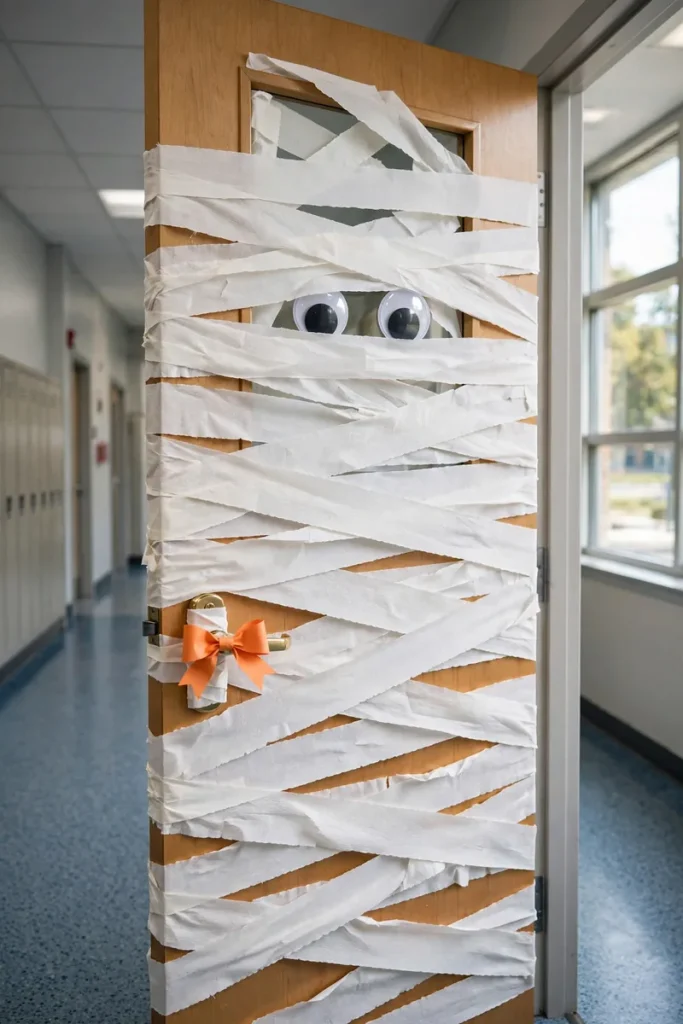
If monsters are not your thing, wrap the whole door in white crepe-paper streamers like a friendly mummy, then add two giant googly eyes peeking through the bandages. Crepe paper is about two dollars a roll, and you need two rolls — eight feet of vertical door covered in thirty seconds per strip. The secret is painter’s tape, which comes off clean in November and does not anger the custodians. Custodians remember. Be kind to the custodians. A tiny orange bow on the door handle is the finishing touch that makes parents say “awww” at open house.
Tuesday: The Walls & Boards
Tuesday is wall day. The rule for classroom walls is simple: nothing permanent, nothing that falls down during a fire drill, and nothing that blocks the anchor charts you actually need to teach. Everything here comes down flat and slides into a folder or bin.
3. The Ghost Bulletin Board
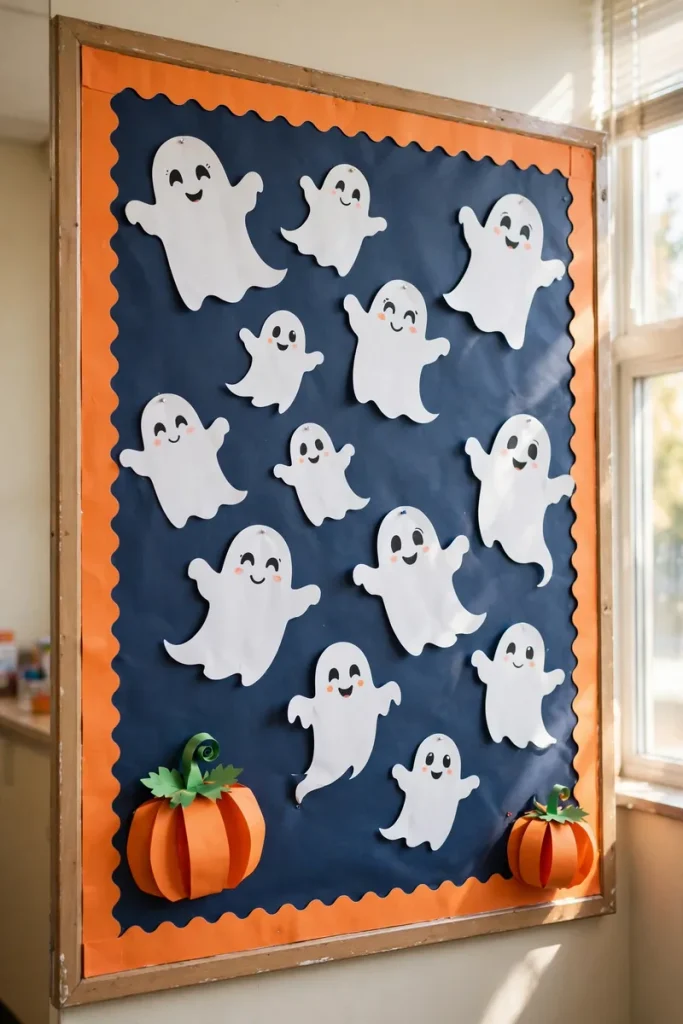
Cover your bulletin board in dark blue paper and fill it with white paper ghosts — each one with a different silly face. Then write each student’s name on a ghost (or let them write their own). Suddenly it is not just decor, it is a class list the kids actually look at. Cost: one roll of blue paper and a pack of white construction paper, maybe six dollars total. Storage: roll it up with the ghosts still attached. I have unrolled the same board three years running and the kids still ooh at it like it is brand new.
4. The Bat Garland Whiteboard
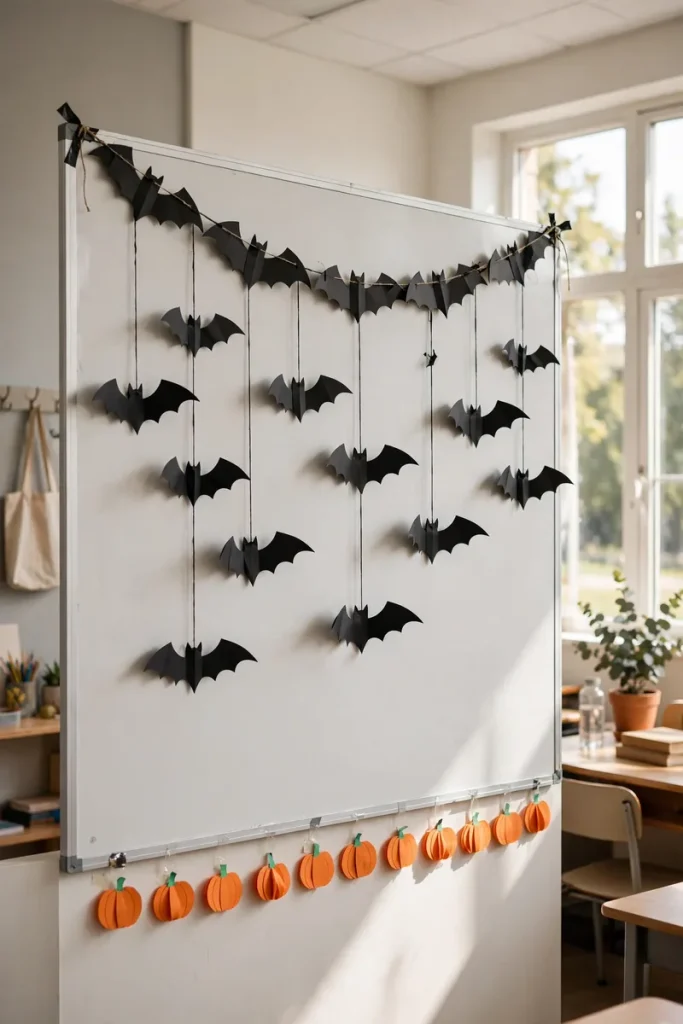
Cut a dozen black bats from construction paper, punch a hole in each wing, and string them on yarn across the top of your whiteboard. Fold a few wings forward so the bats look like they are flying at different angles — it takes ten extra seconds and makes them look alive. Total cost: under two dollars. Total time: fifteen minutes while your morning coffee brews. The kids will count them every single day, so make sure the number is even, or someone will notice. They always notice.
5. The Black Cat Wall Trail
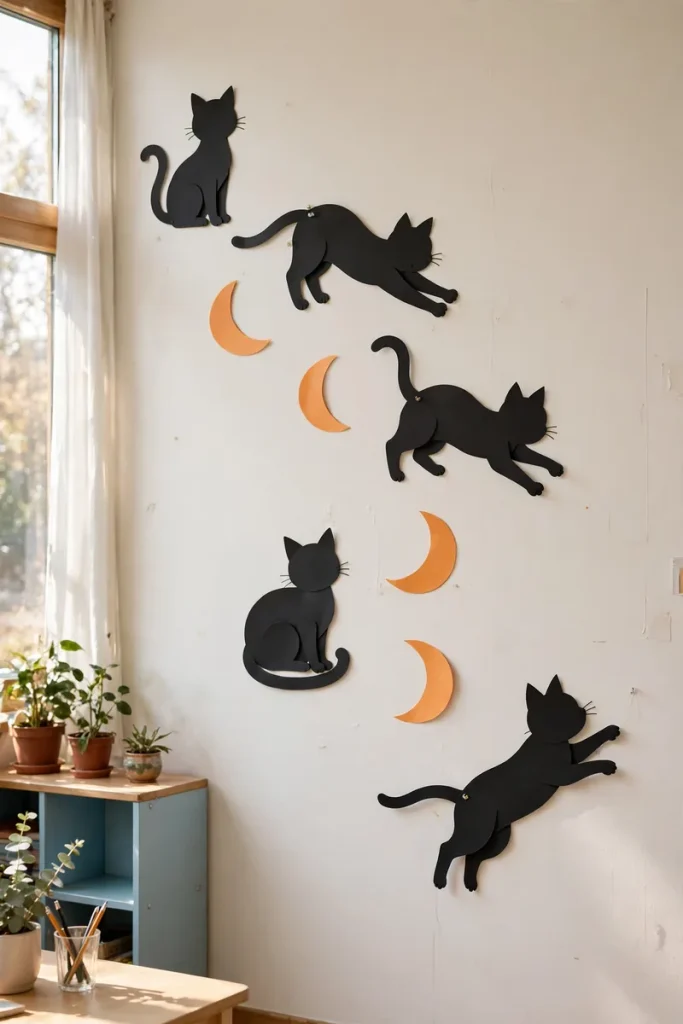
Cut black cat silhouettes in different poses — sitting, stretching, mid-pounce — and arrange them in a trail across one wall, like they are sneaking toward something. Tuck a few orange paper moons between them. This one is pure silhouette magic: it looks incredibly fancy and costs basically nothing, because black construction paper is the cheapest thing in the craft aisle. Stick them up with sticky tack so you can reposition the cats into increasingly dramatic poses all month. By the 31st, my cats are always in full chase formation. The kids vote on the final pose.
Wednesday: The Learning Centers
Wednesday is my favorite day, because this is where decorations stop being just pretty and start being useful. Admins love this. “Decorations” that secretly teach? That is a professional development win disguised as a pumpkin.
6. The Mini Pumpkin Painting Station
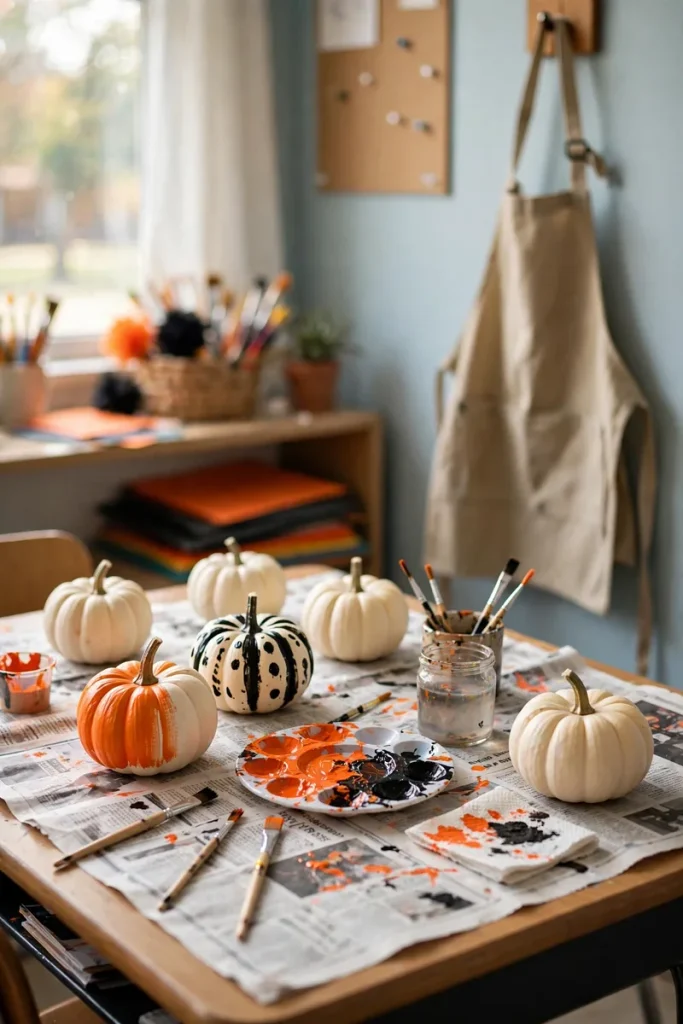
Set up a desk with a tray of white mini pumpkins, washable kids’ paints, and small brushes — and let it double as your art center all month. Mini pumpkins are about fifty cents each at the grocery store in October, and a class set of thirty runs you fifteen dollars. The pumpkins dry overnight, and then they become your math counters, your writing prompts (“write a story about your pumpkin”), and your take-home gift on the 31st. One purchase, three weeks of lessons. This is the hardest-working fifteen dollars in my classroom budget.
7. The Pumpkin Math Center
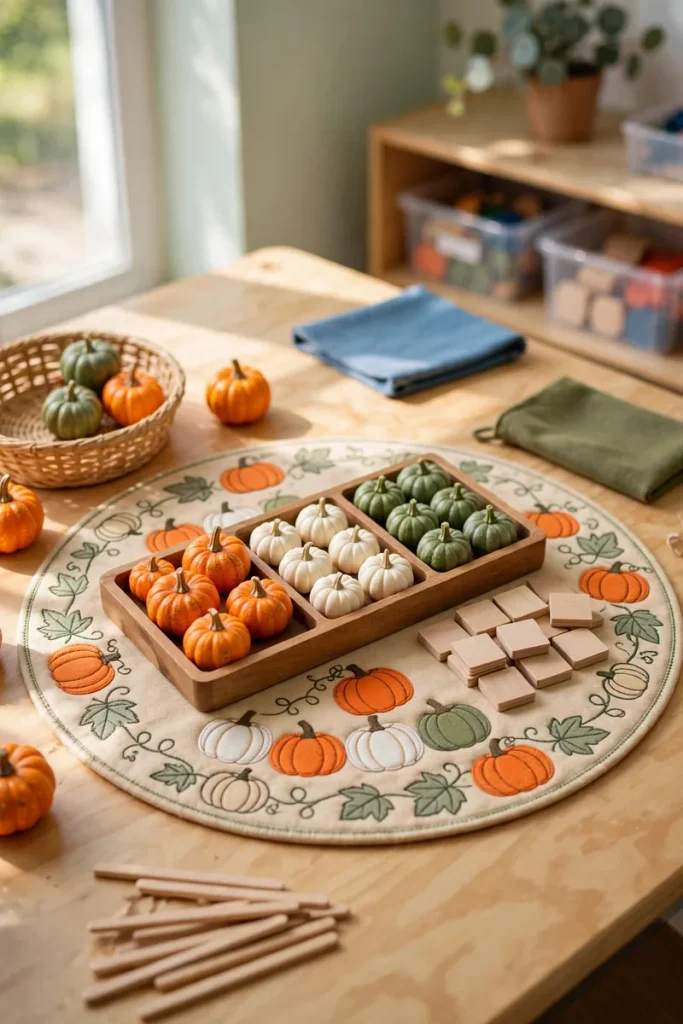
Fill a tray with miniature pumpkins in orange, white, and green, add some number tiles, and you have a counting and sorting center that looks adorable on your shelf. Sorting by color, counting by twos, weighing them on a balance scale — it is all math, and the kids think it is a game. The mini pumpkins last about three weeks before they get soft, so buy them the second week of October. When they start to go, the class votes on a “retirement ceremony” for the squishiest one. Second grade is very emotional about pumpkins.
Thursday: The Cozy Corners
Thursday is for the corners — the reading nook, the library, the windowsill. These are the spots that make a classroom feel warm instead of just decorated, and they are where your October classroom photos will come from. (And yes, you will take photos. Everyone does.)
8. The Friendly Spider Web Reading Corner
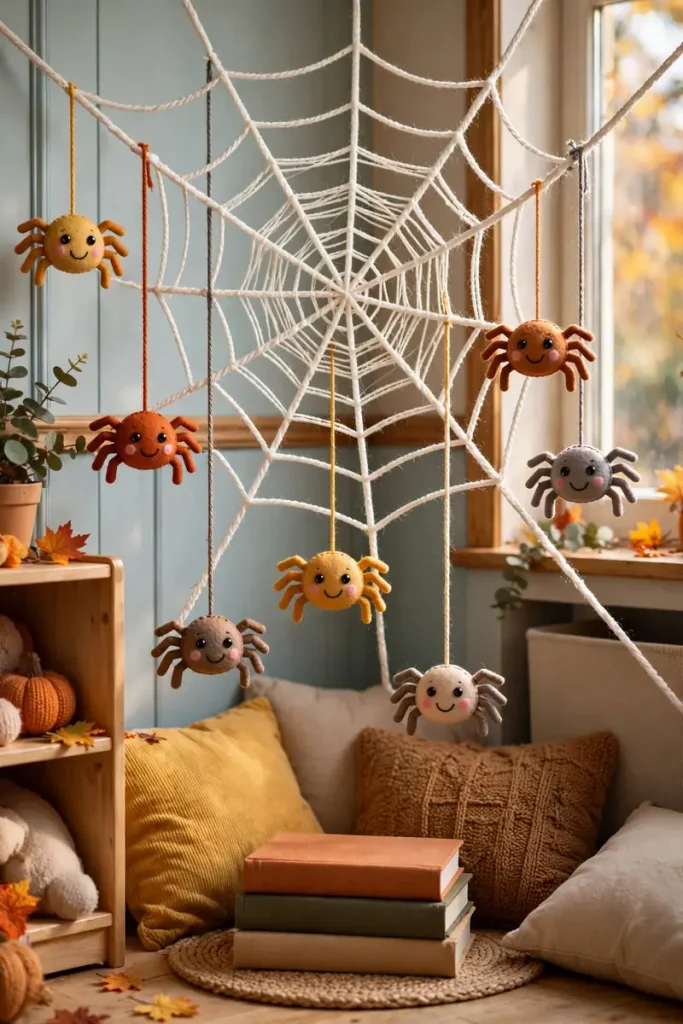
Stretch white yarn across one corner of the room in a big spider web, then hang cute felt spiders with smiling faces from it. The yarn is two dollars, the felt spiders are a pack of twelve for four dollars, and the whole thing takes twenty minutes with a step stool. Kids beg to read under the web — something about reading under a spider web makes even reluctant readers open a book. It is also the number-one spot for class photos, so position it where the light is good. Future you will thank present you.
9. The Haunted Library Corner
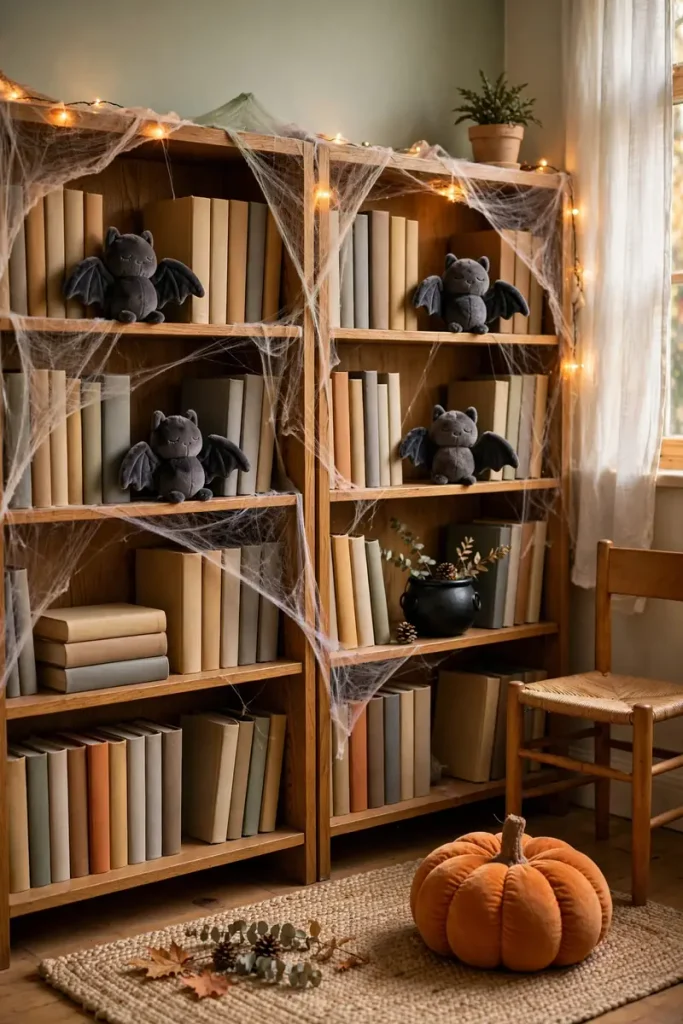
Drape cheap cheesecloth over your bookshelves like cobwebs, add a plastic cauldron and a couple of plush bats, and put a pumpkin-shaped pillow on the rug. Cheesecloth is three dollars a pack and covers a shocking amount of shelf. The key word is “haunted,” not “scary” — everything here should look like a cartoon, not a horror movie. My rule: if it would make a kindergartner cry, it goes in the donation pile. The plush bats have names. The kids named them. One is called Professor Flappy.
10. The Orange and Black Reading Nook
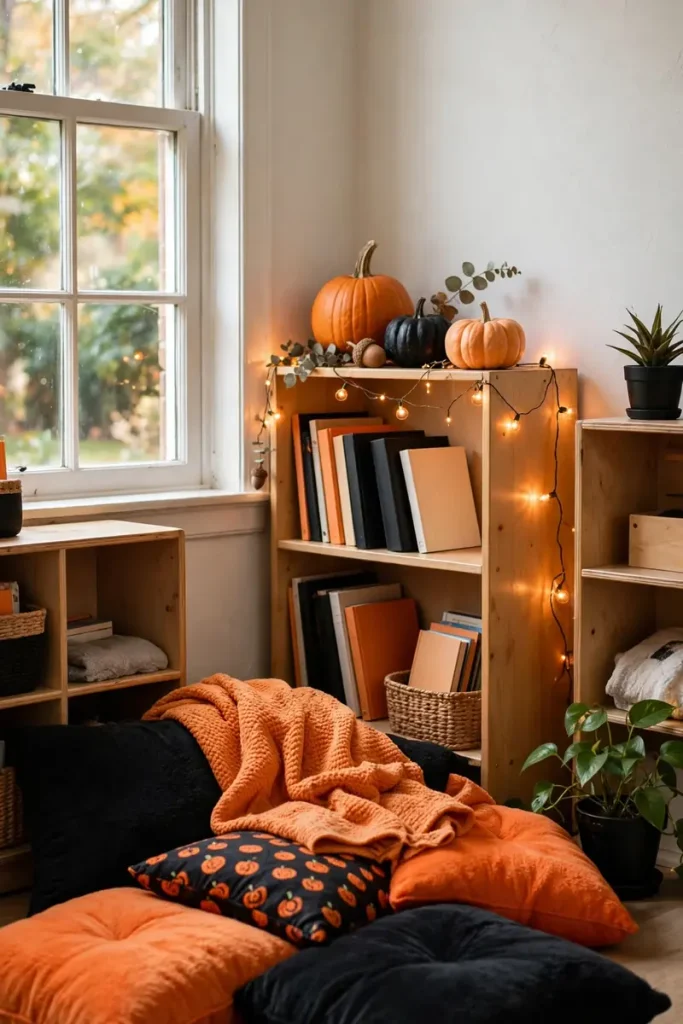
Skip the costumes and the monsters entirely and just go with a color story: orange and black floor cushions, a soft orange throw, a small shelf with pumpkin decor and warm string lights. It reads “Halloween” instantly without a single spooky thing in sight — perfect for schools with strict decoration policies or younger kids. Battery string lights are five dollars and last all month on one set of batteries. This nook doubles as your calm-down corner, which means it is doing emotional-regulation work while looking cute. Multitasking decor is the best decor.
11. The Ghost Lantern Windowsill
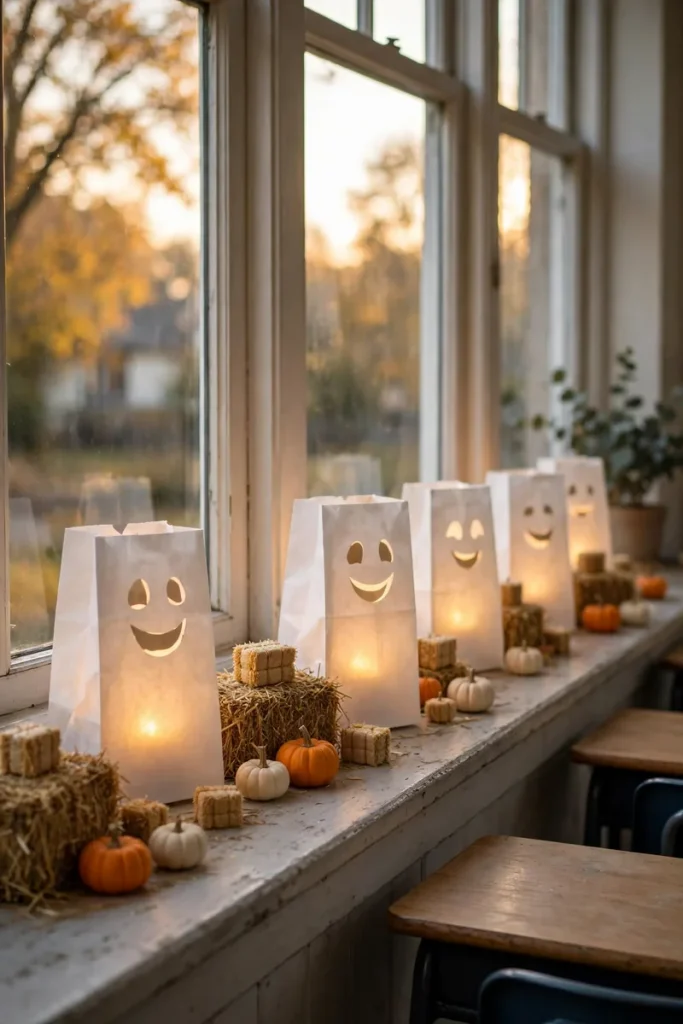
Line your windowsill with white paper-bag lanterns — lunch bags with smiling ghost faces cut out, each with an LED tea light inside. A pack of bags is two dollars, LED tea lights are a dollar store goldmine (ten for a dollar), and the glow in the late-afternoon light is genuinely magical. Use LED only — real candles in a classroom are a fire code violation and a one-way ticket to a very uncomfortable meeting. The kids love blowing on the bags to make the “ghosts” flicker. Physics lesson, free of charge.
Friday: The Finishing Touches & Party Table
Friday is for the details — the little things on your desk, the banner across the room, and the party table setup you will be glad you planned ahead for. By Friday, your room should feel done. Walk in, take a photo, and bask.
12. The Candy Corn Bunting Banner
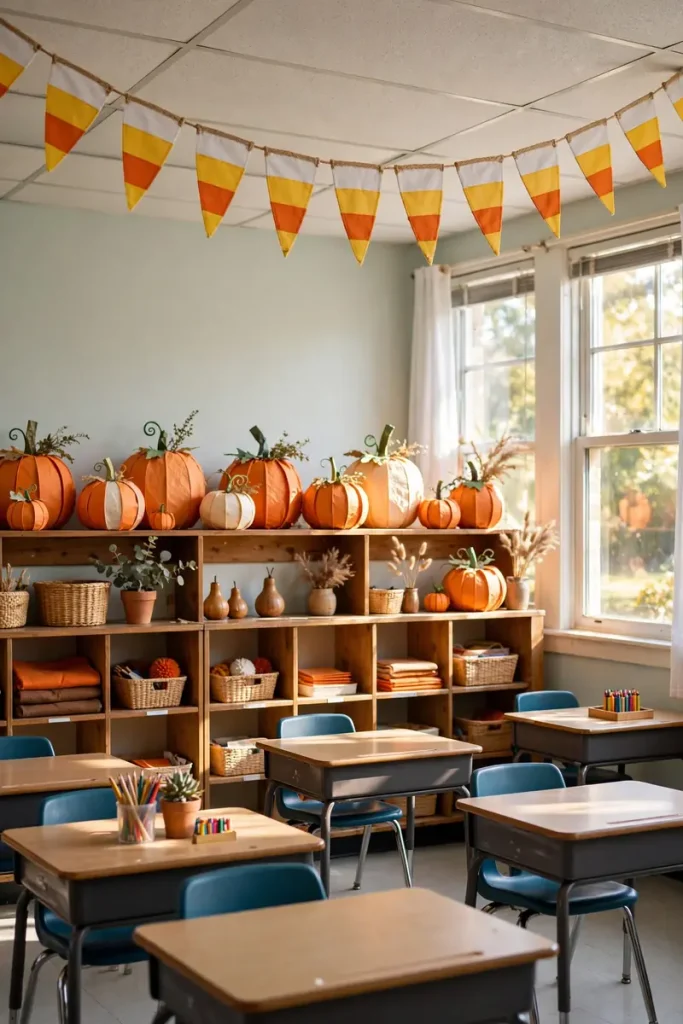
String a candy corn banner — orange, yellow, and white paper triangles — across the room, and it instantly says October. Cut the triangles from three sheets of construction paper (basically free from your supply closet), string them on yarn, and hang with removable hooks. It takes twenty minutes and the color combo is so cheerful it lifts the whole room. Hang it high enough that tall fifth graders cannot grab it. They will try. They always try.
13. The Witch Hat Teacher Desk Centerpiece
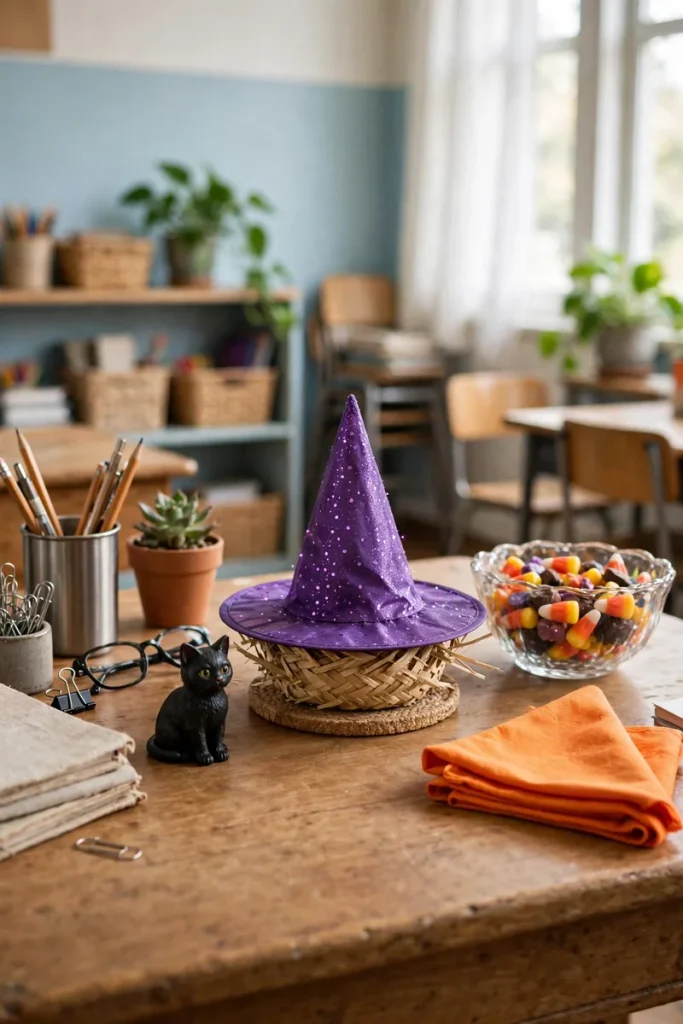
Put a small sparkly witch hat on your desk next to a candy bowl and a tiny black cat figurine, and your desk becomes the cutest spot in the room. The hat is three dollars at any party store, the cat figurine is a dollar, and the candy bowl is technically for “guests” but we all know how that ends. Keep the candy bowl stocked and you will have more parent volunteers than you know what to do with. Bribery? No. Hospitality.
14. The Skeleton Classroom Helper
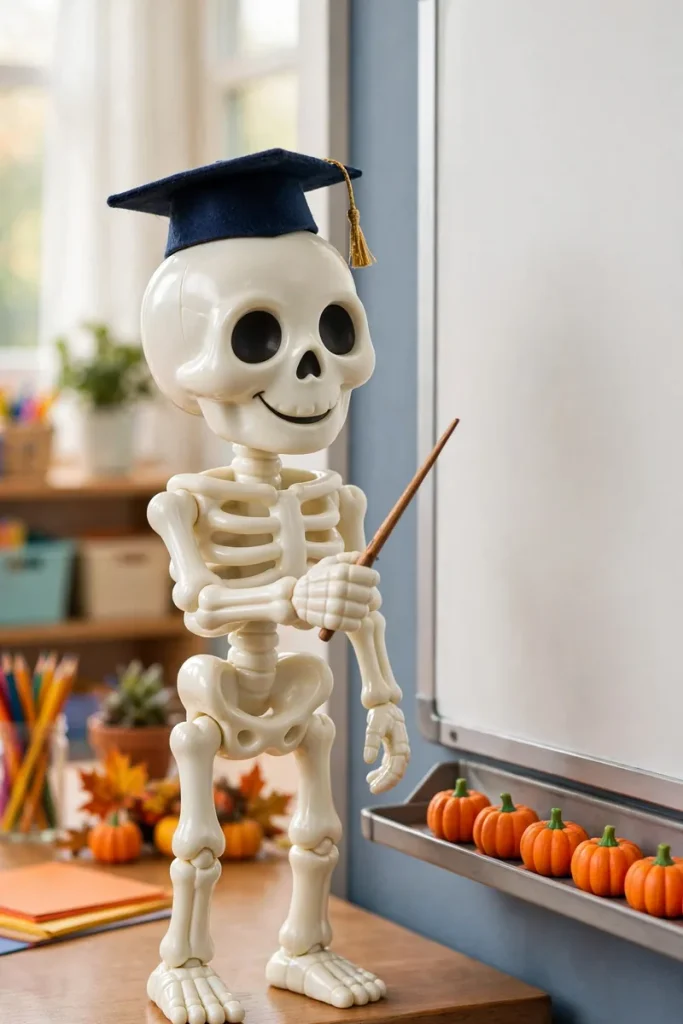
Get a small plastic skeleton — the hanging kind, about two feet tall — put a tiny graduation cap on it, and make it your classroom helper. It holds the hall pass. It “holds” the pointer during lessons. It wears a different paper accessory every week (a bow tie in week one, a party hat in week four). Kids adore it, and it turns a potentially spooky decoration into a class mascot. Mine is named Mr. Bones. He has his own cubby. The kids made him a name tag.
15. The Halloween Class Party Table
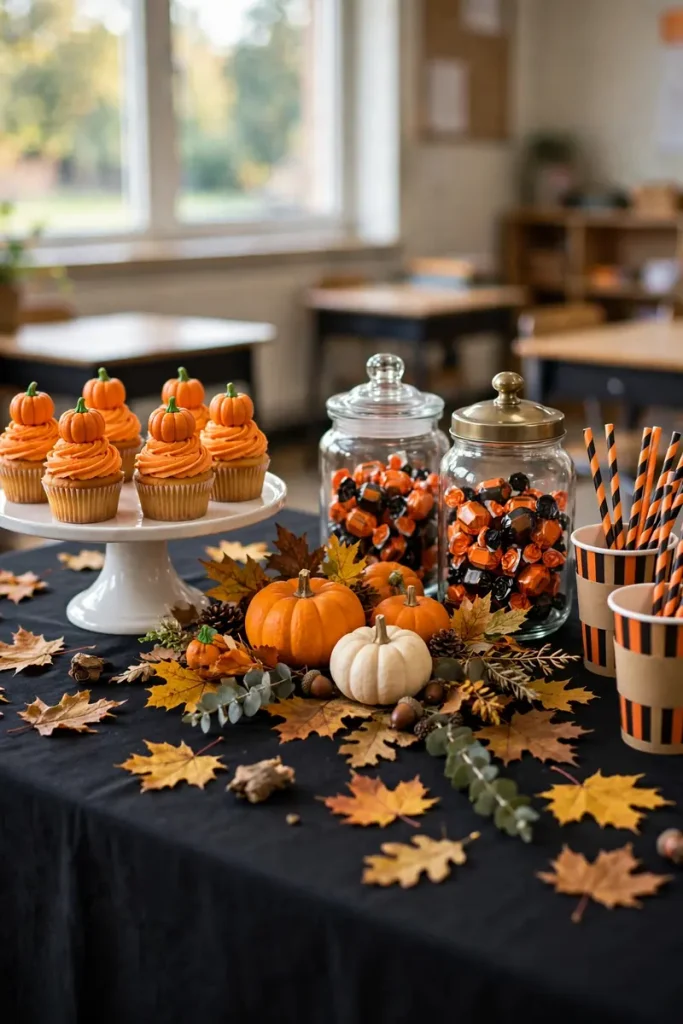
Set up your party table early — black tablecloth, mini pumpkin cupcakes on a stand, candy jars, and a centerpiece of small pumpkins and fall leaves — and let it sit pretty all week before the party. Setting it up ahead of time means zero party-day stress, and it doubles as decor until the big day. The tablecloth is a dollar store find, the jars are from your kitchen cabinet, and the pumpkins are the ones from the math center getting their second act. Reduce, reuse, re-spook.
FAQs
How do I decorate my classroom for Halloween without breaking school rules?
Check your school’s policy first — many schools ask for “fall” or “harvest” themes instead of Halloween, and some ban anything scary. Stick to cute: smiling ghosts, pumpkins, black cats, and candy corn are almost always safe. Avoid blood, witches with green faces, and anything with a jump scare. When in doubt, ask your principal before the first nail goes in. I learned this the hard way (see: the Emma incident).
What is the cheapest way to decorate a classroom for Halloween?
Construction paper, crepe paper, and the dollar store are your best friends. Every idea on this list costs under fifteen dollars, and most cost under five. Buy in early October when the selection is best, save everything in one labeled bin, and reuse it next year — your second year of decorating is basically free. My total first-year spend was about forty dollars, and I have reused it all for six years.
How do I keep Halloween decorations kid-safe for younger students?
Follow the cute-not-creepy rule: smiling faces, no blood, no realistic monsters. Keep small items (mini pumpkins, tea lights) out of reach of toddlers and preschoolers. Use LED lights only — never real candles. And hang anything dangling (garlands, webs) high enough that kids cannot pull it down onto themselves. If a decoration would make a kindergartner cry, it does not belong in an early childhood classroom.
How do I store everything after Halloween?
One big plastic bin, labeled “OCTOBER,” with everything flat or rolled. Paper decorations go in folders, garlands get wrapped around cardboard, and mini pumpkins go in the compost. Take a photo of your decorated room before you take it down — next October, you will open that photo like a treasure map. I keep mine taped inside the bin lid.
Conclusion
Here is what six Octobers of classroom decorating have taught me: the best Halloween classroom is not the scariest one, or the most expensive one, or the one with the most stuff. It is the one where kids walk in and feel like something special is happening. A smiling ghost on the bulletin board, a goofy monster on the door, a spider web over the reading corner — small things, big feelings. So pick your five favorites from this list, spend your forty dollars, and decorate after the kids leave on Monday. Tuesday morning, when they gasp at the door, you will know it was worth every googly eye. Happy Halloween, teacher — your classroom is about to be the cutest spooky room in the whole school.