20 Halloween House Decorations That Make the Whole Neighborhood Stop and Stare
For years, my Halloween decorating plan was one lonely pumpkin on the porch. It was cute, but it looked less like a spooky welcome and more like the pumpkin had missed its bus. Then one October, I decorated the house in small zones, starting at the sidewalk and ending in the kitchen. The whole place felt festive without becoming a haunted storage unit.
This walk-through uses the same easy plan. We will move from the front yard to the rooms inside, adding one memorable moment at a time. Costs are rough estimates because thrift-store luck and local prices vary. Pick three ideas for a simple look, or use all twenty when your inner Halloween queen refuses to be reasonable.
The Front Yard & Walkway
1. The Graveyard Front Yard
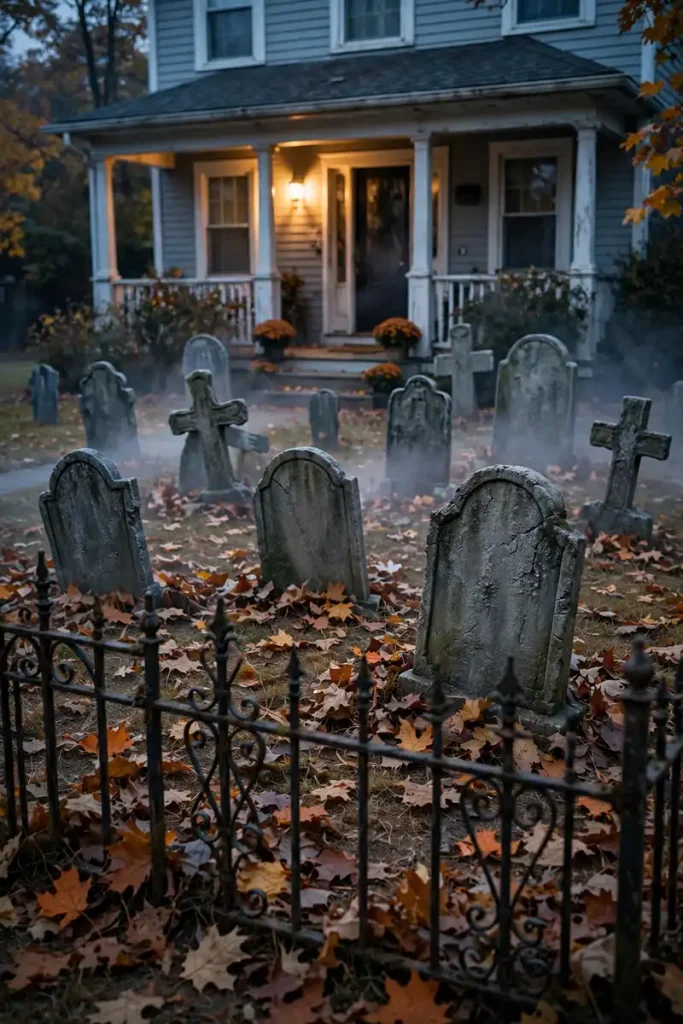
Turn a patch of lawn into a tiny cemetery with foam tombstones placed at uneven angles. Add a few piles of dry leaves, two solar spotlights, and one plastic hand reaching from the ground. Keep a clear path for guests and trick-or-treaters, especially if small children will visit after dark.
Plan about $35 to $80 for six tombstones and lights. A DIY version costs closer to $15 when you cut old shipping boxes into stone shapes, paint them gray, and add silly names. Renters can build the scene in weighted flowerpots instead of pushing stakes into shared grass.
2. Jack-o’-Lantern Lane
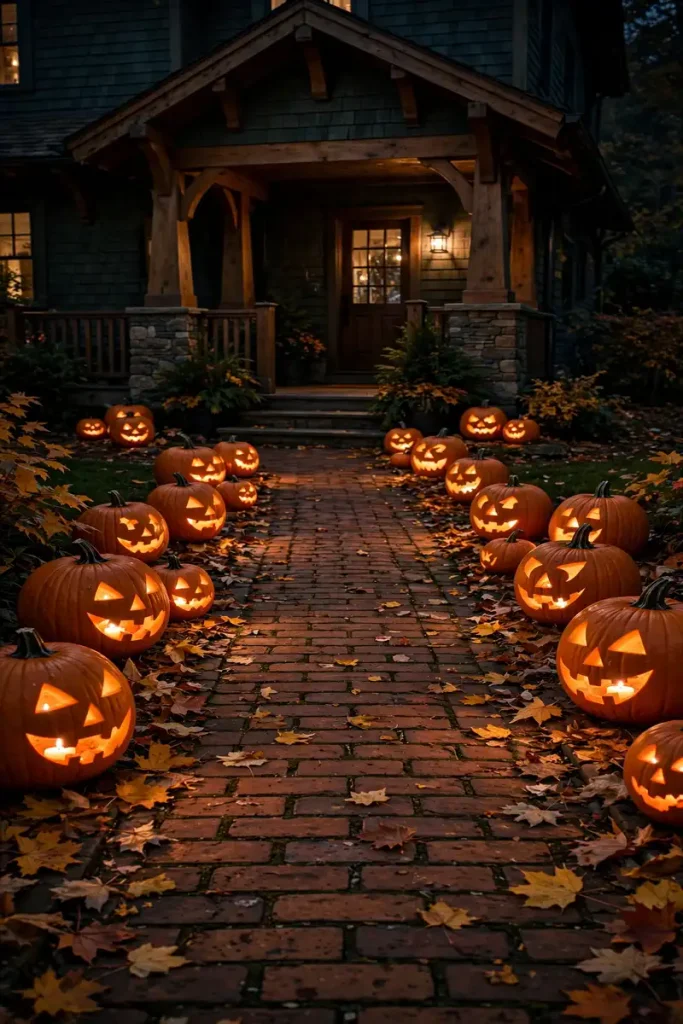
Line the walkway with a mix of carved pumpkins, uncarved mini pumpkins, and battery candles. Vary the faces so the path feels collected rather than copied. Place the brightest pumpkins near steps and turns, where they can also help guests see where they are going.
Six real pumpkins may cost roughly $30 to $60, while reusable foam pumpkins often run $8 to $20 each. Save money by carving only two large pumpkins and filling the gaps with painted grocery-store gourds. Battery lights are safer than open flames and make this setup apartment-walkway friendly.
3. The Pumpkin Patch Porch
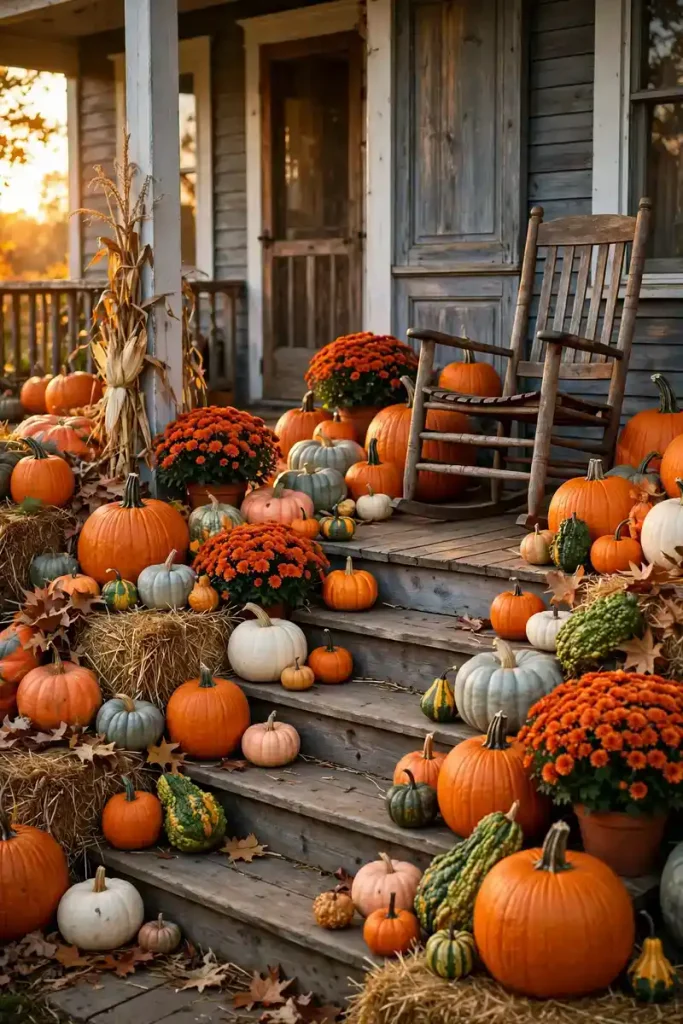
Build a small pumpkin patch where the walkway meets the porch. Stack pumpkins on upside-down crates, tuck in mums or dried corn, and weave a dark plaid blanket through the display. A wooden sign or old watering can gives the arrangement that cozy fall-farm feeling.
A full store-bought display can cost $70 to $140, but a smaller version lands near $35. Ask a farm stand about imperfect pumpkins, reuse crates from home, and swap live mums for clipped branches. Renters can place every piece on a washable outdoor mat and remove it in minutes.
The Porch
4. Ghostly Porch Greeting
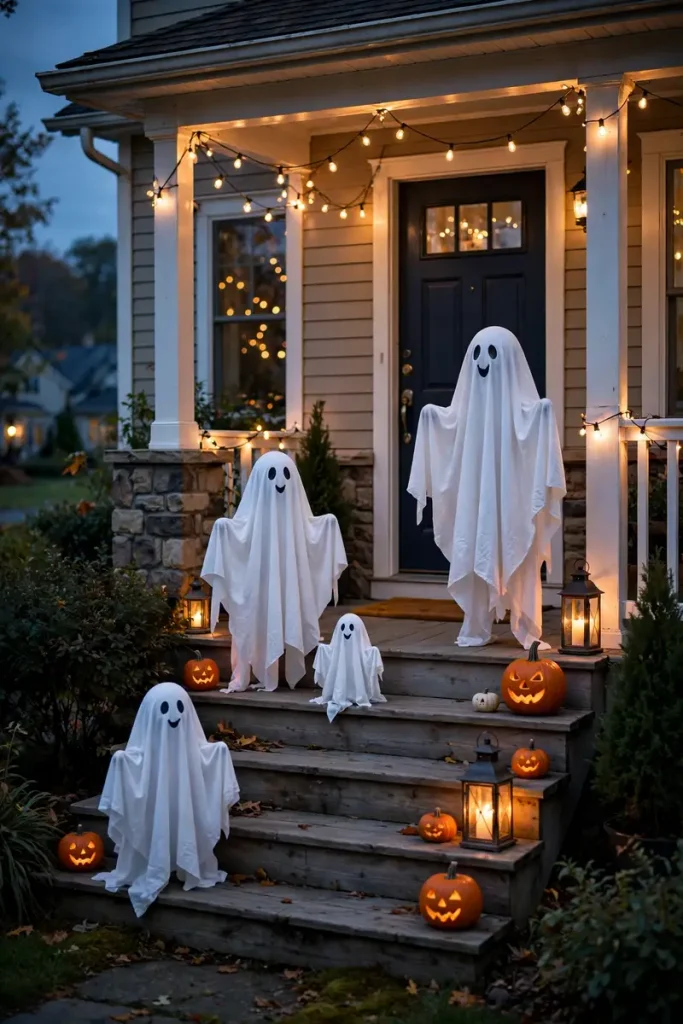
Make two soft ghosts from white fabric draped over tomato cages or tall plant stands. Give each ghost simple felt eyes, then place them on opposite sides of the porch. A hidden battery lantern under the fabric creates a gentle glow instead of a horror-movie jump scare.
This pair costs about $20 to $45, depending on what you already own. Old white sheets work perfectly, and black paper can replace felt on a dry covered porch. Use removable clips rather than staples, and add a sandbag under each frame if the porch gets windy.
5. The Spider Web Corner
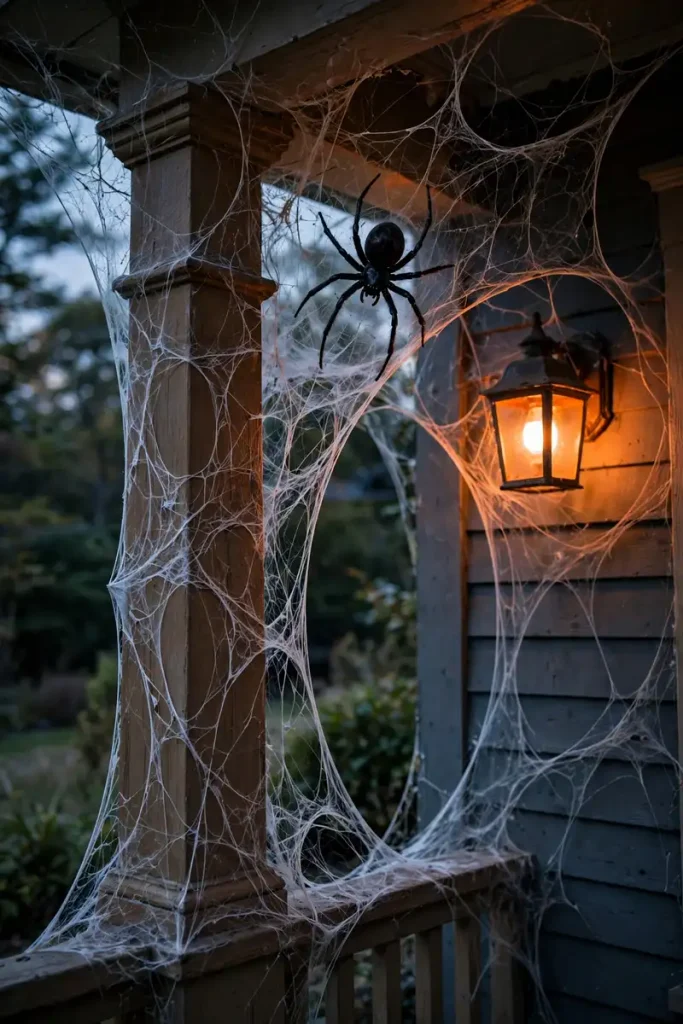
Choose one porch corner and stretch a thick rope web across it. Add one oversized spider near the center and a few tiny spiders along the rail. Keeping the web in a single zone makes it look intentional and prevents guests from walking through sticky fake cobwebs.
A ready-made rope web and large spider usually cost $20 to $50. For a $10 DIY, knot white clothesline into a simple wheel pattern and make the spider from black trash bags stuffed with newspaper. Tie everything to railings with soft cord so rental surfaces stay mark-free.
6. Floating Witch Hats
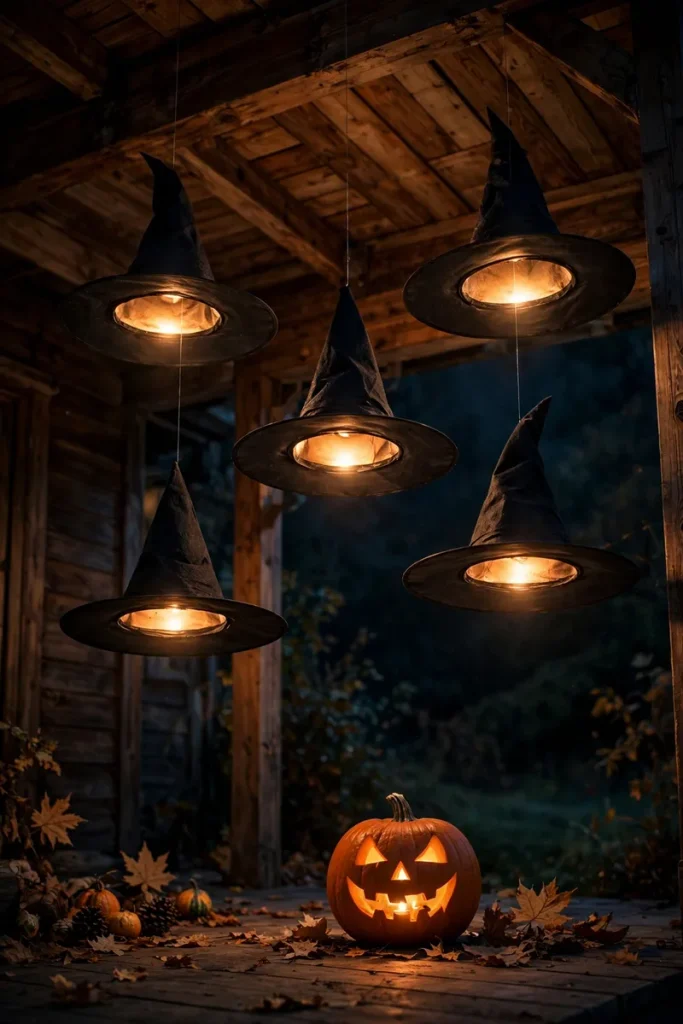
Hang lightweight witch hats at different heights above a seating area or along the porch ceiling. Thread clear fishing line through the tips and slip small battery tea lights inside a few hats. They seem to float when the line disappears at night, which feels wonderfully magical for very little work.
Budget $25 to $60 for six hats, line, and lights. Dollar-store hats keep the cost low, and paper hats are an easy indoor-only craft. Use outdoor-rated removable hooks on a covered porch, follow the hook’s weight limit, and bring the hats inside during heavy wind or rain.
7. The Skeleton Greeter
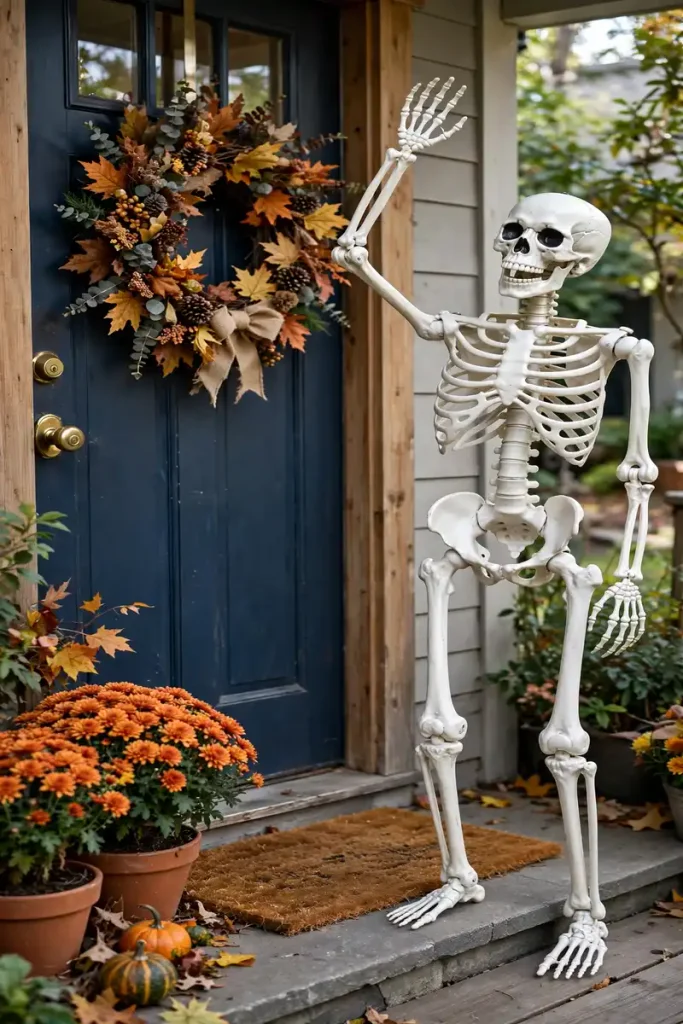
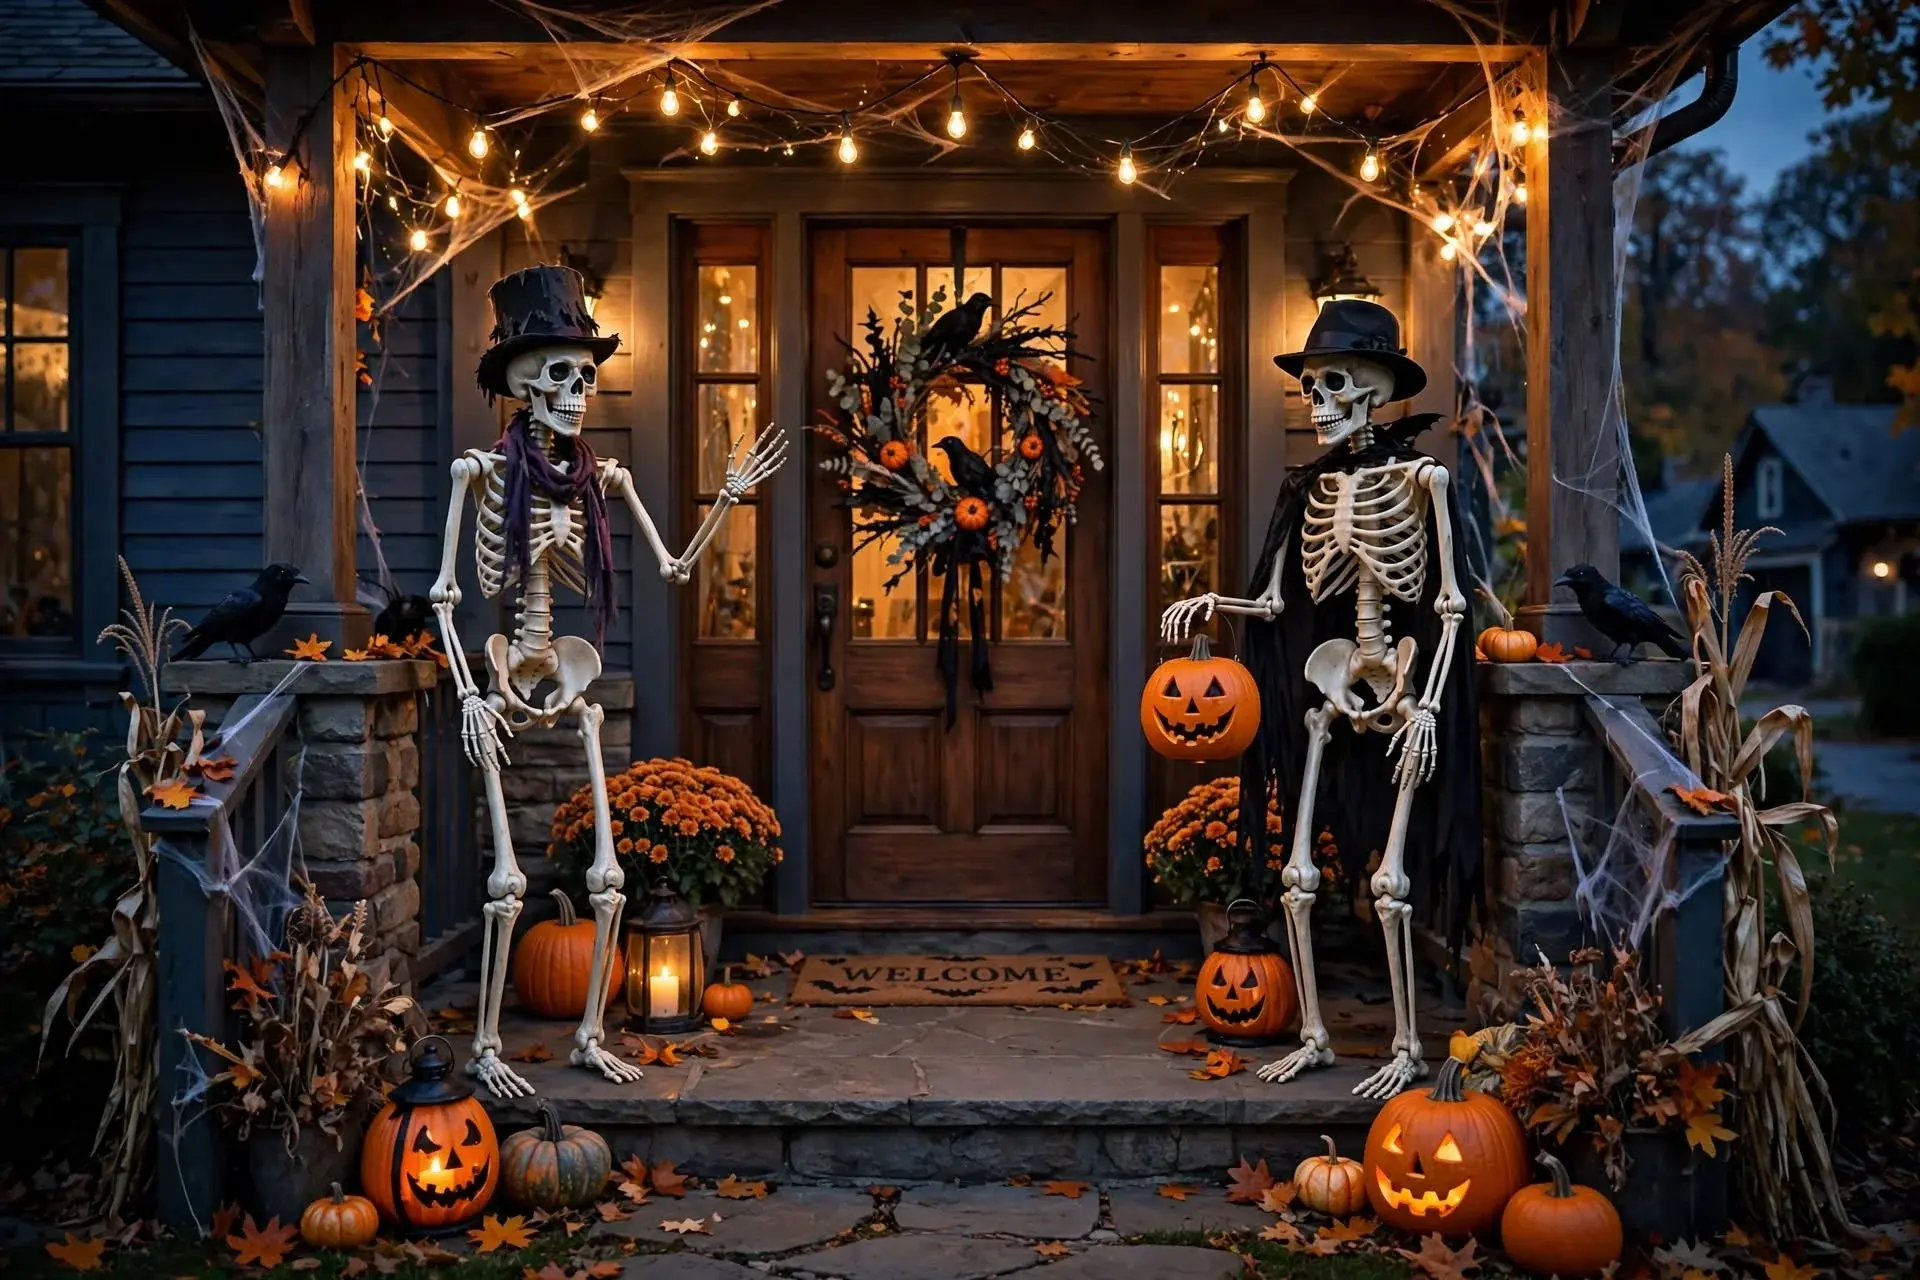
Seat a life-size skeleton in a porch chair and give it a personality. Let it hold a candy bowl, read a mystery novel, or sip from an empty mug. Add a scarf or sunhat from your closet so it looks like a quirky houseguest instead of a decoration dropped from a box.
A poseable skeleton costs around $35 to $90, but smaller versions can create the same joke for $15. Thrift the chair or use one you own. Renters need no special changes at all; just secure the skeleton to the chair with clear ties so “Mr. Bones” does not escape.
8. The Moonlit Porch Finale
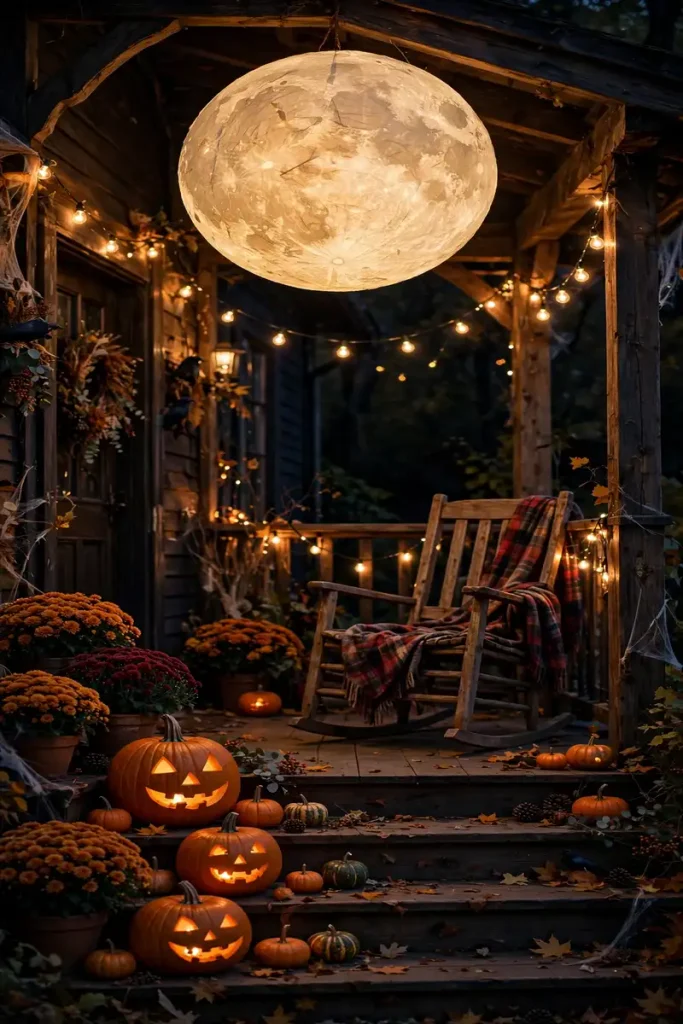
Finish the porch with a large crescent moon mounted on a blank wall or propped behind a bench. Surround it with silver stars, black branches, and cool-white string lights. This dreamy scene softens the scarier decorations and gives guests a lovely photo spot before they step inside.
A finished wood or metal moon may cost $40 to $100. Make one for under $20 from sturdy cardboard, metallic paint, and removable wall strips. Choose battery lights when there is no outlet, and keep cords away from doors. In a rental, prop the moon instead of mounting it.
The Front Door
9. The Witch’s Doorway
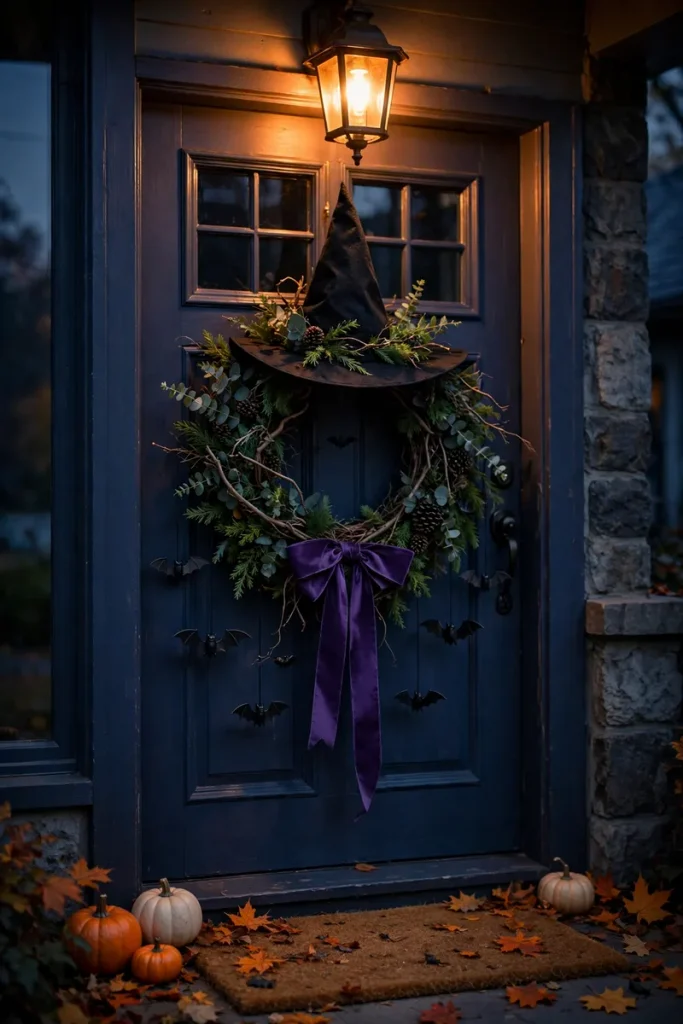
Frame the door with a crooked broom, a black wreath, and a striped doormat layered over a larger outdoor rug. Hang a tiny “witch parking” tag from the broom, or keep the look elegant with black ribbon and dried herbs. Purple lights add color without turning the entrance neon.
Expect to spend $30 to $75 if you buy each piece. A grapevine wreath, black spray paint, and ribbon can bring the total closer to $20. Use an over-the-door wreath hook and lean the broom against the wall, making this transformation completely renter-friendly.
10. The Mummy-Wrapped Front Door
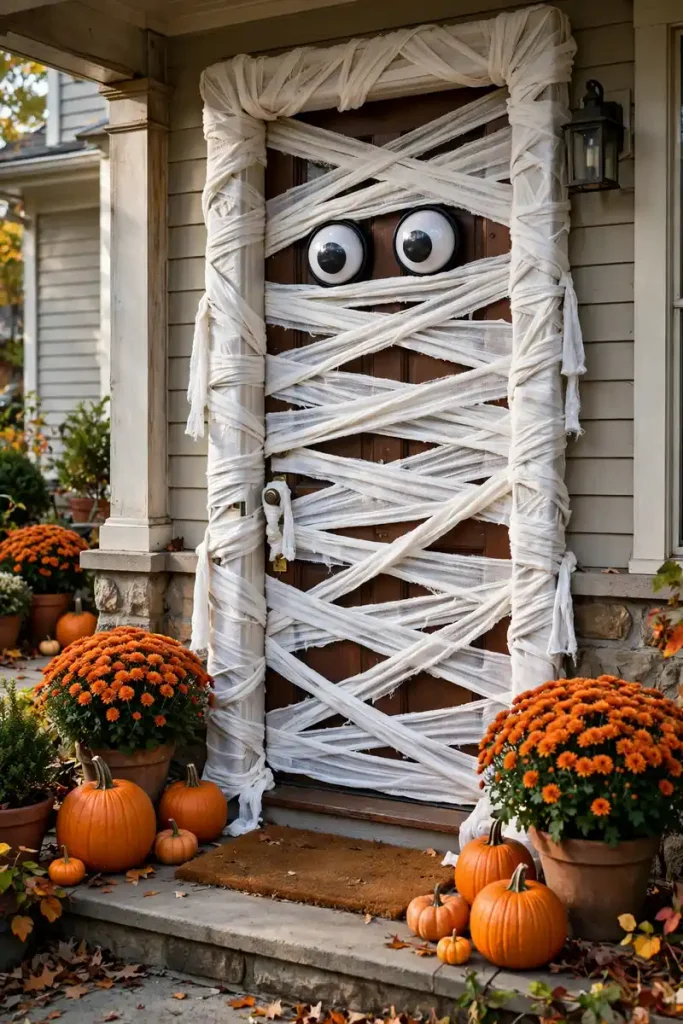
Wrap the front door in wide strips of white removable crepe paper, leaving small gaps between the layers. Add two oversized paper eyes near the top. The result is playful, easy for children to help with, and just spooky enough to make the delivery driver smile.
This project costs about $8 to $18. Painter’s tape protects most finished doors, but test a hidden corner first and never cover the lock, handle, peephole, or apartment number. If weather is a problem, create the mummy on a lightweight poster board panel and hang it inside the door.
The Entryway
11. The Haunted Entryway Table
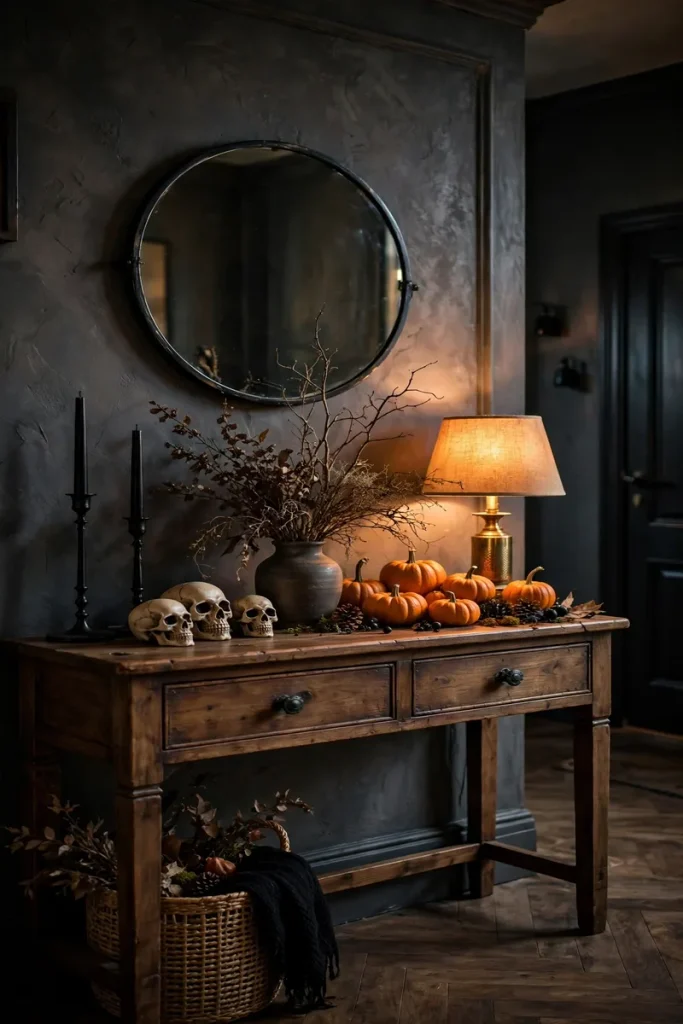
Style the entry table with a black runner, an old mirror, two candlesticks, and a bowl of dark faux fruit. Add one framed “ancestor” portrait from a thrift store and let a strand of gauze trail over the frame. Keep the center clear enough for keys and mail.
Plan $25 to $65 for the full arrangement, or shop your home and spend under $15 on black candles and gauze. Print a vintage-style silhouette for an inexpensive portrait. Furniture stays untouched, so renters only need to protect the tabletop with felt pads under heavy objects.
12. Black Cat Window Watchers
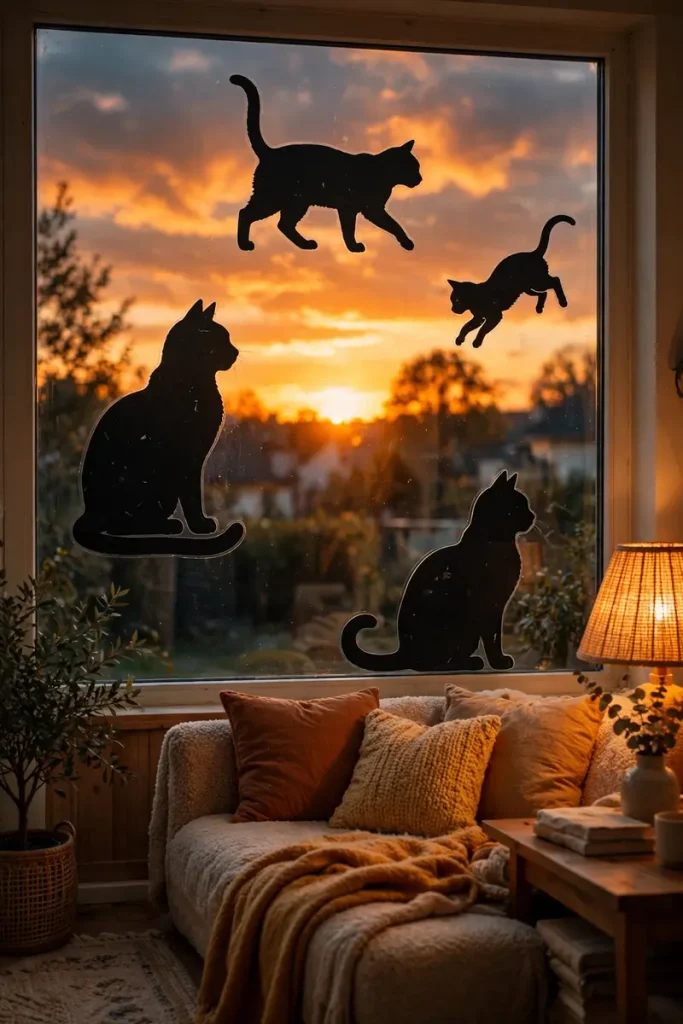
Cut black cat silhouettes from poster board and tape them inside the entryway windows. Make some cats sit and others arch their backs. At night, a lamp behind the shapes makes them visible from outside, as though a suspicious little committee is watching every visitor.
Poster board and removable tape cost about $5 to $12. Use a freehand outline or trace around a printed cat shape, then save the pieces flat for next year. This is one of the best renter ideas because nothing goes outdoors and cleanup takes less than five minutes.
13. The Creepy Candle Cluster
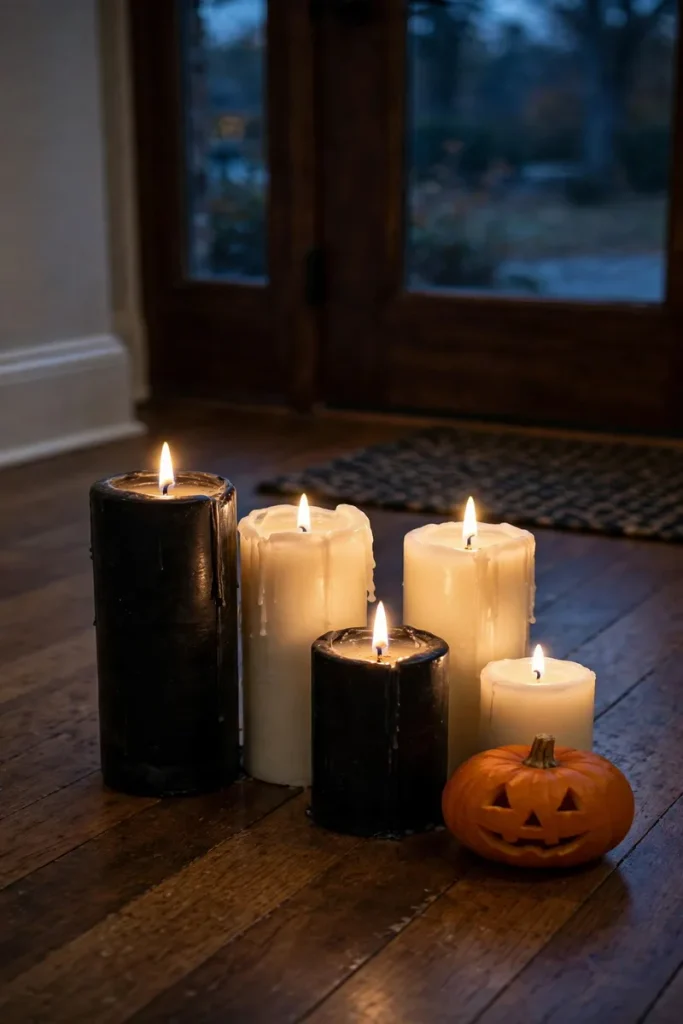
Group battery pillar candles in several heights on a tray near the entry. Wrap a few with black lace and place tiny plastic bugs around the bases. A mirror behind the candles doubles the glow, making a small corner feel much fuller without adding more clutter.
A cluster of five flameless candles costs about $25 to $55, though thrifted glass jars with battery tea lights can cost under $15. Never put fabric or paper around a real flame. Renters can keep the entire display on one tray and move it when the table is needed.
The Living Room
14. The Candy Corn Garland Mantel
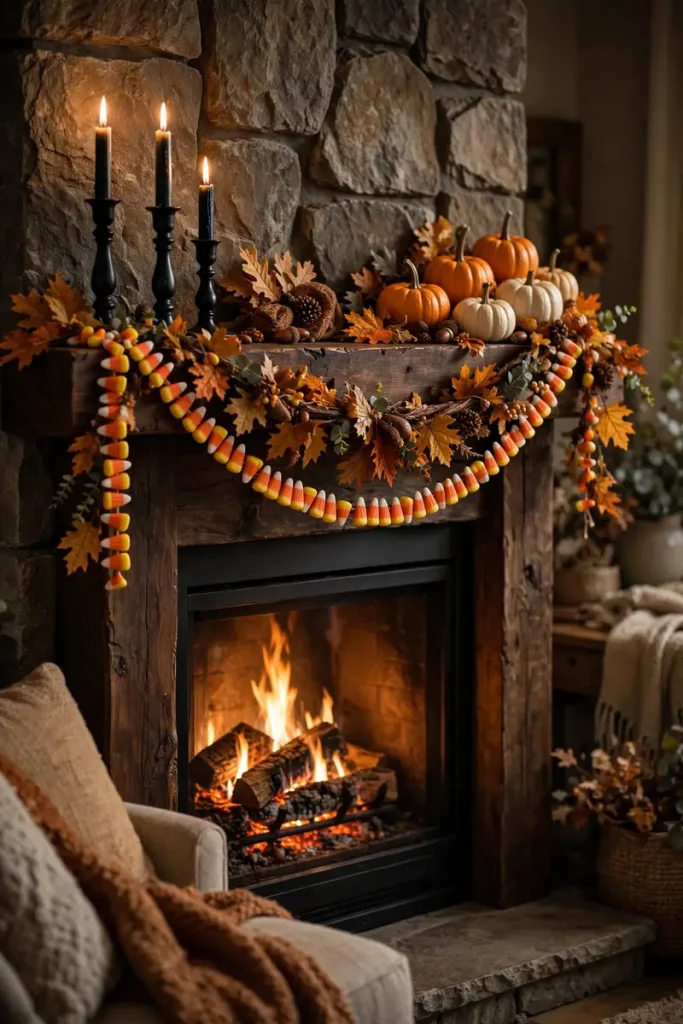
Bring a cheerful Halloween look to the mantel with felt triangles in cream, orange, and yellow. String them into a candy corn garland, then add mini pumpkins and amber glass bottles. The warm colors work beautifully in neutral rooms and feel festive without being frightening.
A handmade garland costs around $10 to $20, while a finished one may be $20 to $40. Cut the triangles from felt scraps and attach them to twine with fabric glue. No mantel? Renters can drape the garland across a bookcase using removable hooks.
15. The Spooky Fireplace Scene
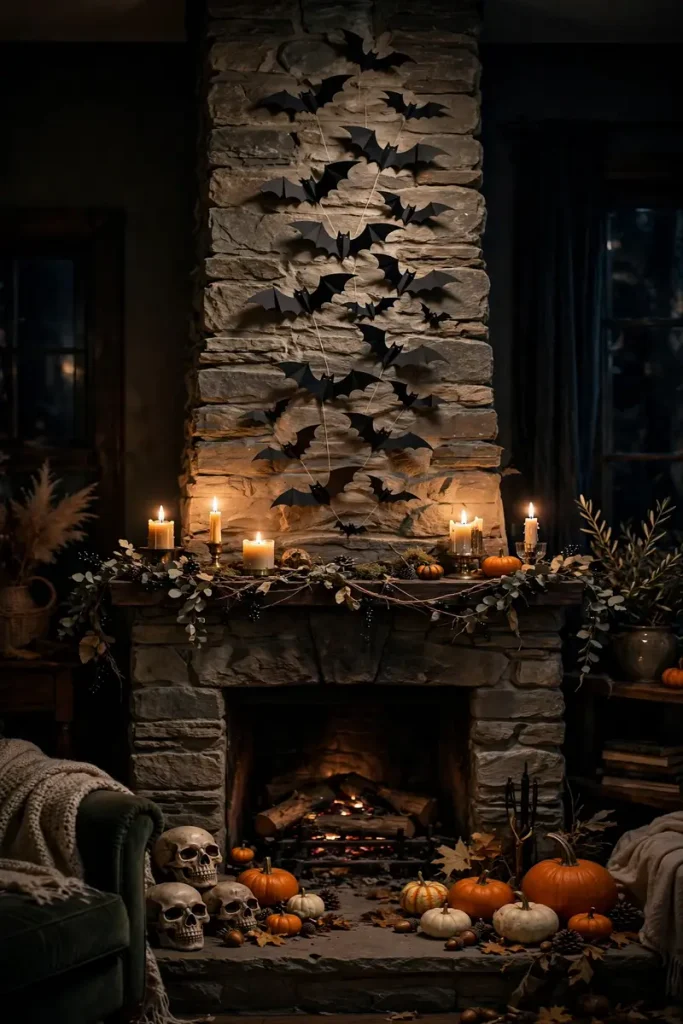
Fill a nonworking fireplace with birch logs, black lanterns, and battery candles. Place paper bats rising from the opening toward the mantel, then tuck a little faux fog-colored fabric between the logs. The scene creates drama without filling the whole living room with decorations.
Budget $35 to $90 if you need lanterns and logs. Save by painting clean branches white and using thrifted jars instead of lanterns. Keep all paper away from a working fireplace. Renters without a fireplace can create the same scene inside an empty console cabinet or beneath a TV stand.
The Dining Room
16. The Haunted Dining Tablescape
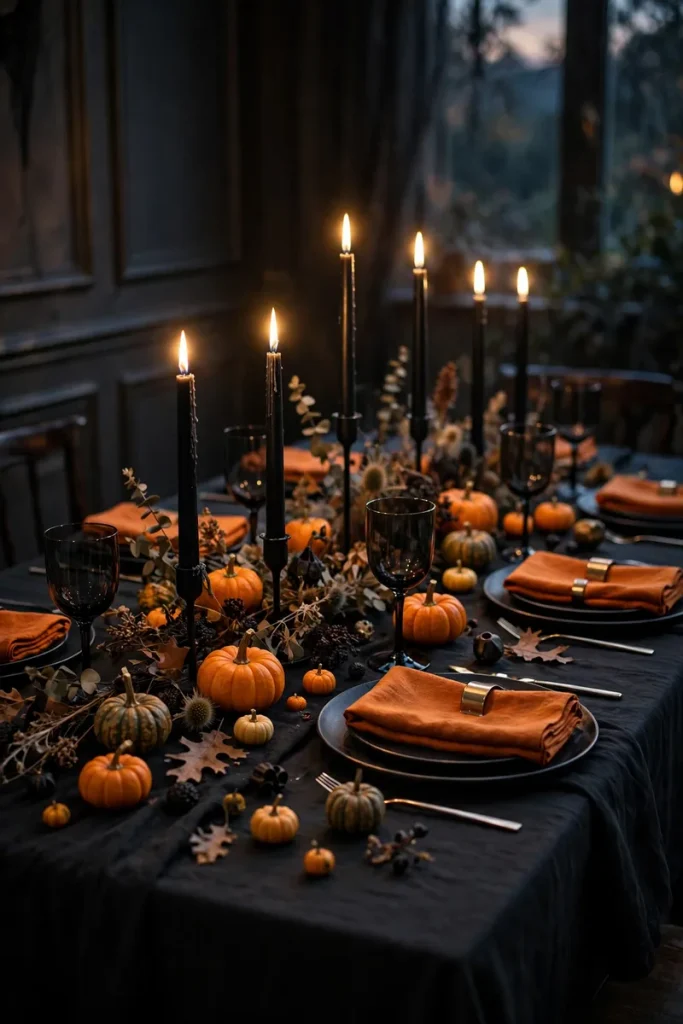
Cover the table with a dark runner, then layer everyday white dishes with black napkins, mini pumpkins, and smoky glassware. Run bare branches down the center and hang tiny paper ravens from them. Leave enough room for serving bowls, because a centerpiece should not fight the mashed potatoes.
A polished table can cost $45 to $110, but a DIY version is possible for $20 with thrifted glasses, branches, and paper birds. Use washable fabric instead of disposable plastic. Renters can enjoy the full effect because the decor touches only the table and moves easily after dinner.
17. Ghost Sheet Chairs
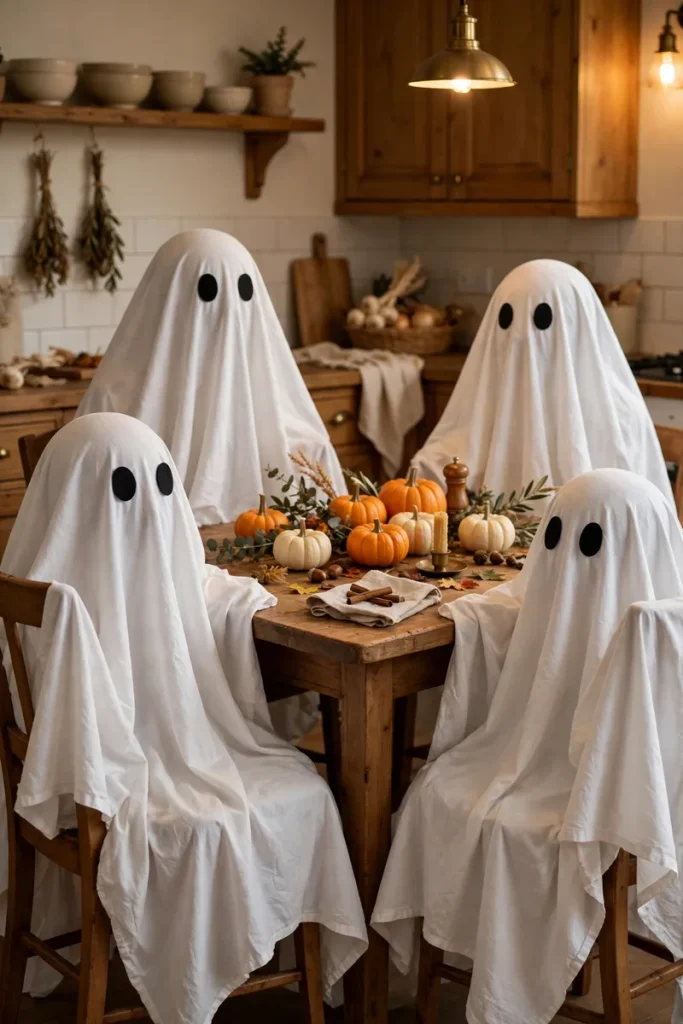
Drape white pillowcases or small sheets over dining chair backs and add simple black felt faces. Make each expression different: sleepy, surprised, or suspicious. The ghosts turn ordinary chairs into characters, and children usually choose a favorite before they even notice what is for dinner.
Expect to spend $10 to $30 for fabric and felt. Old white pillowcases make this almost free, and safety pins can hold loose fabric at the back where guests cannot feel them. This renter-friendly idea requires no wall space and folds into one small box for storage.
The Kitchen & the Walls
18. The Witchy Kitchen Corner

Claim one countertop corner for a witchy cooking station. Arrange a small cauldron, wooden spoons, a black cutting board, and jars labeled with fun names such as “moon sugar.” Add a purple dish towel and a bowl of apples to keep the display connected to a real kitchen.
This corner costs about $20 to $50, or under $10 when you relabel jars already in the pantry. Keep decorations away from burners, sinks, and food-prep space. Renters can place everything on a tray, which protects the counter and makes cleanup delightfully fast.
19. The Bat Swarm Wall
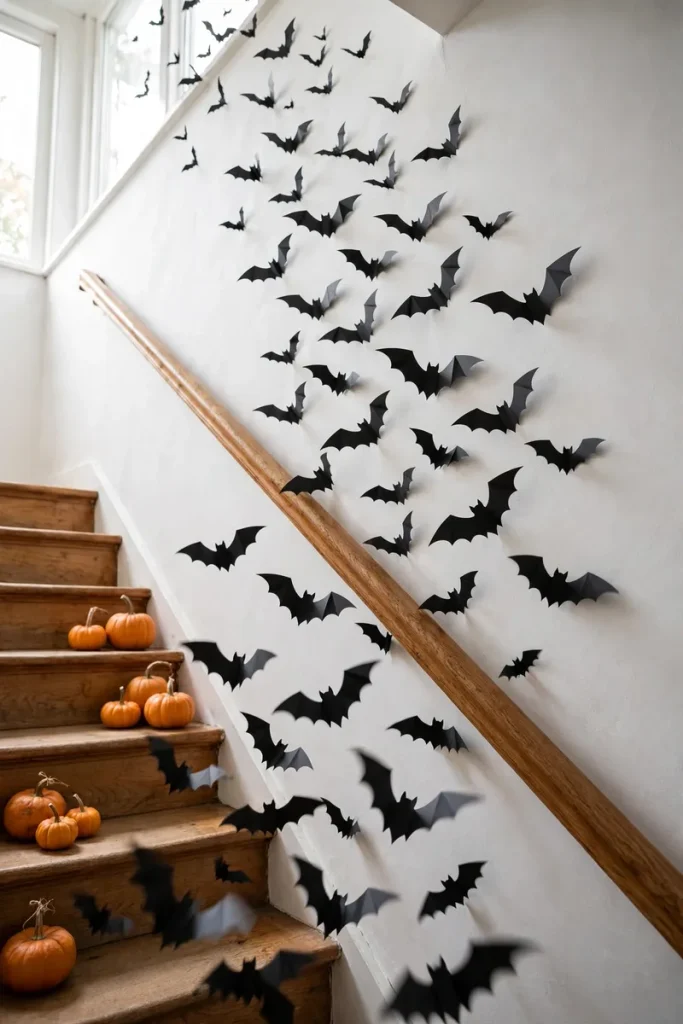
Create a flock of black paper bats that starts small near a doorway and grows larger as it sweeps up the wall. Fold each bat slightly at the center so the wings cast shadows. The movement draws the eye upward and can fill a big blank wall for very little money.
Precut bat packs cost about $8 to $25; hand-cut cardstock bats may cost less than $5. Use removable poster putty or wall-safe tape, testing it first on your paint. Apartment dwellers can place the swarm on a large foam board and lean it behind a console.
20. The Potion Apothecary Shelf

Finish the tour with an apothecary shelf made from mismatched bottles, tiny labels, old books, and dried flowers. Fill clear jars with colored water, rice, or harmless pantry spices. Repeat two colors from earlier rooms so the final display feels connected to the rest of the house.
A collected shelf usually costs $20 to $60. Save empty sauce bottles, soak off the labels, and age new paper with cooled tea. Keep jars sealed and out of children’s reach, never mix household chemicals, and use an existing shelf or freestanding cart instead of drilling into rental walls.
Halloween Decorating on a Budget + Renter Rules
Start with the spaces people see first: the walkway, front door, entry, and main living area. Choose one hero piece for each zone, then fill around it with paper crafts, branches, fabric, and pumpkins. A $100 budget can still cover several rooms when you reuse black ribbon, battery candles, crates, and glass jars from one scene to the next.
Shop your home before shopping a store. White sheets become ghosts, cardboard becomes tombstones, and last year’s orange throw can anchor a whole room. Thrift stores are especially useful for candlesticks, frames, baskets, and odd glass bottles. Keep a small color plan—perhaps black, cream, orange, and one accent—so mixed secondhand finds look intentional.
Renters should favor over-the-door hooks, removable strips, poster putty, tension rods, and freestanding displays. Always check the lease, test adhesive in a hidden area, respect shared hallways, and avoid blocking exits, locks, numbers, lights, or sprinklers. Outdoor pieces should be weather-safe and weighted, and all walking paths need to stay clear.
Finally, store decorations by zone instead of by object. Put porch pieces in one labeled bin and dining pieces in another. Next October, you can decorate room by room without digging through six boxes for one tiny spider. Your future self will feel organized, powerful, and slightly suspicious.
Let the House Tell a Spooky Little Story
The most memorable Halloween homes are not always the most expensive. They simply lead guests through a story: a strange graveyard outside, a witch at the door, glowing candles in the hall, and a final potion shelf in the kitchen. Use the ideas that suit your space, skip anything that creates stress, and leave room for real life.
When the lights come on and the first visitor smiles, the crooked bats and thrifted bottles suddenly feel perfect. That is the real magic of Halloween decorating. Your house does not need to look like a movie set—it just needs enough personality to make people slow down, look twice, and enjoy the walk.